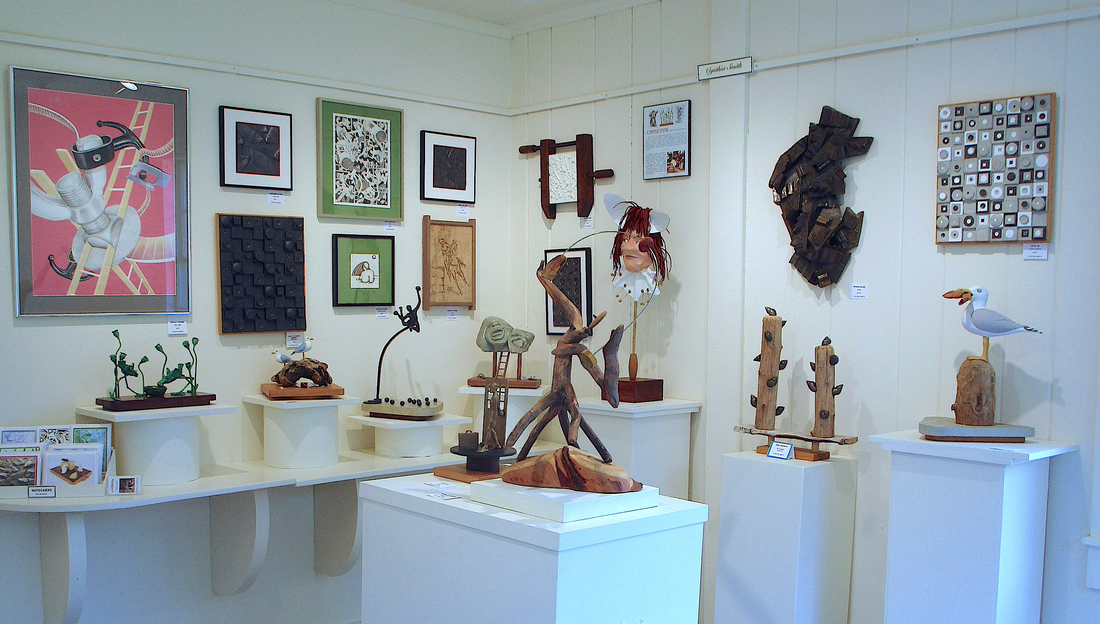
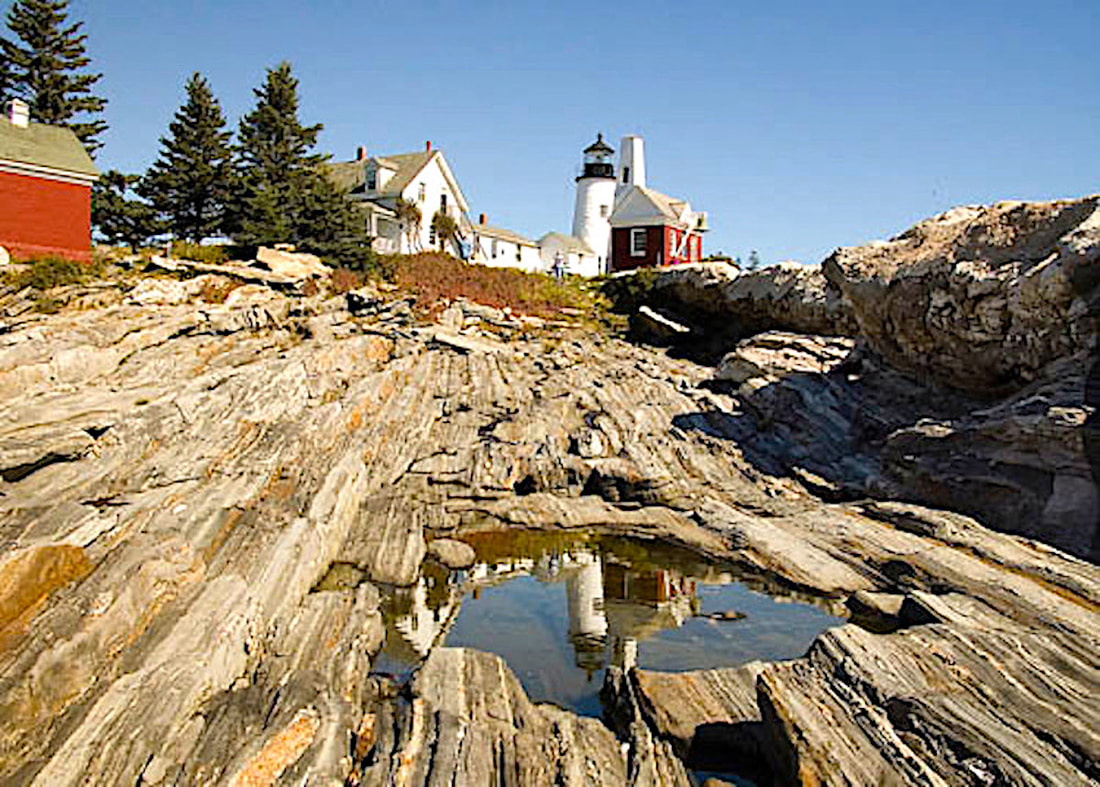
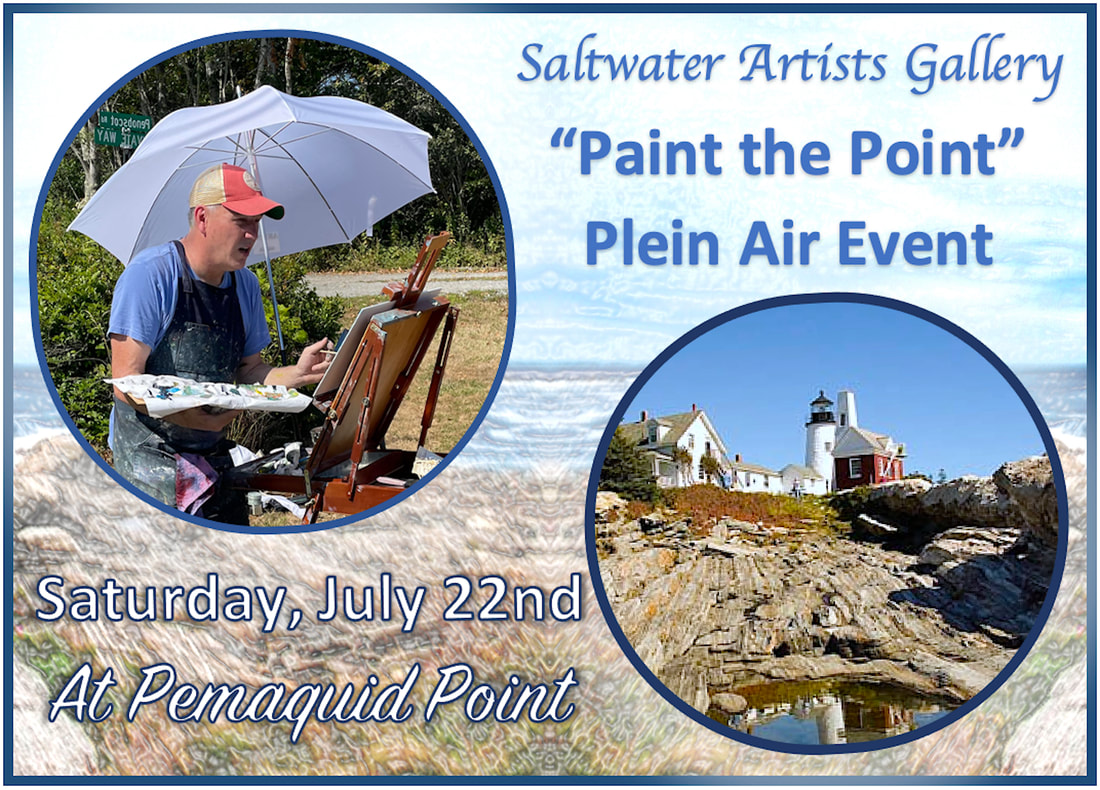
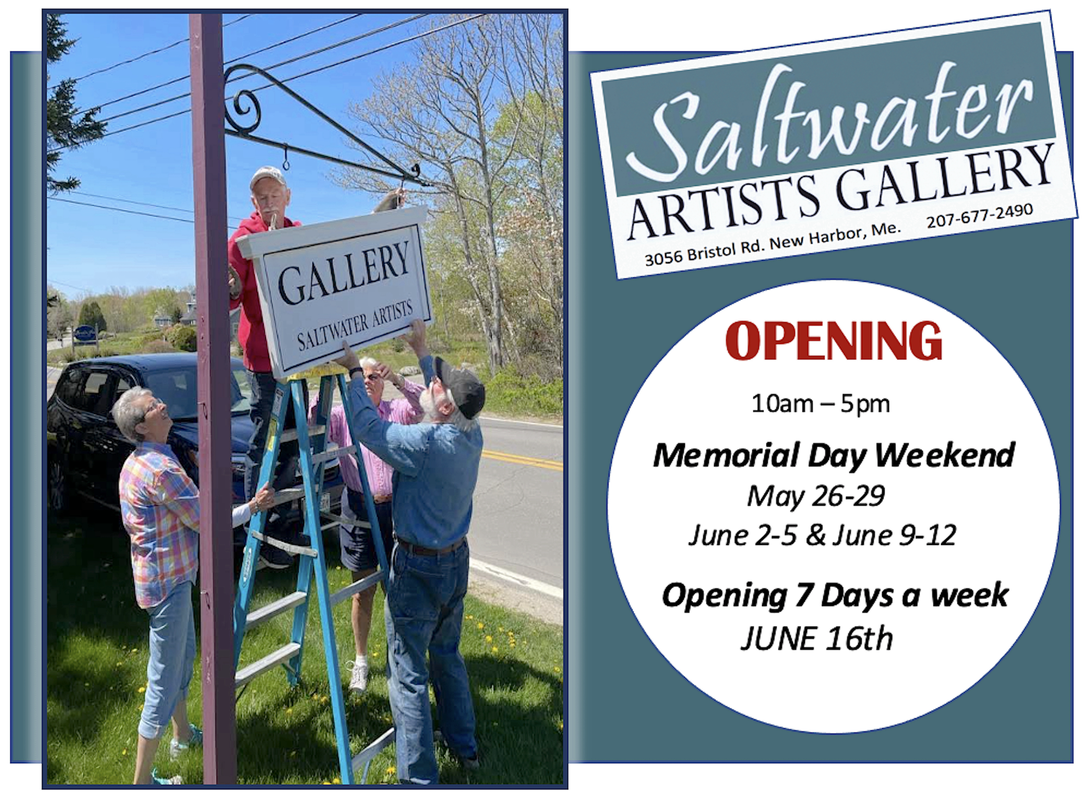
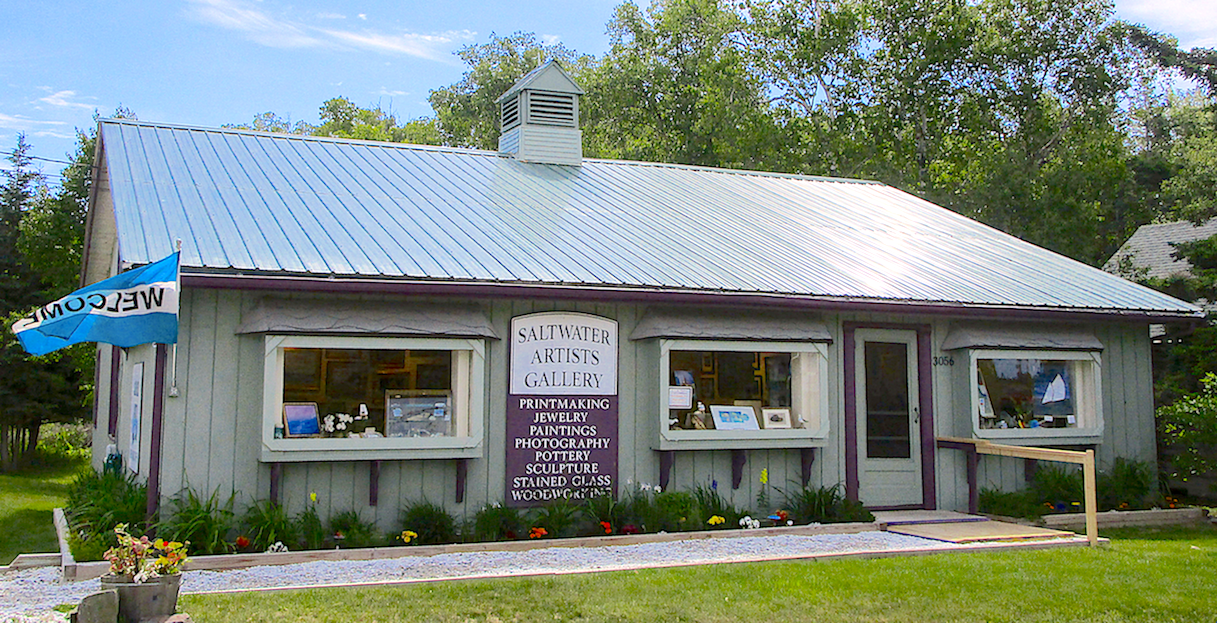
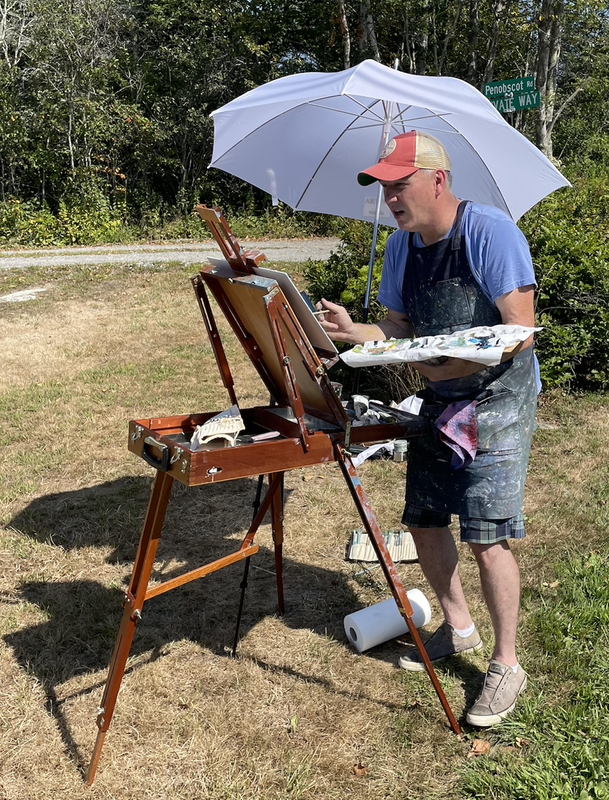
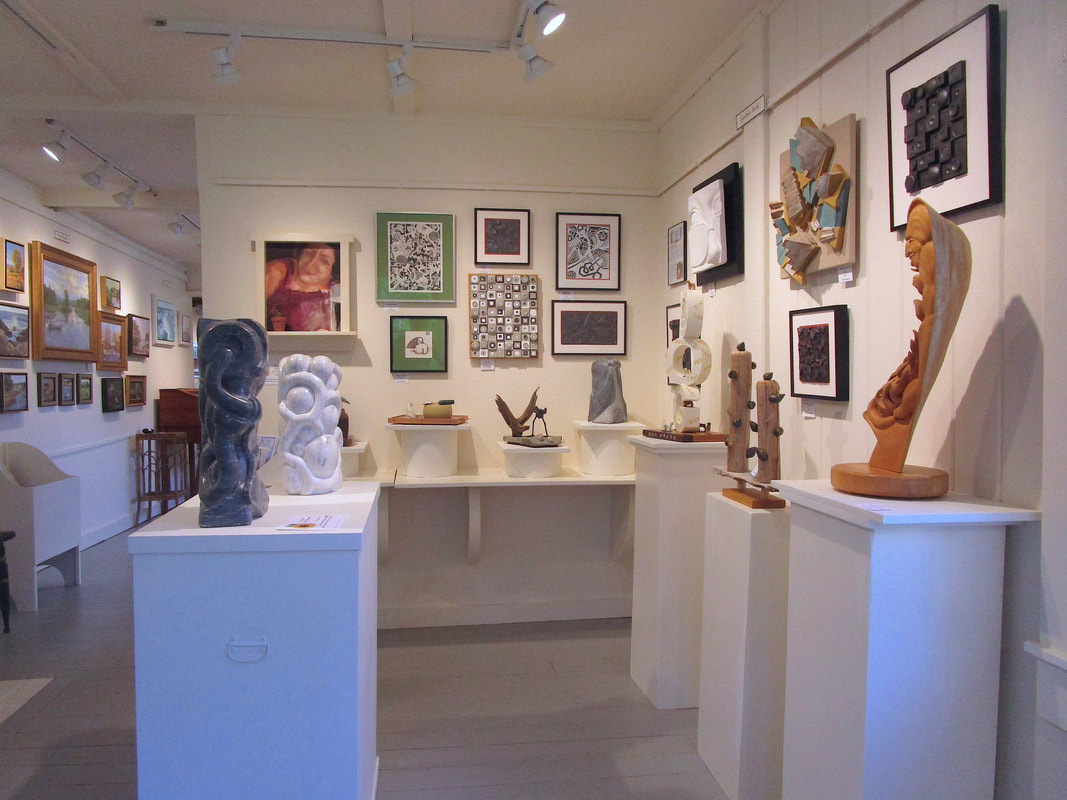
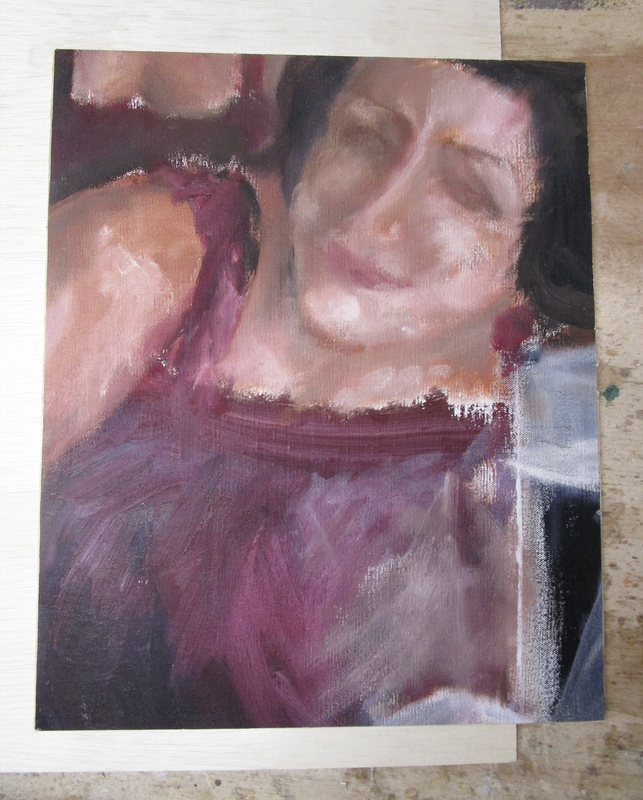
| Saltwater Artists Gallery in New Harbor, Maine completed another successful show season that included 2 new ventures and ended with statewide recognition. Our first annual plein air "Paint the Point" event was enthusiastically received by all of the participating artists, as well as by the event's juror, highly regarded artist J.C. Airoldi. We were grateful for the support our event sponsors: the Seagull Restaurant, Citizen Home Maine and Weatherbird Bakehouse, and for the help of all of our event volunteers. We are looking forward to the 2nd annual in 2024! The gallery was very excited to be able to expand our mid-coast presence this summer with the opening of a satellite gallery in the newly renovated Discovery Room at the Maine Tasting Center in Wiscasset. In keeping with the food and drink offerings of the MTC, our venue featured food themed artwork by SWAG gallery members. After lots of positive "feed-back", we will return in '24. | 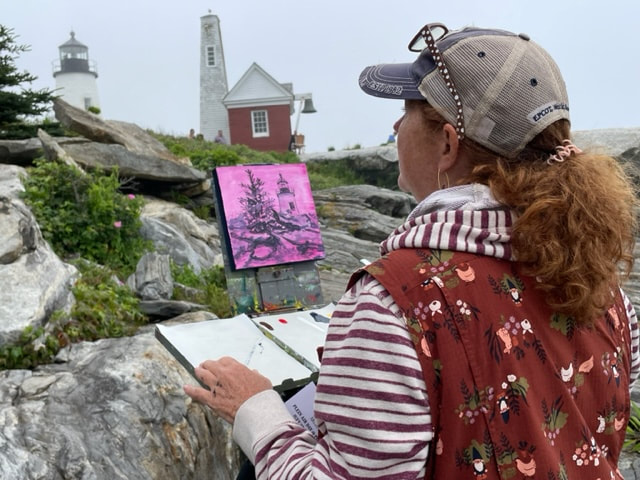 Painting plein air on Pemaquid Point  SWAG satellite gallery at The Maine Tasting Center in Wiscasett |
And last, but not least - the results of Down East magazine's "Best of Maine" poll were published in their September issue, and revealed that Saltwater Artists Gallery had been voted #1 in the Art Gallery category. We are very proud of all of our talented artists and very grateful to all of our incredibly supportive patrons! See you next season!
 |  |


 RSS Feed