C.V.SmithARTWORKS
  • Home
  • Blog
  • Sculptures
    • Bronze
    • Clay / Apoxie Clay
    • Plaster
    • Wood
    • Stone
    • SLIDESHOW
  • Galleries
  • Contact
  • Book
  • River Arts
  • BRAF
  • Saltwater Artists
  • CMCA
  • Yarmouth Art Festival

Raw to Refined ... Vermont Black Champlain Marble

2/27/2013

0 Comments

 
       One of the things that I like about carving in stone is the final revelation of the stone's color once the form has been shaped and the desired surface quality has been achieved. 
Picture
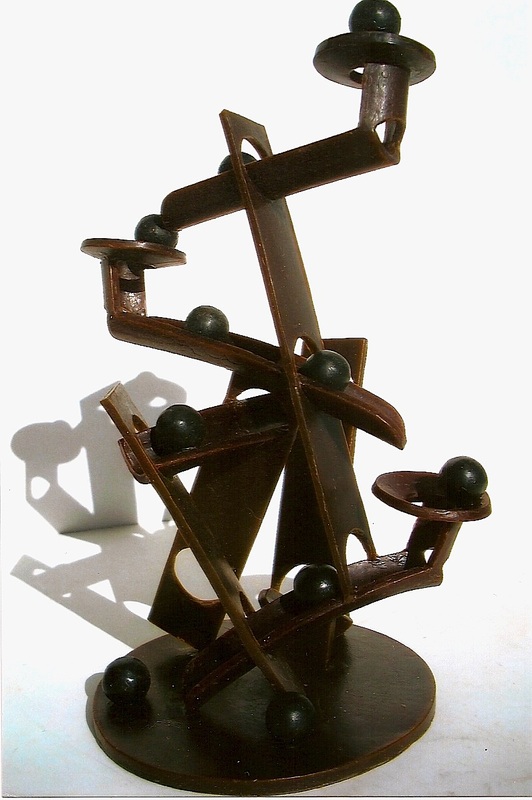
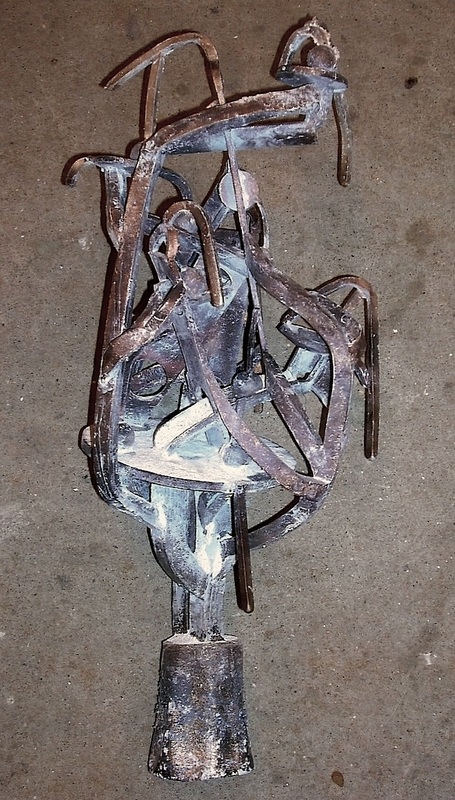
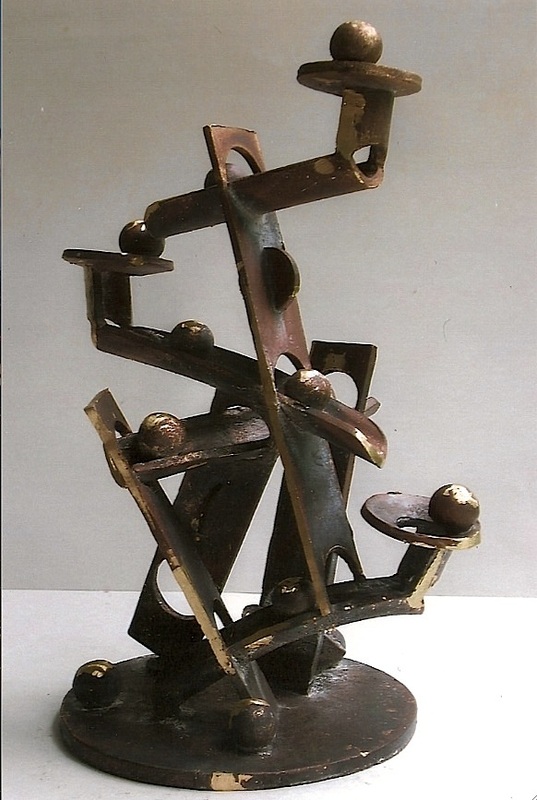
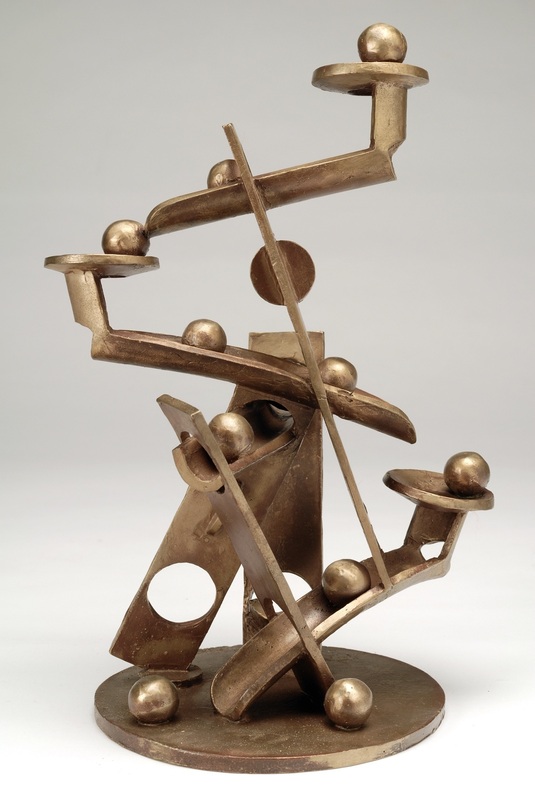
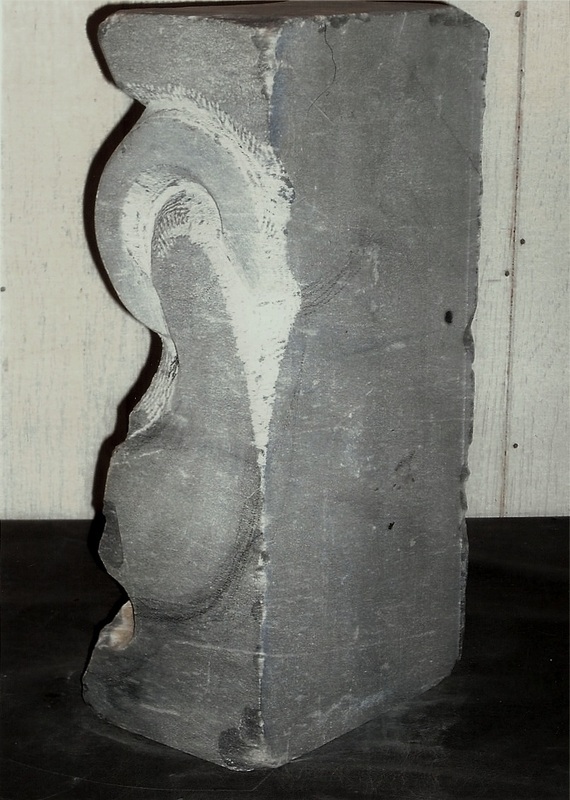
...beginning to shape Black Champlain marble block
Picture
Picture
Picture
Picture
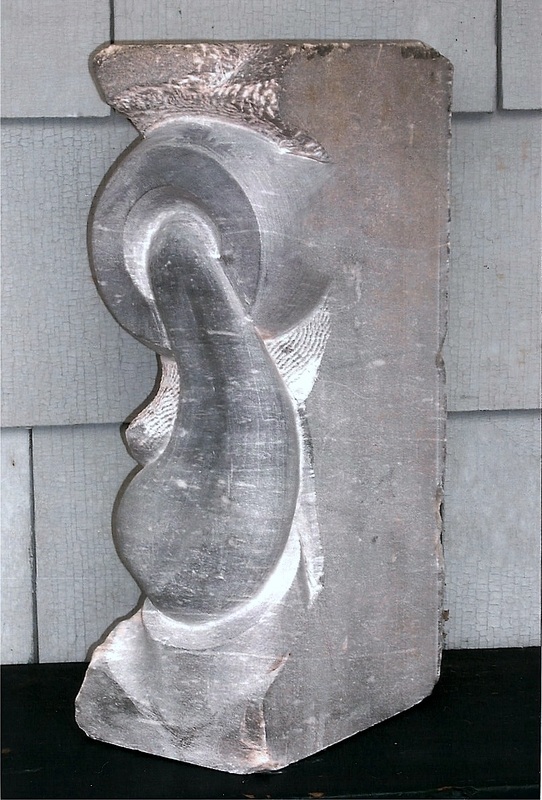
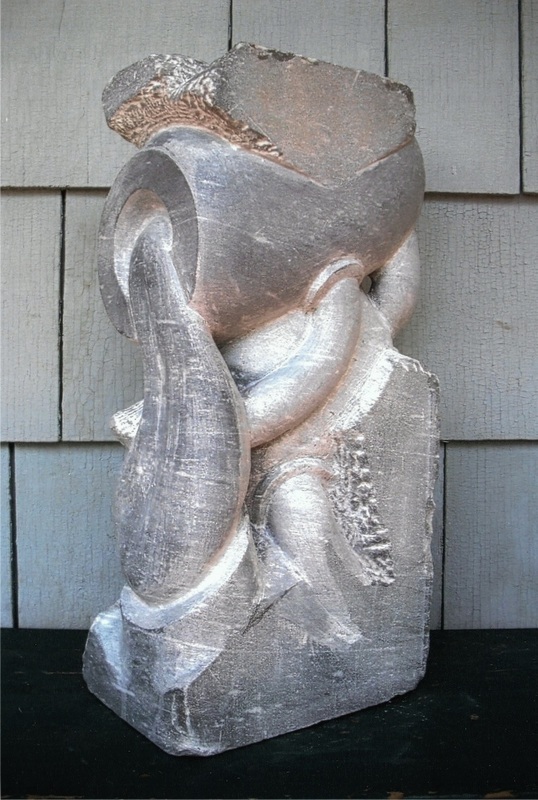
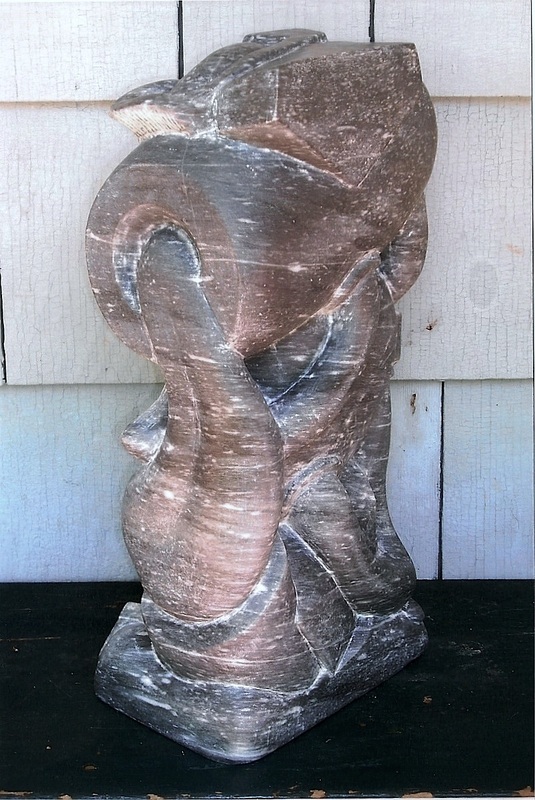
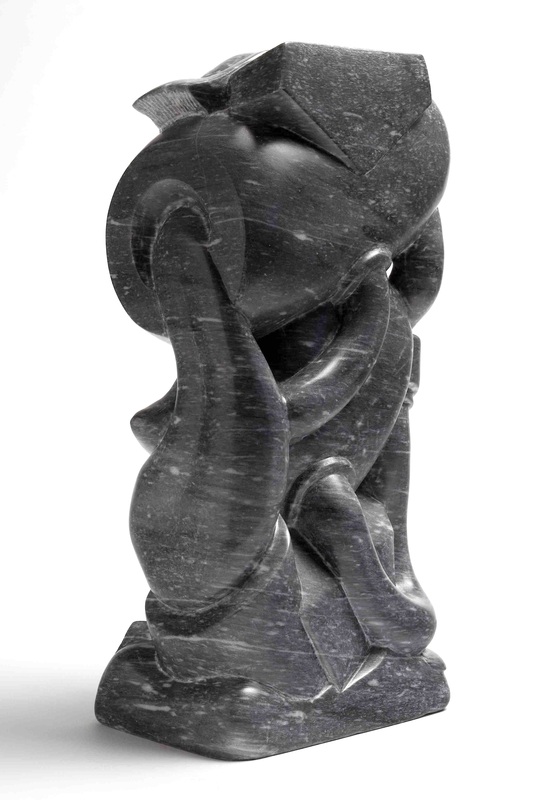
'Synthesis' ... 17 1/4 " h .... Vt. B.C. marble
     The piece of Vermont Black Champlain marble that I eventually made into the sculpture titled 'Synthesis', came from The Carving Studio and Sculpture Center in Rutland, Vermont. The stone started out looking a bit like a battered piece of cinderblock. It was several shades of dirty dull grey and had a variety of chips and dings on its edges. Some of the surface scars and chips prompted me to envision and carve the large slanted cylinder at the top of the piece, with a tongue-like flowing shape emerging from the opening at the lower end of the cylinder. I then carved four curving tubes to connect different parts of the piece and create a visual flow around all four sides. Once I finished carving the form, I sanded the surface with descending grades of wet/dry sandpaper, from 200 grit down to 1000 grit. The color of the marble got darker and darker, and the light grey spots and striations became more pronounced, as I progressed to the higher grits of sandpaper. I sealed the piece with Saw-Sheen (from the Granite City Tool Company) which further brought out the color in the sculpture. The process makes you feel a bit like you are Henry Higgins in Pygmalion with an Eliza Doolittle made of marble.

*See additional stone sculptures made of soapstone, alabaster and marble in the Sculptue and Slideshow sections of this website.

0 Comments

Feet of Clay ... Separated by Millenniums

2/15/2013

0 Comments


Picture
Ceramic footed 'Tongue Chair' ... 1971


Picture


Picture
    Recently I was sorting through a stack of folders containing papers and letters that had accumulated over the years, and came across a Metropolitan Museum of Art gift flyer that my mother had sent to me in 1976. She had noticed a similarity between one of the items pictured in the mailing and a clay piece I had done 5 years previously. The piece in the catalogue was a reproduction of a ceramic Egyptian Predynastic 'footed' bowl from the Metropolitan Museum's collection.
     I had never seen the Museum's bowl, but the similarities to my own piece were obvious... the position of the feet beneath the bowl, the size relationship of the feet to the bowl, and the angle of the bowl. Certainly there are differences... in color and size ( the 'Tongue Chair' is 10" tall and the Egytpian bowl is just under 4" tall), and my piece has the added elements of hands and the nose and tongue, but the parallels between them make me wonder if I might have been an artisan for a pharaoh in a previous life long ago - although, truthfully, I'm not not sold on the concept of reincarnation, and 1971 sure seems like a lifetime ago.

Picture
MMA gift catalogue from 1976


Picture
Egyptian footed bowl ..... circa 4000-3600 B.C.


Picture
Reproduction Egyptian footed bowl
0 Comments

Bronze Casting ... Lost Wax, the Process

2/6/2013

0 Comments

 
Picture
          ...original wax


Picture
             ...gated
      I am often asked "How did you do that?" when it comes to bronze casting. It always makes it easier to explain if I happen to have some pictures handy. In the case of my sculpture "Chutes n' Balls", the original piece was made out of Victory Brown microcrystalline wax. I used red wax to create the gating system and pour cup that would eventually serve to allow the hot bronze to flow in through the mold that I would make of the piece and provide a channel for the air and gases to escape. The gated piece was attached to a base board and surrounded by a flask (sleeve) made of chicken wire covered with tarpaper to make a container for the mold. Investment (mold) material made up of sand, plaster and silica in a 2:2:1 ratio, was mixed with water and poured into the flask.
     After the the invested mold hardened, it was fired in a kiln for approximately 30 hours to burn out all of the wax, leaving empty spaces where the piece and the gating once were, and drying the mold. The mold was then placed inside a wooden frame
and damp sand was packed tightly in around it to keep the heat in and to help hold the mold together during the pour. The hot bronze was poured into the piece through the pour cup at the top of the mold, filling all of the empty spaces in the mold. The next day the mold was broken open and the cast bronze, including the piece, the gating and the pour cup, were removed. The next step was to cut off all of the gating and the cup and then to chase the surface with files, chisels and Dremel tools to remove any imperfections. Finally the piece was cleaned with a brass wire brush drill attachment and sealed with Butcher's wax.
              It's a lot of work, but so worth it in the end.
                               
                                *Additional images of 'Chutes n' Balls' can be found in the Sculpture 
                              & Slideshow sections of this website.
Picture
 ...poured, gates & cup attached
Picture
       ...gates & cup removed
Picture
         ...chased & cleaned
0 Comments

    Author

    Cynthia Smith, Maine artist, originally from Connecticut. Taught art at secondary level for 35 years, retired in 2004. Sculpts in bronze, wood, stone, clay & plaster. Her work can be seen at several mid-coast Maine galleries and shows.

    Picture

    RSS Feed

    Archives

    February 2023
    October 2022
    May 2022
    December 2021
    October 2021
    June 2021
    May 2021
    April 2021
    March 2021
    October 2020
    August 2020
    July 2020
    June 2020
    January 2020
    October 2019
    September 2019
    August 2019
    July 2019
    June 2019
    May 2019
    April 2019
    February 2019
    January 2019
    November 2018
    October 2018
    September 2018
    August 2018
    July 2018
    June 2018
    May 2018
    April 2018
    March 2018
    February 2018
    January 2018
    November 2017
    September 2017
    August 2017
    July 2017
    June 2017
    May 2017
    March 2017
    January 2017
    September 2016
    August 2016
    July 2016
    June 2016
    May 2016
    April 2016
    March 2016
    February 2016
    January 2016
    December 2015
    November 2015
    October 2015
    September 2015
    August 2015
    June 2015
    April 2015
    March 2015
    February 2015
    January 2015
    December 2014
    November 2014
    October 2014
    September 2014
    August 2014
    July 2014
    June 2014
    May 2014
    April 2014
    March 2014
    February 2014
    January 2014
    December 2013
    November 2013
    October 2013
    September 2013
    August 2013
    July 2013
    June 2013
    May 2013
    April 2013
    March 2013
    February 2013
    January 2013
    December 2012
    November 2012
    October 2012
    September 2012
    August 2012

Powered by Create your own unique website with customizable templates.