 |  | 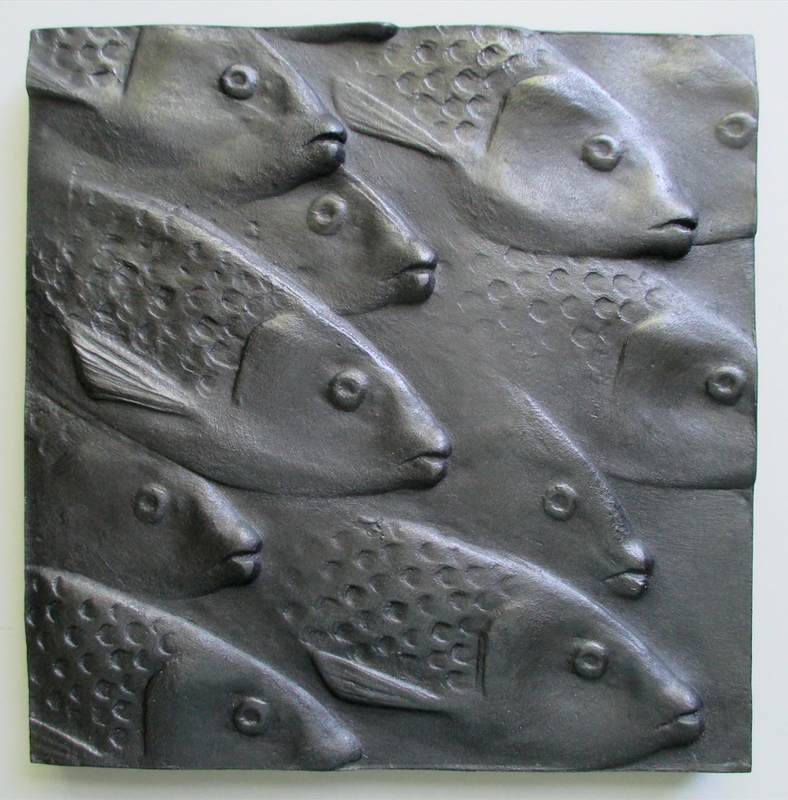 | 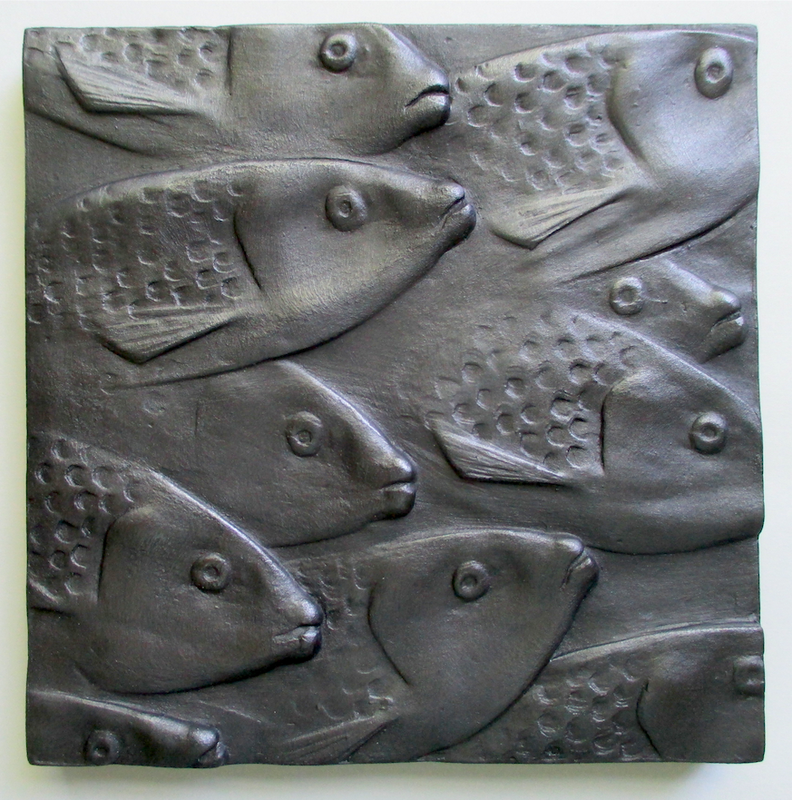 |
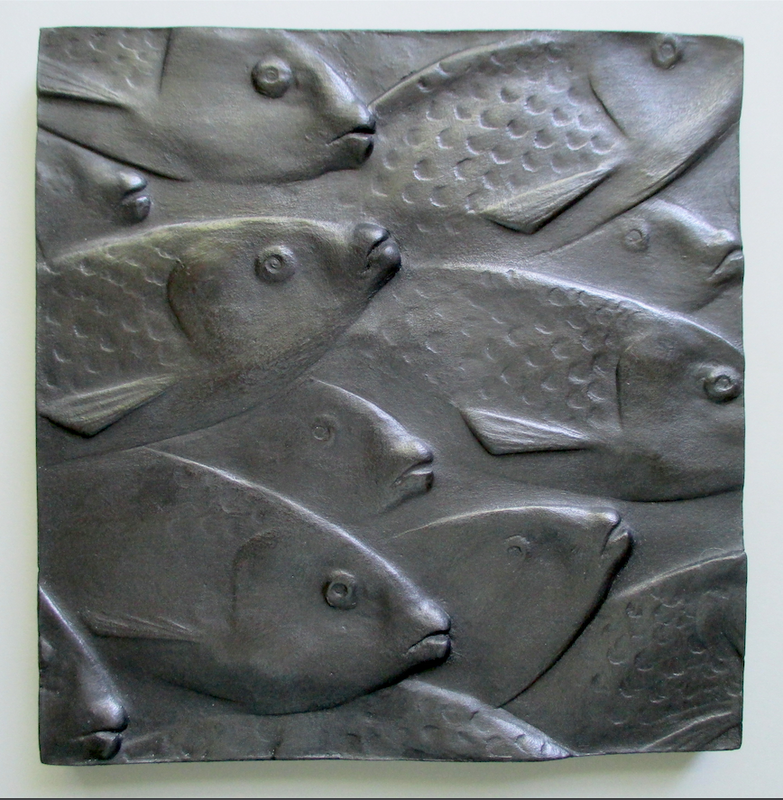
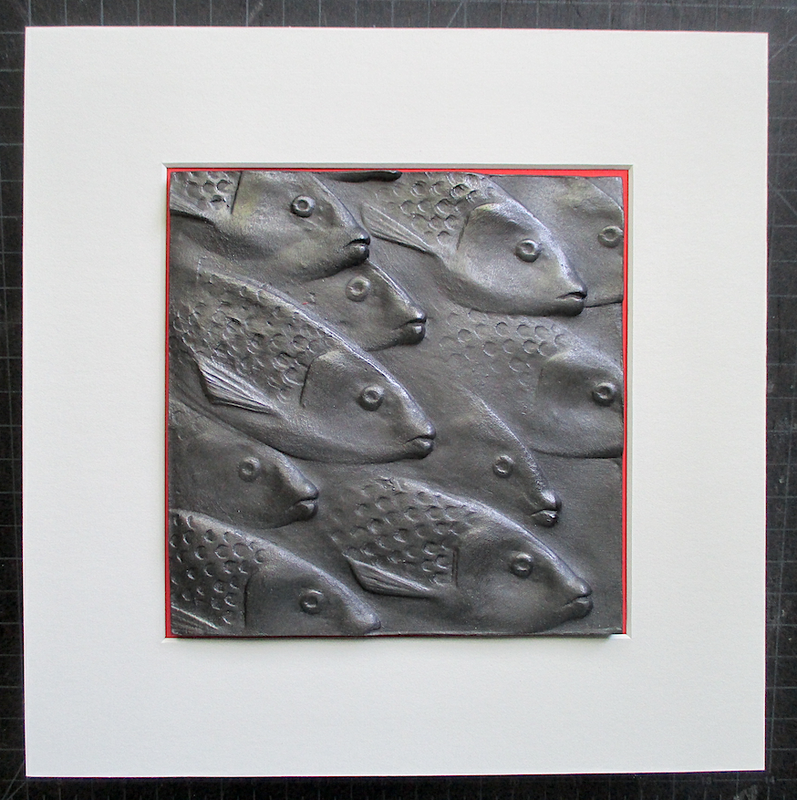
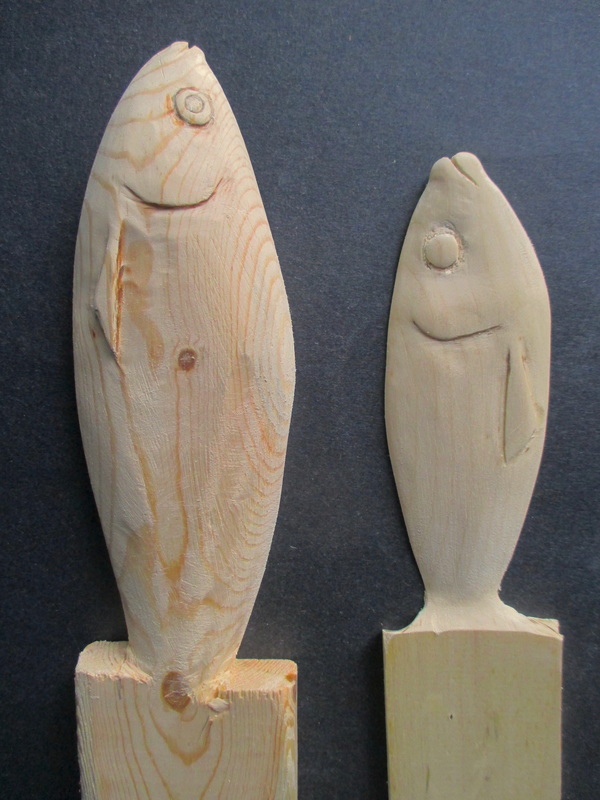
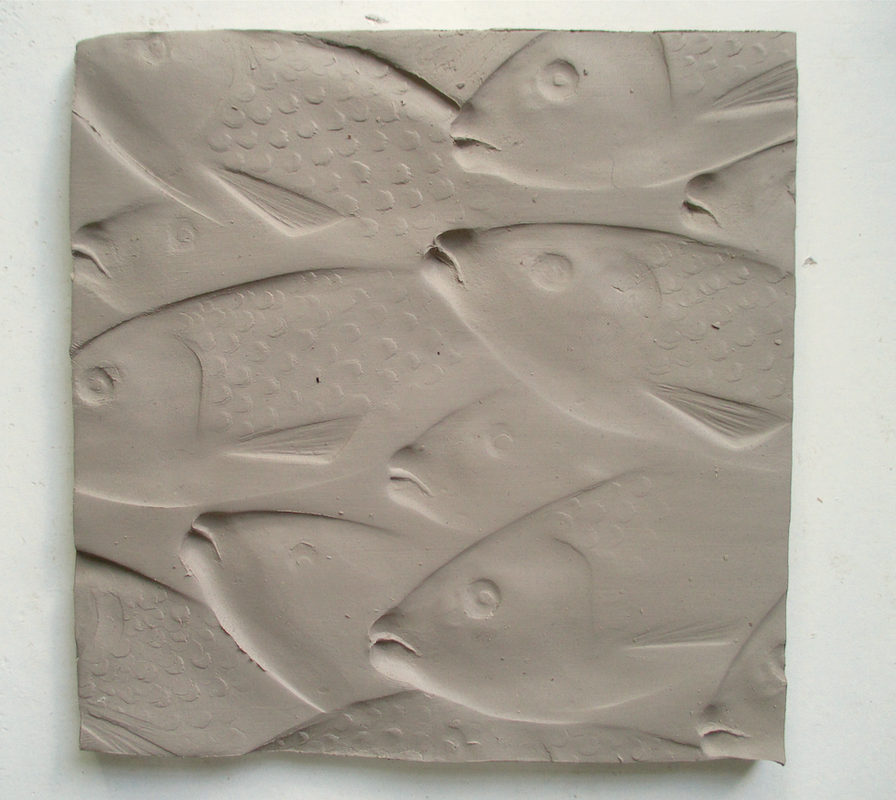
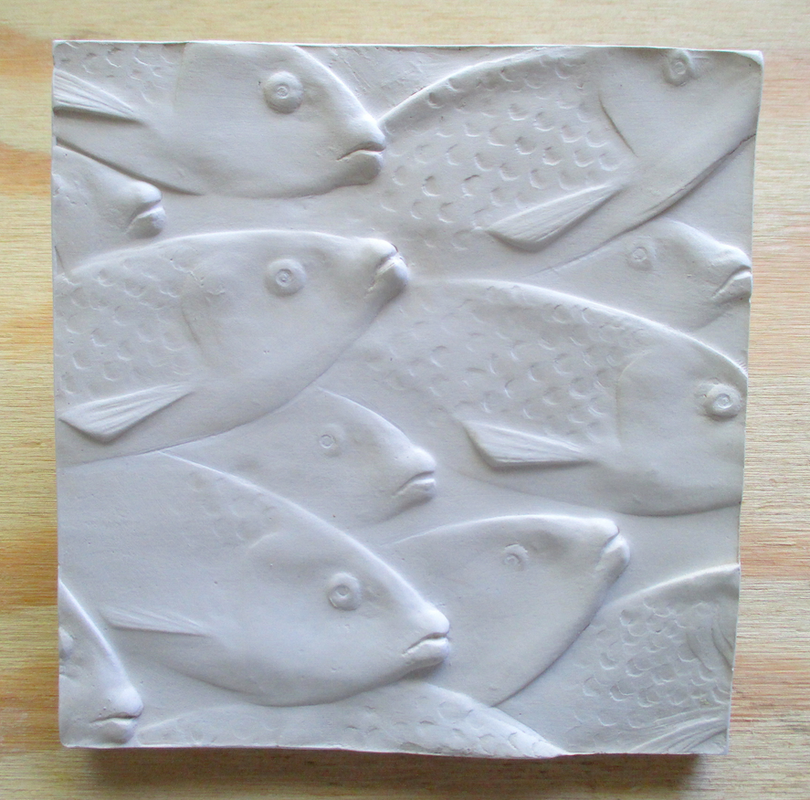
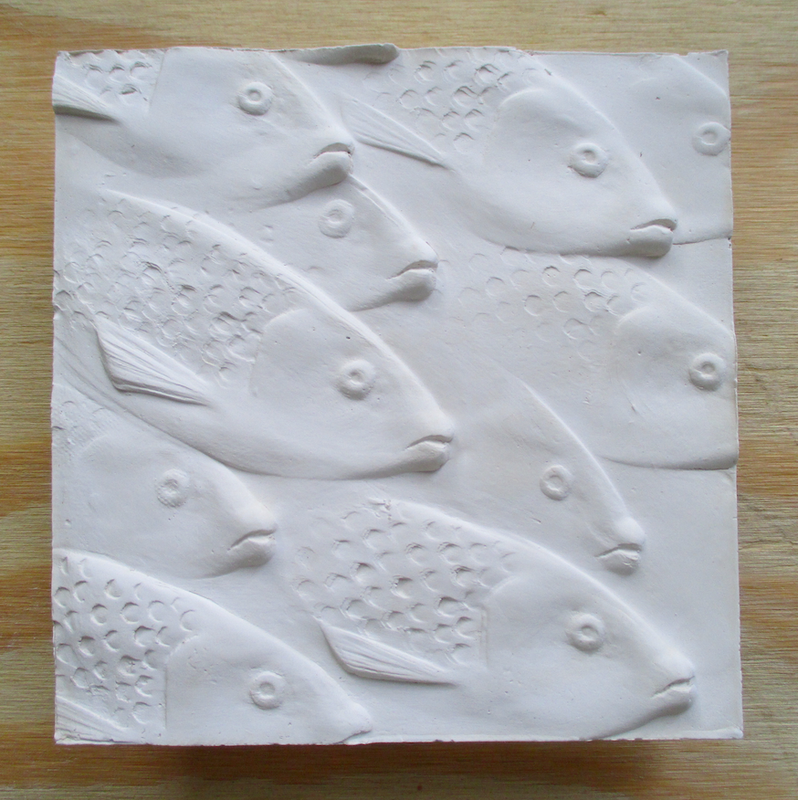
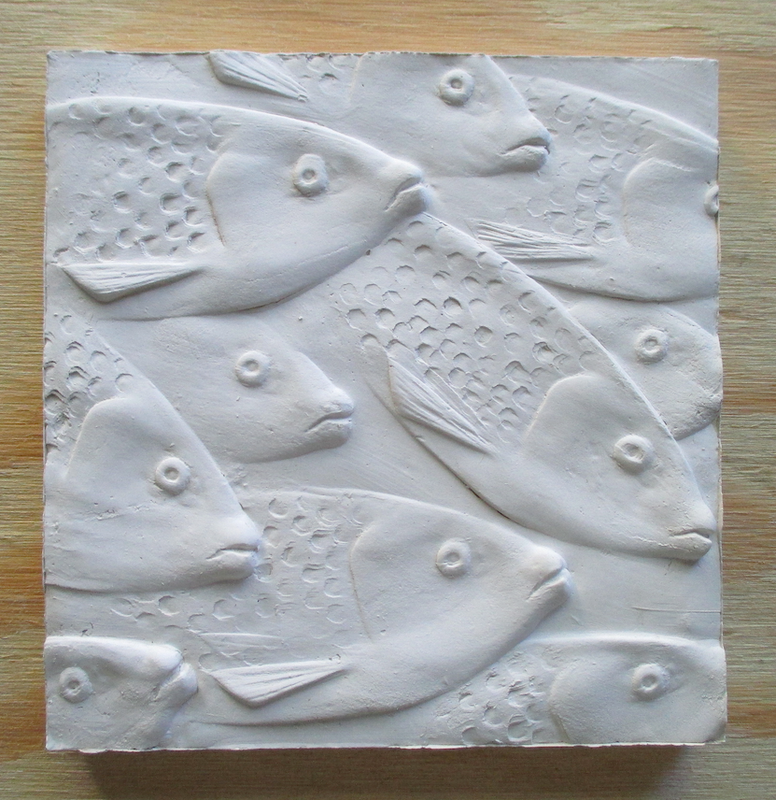
I ended up making four plaster casts using the wooden fish relief template described in my last blog entry. I smoothed the outside edges of each cast, and refined or repaired a few minor casting blemishes. After thoroughly drying the casts (I often put them in my oven for an hour or so at about 200 degrees to make sure they are bone dry), I used a small flat stiff brush to apply a coat of Golden's Graphite Gray acrylic paint to the top surface and sides of each relief. Once the paint was dry, I rubbed the surface of each relief with a soft paper towel to bring out the graphite on the raised surfaces and textures. The reliefs were then ready for matting.
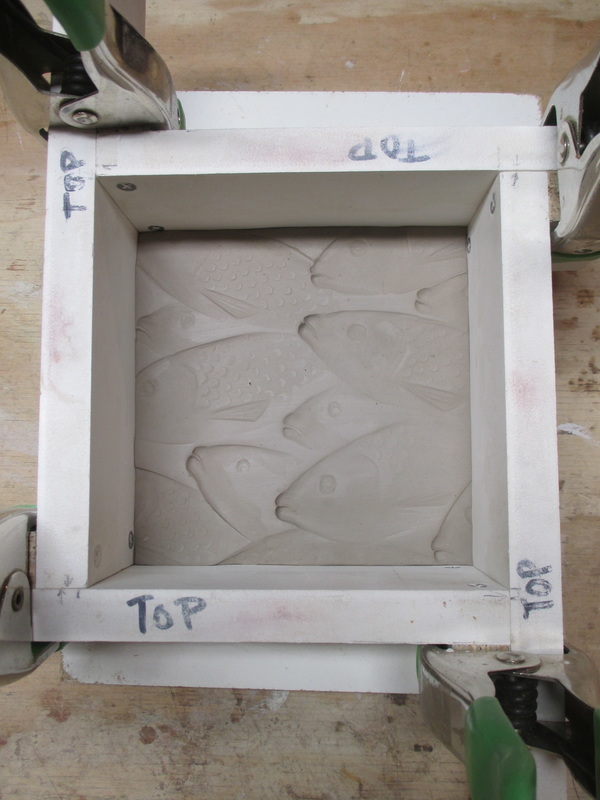
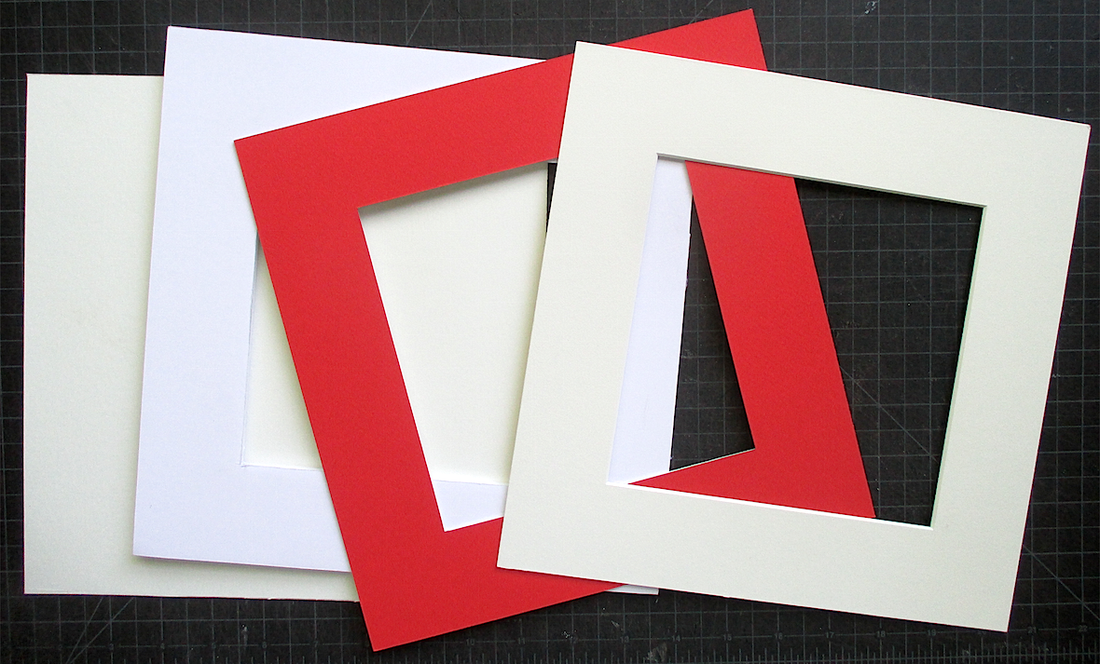 mat backboard, foamcore board, interior mat, & exterior mat 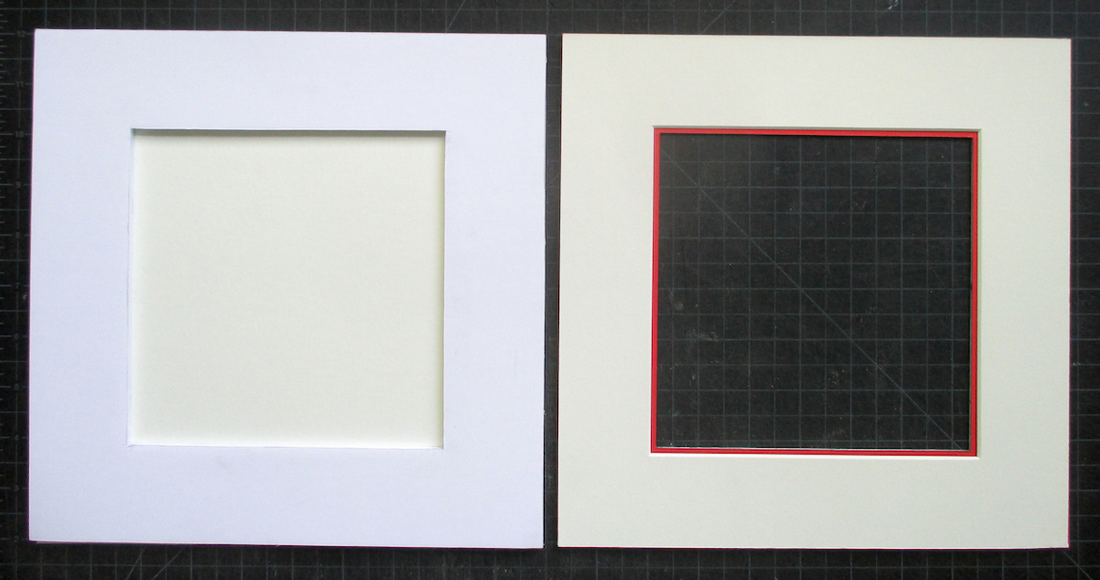 foamcore on backboard & interior mat attached to exterior mat | The first step was to select the two reliefs that I would be submitting to the upcoming Brunswick10x10 Show, and then to prepare the materials required to mount and mat them. Each relief needed 10" x10" pieces of each of four different materials... matboard to serve as a backing board, 1/4" foamcore board for securing the relief to the backboard, and red and white matboards for the final double mat. Once the various boards were cut to the correct size, I measured the outer edge of each relief and cut corresponding openings in the foamcore boards and red mats. I cut beveled openings in the white mats that were 3/16" wider on each side than the openings in the red mats. I was then ready to assemble the various layers and secure the reliefs. |
The first step in the mat assembly process was to use Neutral pH Adhesive (it is quick drying and holds tightly) to adhere the foamcore to the backboard, and the red matboard to the white matboard. I used a two-part 5 Minute Epoxy to adhere the reliefs to their respective backboards in the foamcore opening space. The final step was to adhere the outer mats to the foamcore, again using the Neutral pH adhesive. Mission accomplished! The two pieces were delivered to Brunswick where they will be placed into the official 10"x10' frames to await the pre-show viewing on Sept. 24th and sale night on Sept.25th.
 Headed For Home | 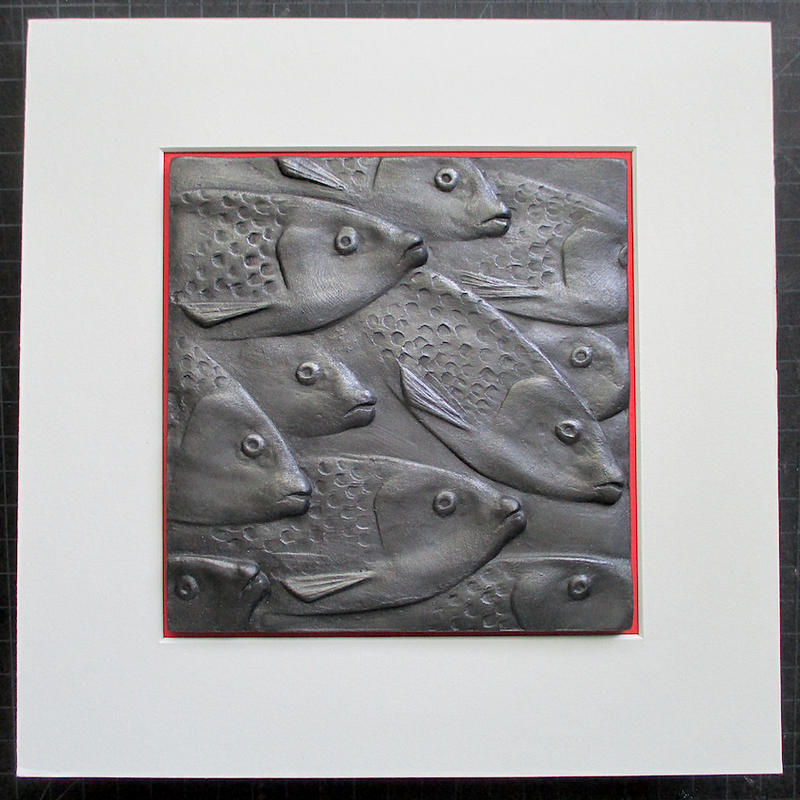 Waiting For Godot |
*The 10x10Brunswick art exhibit and sale features 300 works of art by 150 Maine artists and benefits the nonprofit organization Art Are Elementary that provides artist-in-residence experiences to all Brunswick K-5 students. Artwork will be available for online preview prior to the sale at 10x10brunswick.org.

 RSS Feed