C.V.SmithARTWORKS
  • Home
  • Blog
  • Sculptures
    • Bronze
    • Clay / Apoxie Clay
    • Plaster
    • Wood
    • Stone
    • SLIDESHOW
  • Galleries
  • Contact
  • Book
  • River Arts
  • BRAF
  • Saltwater Artists
  • CMCA
  • Yarmouth Art Festival

Another Themed Art Show ... Oh, Buoy!!

7/25/2016

0 Comments

 
Picture
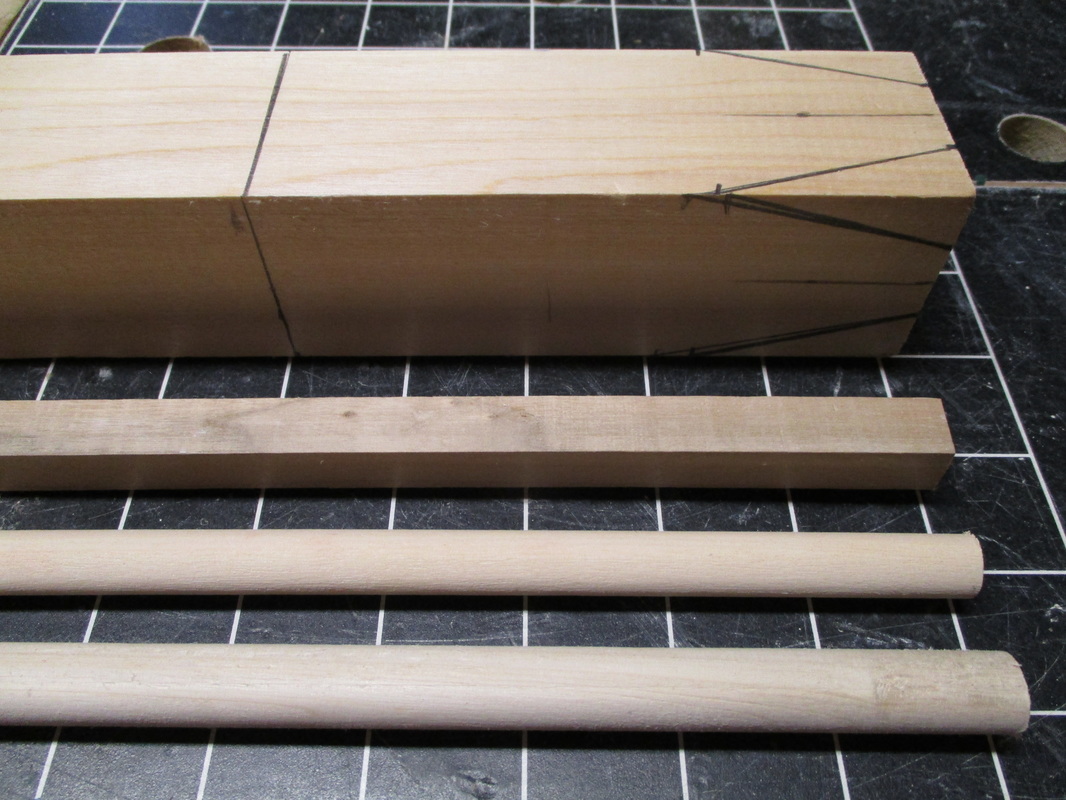
The basics ...2"x2" wood & dowels
Picture
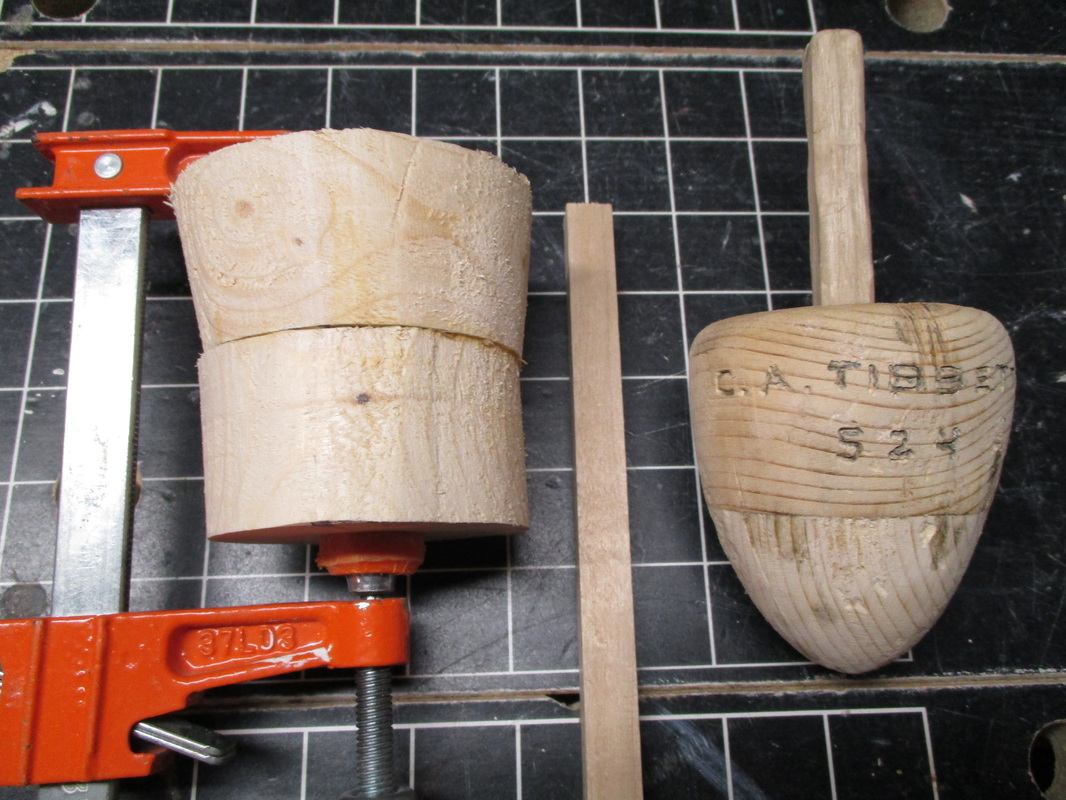
Gluing wood for rounded buoys
Picture
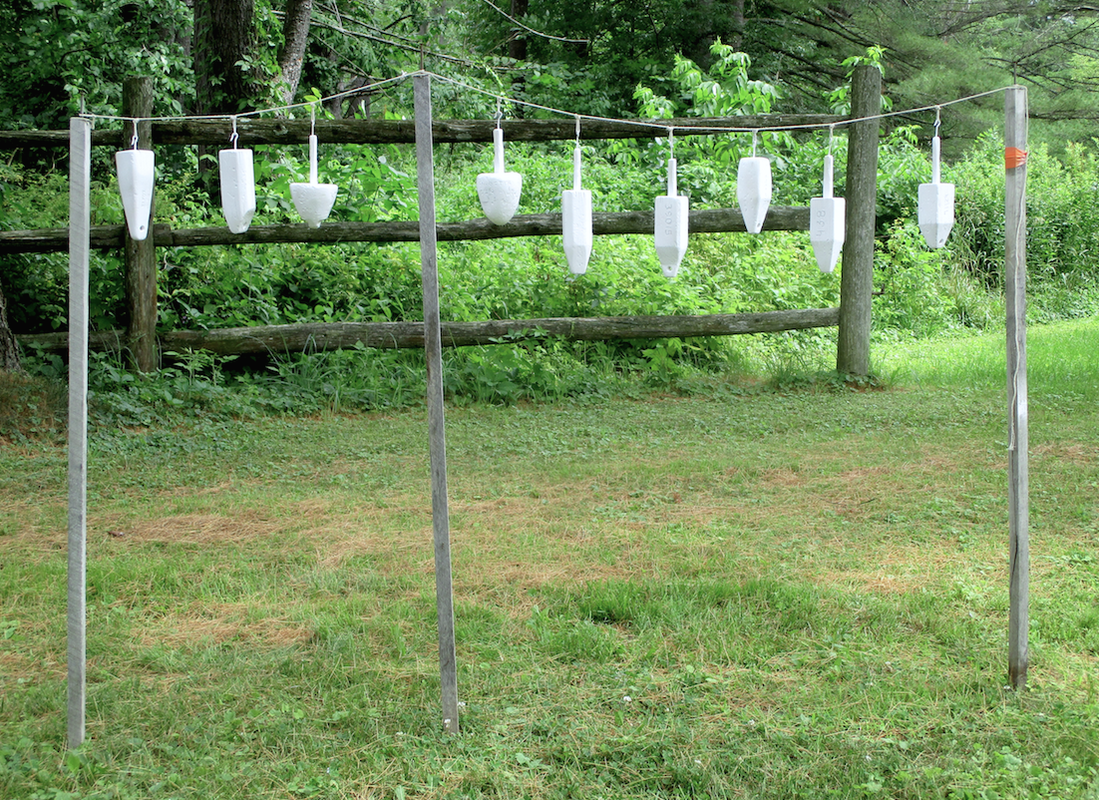
Spraying undercoatings on buoys
Picture
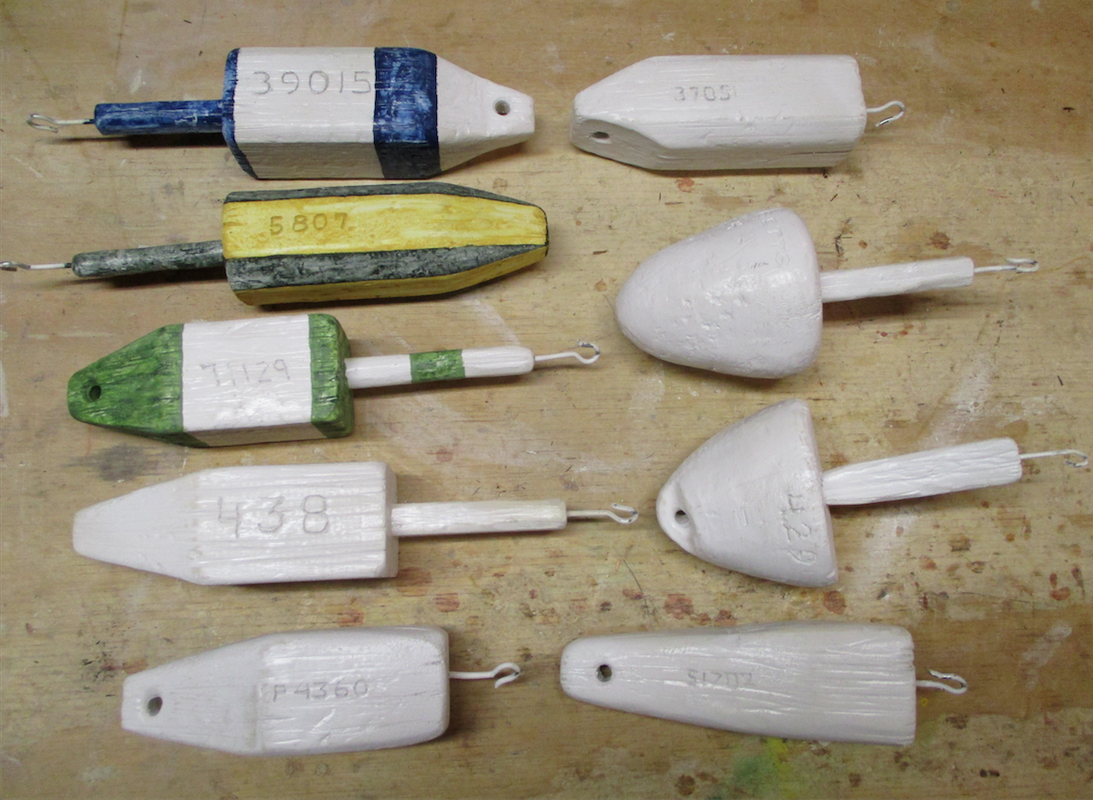
Starting to paint colors
Picture
Painted, aged, and polyed
Picture
Driftwood
Picture
Lightening the load
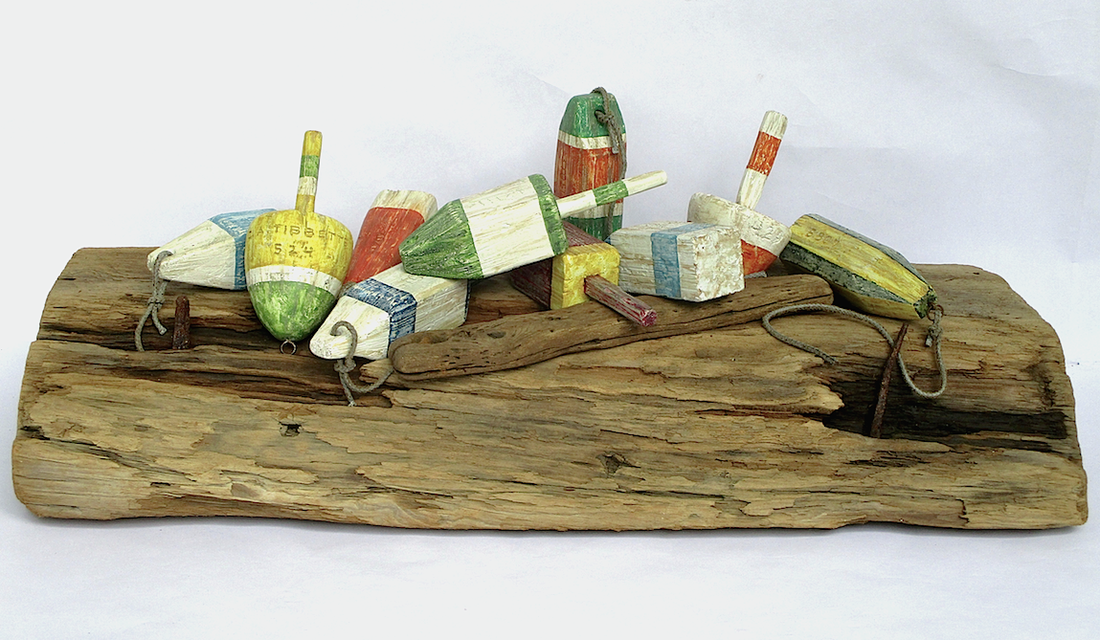
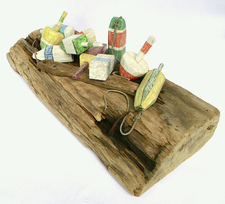
    At various times in past blog postings I have mentioned my love/hate relationship with themed art shows. I generally find that my sculptures don't tend to fit into the theme topics, so if I want to participate, I have to think outside "my box". That is how my latest piece came to be created. "Maine" was the theme for the August show at River Arts Gallery in Damariscotta, and, after a bit of "cogitating", I had a "bingo" moment ... lobster pot buoys! They vary in size, shape and color, and could be stacked, piled or arranged in a sculptural form. I was off and running!
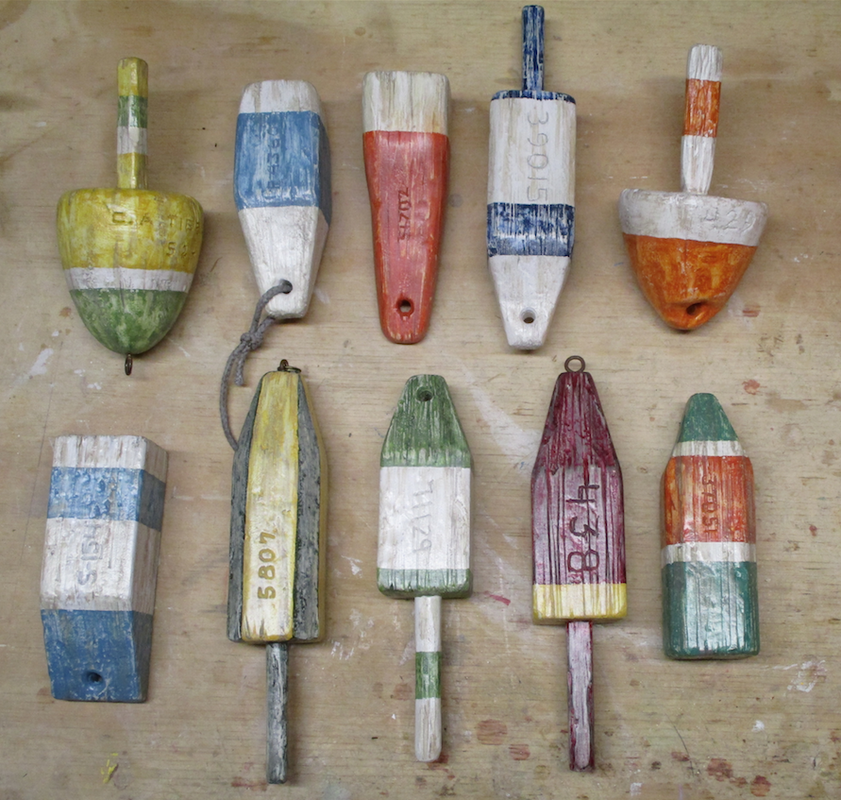
    After googling pot buoys to come up with some examples of shapes and color patterns, I got some wooden dowels of different diameters and a couple of pieces of 2"x2" x36" and began construction. I made the main bodies of 8 buoys that were each 4" - 5 1/2" long out of the 2"x2" wood. I cut the "nose" ends of each buoy at different angles and used a draw knife to alter the corner edges to create different shape profiles. I added handles to some, using either round or square dowels of different lengths and diameters. I also made 2 
additional pot buoys by gluing 2 pieces of 2"x4" cut into circles, and then tapering and shaping them into "acorn" shapes. I finished off construction by drilling holes and adding various identification numbers to each buoy with a Dremel engraver.
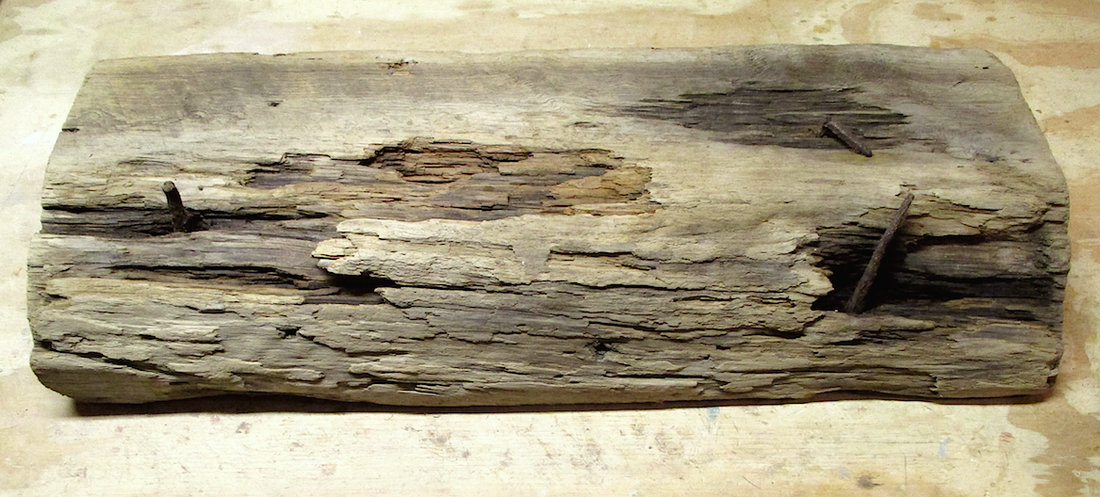
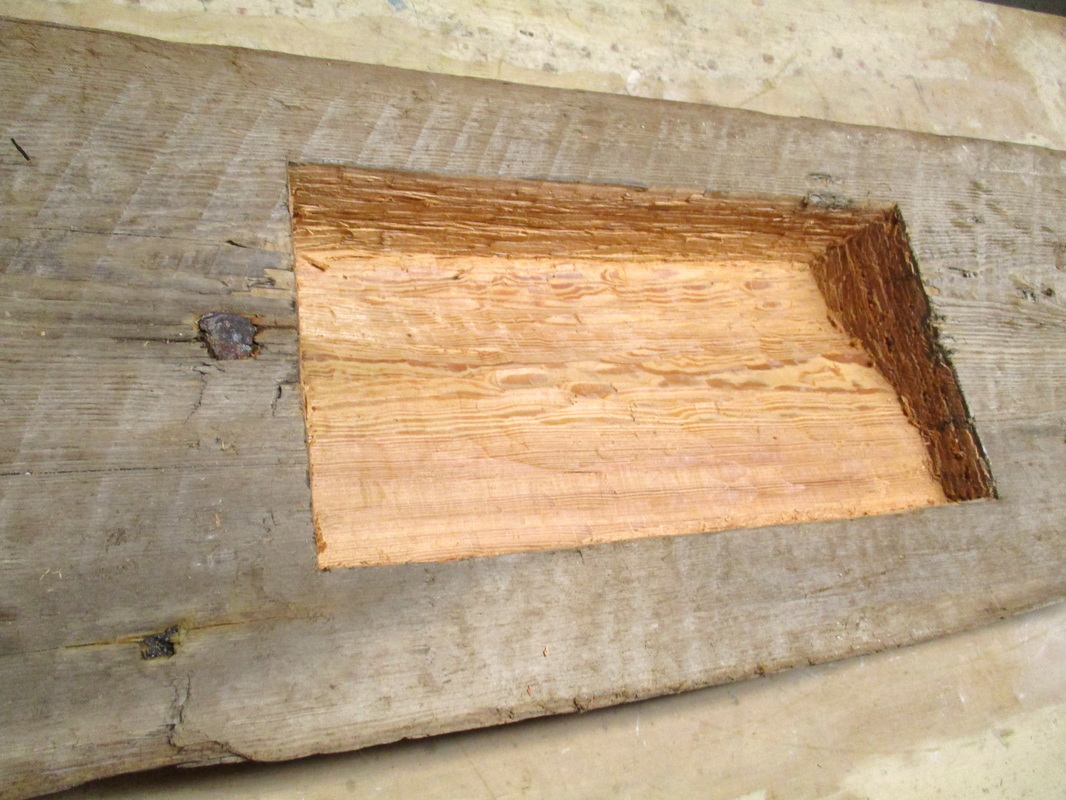
   As the buoys took shape, and I considered possible options for creating a 3-dimensional composition with the buoys, I had another "bingo" moment. A friend had given me an interesting piece of driftwood earlier in the summer. It appeared to be a section of a large timber beam. It was about 28" long, 8" deep and 5" high and had portions of 3 rusty spikes protruding from the top surface. The perfect weathered base. (It was quite heavy, so I decided to remove some wood from the underside to "lighten the load".)
    The next step was to to paint the buoys. I attached a small screwhook to each buoy and hung them on a line outdoors. I spray painted them with a layer of white primer, then a layer of grey and finished with another layer of white. (I knew I would be "aging" the buoys and wanted a sturdy base coat under the top layers of color.) After painting each of the 10 buoys with a different color combination, I "aged" them 
by banging them against a rough piece of stone, scoring the flat surfaces with the teeth of a metal comb, and lightly sanding them to give the paint a worn look. After sealing them with satin polyurethane, I began the task of assembling the piece.
   The first order of business was to determine how the buoys would be arranged on the top of the piece of timber. I decided that it needed something to add interest to the angles of the 
composition. I had a piece of a well-worn wooden slat that had been part of a wooden lobster trap... perfect addition! Before beginning the process of attaching the buoys to the timber, I created some "old" lines to attach to some of the buoys to add texture and direction to the arrangement. I stained some lengths of cord dark brown, spray painted them grey, and then used sandpaper to rough up the surface and create color variations. I drilled holes in the buoys at the point that needed to be attached to the beam (or another buoy), inserted a short length of wooden dowel with wood glue, then drilled a hole in the appropriate spot on the beam where the buoy needed to be attached. Once the buoys were glued into place, I glued the various lines into place  and ...oh buoy! It  was done!
Picture
Picture
                                                                                    Ol' Buoys Club
0 Comments

Welded, Patinaed, Mounted ... Fish Are Up and Swimming

7/11/2016

0 Comments

 
Picture
Fish welded
Picture
Strips patinaed
Picture
Ready to spray lacquer
Picture
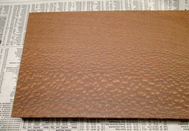
Leopardwood
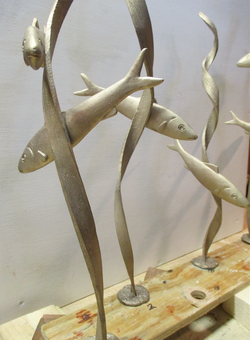
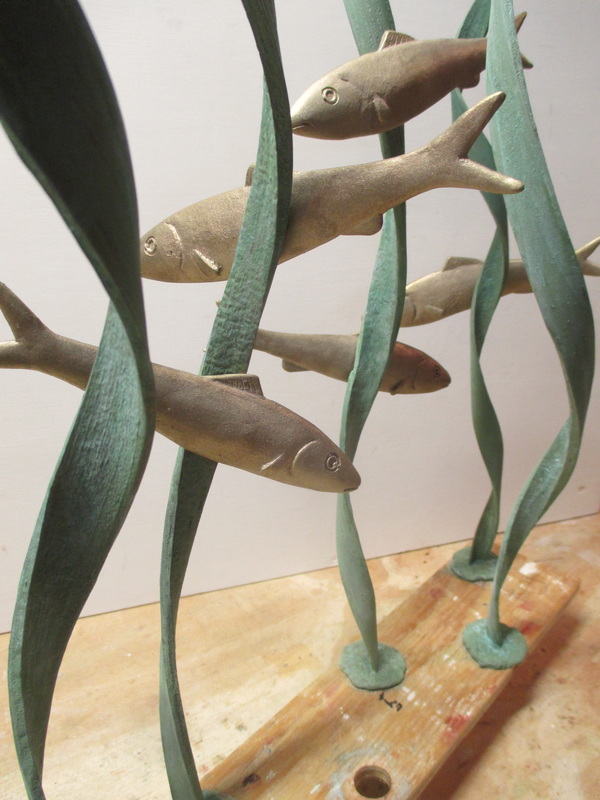
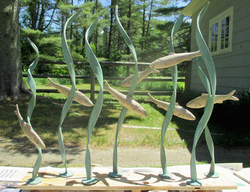
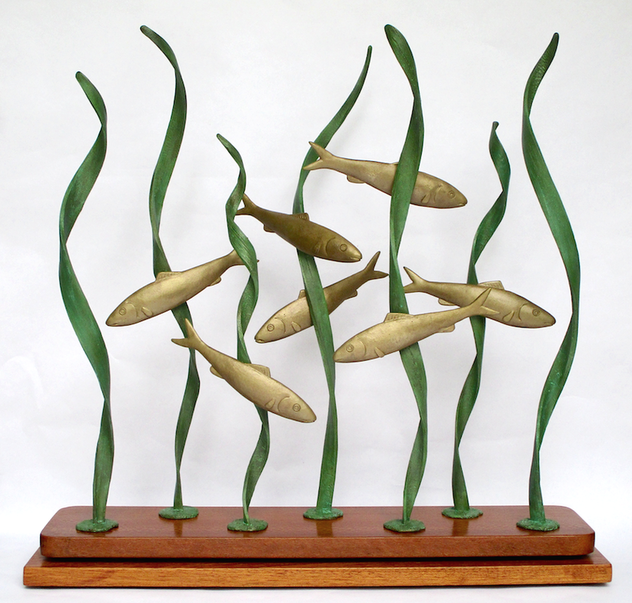
    The fish story continues!​  After getting the fish successfully welded into place on the curly strips, I used a tap & die to create a threaded hole in bottom of each strip base to accommodate the threaded rods that would be used to attach the strips to the sculpture base. I then moved on to the task of deciding how I wanted to finish the bronze elements. My inclination was to leave the fish a natural bronze and use a patina on the strips. I tested three different shades of green cold patinas that I had purchased online from Sculpt Nouveau (Tiffany, Jade, and Mint) - I decided on the Tiffany. I carefully applied 2 coats of the patina with a brush to each strip, taking special care not to get the patina on the fish in the areas near the welds. I then sealed the fish and strips with satin spray lacquer.
     The final step was to make the base for the sculpture. I found a nice piece of 
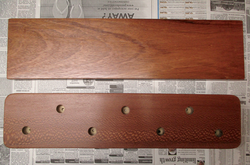
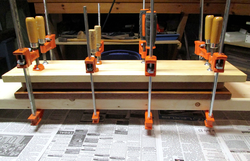
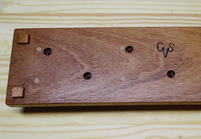
leopardwood at the ​Rockler Woodworking store in Portland. It had a great grain pattern that looked like pebbly sand. I also got a piece of Brazilian cherry that I thought would go well with the leopardwood as the bottom level of the base. I rounded the corners of the leopardwood, left the cherry square, and then sanded both pieces of wood. After drilling the holes need to insert the bronzes into the leopardwood, I applied 3 coats of satin polyurethane to both boards. The assembly of the base involved gluing the two pieces of wood together with a 1/4" ash board sandwiched in-between them to give the base a bit of height and separation. The ash board was smaller than the leopardwood board, and its edges had been darkened with a walnut stain so it wouldn't show. I also used wood screws to hold the boards together, covering the screw heads with wooden plugs. Holes were then drilled through the ash and cherry layers of the base for the threaded rods, with larger holes on the bottom to allow the nuts and washers to be recessed. I also added small wooden "legs" on the underside corners to elevate the base. All that was left was to attach the bronze elements to the base - and, presto! ...the fish are up and swimming!  
Picture
Holes drilled, polyeurethane applied
Picture
Gluing base boards
Picture
Underside of base
​
Picture
Lucky Seven - 22" h x 23" w x 6" d
Note: Lucky Seven was juried into CREATE V, the fifth annual Continuing Studies Exhibition at the Maine College of Art in Portland. The exhibition will be on view from September 1 - 26, 2016.
A reception will be held on Thursday, September 1st from 5-7 PM.

0 Comments

    Author

    Cynthia Smith, Maine artist, originally from Connecticut. Taught art at secondary level for 35 years, retired in 2004. Sculpts in bronze, wood, stone, clay & plaster. Her work can be seen at several mid-coast Maine galleries and shows.

    Picture

    RSS Feed

    Archives

    October 2022
    May 2022
    December 2021
    October 2021
    June 2021
    May 2021
    April 2021
    March 2021
    October 2020
    August 2020
    July 2020
    June 2020
    January 2020
    October 2019
    September 2019
    August 2019
    July 2019
    June 2019
    May 2019
    April 2019
    February 2019
    January 2019
    November 2018
    October 2018
    September 2018
    August 2018
    July 2018
    June 2018
    May 2018
    April 2018
    March 2018
    February 2018
    January 2018
    November 2017
    September 2017
    August 2017
    July 2017
    June 2017
    May 2017
    March 2017
    January 2017
    September 2016
    August 2016
    July 2016
    June 2016
    May 2016
    April 2016
    March 2016
    February 2016
    January 2016
    December 2015
    November 2015
    October 2015
    September 2015
    August 2015
    June 2015
    April 2015
    March 2015
    February 2015
    January 2015
    December 2014
    November 2014
    October 2014
    September 2014
    August 2014
    July 2014
    June 2014
    May 2014
    April 2014
    March 2014
    February 2014
    January 2014
    December 2013
    November 2013
    October 2013
    September 2013
    August 2013
    July 2013
    June 2013
    May 2013
    April 2013
    March 2013
    February 2013
    January 2013
    December 2012
    November 2012
    October 2012
    September 2012
    August 2012

Powered by Create your own unique website with customizable templates.