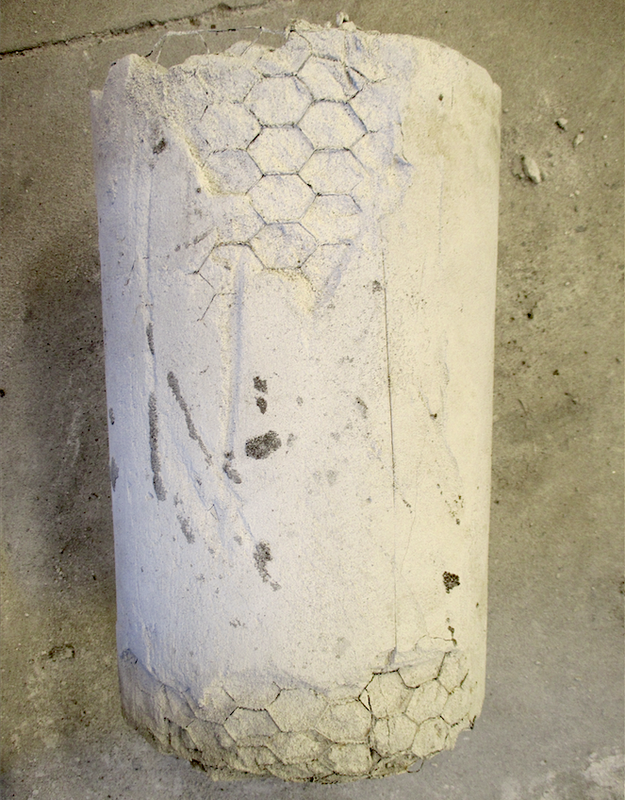
 Burned out 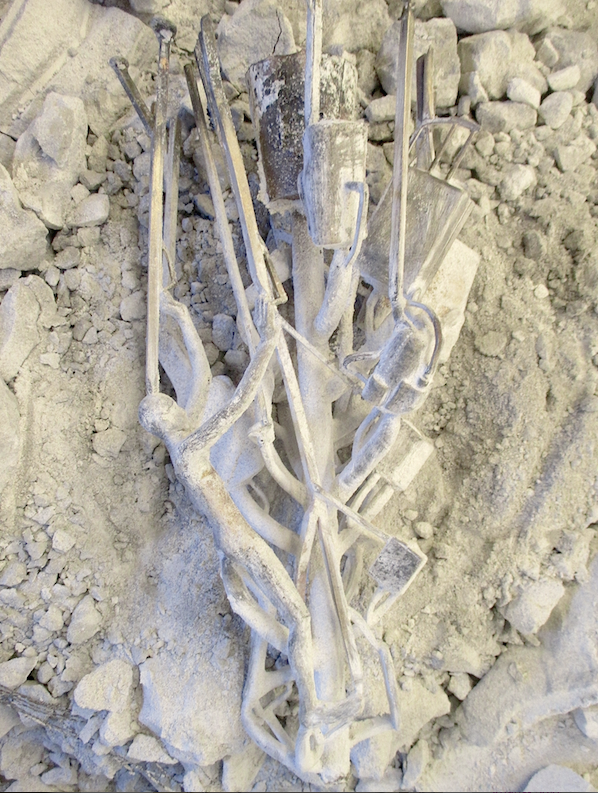 Broken out | It is always a bit of a relief to finally get your waxes safely encased in the investment mold. The investing process itself requires a bit of muscle, a dust mask, and a good ventilation system. The investment mixture is made up of 3 parts sand, 2 parts plaster, and 2 parts silica mixed with water. As a class we had to fill about two dozen mold flasks (a chicken wire cylinder surrounded by a cylinder of tarpaper) that varied in size from about one to three feet tall. An efficient mixing and pouring "bucket brigade" system allowed us to get through the process in a relatively timely fashion. Once the investment material set up, the layers of tarpaper were removed and the molds were loaded into the kiln for the 36 hour burnout. After burning out the wax, the empty molds were set up inside rectangular wooden flasks and damp sand was packed around them for insulation and to catch any spilled bronze. The heated bronze was then poured into the molds. Breaking open the molds after they cool is sort of like unwrapping a Christmas present - you don't know what you've gotten until you open it up. If the bronze wasn't hot enough or if you didn't vent properly, the bronze might not have made it all the way through the mold. Variations in wall thickness could cause the bronze to "crawl" from one area to another as the metal cools and shrinks, creating thin spots or sometimes even holes. All is revealed when the mold is opened. |
I had two molds in this pour. The first one that I opened contained the baggage and the figures that I wrote about in my blog postings for 1/24, 2/12. 3/10 & 3/30. After removing as much of the investment material as I could, I cut away most of the gating freeing up the objects. I beadblasted the individual pieces to remove the remaining investment, and then cut off the remaining small pieces of gating. Several pieces showed evidence of "crawling" and had to be repaired with the tig welder. The repairs were then chased, re-textured to match the surrounding surfaces, and given a final beadblasting. They now await application of patinas and mounting to bases. But first - I need to break open my second mold...stay tuned!
 Baggage - gating removed | 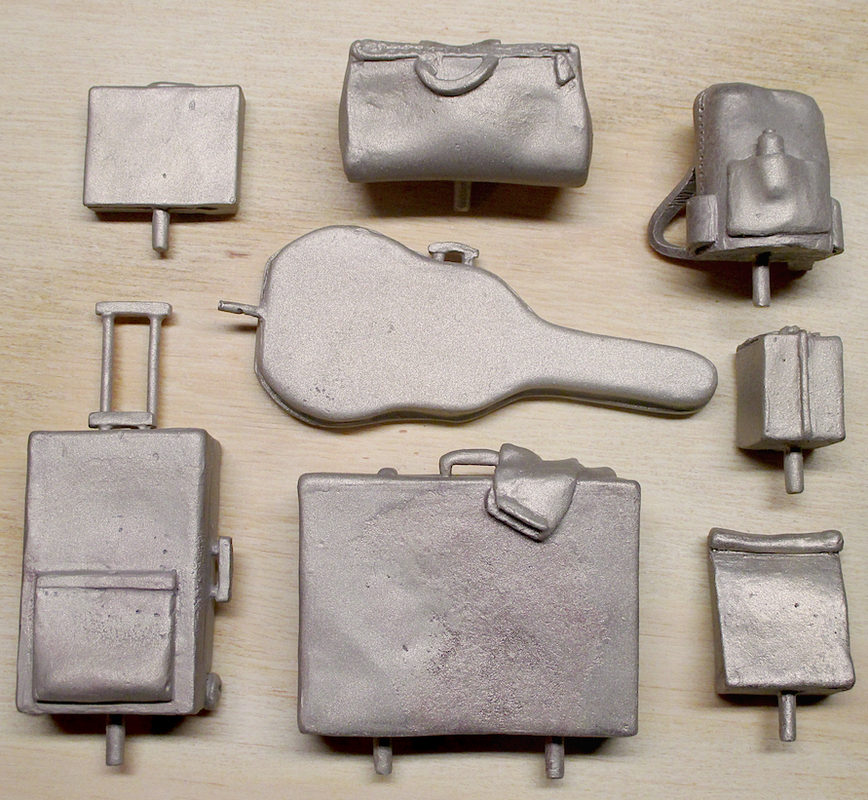 Repaired & beadblasted |
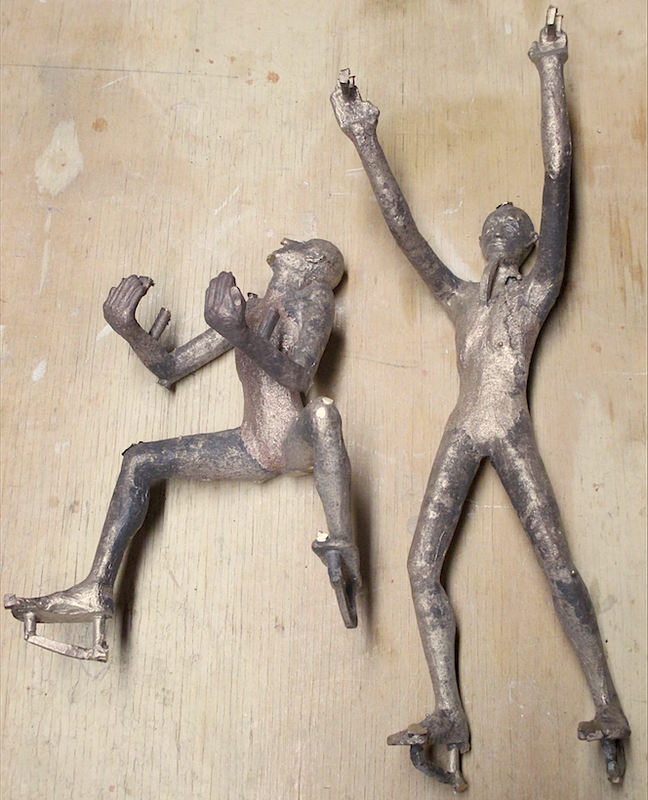 Figures - most of gating removed |  Repaired & beadblasted |

 RSS Feed