What's in a name? When you view a work of art, do you see it differently after you learn the title of the piece? Does the title influence the way you interpret the work - should it? Does the title simply serve to identify a specific piece, to allow the viewer to draw his or her own inferences, or is it a shared clue to the artists personal interpretation? There is no one answer. There are probably as many answers as artists!
 Starry Night |  The Scream | 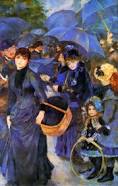 The Umbrellas | 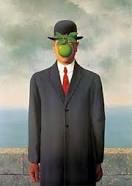 The Son of Man | 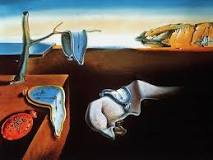 The Persistence of Memory |
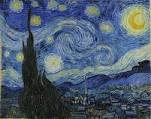
Some titles seem to be very obvious and straightforward... Starry Night by Vincent van Gogh, The Scream by Rene Magritte, The Umbrellas by Auguste Renoir... yet, if one is aware of some of the background of the work, a simple title can an interesting foil to a deeper and more complex meaning. Van Gogh's Starry Night was actually painted from memory during the day, while he was in the St. Paul Asylum after mutilating his ear. Magritte's Scream series evolved from his reaction to the intensity of a blood red sunset. Renoir added the umbrellas five years after painting the original piece was painted as he moved away from impressionism. Other titles are more complex... The Son of Man by Rene Magritte, The Persistence of Memory by Salvador Dali... suggesting a depth of meaning that invites further exploration and interpretation by the viewer... the meaning of life, religion, eternity... or "Camembert melting in the sun" (according to Dali). In the end, the title is a tool that can be used by the artist to identify or enlighten, manipulate or mystify, or simply to amuse.
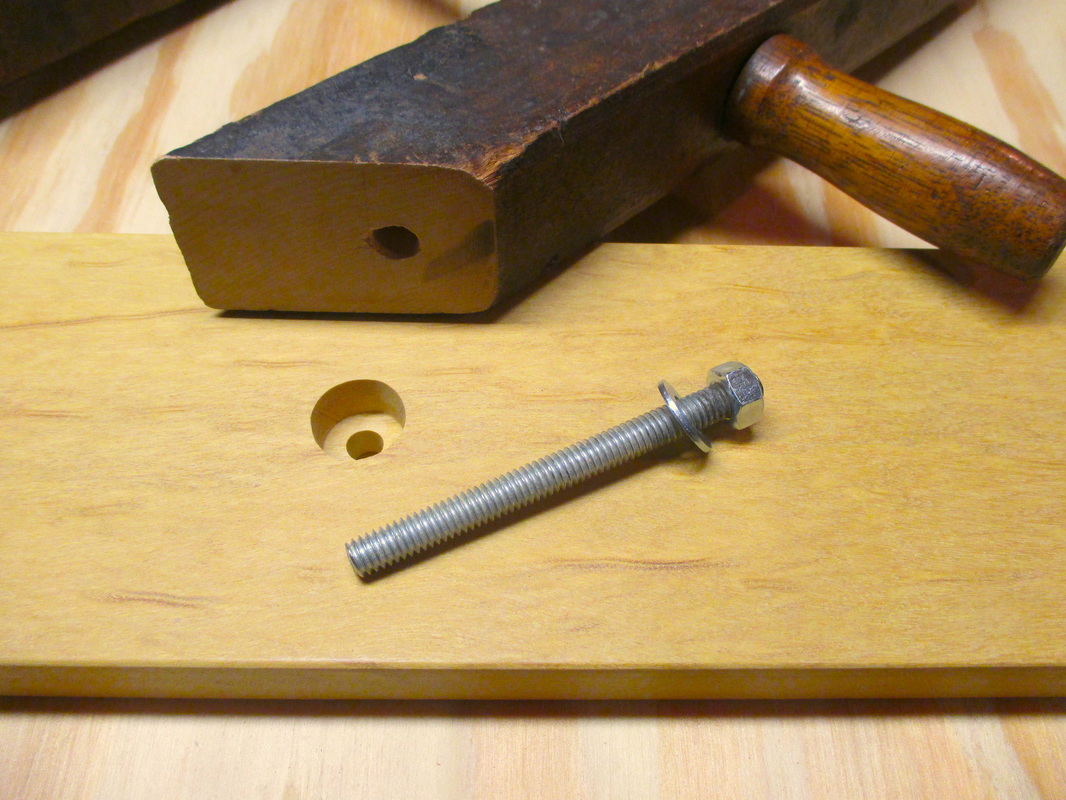
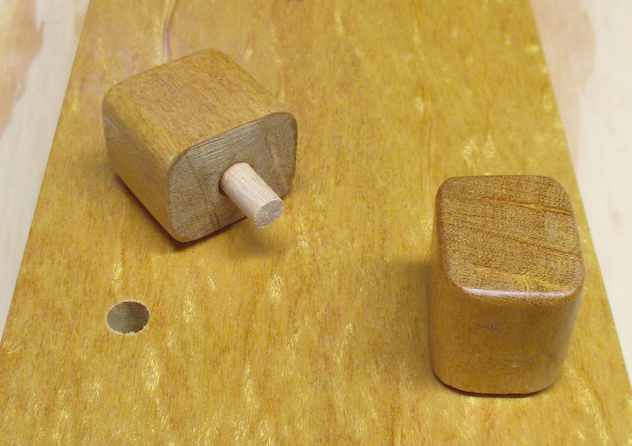
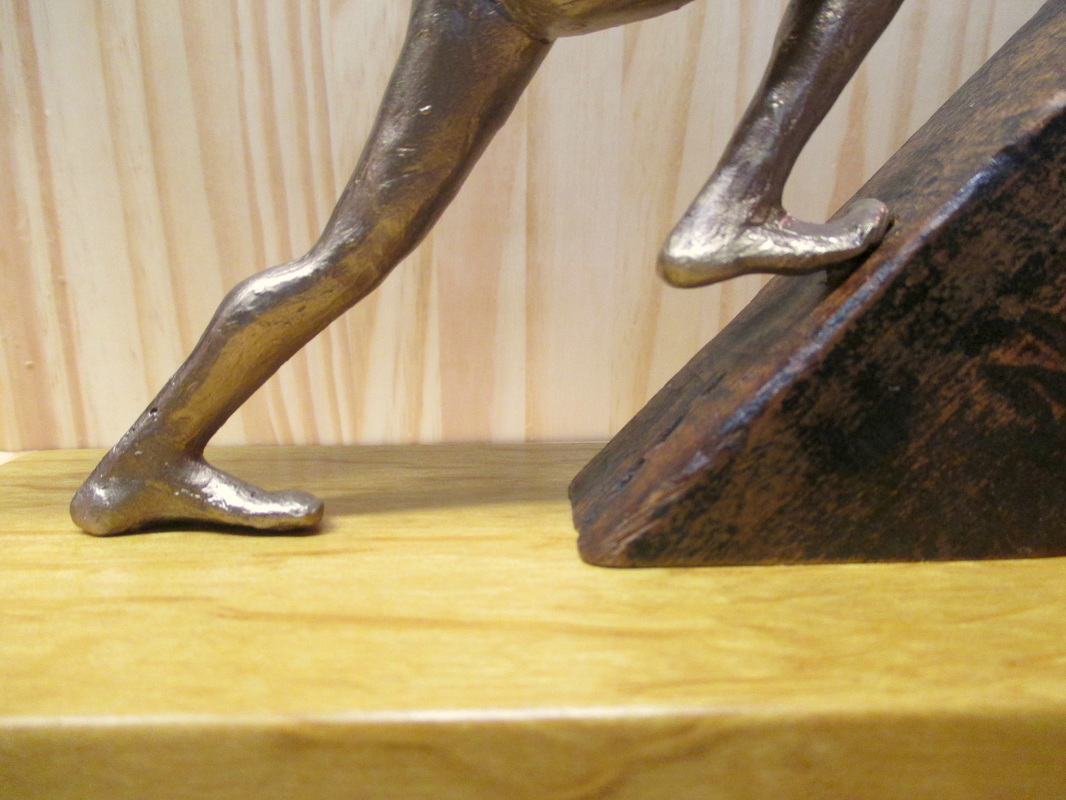
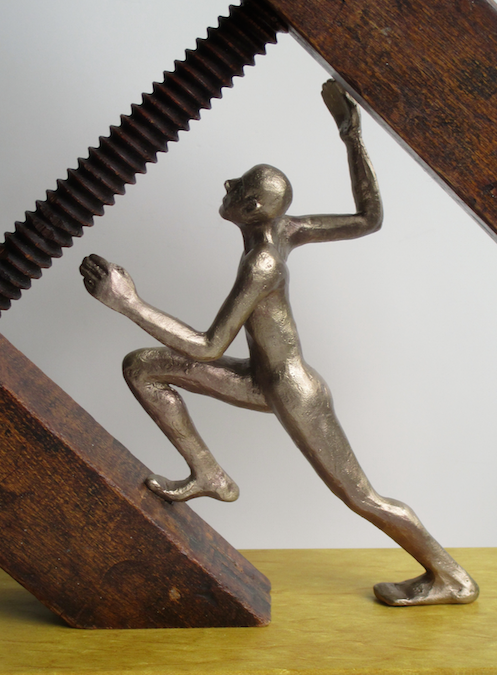
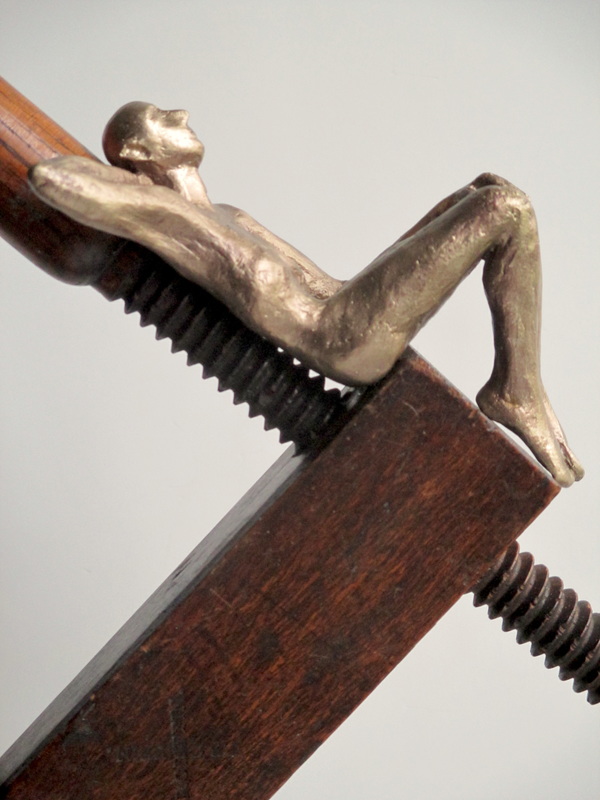
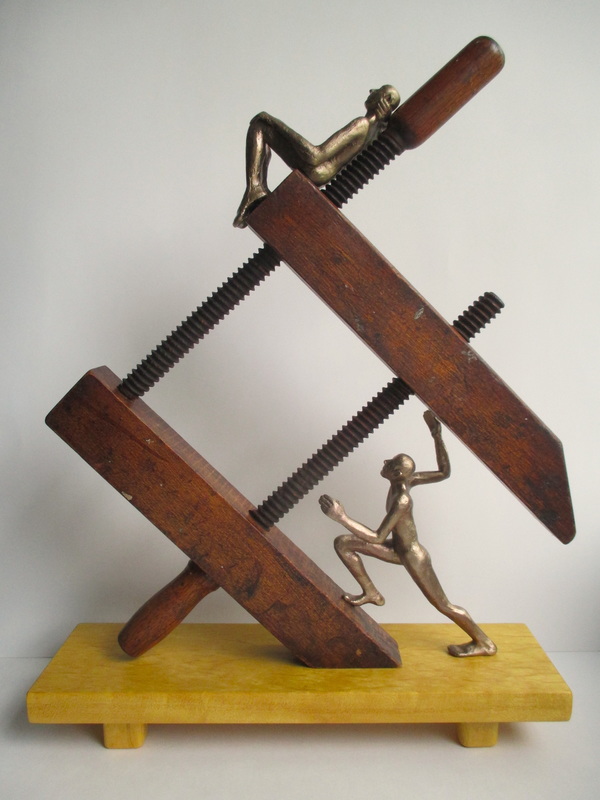
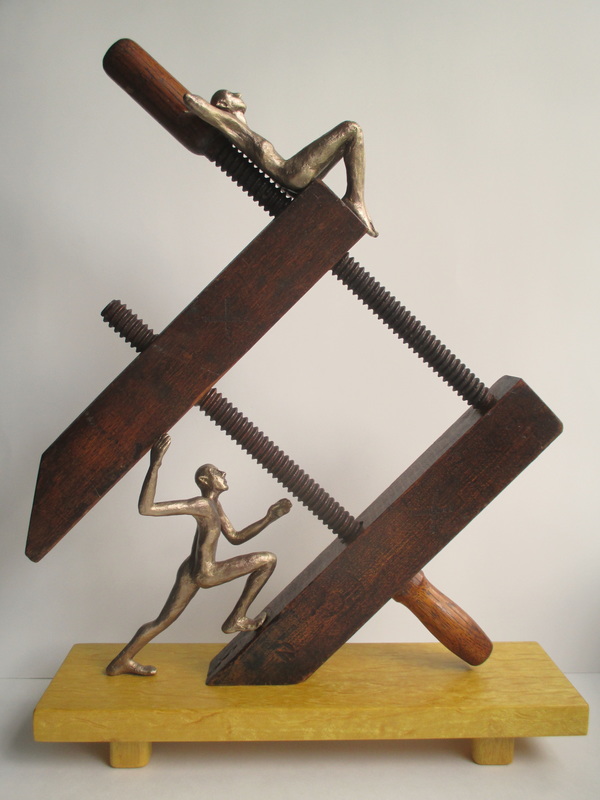
| When it comes time to give a "name" or title to a piece of work, I find that, for me, the process can change from piece to piece. I rarely have a title in mind before the piece has been completed. Sometimes I get an idea for a title during the construction process, but more often than not, it happens after I have had time to reflect on the finished sculpture. I enjoy wordplay, and that often factors into the process of naming my sculptures... utilizing homonyms, alliteration, double entendres, or even the occasional pun. I have also "re-cycled" and reinterpreted common phrases. My sense of humor has been known to be an influential factor on more than one occasion. Quite a few of my sculptures have a quirky or humorous twist, so it is only fitting that their titles follow suit, while others present unspoken questions that ask for answers. The title Door Man (top right) seems simple and somewhat obvious, but I purposely did not call it Doorman, so that the title would give the man and the door equal importance. I leave it to the viewer to decide who (or what) it represents and whether he is coming or going. Upon Reflection (middle right) was done for a juried show with the theme of "Reflections" at River Arts Gallery in Damariscotta. I allowed myself to interpret reflection as deep thought and mirroring images, as opposed to shimmering water or shiny objects. The two mirror image figures consider each other while perched "upon" the twin jaws of the wooden clamp that are also essentially a mirrored "reflections". It is up to the viewer to decide what they are considering. The gestures and attitudes of the two figures in the angled wooden clamp sculpture (bottom right), Ascension To Cloud Nine, led me to the title of the piece. The top figure appears to be relaxed and blissfully unaware, which immediately brought to mind the phrase "cloud nine", while the lower figure seems to be climbing in search of something (...aren't we all?) - ascending to find it. I leave it to the viewer to determine what their own "cloud nine" would be, and what they would do to get to it. As for me, I will continue to create art and play with words. | 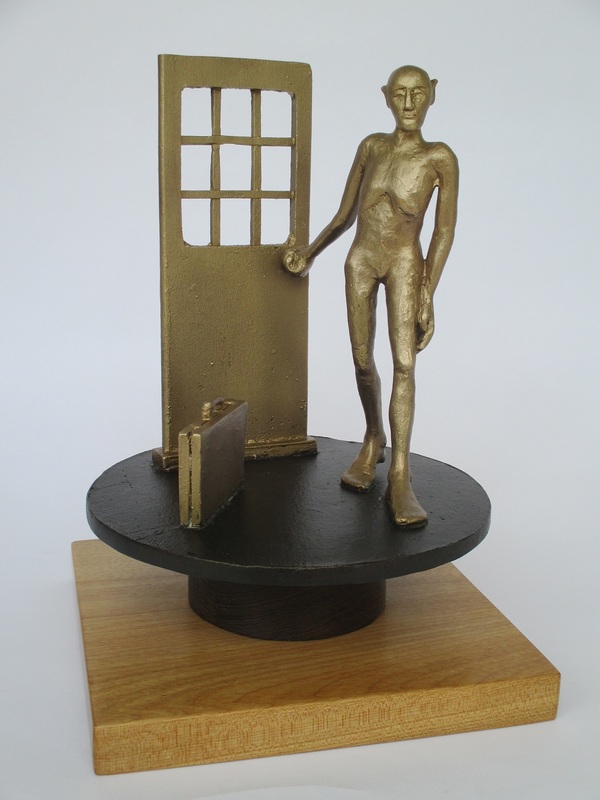 Door Man 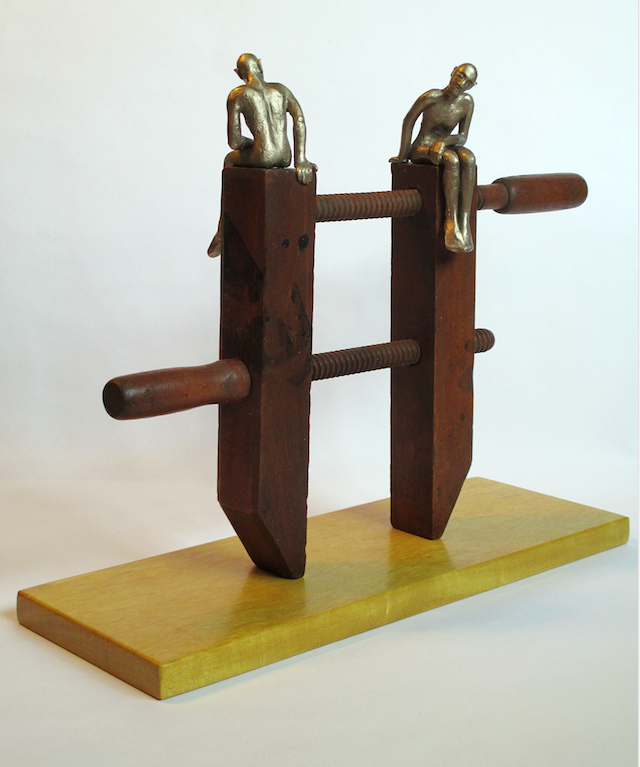 Upon Reflection 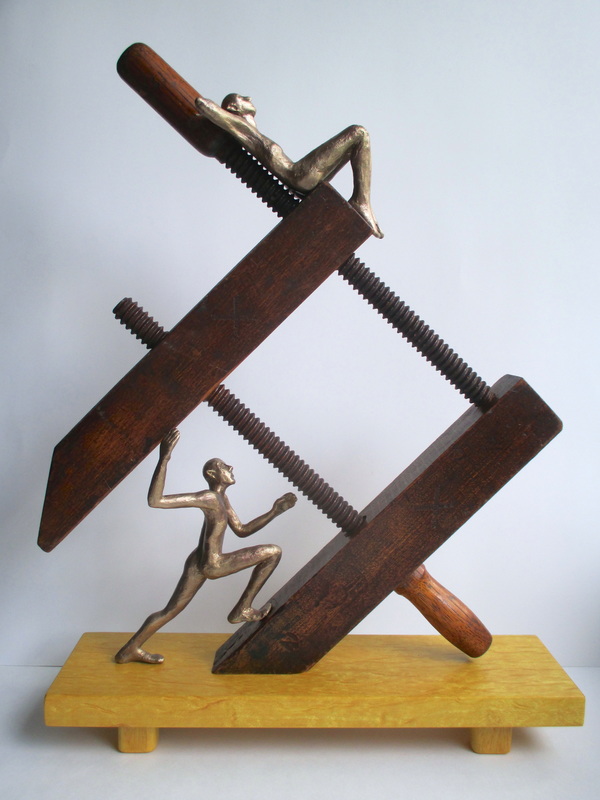 Ascension to Cloud Nine |


 RSS Feed