C.V.SmithARTWORKS
  • Home
  • Blog
  • Sculptures
    • Bronze
    • Clay / Apoxie Clay
    • Plaster
    • Wood
    • Stone
    • SLIDESHOW
  • Galleries
  • Contact
  • Book
  • River Arts
  • BRAF
  • Saltwater Artists
  • CMCA
  • Yarmouth Art Festival

Art Improv... MacGyvering Tools

10/27/2012

0 Comments

 
     I happen to be doing a lot of work in wax at the moment, in preparation for a bronze pour. In the past, I frequently found myself in situations where I just didn't  seem to have the right tool to get the job done, whether it was to attach something at an awkward angle, or to smooth or to texturize something that seemed to be inaccessible. Some situations had easy solutions and others required a bit more consideration. I thought I would share a few of the solutions that I have come up with over the years.
     My first efforts to attach one piece of wax to another involved using a thin bladed putty knife. I soon added a narrow palette knife and a butter knife to my tool kit to enable me to get into smaller spaces. A small clay tool with a curved blade allowed me to access small curved surfaces. I could also use the clay tool to scrape or smooth the wax, and I found that a slightly heated metal loop tool could be helpful in removing wax. When I had to apply heat to a small area, I found that
I could use a small metal stylus or burnisher.
     Texturizing a surface can often be an interesting challenge. Anything that is hard enough to be pressed into the wax can be utilized...a metal screw, a comb, etc.  As I mentioned in my 10/8 blog entry, I used a heated metal file to make texture on the pod bird wings.
     A recent addition to my tool kit was a simple wooden craft stick that had been shaped on either end. It is great for reaching into to small spaces for gentle smoothing. I also have utilized a piece of wire (heated) to make holes or textures. One of my favorite innovations has been to create specific shaped metal 'blades' that can be heated to use for attaching oddly shaped wax pieces or to attach wax pieces in hard to reach areas. I cut the metal shapes out of roofing flashing and hold them with a pair of vise grips. Lastly I have constructed several devices that can be used to cut circles out of a sheet of wax. I attached wooden handles to different sized metal cans, pipes, and lids, that, when heated, can be used to create either multiple openings or multiple circular shapes in consistent sizes. As simple as a cookie cutter and could certainly be done with other shapes.


Picture
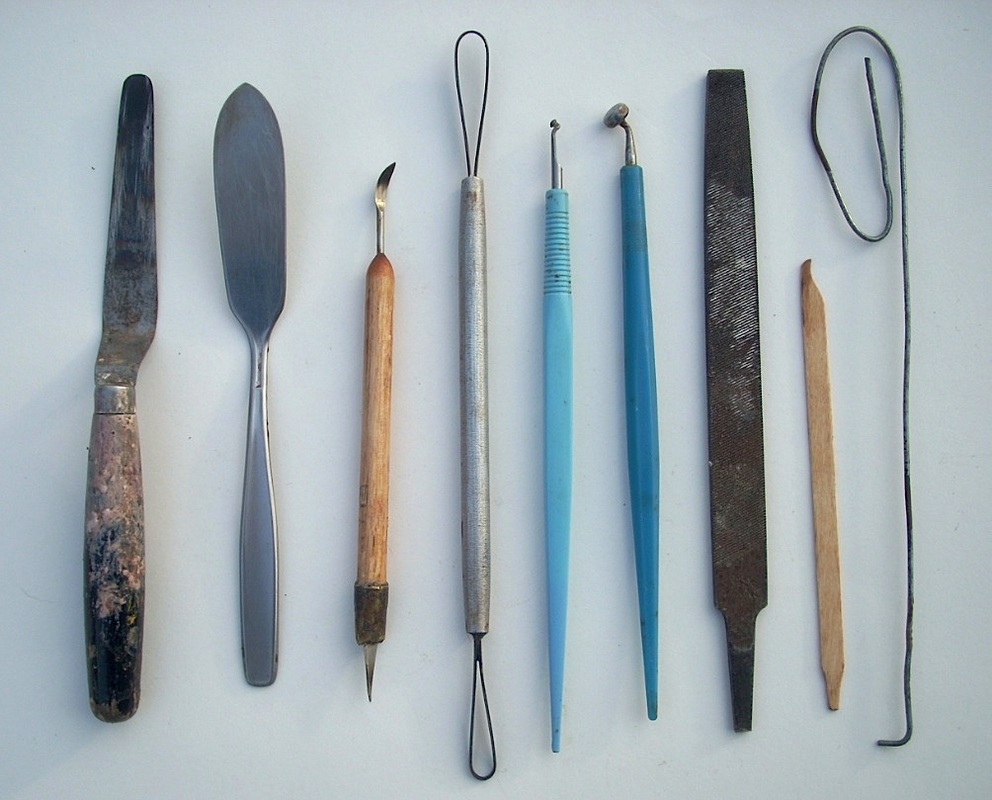
palette knife, butter knife, clay tool, loop tool, stylus, burnisher, file, craft stick, wire


Picture
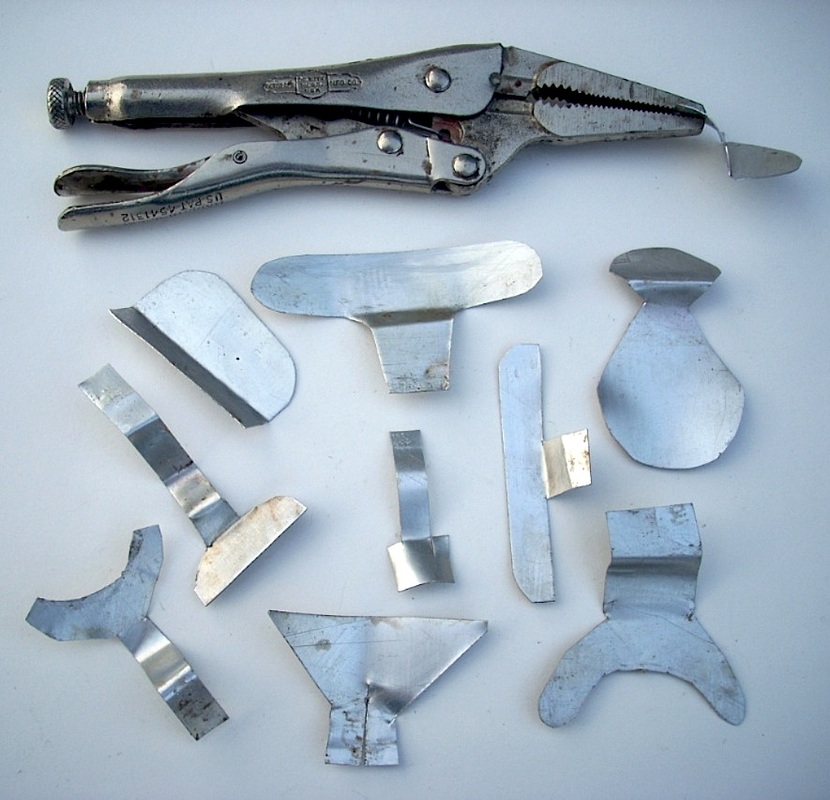
vise grip and assorted metal flashing shapes


Picture
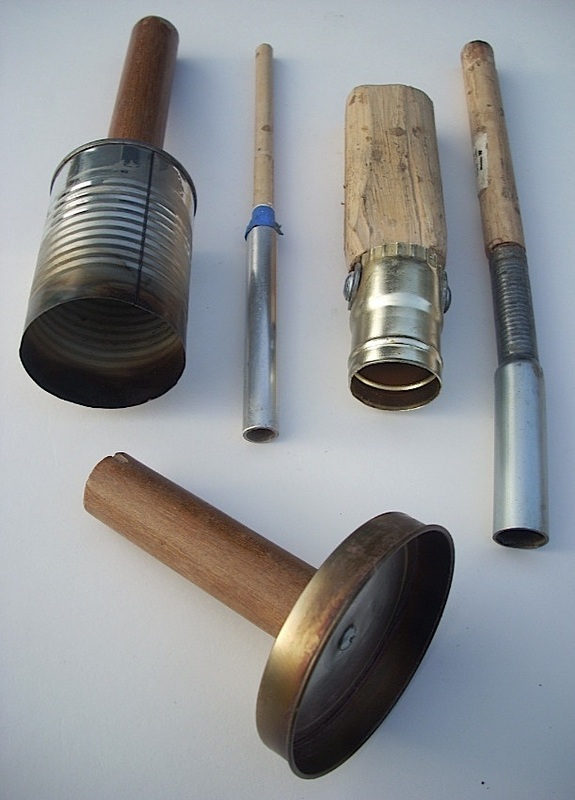
tin can, aluminum pipe, light fixture base, metal pipe, tin lid
0 Comments

Go Figure ... From Clay to Wax ... to Bronze

10/20/2012

0 Comments

 
Picture
Picture
Picture
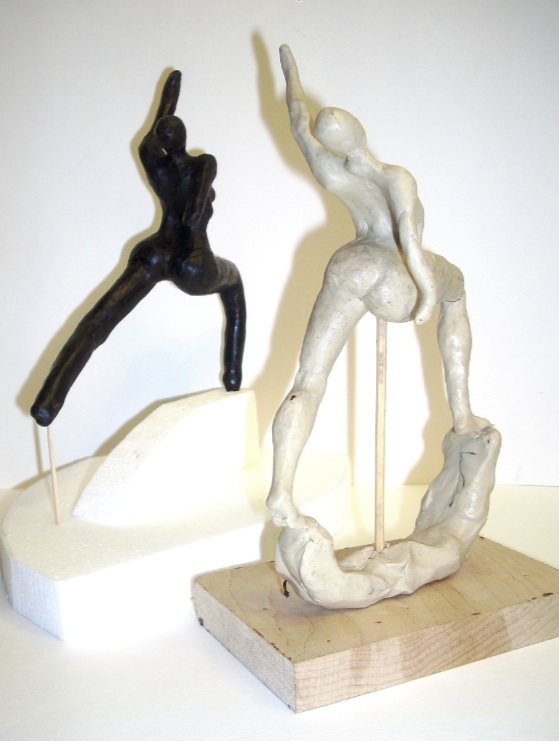
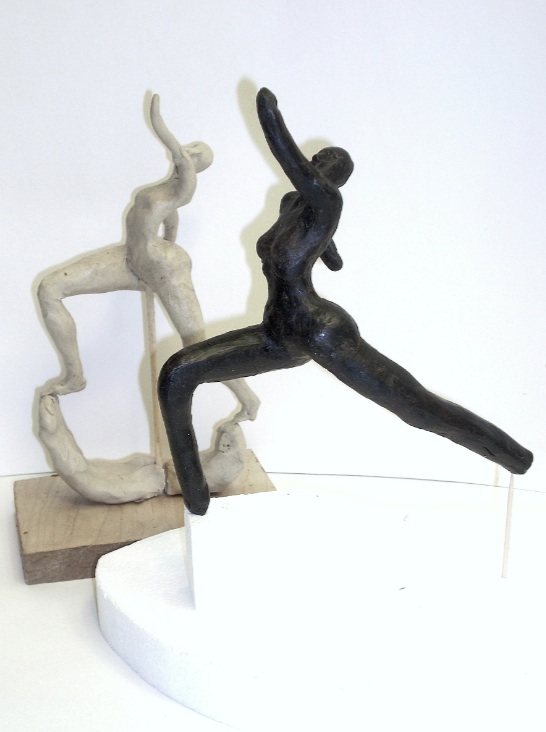
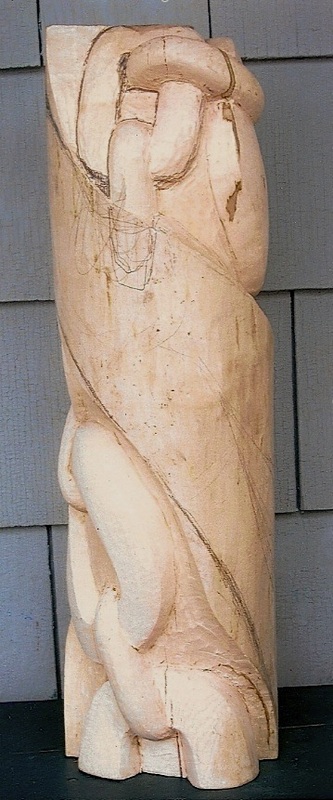
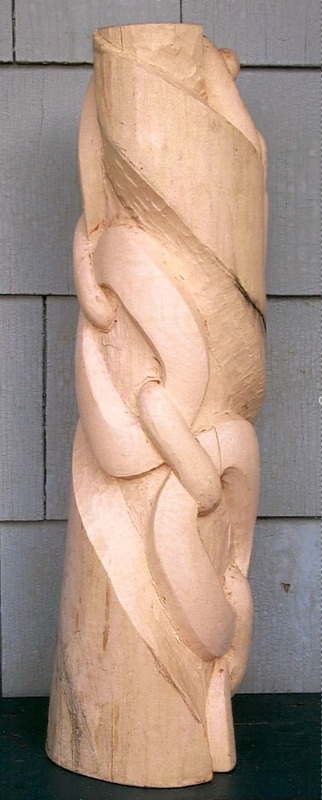
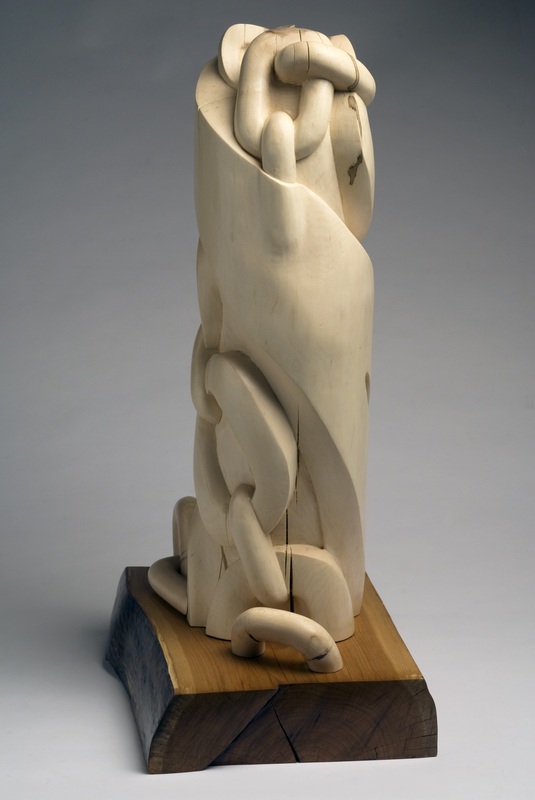
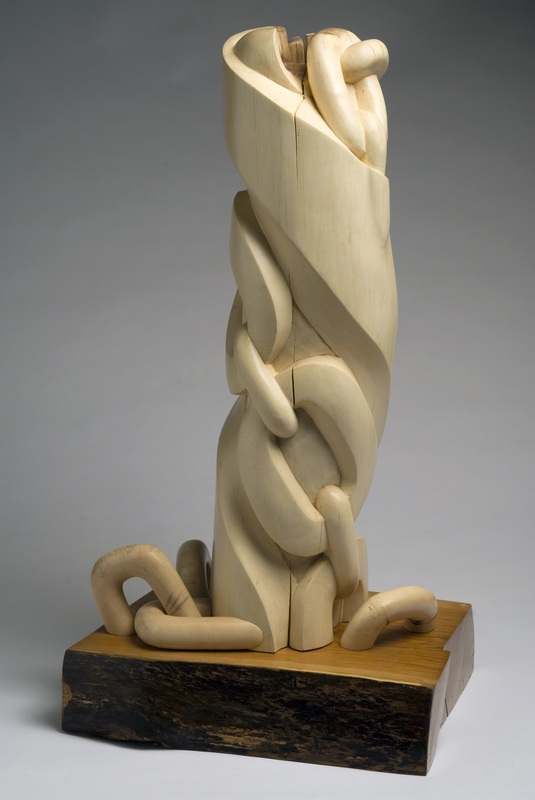
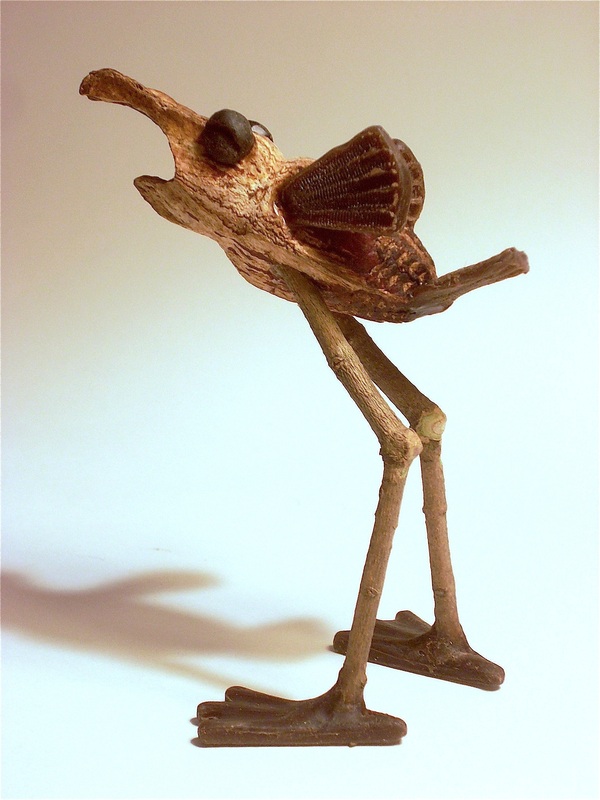
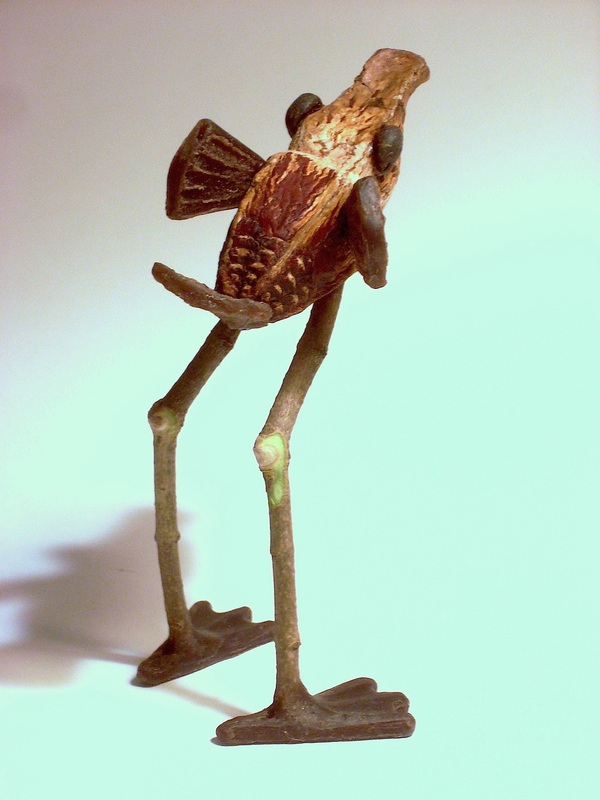
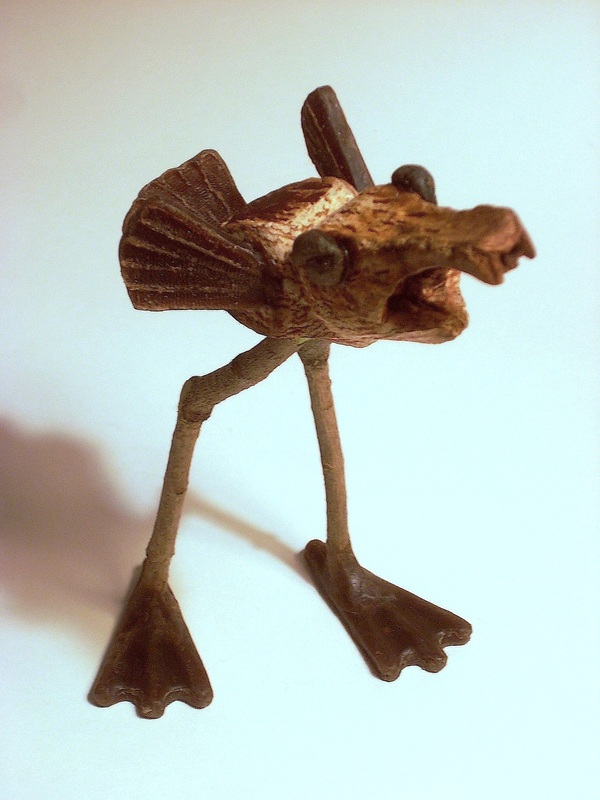
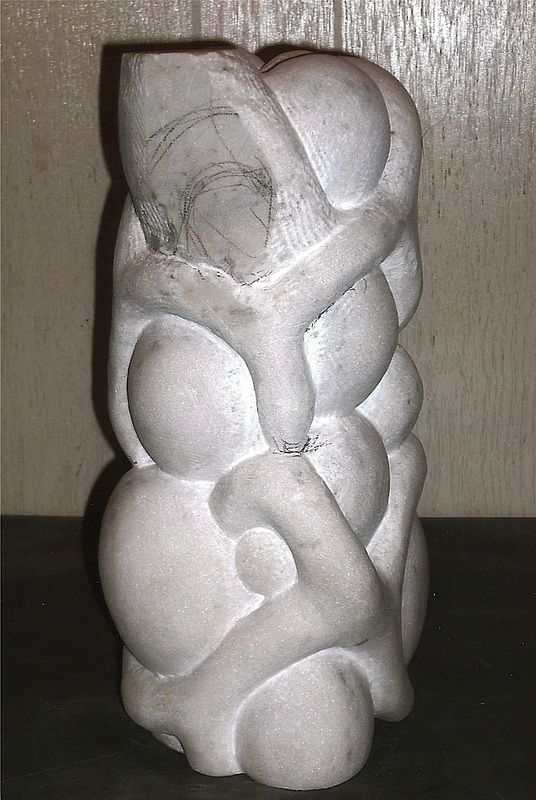
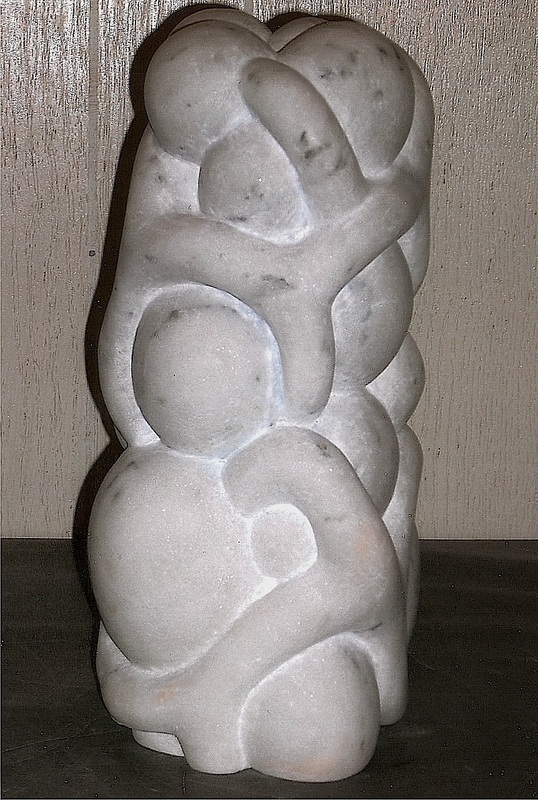
       I am in the process of getting several pieces ready for an upcoming bronze pour and one of
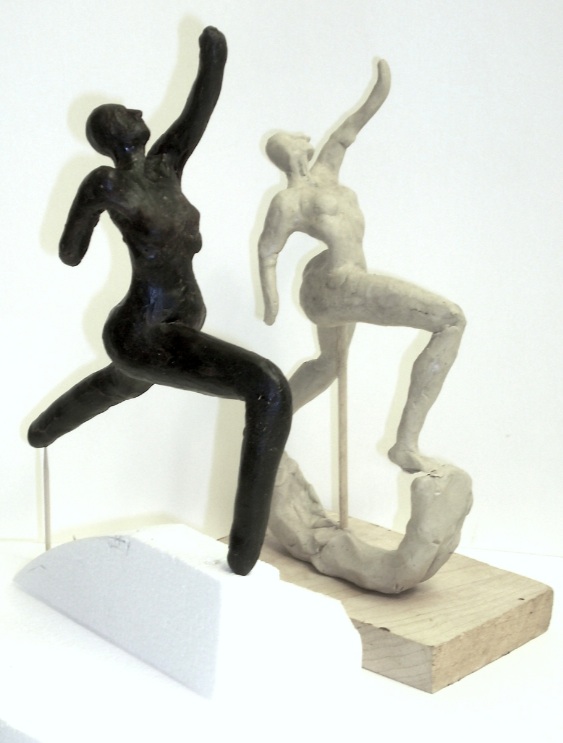
those pieces is a small version of 'Femme Verte' (see images in the Bronze and slide sections of this website). The obvious difference between 'Femme Verte'  and this piece will be size... the original is about 32" tall and the new one will be about 8 " tall, but the new piece will also be closer in pose and attitude to the original clay maquette. The challenge is find ways to make the wax mimic the look of  fluidity and flexibility originally achieved using modeling clay. The wax can be brittle if too cold and gummy if overheated. I have been able to warm the wax in hot water to the point where it is malleable, and adjust the water temperature to create the desired degree of pliancy. The next steps will be to exaggerate the angle of the head, the arch of the back, and the tilt of the buttocks. Then I will add hands and feet and refine the limbs. The last step will be to add a base before gating it up, along with several other small pieces, and getting it ready to be put in a mold for the bronze pour next month. 
0 Comments

Bound by Tradition ... or Not

10/13/2012

0 Comments

 
Picture
     My wood sculpture 'Tradition' has
recently been juried into the upcoming ARTinMe. show at the Boothbay Region Art Gallery in Boothbay Harbor. The intent of the show is to highlight the artwork of contemporary Maine artists. Out of this year's 250 entries, juror Connie Hayes chose 108 artworks that included paintings,drawings, and sculptures by 91 different artists from around the state of Maine. The show runs from October 9th to November 3rd.
Picture
Picture
Picture
    The central column of 'Tradition' was carved from a 28" long maple log. The design actually began from a point at the bottom edge where there was a slight crack and a chip in the wood. This somehow led me to the idea of a link in a chain, and then it became a chain wrapped around the log. As I continued to carve, the blank space that remained  began to automatically parallel and enhance the wrapped effect of the chain. I made a link of the chain appear to be covered by the parallel 'ribbon of wood' to emphasize an illusion of softness of the 'ribbon' . To finish the piece, I added broken links of wooden chain around the base and mounted the column and links on a thick piece of mahogany. For me, the age checking that occurred as I worked on the carving, added character to the surface of the piece... and to the idea that though we are often wrapped in traditions, they can, and are, frequently broken.
Picture
Picture
0 Comments

Pods Revisited ... From Bugs to Birds

10/8/2012

0 Comments


   As per my prediction in my 9/1 posting, the pods are starting to reappear as birds. There was one broken pod in the batch of pods that I had, and a break in the stem end suggested a beak to me. I have used lilac twigs as legs, as I did with the pod bugs described in my earlier postings, but used wax to make his webbed feet. The wings, tail, and eyes were also made with wax. I created the texture of the feathers on the wings and in the tail by pressing the edge of a slightly heated metal file into the wax. I am working on a couple of additional birds to add to the flock, and I also plan on making a nest and egg for this bird (in this economy, everyone should have a nest egg).

Picture
Picture
Picture
Picture
0 Comments

Taking It Off ... Subtraction Can Add Up

10/1/2012

0 Comments

 
Picture
Danby marble block... 141/2" h
 

< from this    ...      to this >

    Carving a form that I can envision contained within a solid block of material (be it wood, stone, or styrofoam) is an experience that I find to be both challenging and rewarding. The challenge and the reward seem to be enhanced exponentially as the density of the material to be carved increases.
Picture
'Vertical Cluster'... 14 1/4" h
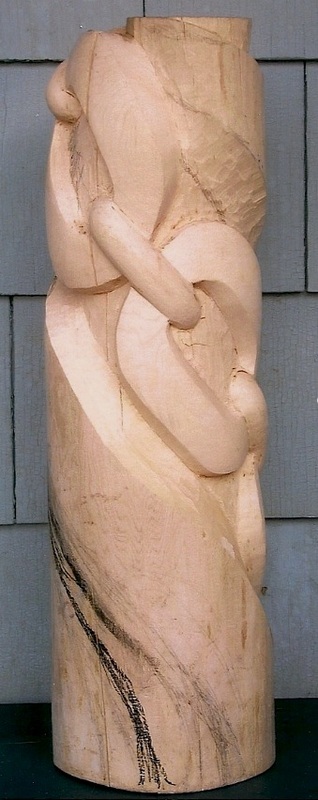
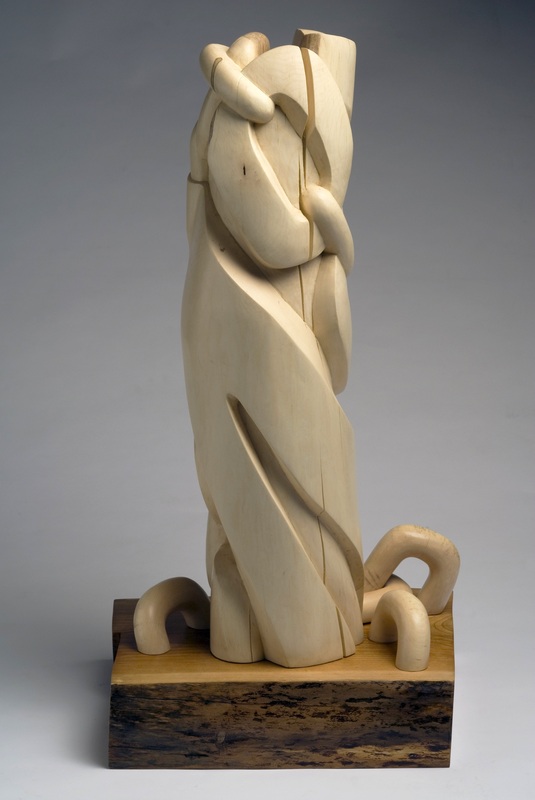
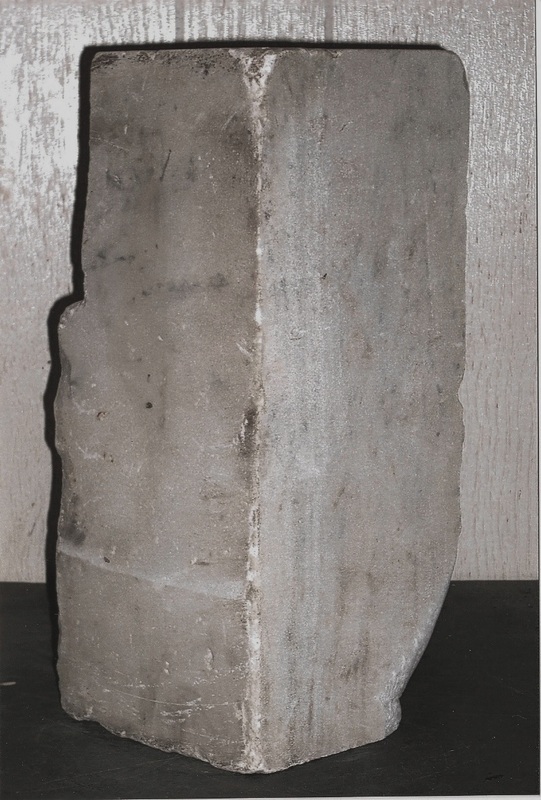
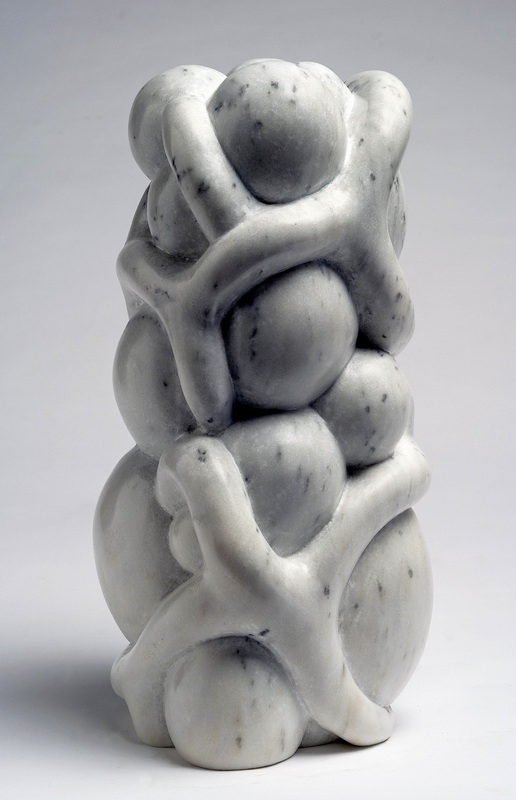
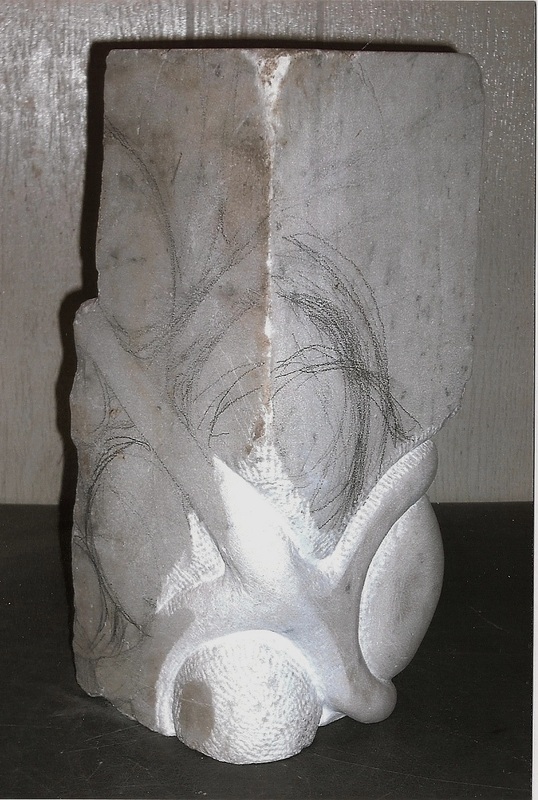
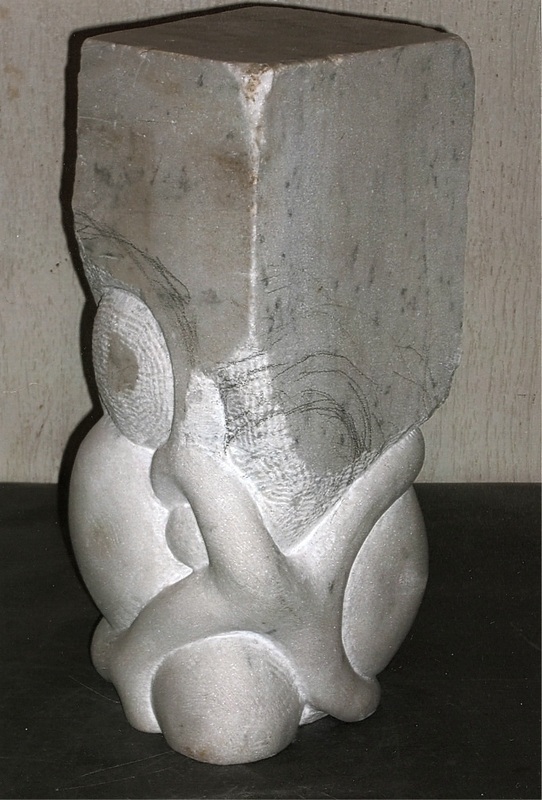
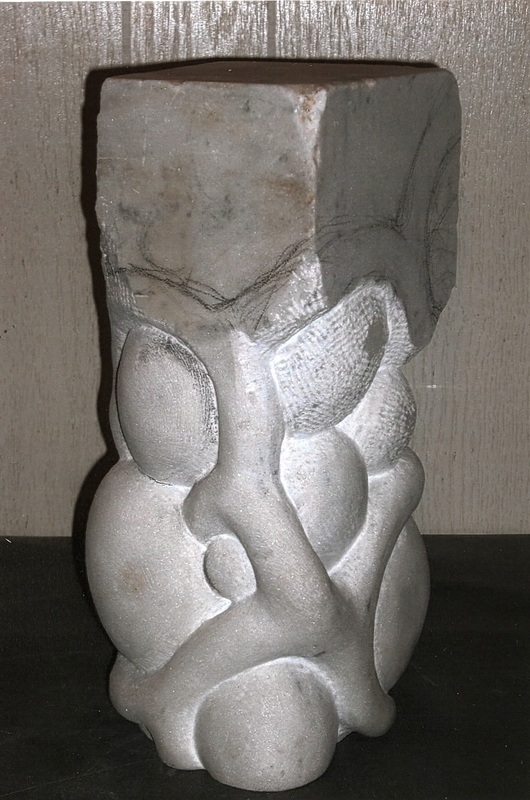
       I choose to carve primarily with hand tools when I am working in stone. They make me feel more connected to the medium and in better control of the amount of material I have to remove. The mechanics of determining how much material can be removed at a time requires getting to know the specific stone you are working on...how hard is it, does it have any imperfections or fissures? An overly enthusiastic tap of the hammer or a misjudged chisel angle can mean the amputation of a key component of the final design. The process to me is definitely a sensory experience... listening for the sound of the perfect hammer strike, seeing the planes and shapes emerge, handling the form, and touching it's surfaces. The final piece hopefully is a reflection of the extent of the sculptor's connection to the process and to the sculpture itself.

Picture
Picture
Picture
Picture
Picture
  
     *Additional views of 'Vertical Cluster' can be found in the Sculpture section of my website on the Stone page
                                                        and in the Slideshow section.
0 Comments

    Author

    Cynthia Smith, Maine artist, originally from Connecticut. Taught art at secondary level for 35 years, retired in 2004. Sculpts in bronze, wood, stone, clay & plaster. Her work can be seen at several mid-coast Maine galleries and shows.

    Picture

    RSS Feed

    Archives

    June 2023
    May 2023
    February 2023
    October 2022
    May 2022
    December 2021
    October 2021
    June 2021
    May 2021
    April 2021
    March 2021
    October 2020
    August 2020
    July 2020
    June 2020
    January 2020
    October 2019
    September 2019
    August 2019
    July 2019
    June 2019
    May 2019
    April 2019
    February 2019
    January 2019
    November 2018
    October 2018
    September 2018
    August 2018
    July 2018
    June 2018
    May 2018
    April 2018
    March 2018
    February 2018
    January 2018
    November 2017
    September 2017
    August 2017
    July 2017
    June 2017
    May 2017
    March 2017
    January 2017
    September 2016
    August 2016
    July 2016
    June 2016
    May 2016
    April 2016
    March 2016
    February 2016
    January 2016
    December 2015
    November 2015
    October 2015
    September 2015
    August 2015
    June 2015
    April 2015
    March 2015
    February 2015
    January 2015
    December 2014
    November 2014
    October 2014
    September 2014
    August 2014
    July 2014
    June 2014
    May 2014
    April 2014
    March 2014
    February 2014
    January 2014
    December 2013
    November 2013
    October 2013
    September 2013
    August 2013
    July 2013
    June 2013
    May 2013
    April 2013
    March 2013
    February 2013
    January 2013
    December 2012
    November 2012
    October 2012
    September 2012
    August 2012

Proudly powered by Weebly