The obvious next step, after completing the one part mold described in my previous post, was to tackle the process of making a two part mold. We were given the task of bringing in a larger object to work on for this assignment. Since I had signed up for the moldmaking course at the last minute and didn't have any specific project ideas in mind, I had to dig into my "stash from the past" to come up with some potential project candidates. I came up with two.
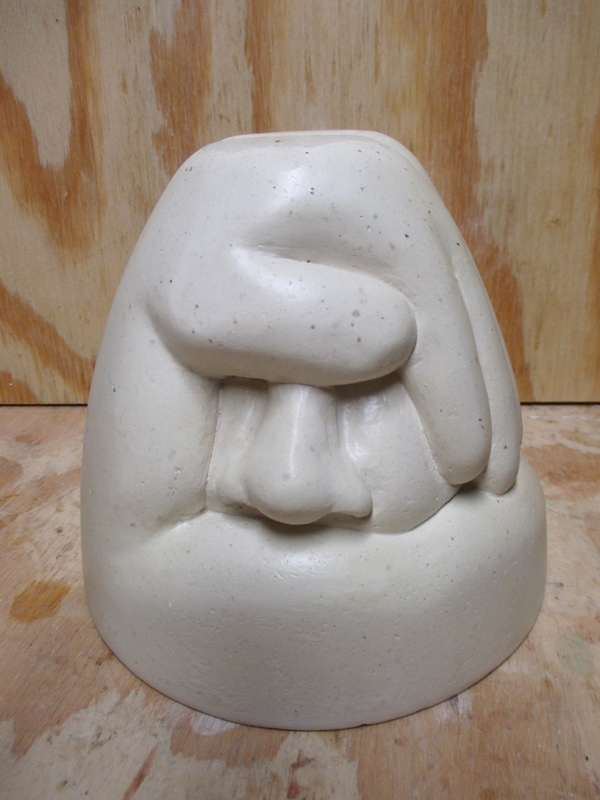 Plaster sculpture - view 1 | 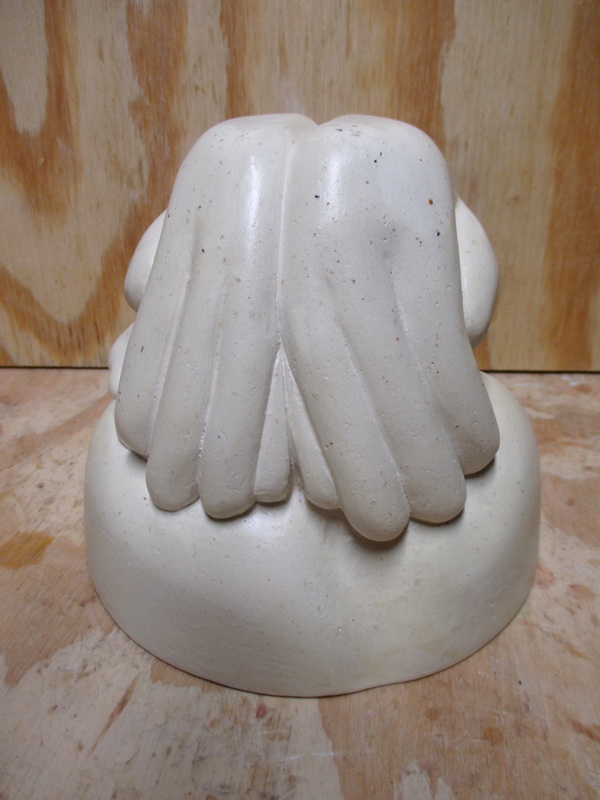 View 2 | 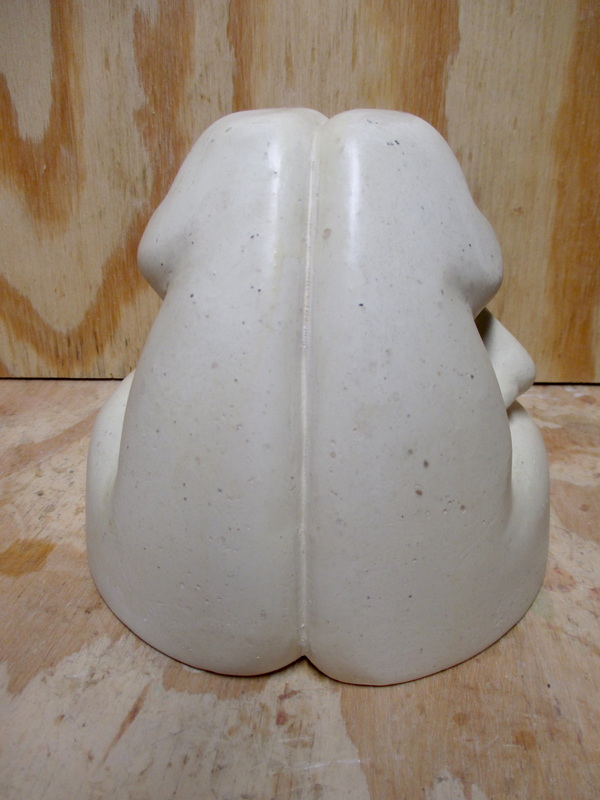 View 3 | 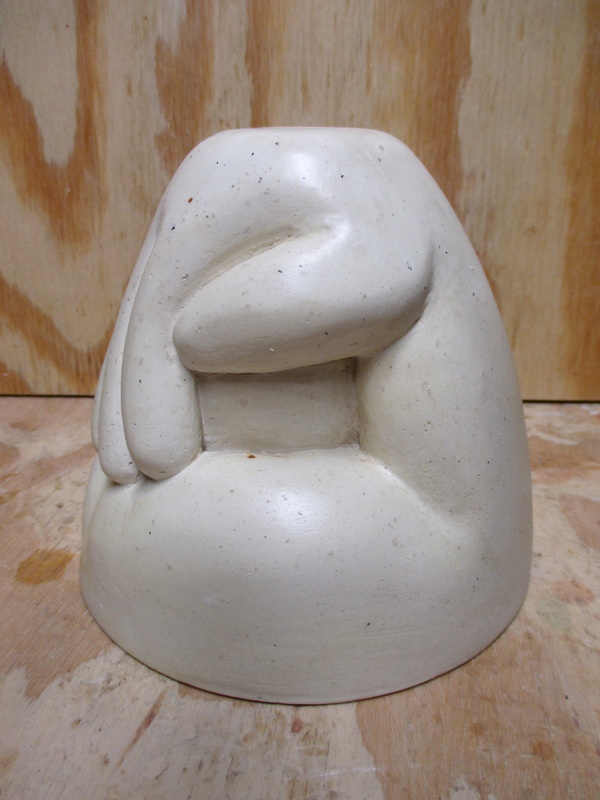 View 4 |
 Sculpture set into styrofoam work base 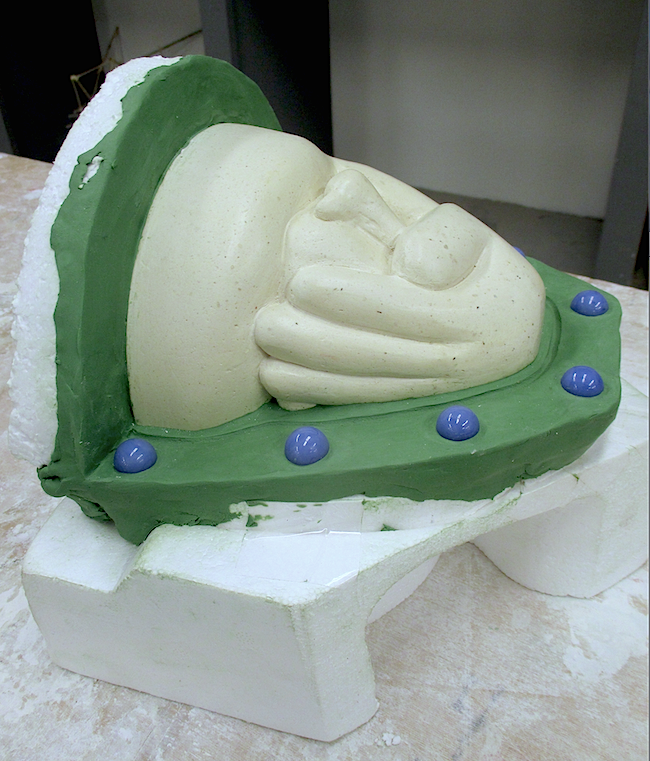 Clay "land" built up and registration keys embedded 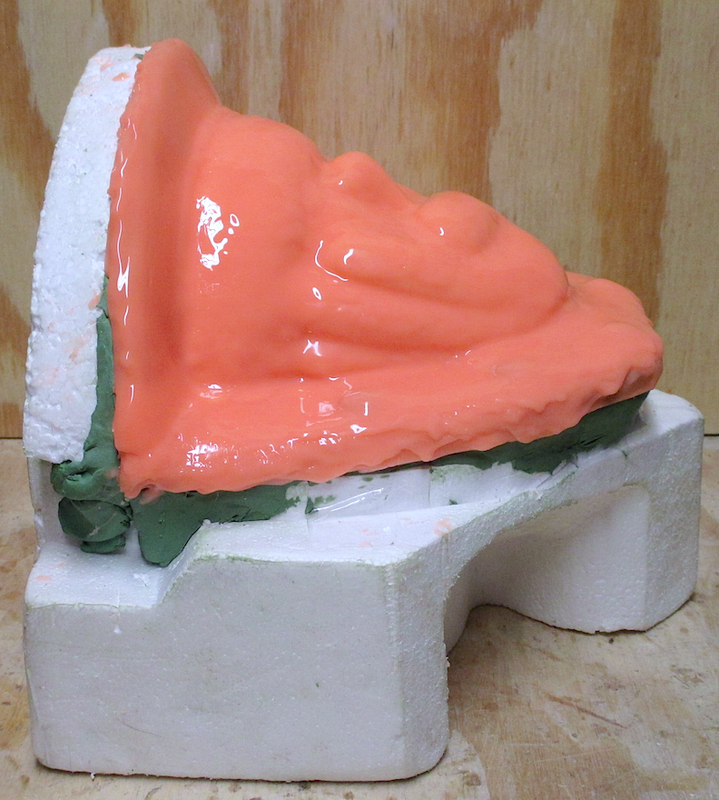 Rebound 25 silicone rubber applied 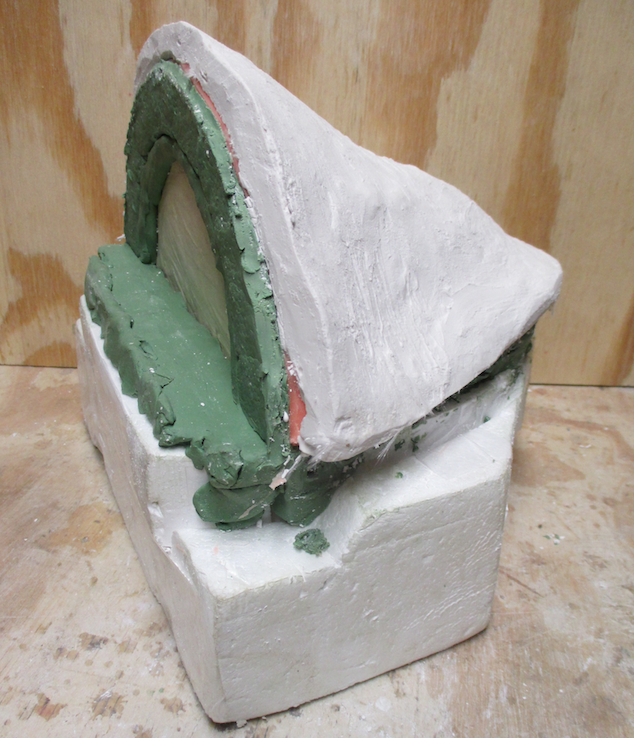 First half of mother mold built up over silicone | The first piece I chose to work with was a plaster sculpture I had made a number of years ago. It was compact, relatively symmetrical, and didn't have any severe undercuts - a good candidate for a two part mold. After sealing the sculpture with clear polyurethane, I then constructed a support base out of styrofoam packing remnants that would allow me secure the piece on its side while working on building up the mold materials. Once the piece was secured, I used plasteline (*non-sulphured) clay to form a "land" surface around it. This structure would serve to block off half of the object and provide a border surface into which I could insert the registration keys that would ensure the accurate alignment of the two mold halves. I embedded 8 marbles to serve as the keys in the land surrounding the form. Ben Asselin, our instructor, suggested that we also carve a thin channel around the form that would not only serve as an additional alignment tool, but would also provide a barrier to help prevent leakage of future casting mediums. The next step was to mix and apply Rebound 25 brush-on silicone rubber (a product of the Smooth-On Company) in layers to the exposed surface of the form and the surrounding land. The first coat of rubber was applied with a stippling or dabbing action to ensure thin and thorough coverage of the surface detail with no trapped air pockets. The remaining layers were brushed on at intervals after each previous layer cured. The covering was built up to a thickness of approximately 1/8" to 3/16", and after the rubber cured, the edges were trimmed at a right angle. I then began the process of making the "mother mold", the hard shell that would encase the flexible rubber and support it during casting. After applying a thin coat of Vaseline to the rubber, so that the mother mold could be removed easily after it hardened, I layered on torn thin pieces of fiberglass matting that had been dipped in plaster of Paris. This material was built up to a thickness of about 3/16" and the edges were trimmed to expose the edges of the rubber. This completed the first half of the mold. I then inverted the sculpture in the styrofoam support stand, removed the marbles, and built up a new "land" border around the base. After spraying the exposed surfaces with **mold release, I completed the second half of the mold following the same steps as I had used in doing the first half ...brushing on layers of Rebound 25, followed by the construction of the mother mold. |
 Inverted, new "land" built, keys removed | 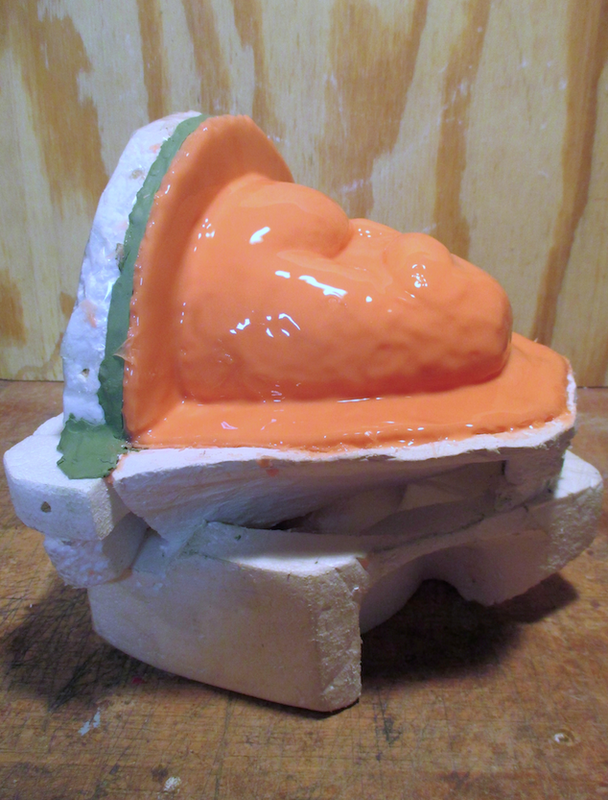 Silicone rubber applied | 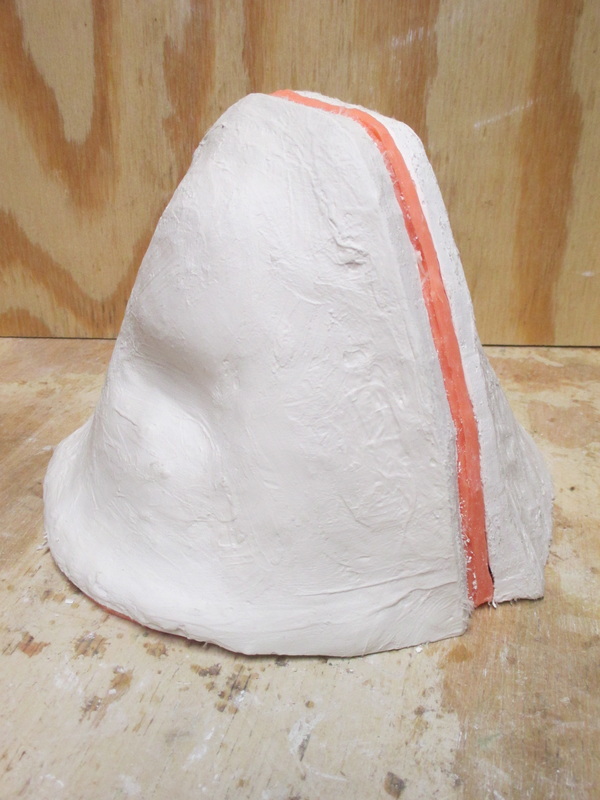 Second half of mother mold completed | 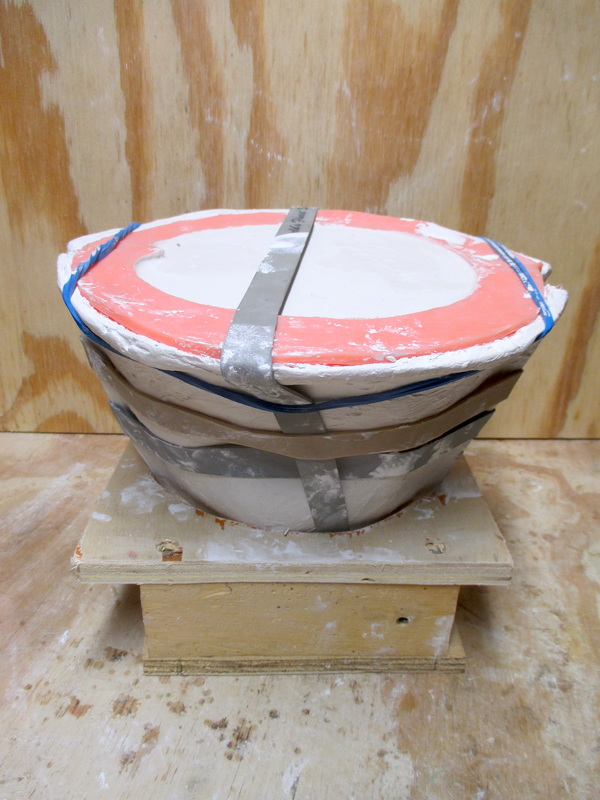 1st plaster casting - poured |
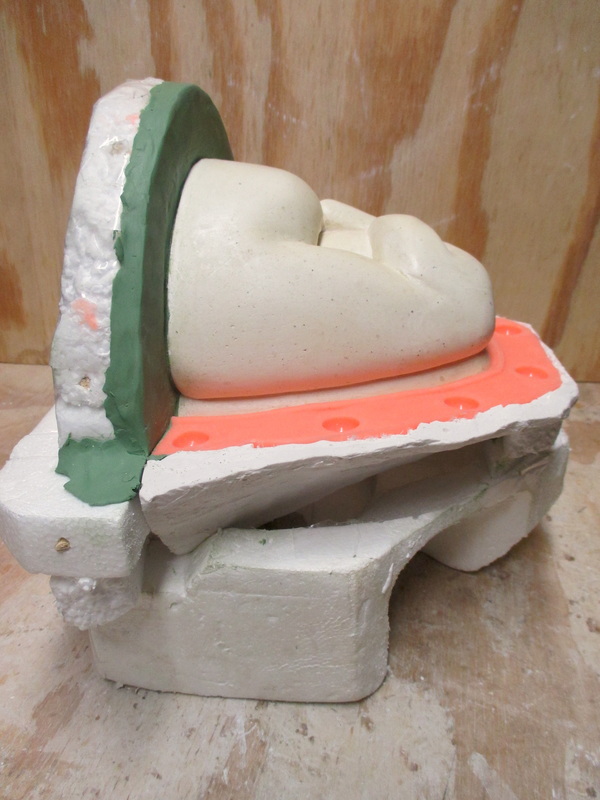
Once the original plaster sculpture was removed from the newly constructed mold, the only thing left to do was to test it out with a casting. I made a wooden stand to hold the mold in during the pour and used heavy duty rubber bands to secure the two halves together. I made a batch of plaster (32 ounces H2O / 3 lbs. plaster) and poured it into the mold. About 20 minutes later - voila! - I demolded a perfect casting.
Stay tuned for the making of the mold for my second object ... Yoiks! What was I thinking?
Stay tuned for the making of the mold for my second object ... Yoiks! What was I thinking?

Mold opened - first casting exposed
Notes: *Sulphur inhibits the curing of silicone. ** Silicone rubber will adhere to other silicone surfaces unless separated by mold release.

 RSS Feed