Size matters when trying to chase and resurface gating attachment points and surface imperfections on an unfinished bronze sculpture. The smaller the piece and the more specific the detail, the more difficult it is to remove unwanted material without accidentally removing more than was originally intended. Hindsight in these cases often provides valuable lessons for future projects... refine your wax original as much as possible before casting, place gating attachment points on surfaces that will be easily accessed with chasing tools after casting, and give thought as to how you will replicate the surface texture of the piece in areas that may have to be repaired.
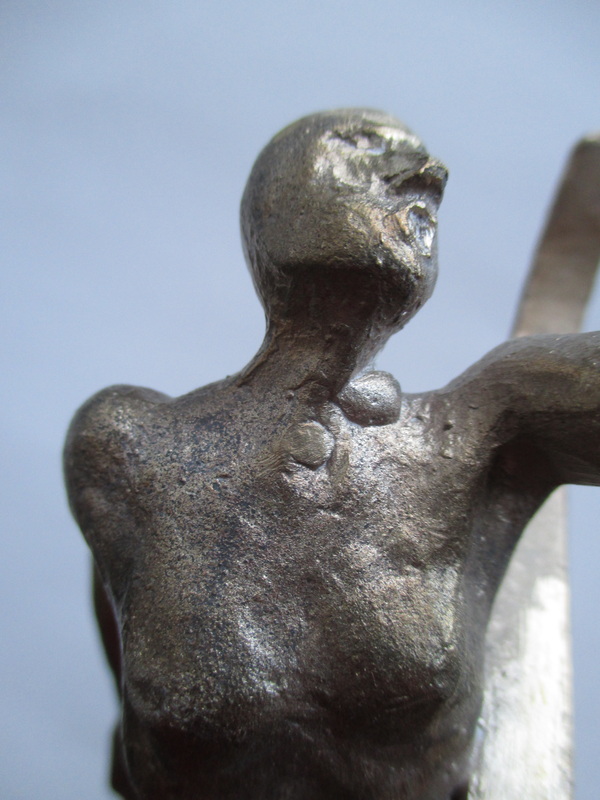 | 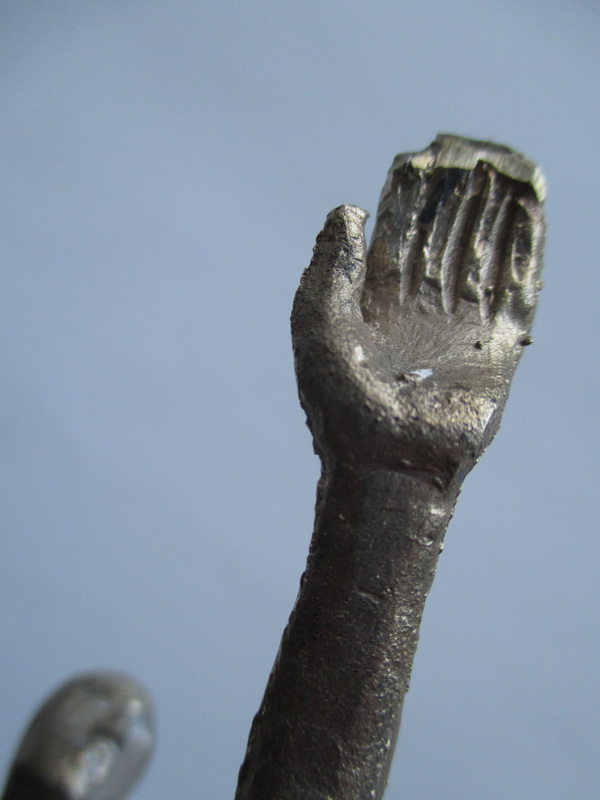 | 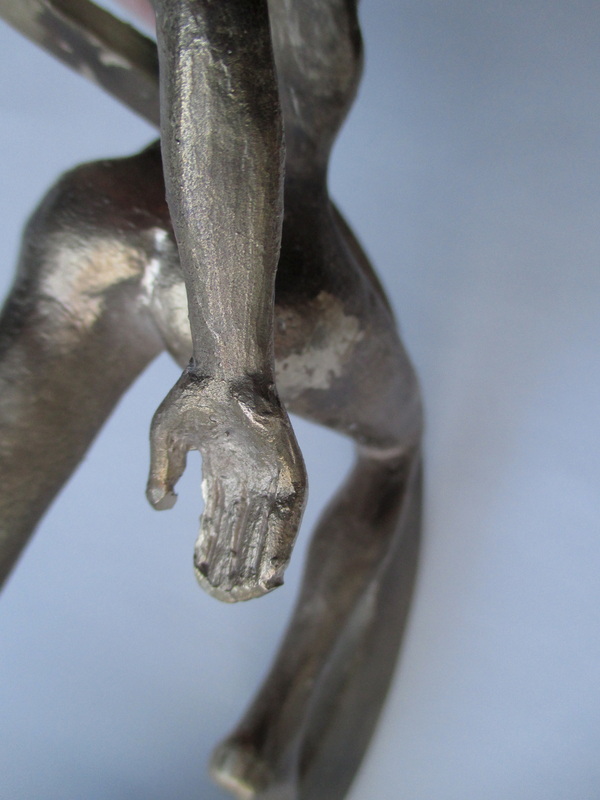 |  |
The piece I am currently working on had a variety of issues that needed attention. It had the expected slight surface blemishes of small lines of flashing and various tiny bronze surface bubbles (caused by air bubbles on the wax during investment). These were removed fairly easily with a small cold chisel. There were a couple of larger bronze bubbles at the base of the neck of the figure that I had to use a small tapered Dremel grinding attachment and small round metal file on to remove. After removing the remnants of the vents that had been attached to the fingers and thumbs, I used a couple of very small triangular and half-round metal files to carefully reshape the tips of the various digits and to soften the crevasses in between them.
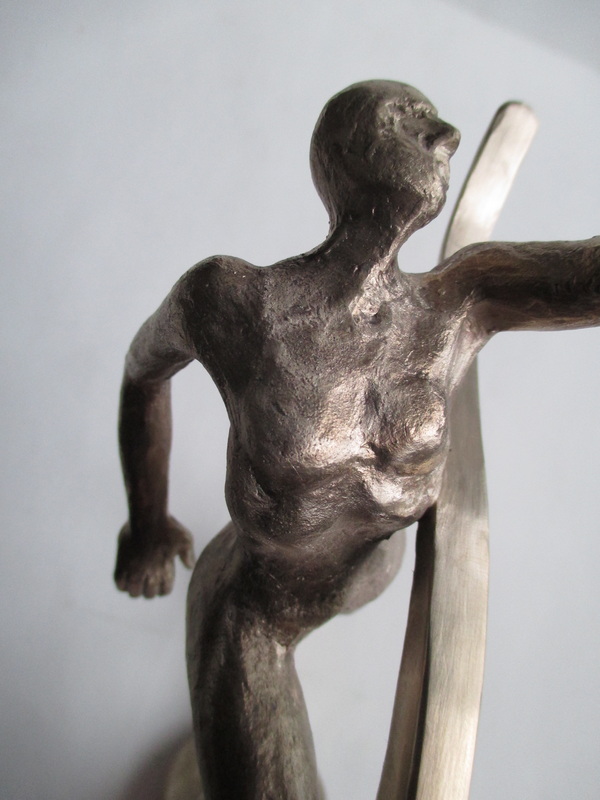 | 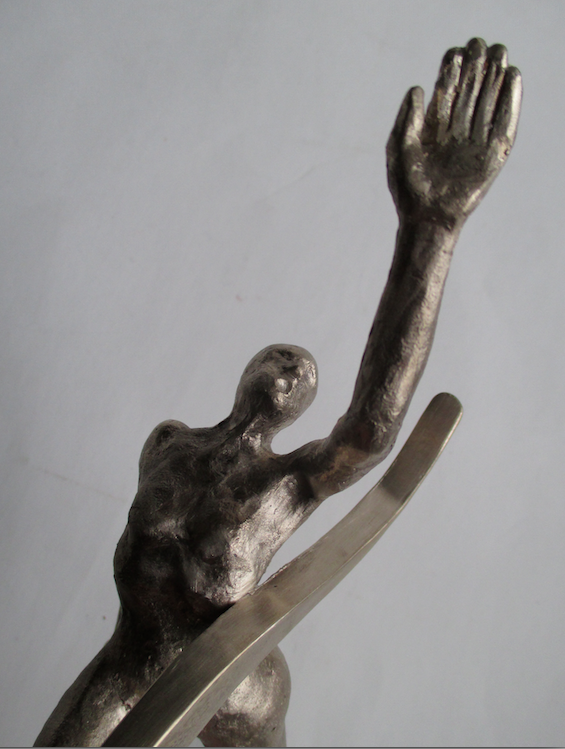 | 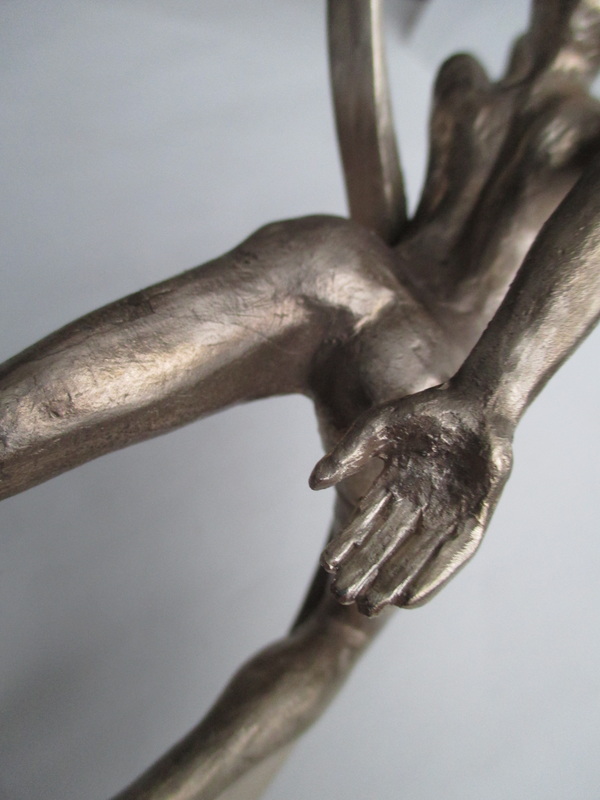 | 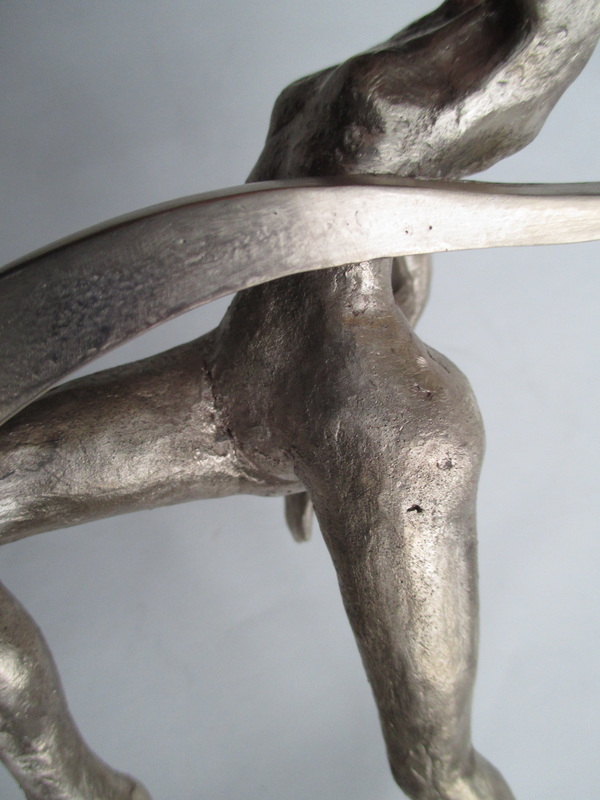 |
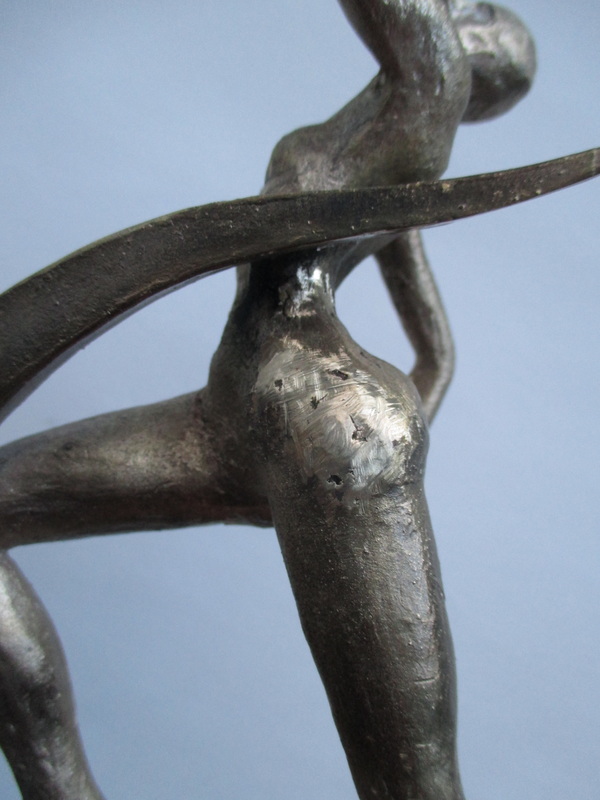
The final step of chasing the piece involved re-texturing the surface quality of the repaired areas to match the surrounding surfaces. In addition to the neck and hands, this included the gate attachment points on the hip, head, calves and feet. I used a variety of approaches for this part of the process. The narrow space on the neck required some tricky maneuvering. I used a small hammer to lightly tap a long blunted nail in a random pattern in the area and then, after covering the area with a strip of rough sandpaper, I used the hammer to tap on the sandpaper with a length of blunted 1/4" rod. This process allowed me to add a slight texture to any remaining smooth areas and mute any shiny spots. The spots on the hip, head and legs were more easily accessible and I was able to use the rounded end of a small ball peen hammer to gently tap the sandpaper directly on them. The detail of the hands required both accurate and gentle handling. I used a finer grit of sandpaper and lightly rotated it in short motions on the surfaces in varying directions so that surfaces lost their smoothness but did not show a distinct pattern. Finally I used a Dremel soft grit buffing wheel over the entire figure for uniformity, paying particular attention to the transitions between the original surfaces and the newly re-textured ones.
The next step will be to finish chasing the flat round base and drill attachment holes in the base and in the bottom of the figure piece. To be continued...
The next step will be to finish chasing the flat round base and drill attachment holes in the base and in the bottom of the figure piece. To be continued...

 RSS Feed