 | 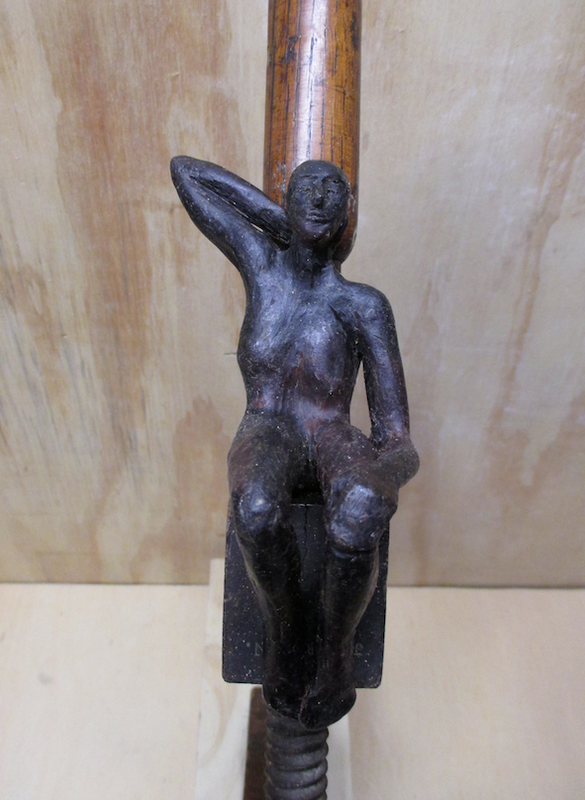 | 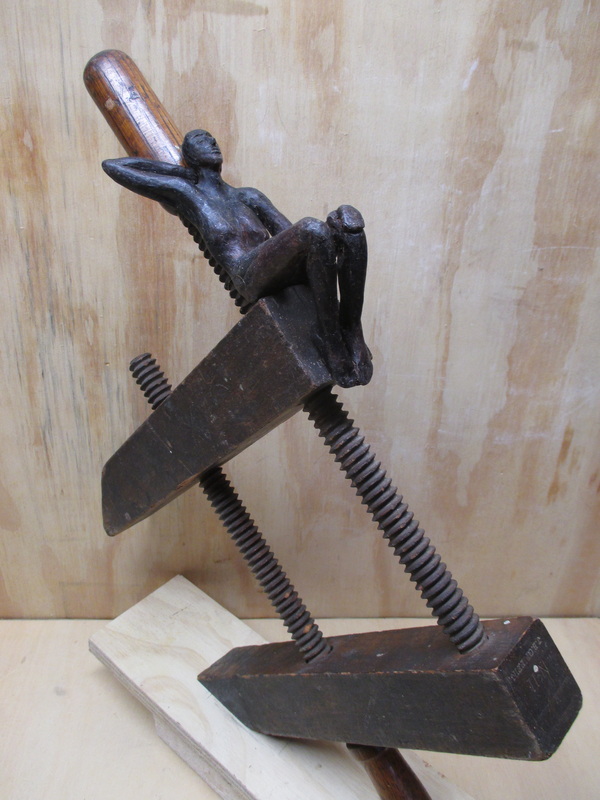 | 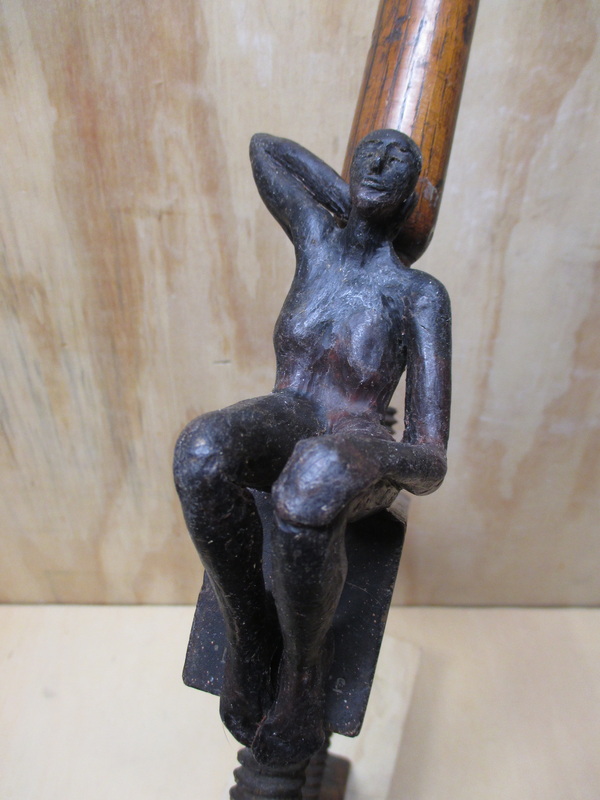 |
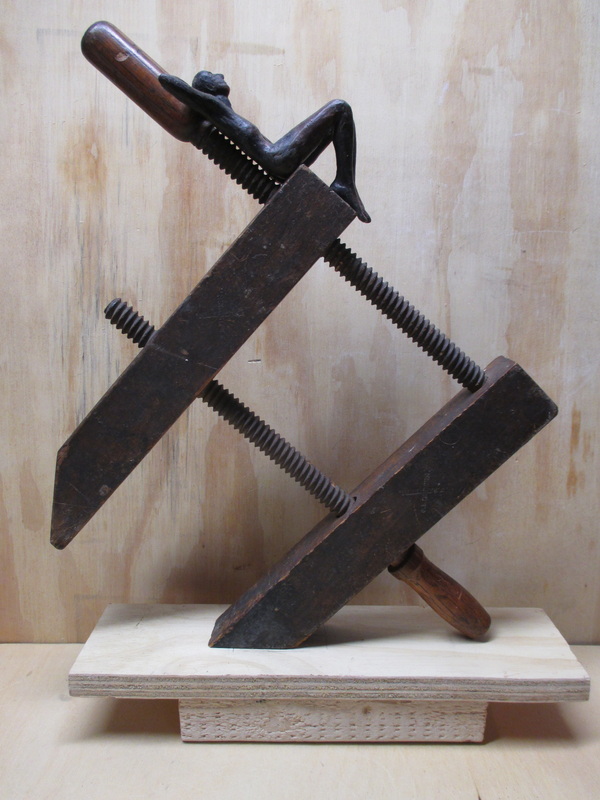
I have been working on the wax figures that eventually will be cast and attached to the wooden clamp I wrote about in my blog from 1/30/15. The top reclining figure is almost done. It still needs to have its fingers defined, ears added, as well as some small detail work and surface refinement. I have started on a second figure that will be climbing onto the lower left side of the slanted jaw of the clamp. Both figures will need to have small wax rods added to the surface that will come into flat contact with the clamp. These rods will be used to attach the figures (inserted into a drilled hole filled with epoxy).
 Original burlap sack and sack with waxed base 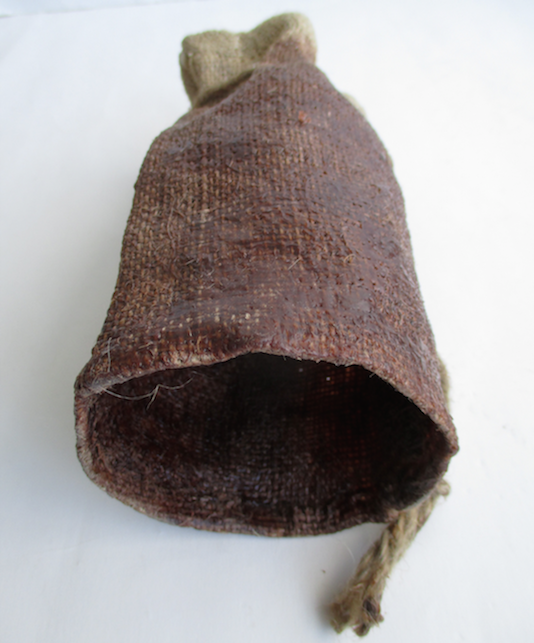 Burlap sack with hot glued bottom edge and initial coat of wax | As I continue to get projects ready for casting, I have added another potential project to my list of things to do. I recently came across some small (8" tall) burlap sacks that I had purchased on a whim some time ago. I decided that it might be interesting to try to cast one in bronze. I started by slitting open the bottom of the sack so that I could make the flat sack able to stand on its own. In order to give it more stability, I folded back the bottom edge and hot glued it to itself. Its walls would need to be thick enough so that the burlap sack would hold its shape when encased in the investment mold. They also need to be thick enough to allow the bronze to flow through the mold effectively. I have started this process by painting hot wax on the inside of the lower part of the sack, allowing it to soak through to the outside. After applying 2 layers of wax on the inside, I gave the outside a just a thin coat (to maintain the texture of the burlap). I shaped it while it was style pliable and then I allowed the sack to harden. The next step will be to apply wax to the top section of the sack and the drawstring, and add additional wax to the interior to reach a 1/4" thickness. |
The idea of a slightly open burlap sack has prompted me to consider a variety of potential directions for the final concept of the sculpture. What, if anything, does it contain? Is it one thing or many things? Is it something inert - or alive? Good or evil? Is it content to stay hidden or is it trying to escape? As I have said before - stay tuned!

 RSS Feed