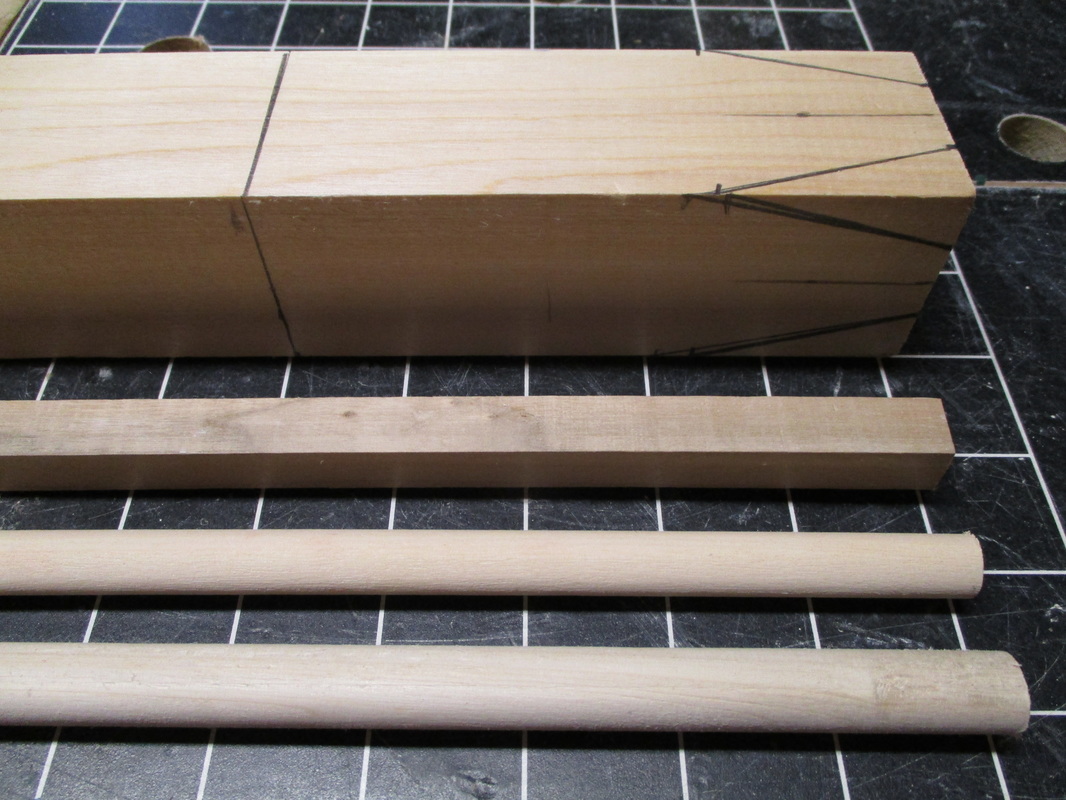
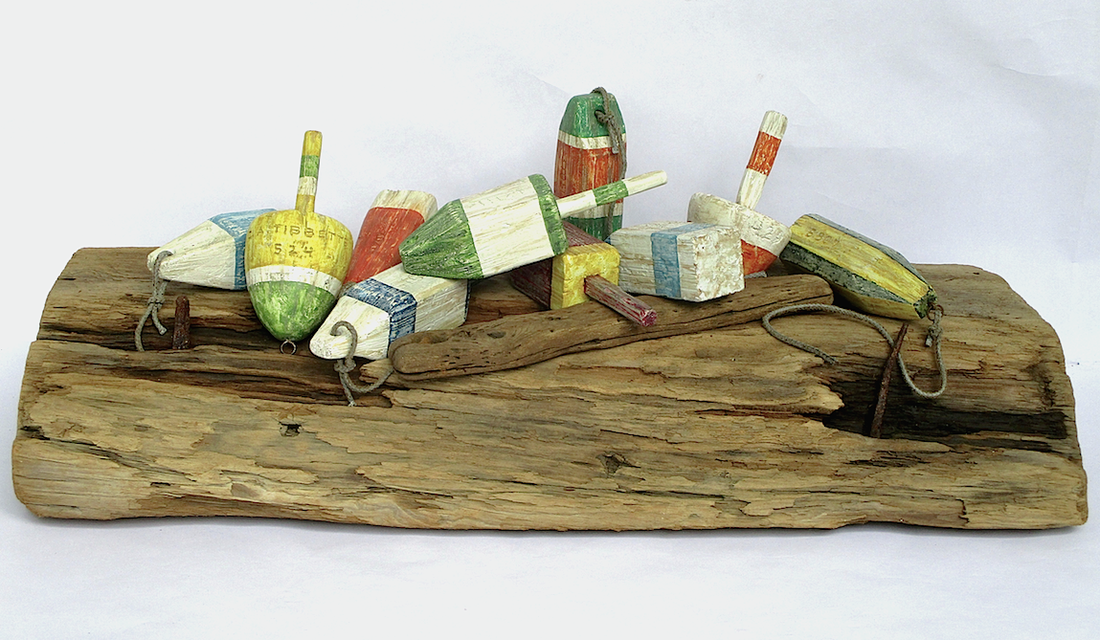
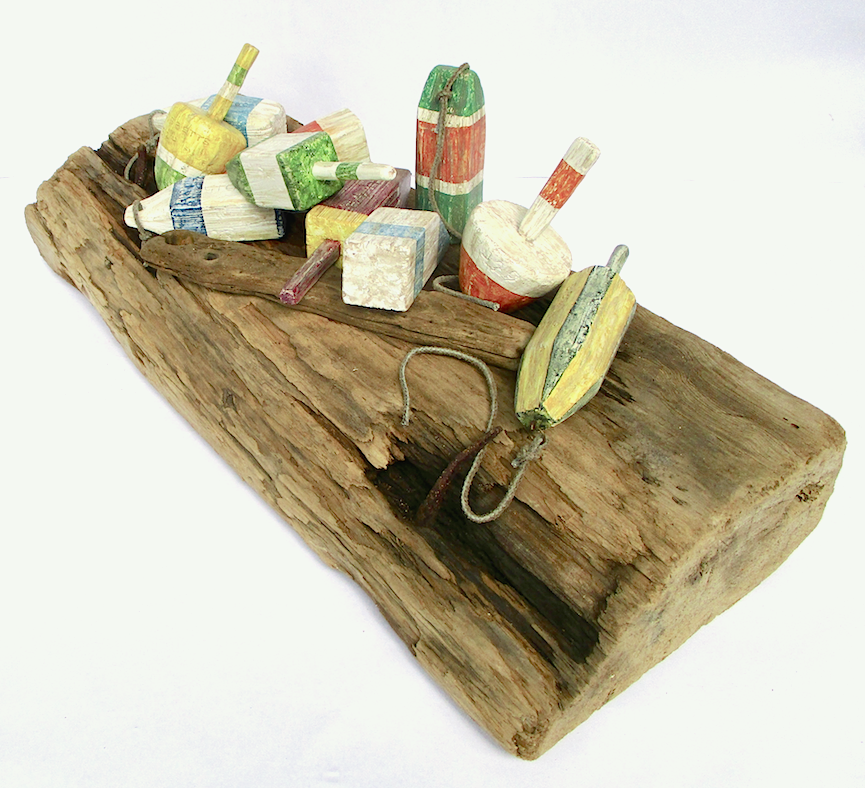
 The basics ...2"x2" wood & dowels 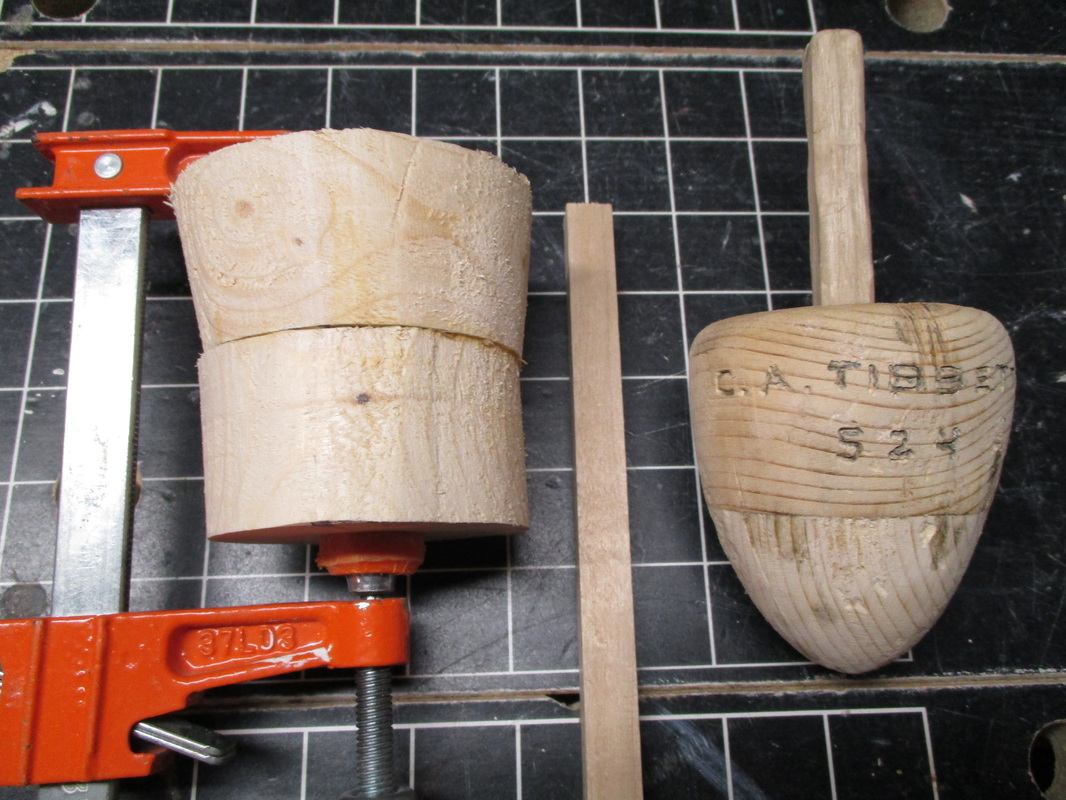 Gluing wood for rounded buoys 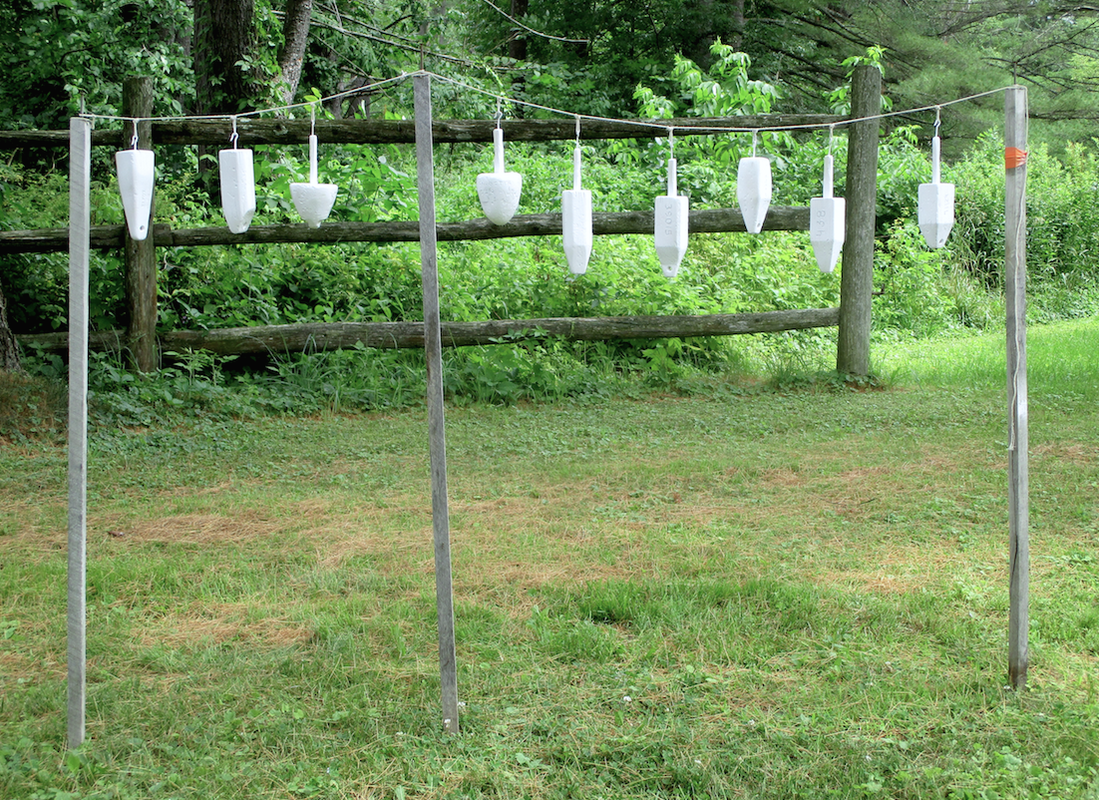 Spraying undercoatings on buoys 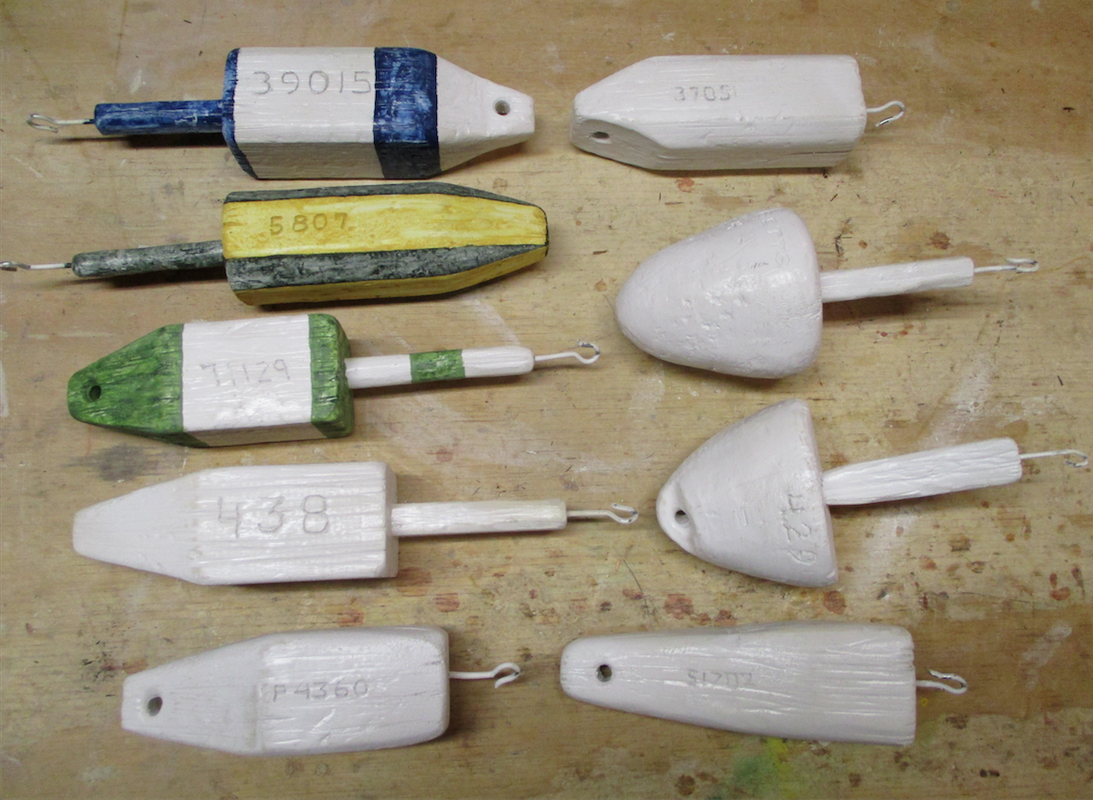 Starting to paint colors 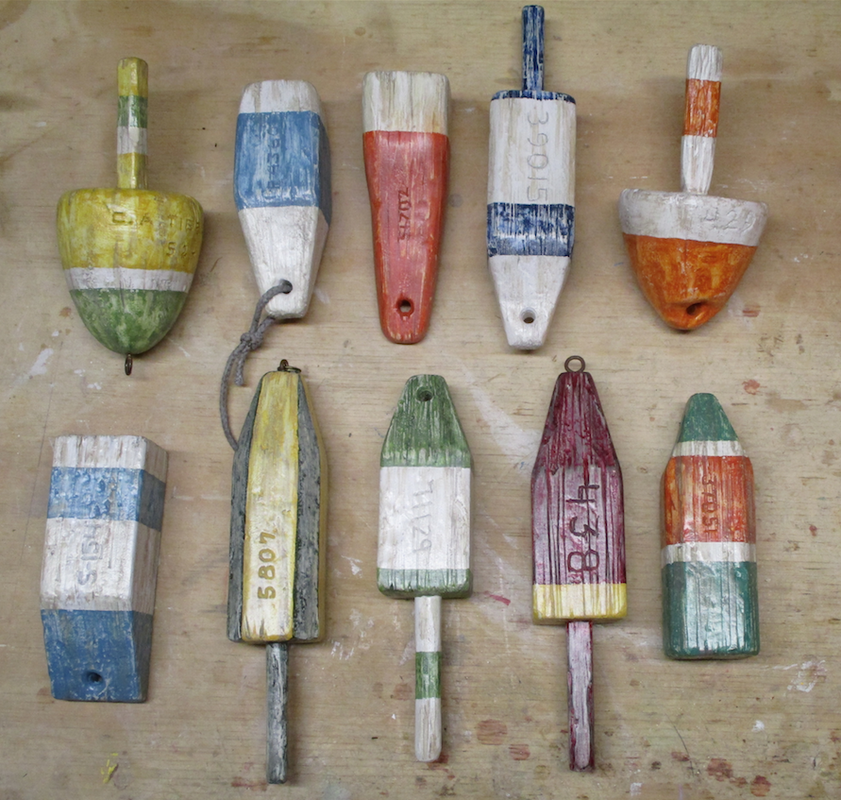 Painted, aged, and polyed 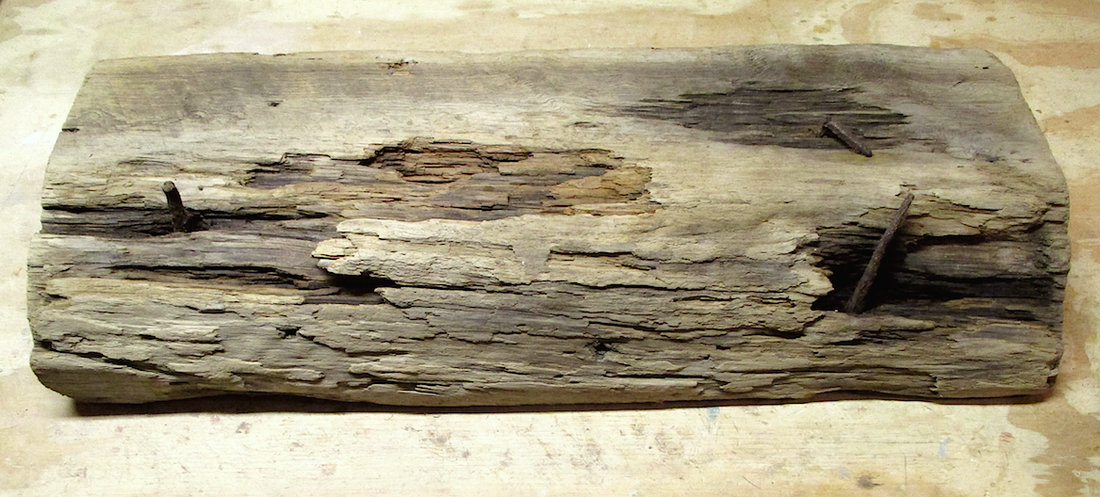 Driftwood  Lightening the load | At various times in past blog postings I have mentioned my love/hate relationship with themed art shows. I generally find that my sculptures don't tend to fit into the theme topics, so if I want to participate, I have to think outside "my box". That is how my latest piece came to be created. "Maine" was the theme for the August show at River Arts Gallery in Damariscotta, and, after a bit of "cogitating", I had a "bingo" moment ... lobster pot buoys! They vary in size, shape and color, and could be stacked, piled or arranged in a sculptural form. I was off and running! After googling pot buoys to come up with some examples of shapes and color patterns, I got some wooden dowels of different diameters and a couple of pieces of 2"x2" x36" and began construction. I made the main bodies of 8 buoys that were each 4" - 5 1/2" long out of the 2"x2" wood. I cut the "nose" ends of each buoy at different angles and used a draw knife to alter the corner edges to create different shape profiles. I added handles to some, using either round or square dowels of different lengths and diameters. I also made 2 additional pot buoys by gluing 2 pieces of 2"x4" cut into circles, and then tapering and shaping them into "acorn" shapes. I finished off construction by drilling holes and adding various identification numbers to each buoy with a Dremel engraver. As the buoys took shape, and I considered possible options for creating a 3-dimensional composition with the buoys, I had another "bingo" moment. A friend had given me an interesting piece of driftwood earlier in the summer. It appeared to be a section of a large timber beam. It was about 28" long, 8" deep and 5" high and had portions of 3 rusty spikes protruding from the top surface. The perfect weathered base. (It was quite heavy, so I decided to remove some wood from the underside to "lighten the load".) The next step was to to paint the buoys. I attached a small screwhook to each buoy and hung them on a line outdoors. I spray painted them with a layer of white primer, then a layer of grey and finished with another layer of white. (I knew I would be "aging" the buoys and wanted a sturdy base coat under the top layers of color.) After painting each of the 10 buoys with a different color combination, I "aged" them by banging them against a rough piece of stone, scoring the flat surfaces with the teeth of a metal comb, and lightly sanding them to give the paint a worn look. After sealing them with satin polyurethane, I began the task of assembling the piece. The first order of business was to determine how the buoys would be arranged on the top of the piece of timber. I decided that it needed something to add interest to the angles of the composition. I had a piece of a well-worn wooden slat that had been part of a wooden lobster trap... perfect addition! Before beginning the process of attaching the buoys to the timber, I created some "old" lines to attach to some of the buoys to add texture and direction to the arrangement. I stained some lengths of cord dark brown, spray painted them grey, and then used sandpaper to rough up the surface and create color variations. I drilled holes in the buoys at the point that needed to be attached to the beam (or another buoy), inserted a short length of wooden dowel with wood glue, then drilled a hole in the appropriate spot on the beam where the buoy needed to be attached. Once the buoys were glued into place, I glued the various lines into place and ...oh buoy! It was done! |
 |  |
Ol' Buoys Club

 RSS Feed