| Summer is flying by and the deadline for for the Brunswick 10x10 Art Show is fast approaching. This year, as in the past (see my blog entries for 8/15/14 & 5/29/13), I have chosen to make plaster reliefs. The process is relatively simple and the final pieces can be effectively mounted in the 10"x10" frames provided. I often utilize some form of repeated shape or pattern in my designs, and this year is no exception. I recently saw photo in the newspaper that caught my attention. It was a close-up image of a group of fish. It brought to mind the fascination of watching the small schools of fish swimming in formation in the fish tanks at L.L.Bean's in Freeport and at the Maine State Aquarium in Boothbay Harbor. As a former school teacher, I thought to myself...I'll create my own school! And I was off and running (swimming)! | 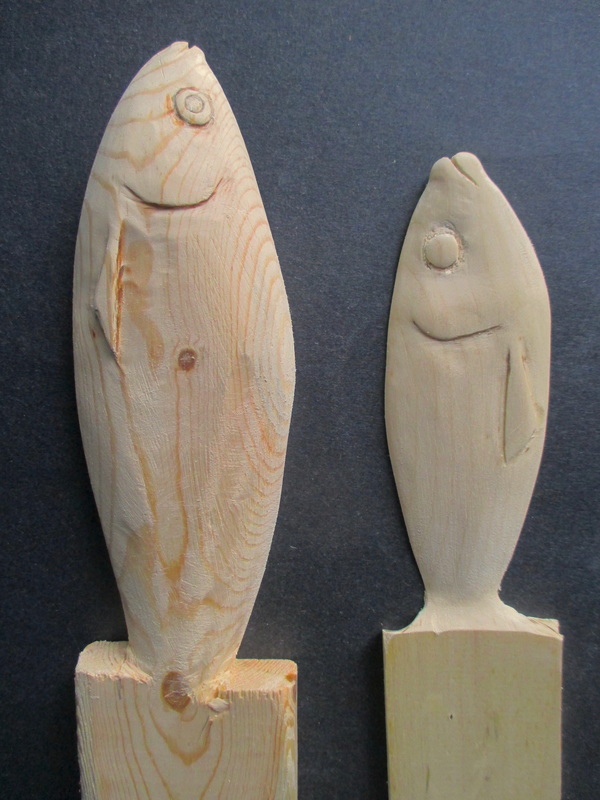 1st & 2nd fish |
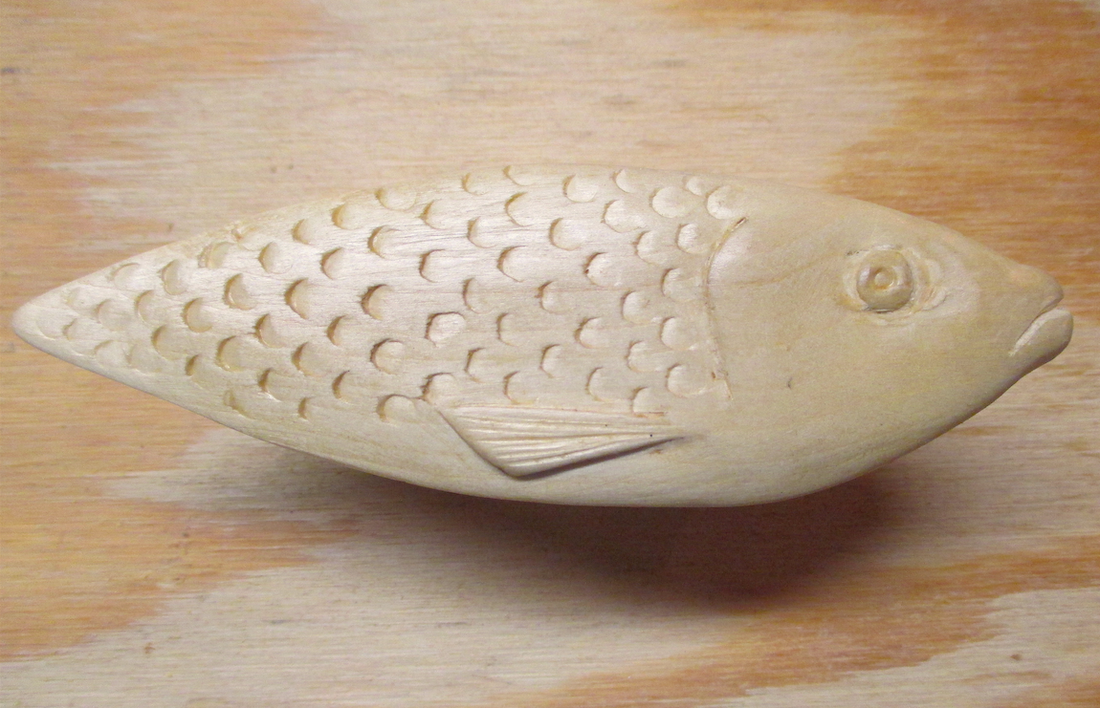 Finished fish | 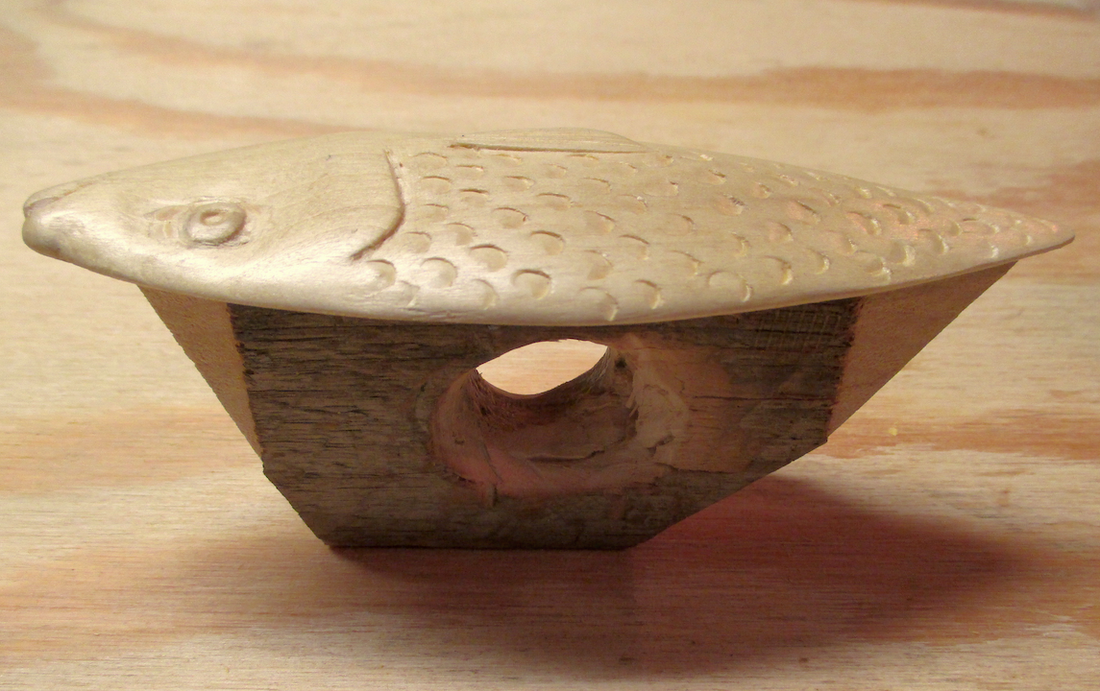 Fish with handle |
Step one was to create a wooden fish relief template that could be used to make effective impressions in a slab of clay. I roughed out a first attempt from a piece of wood that was 2 1/2" wide and 5/8" thick. I decided it would be too large and too deep to allow me at impress multiple images on the relatively small area of the final relief. My second fish was carved from a piece of wood that was 2" wide and only 1/4" thick. After deciding that the second fish was an appropriate size, I then finished shaping the mouth, eyes, gill and fin, and added scales by tapping the end of a metal rod at an angle into the soft wood. I attached a roughed out wooden handle to the back of wooden template to make it easier to manipulate, and then sealed the surface of the fish with satin polyurethane.
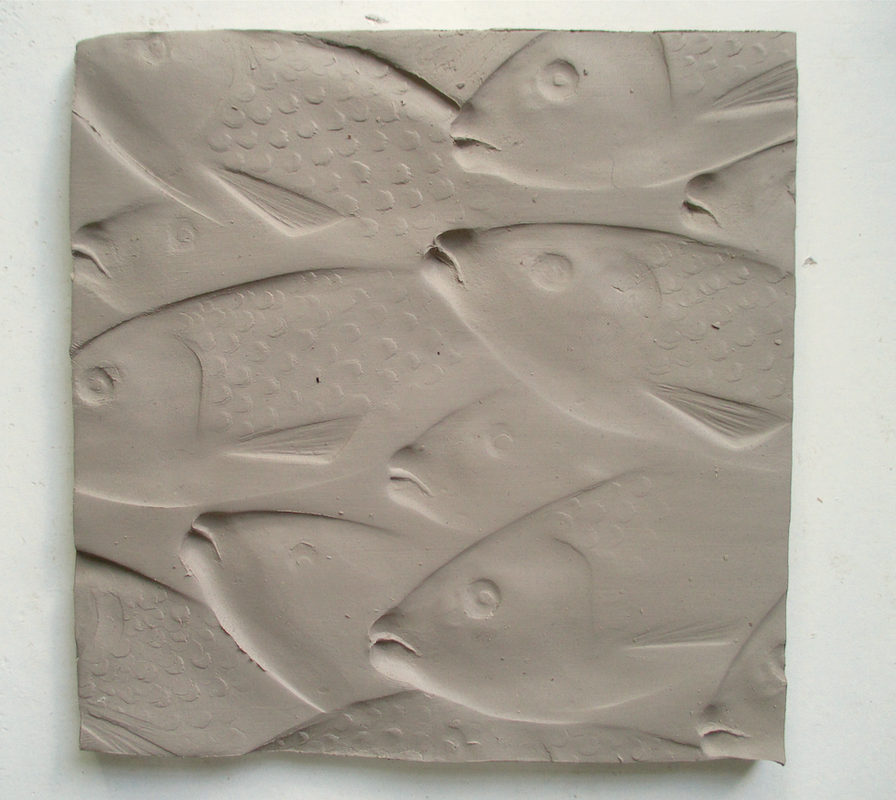 Clay impression no.1 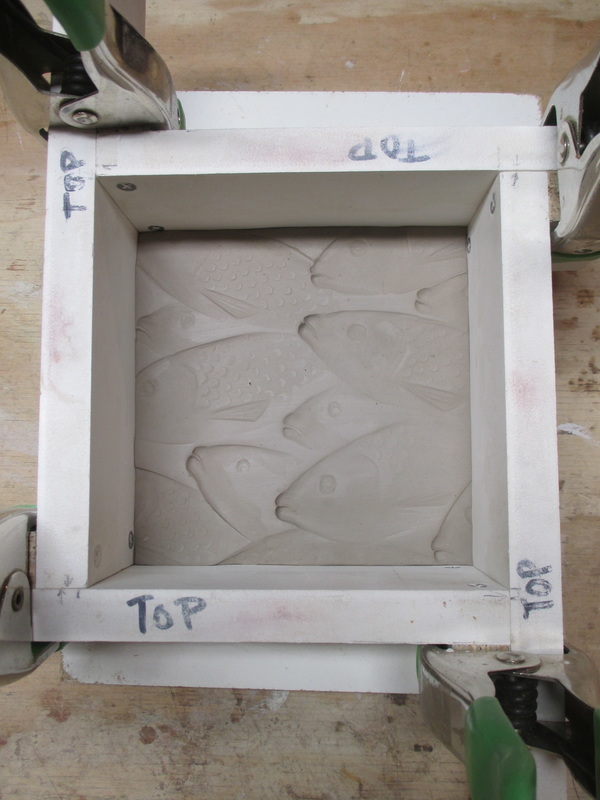 Clay in mold | The next step was to roll out a 1/2" thick slab of clay and experiment with the fish template. I knew I wanted to create a feeling of depth by overlapping fish, showing more of some and less of others. I tried various applications and amounts of pressure and angles. When I felt comfortable with the process, I rolled out a fresh slab of clay and made my first impression. After trimming the clay to size, I framed it with a mold and poured a plaster cast (about 5/8" thick). When the plaster was sufficiently hard, I removed the relief, separated it from the clay, and assessed the imprint. The scales were somewhat indistinct, so I re-stamped the scale marks on the fish with the metal rod. I rolled out another slab of clay, changed the composition, and repeated the casting process. The scales were much improved in the second casting. I made 2 more castings, varying the composition in each. The next step is to dry the casts thoroughly, and then make a decision as to how I will finish and frame them. In the past I have used a graphite gray acrylic that has proven to be very effective when the surface has interesting textures but, then again, I may go with a light color instead. I will use the first casting to test out possibilities... stay tuned! |
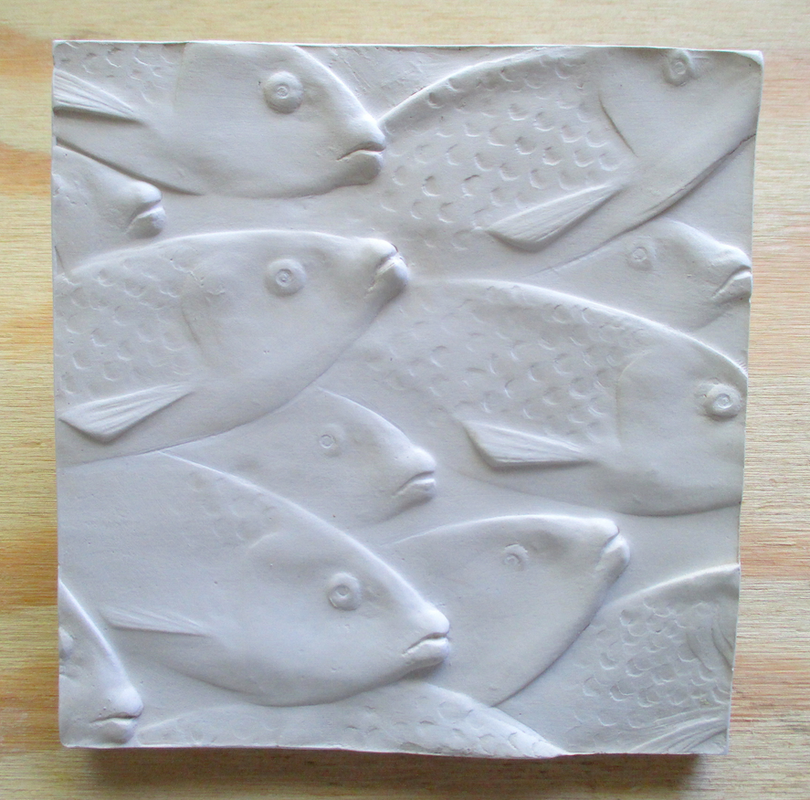 Cast No.1 | 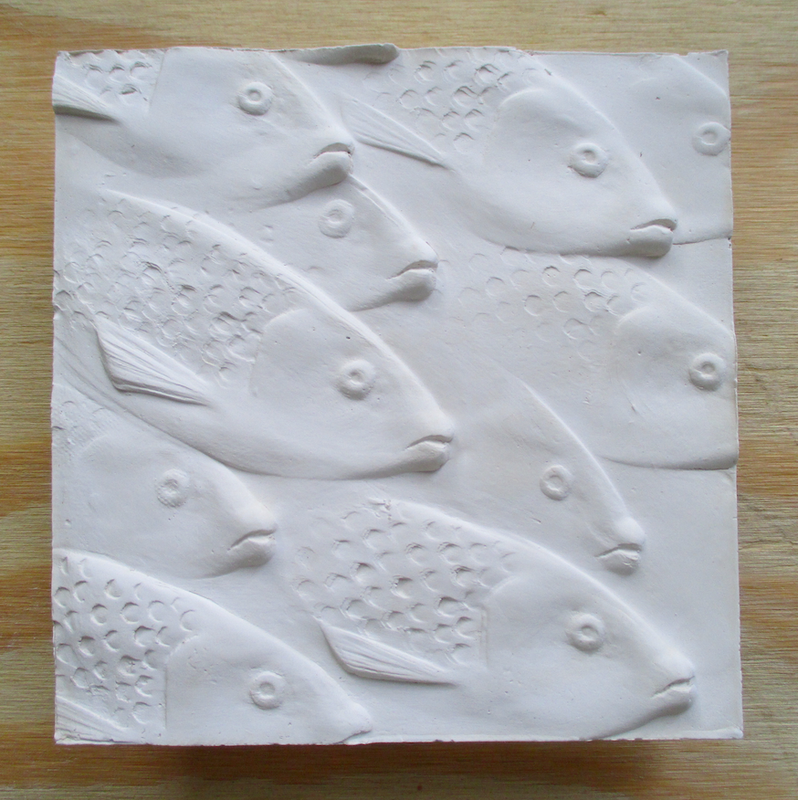 Cast No.2 | 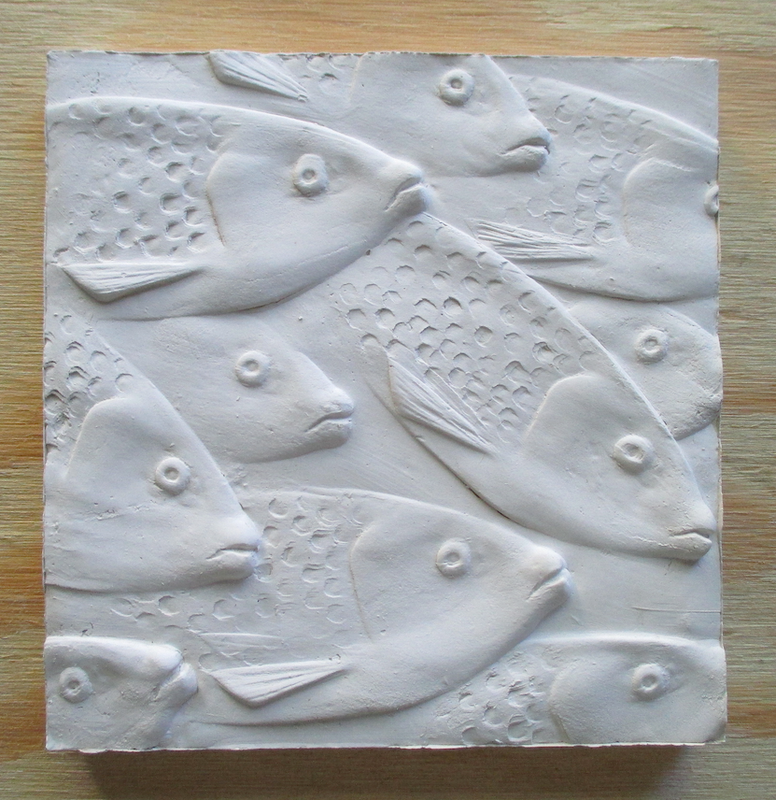 Cast No.3 |

 RSS Feed