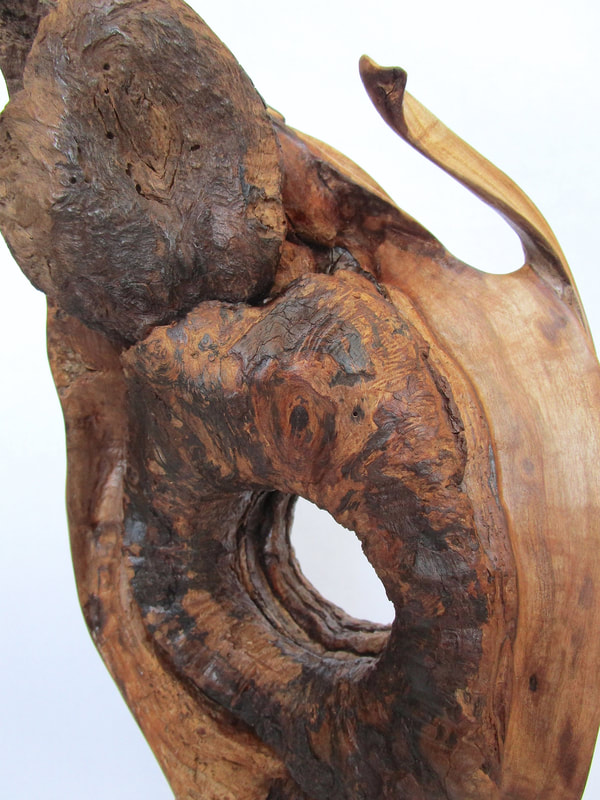
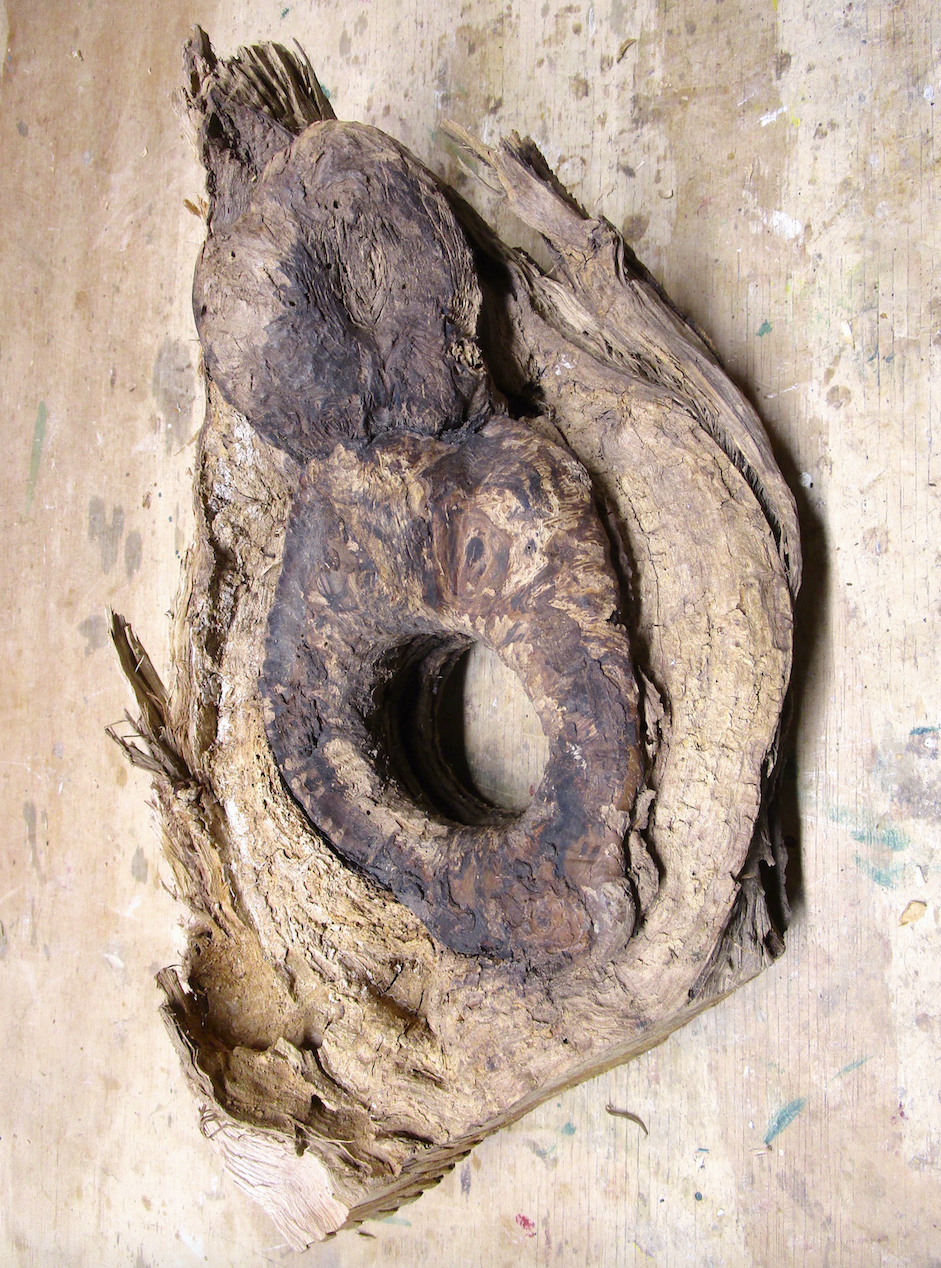
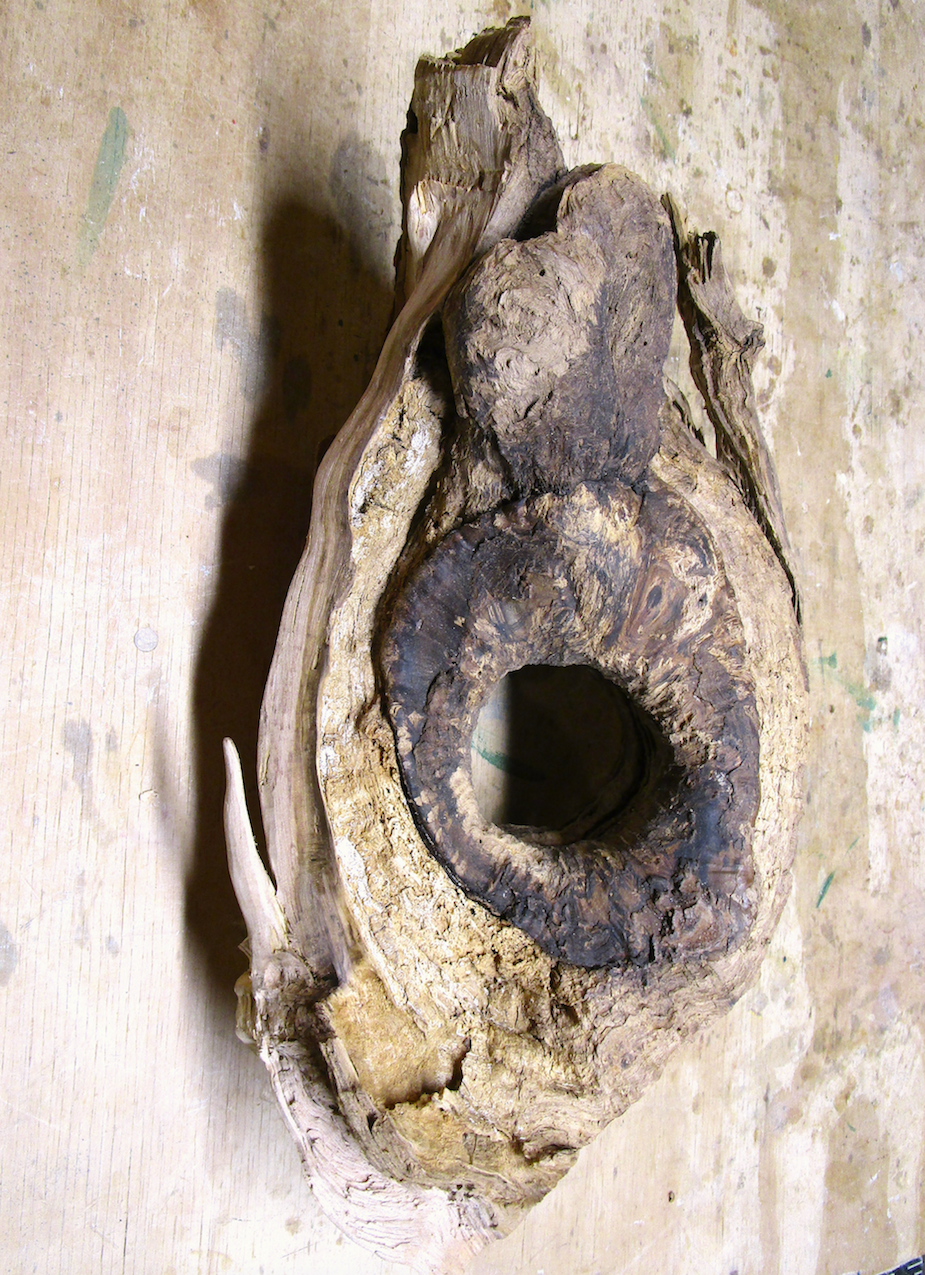
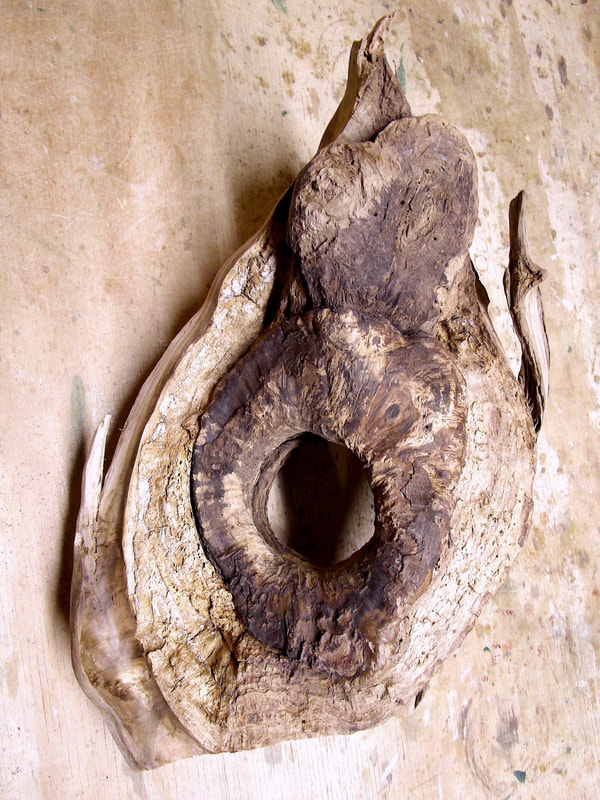
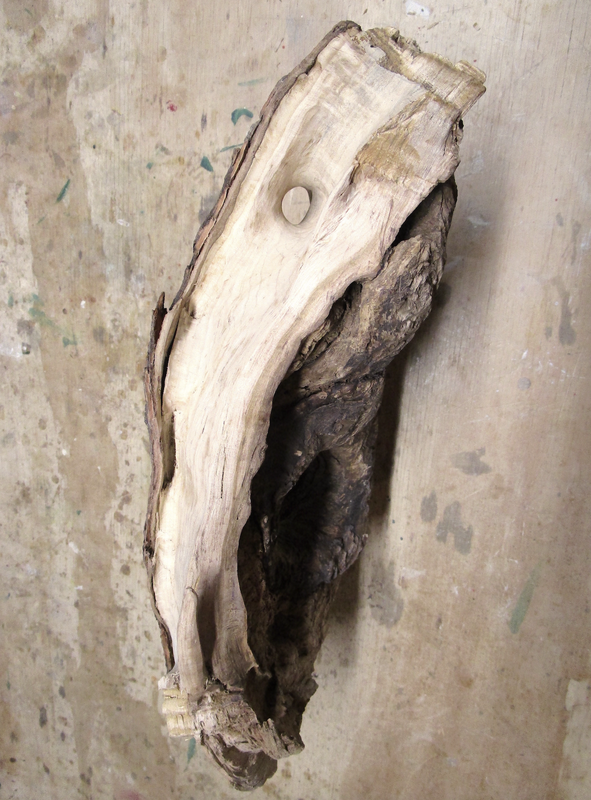
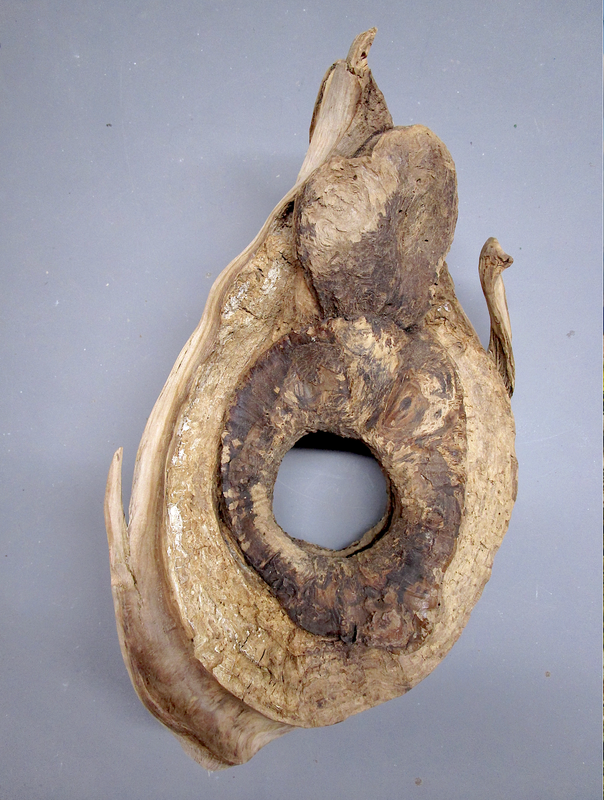
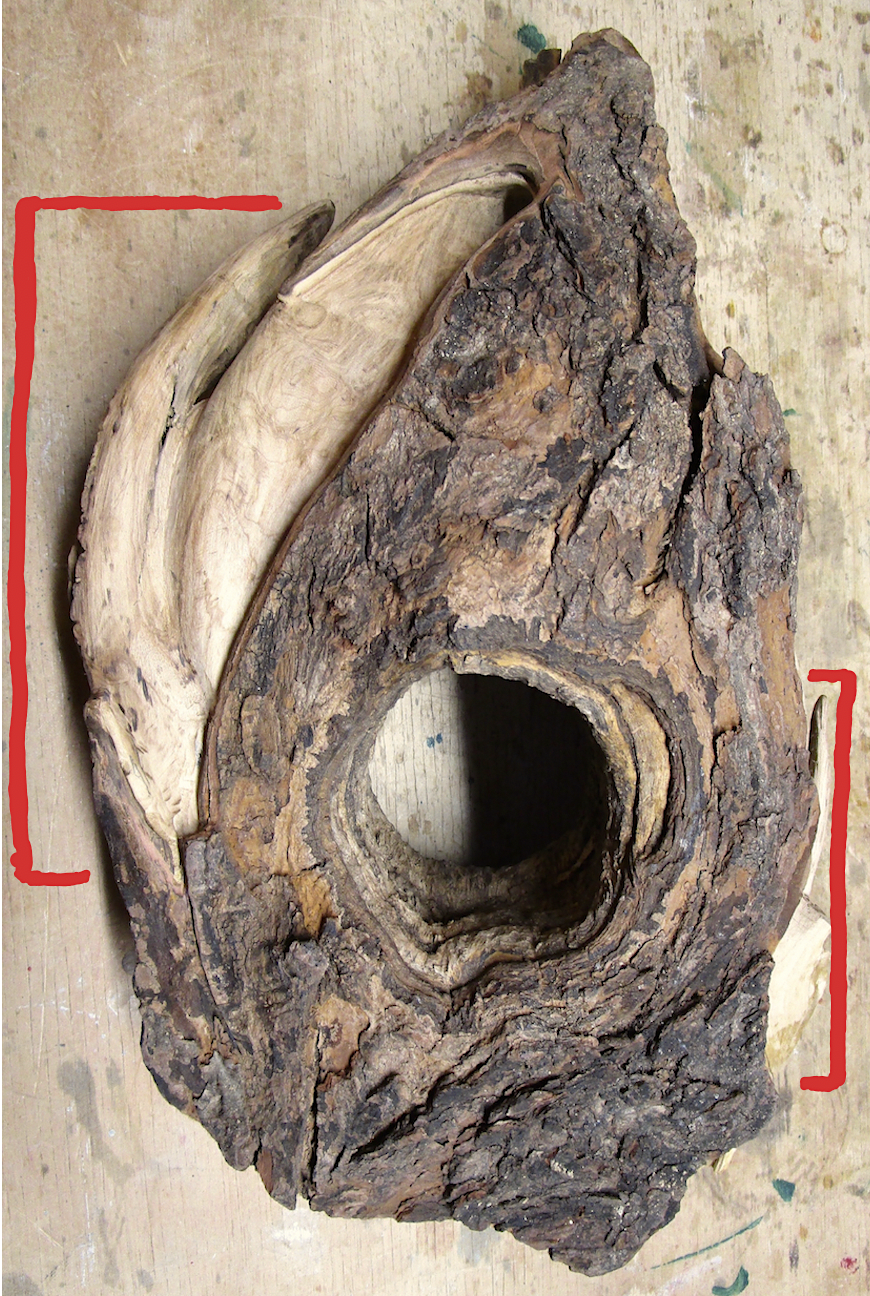
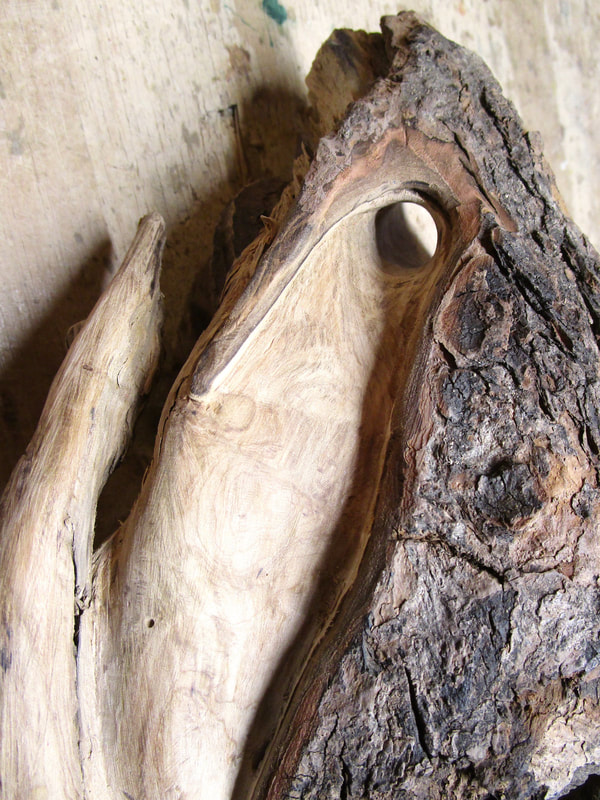
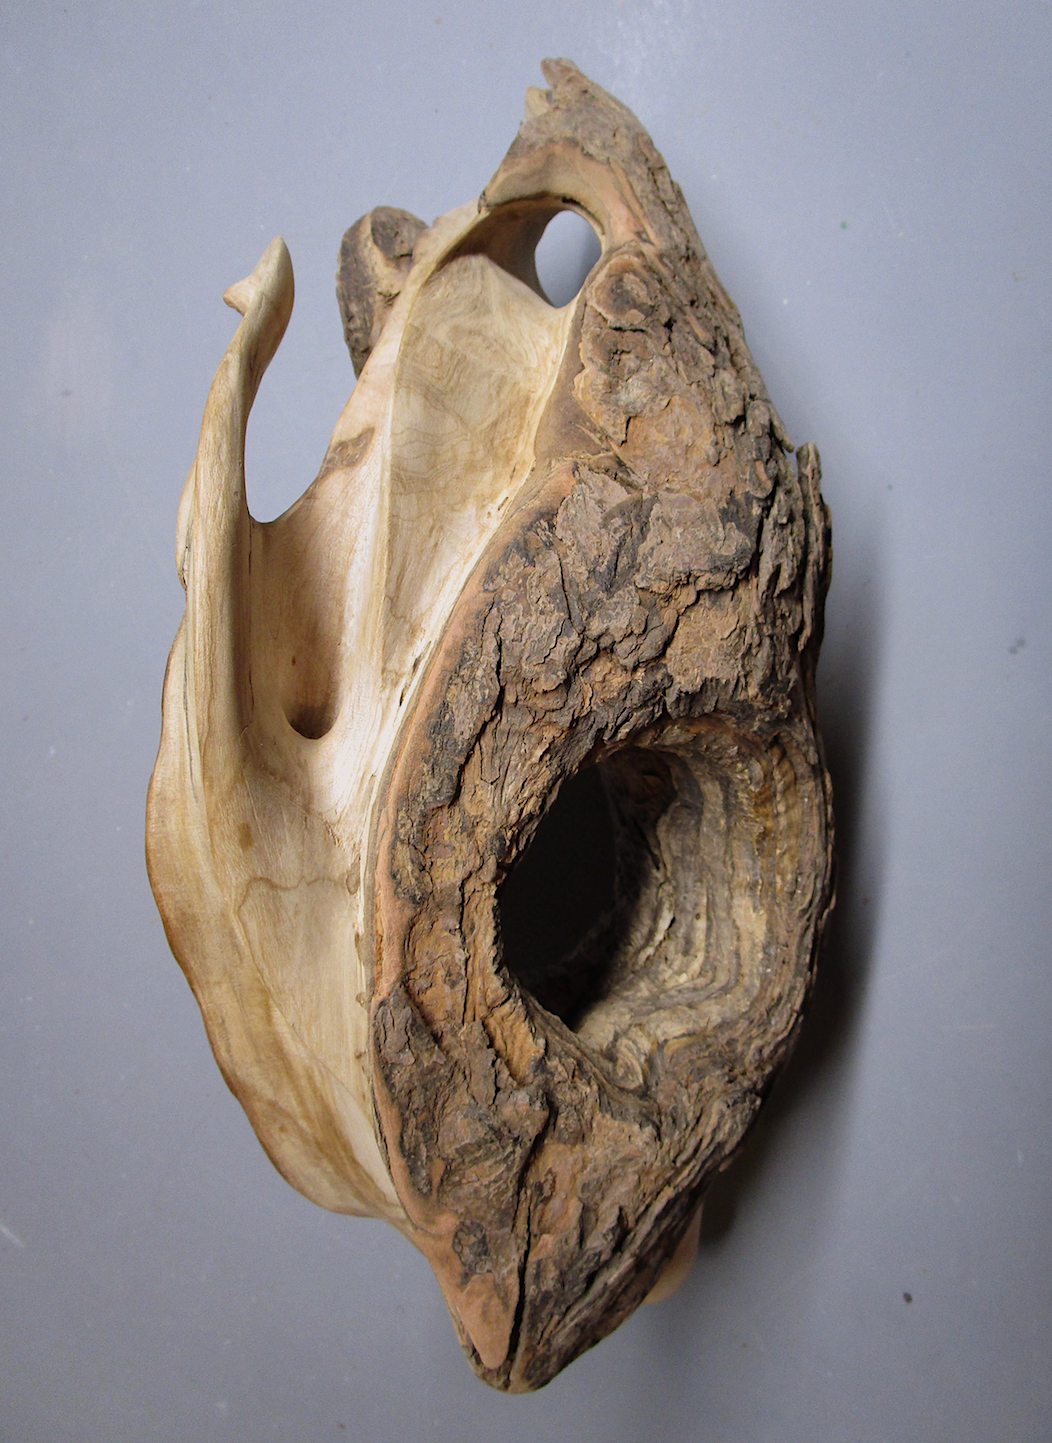
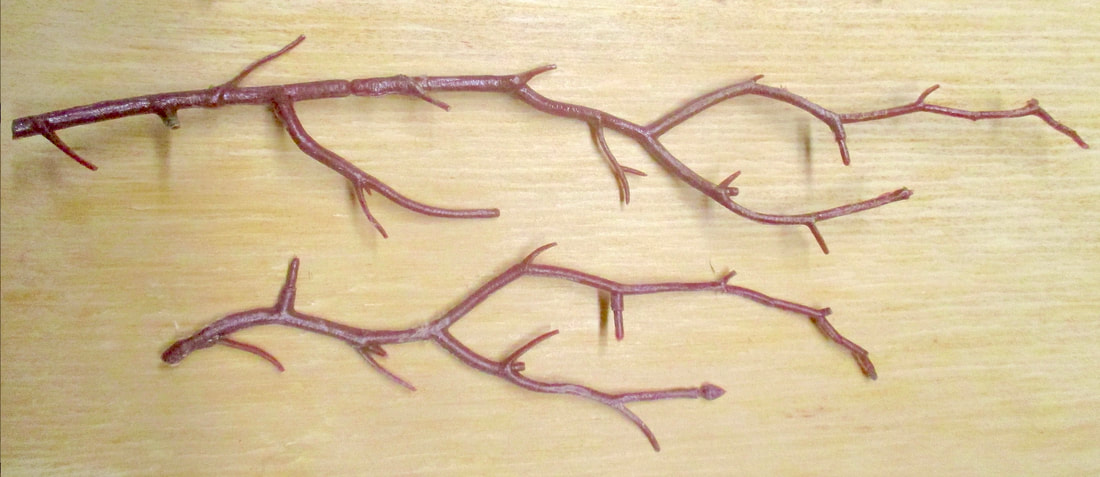
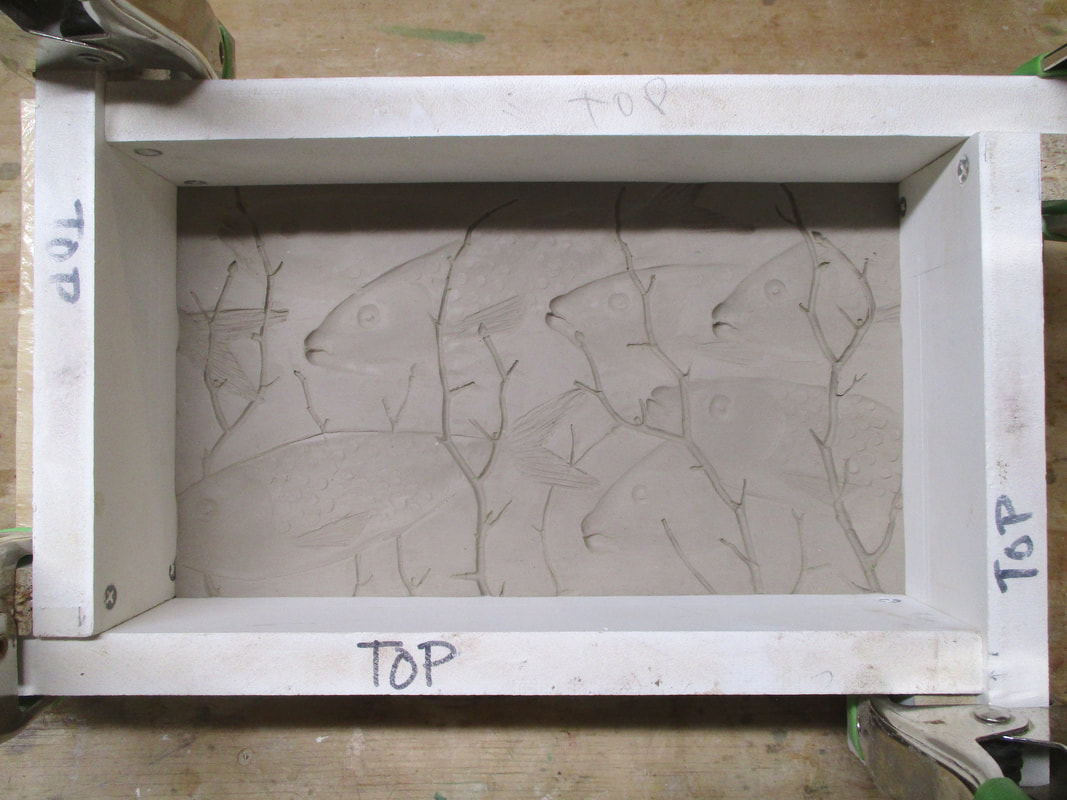
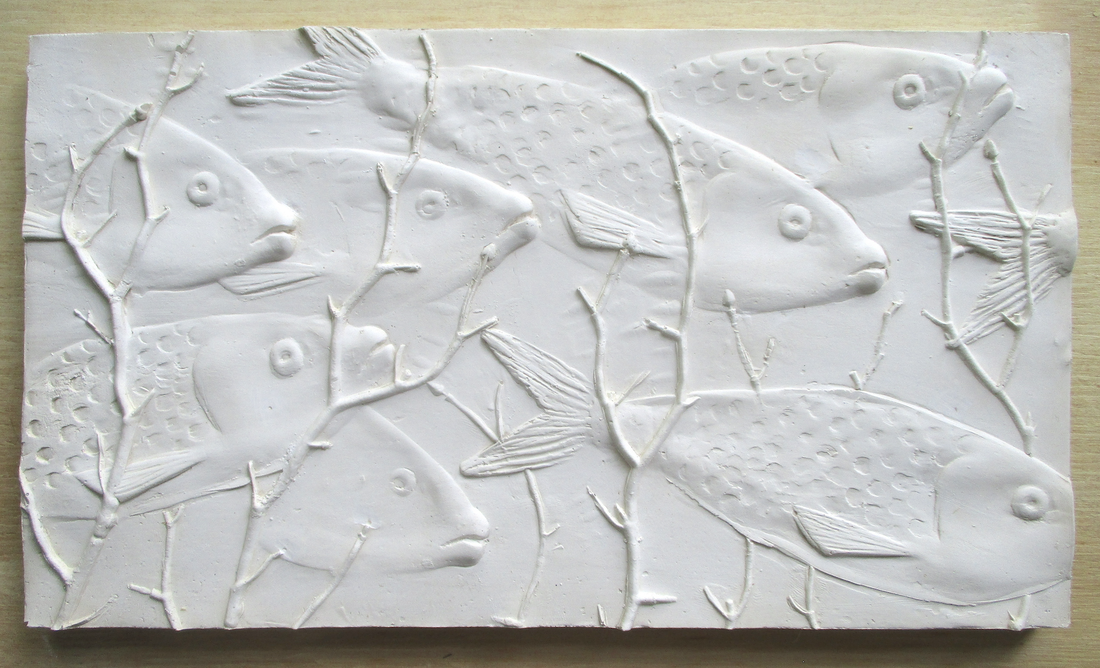
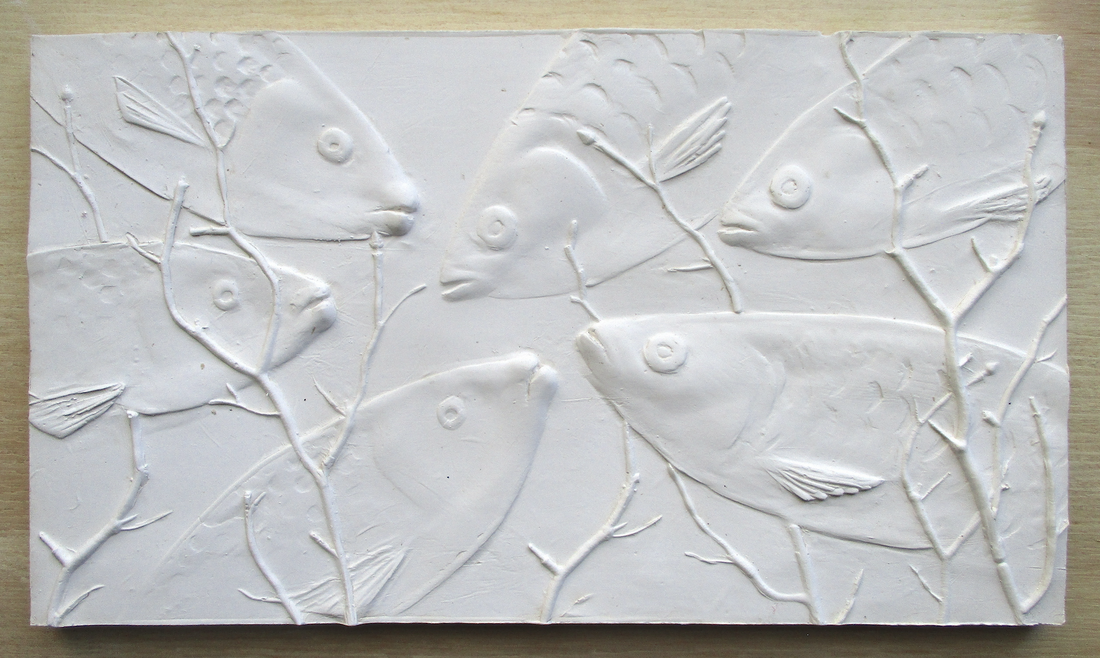
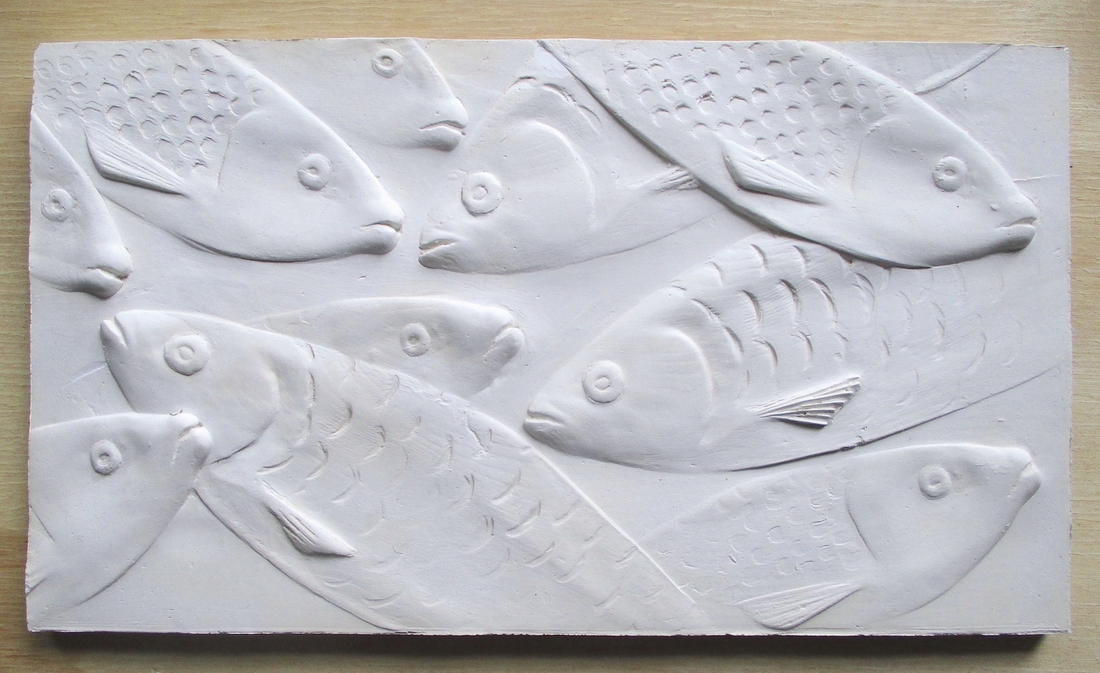
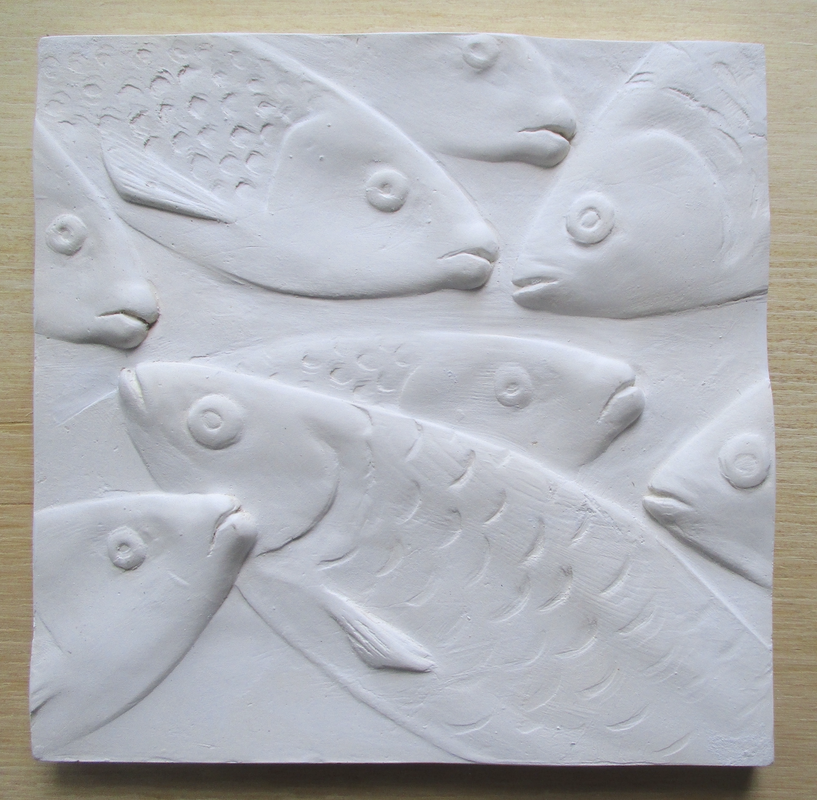
 3 pieces 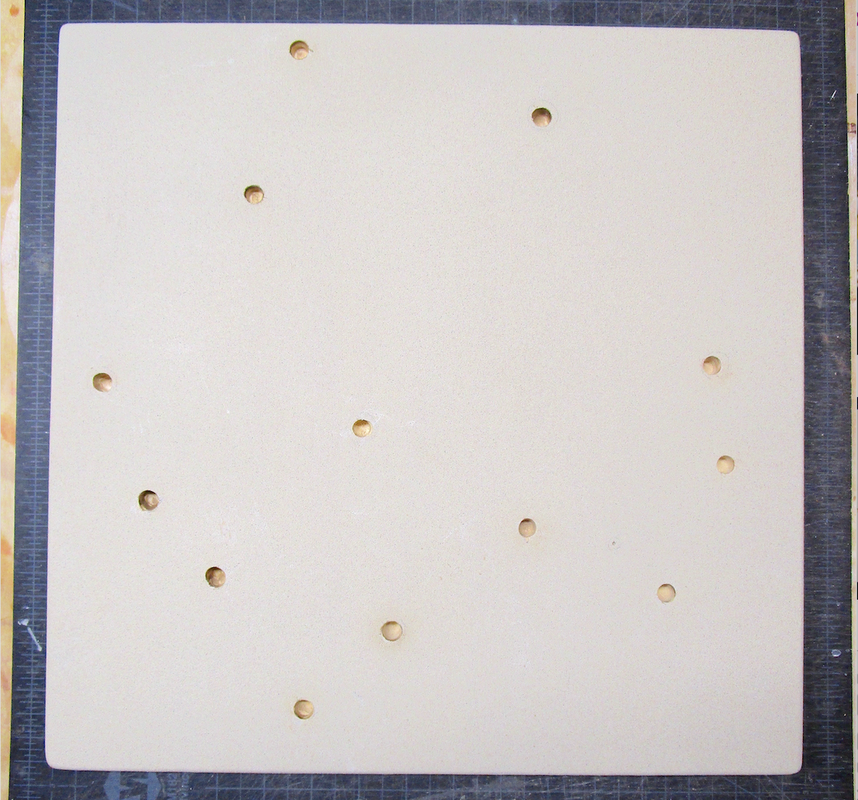 Holes drilled | With the start of the Maine art season fast approaching, I used the last couple of weeks to finish up one more project for my display area at Saltwater Artists Gallery in New Harbor. It is a three-piece ceramic relief sculpture that had been glazed and fired, but still needed to be mounted on a backing board. On the back side of each piece there were a series of holes for mounting pegs. After determining the spacing of the pieces on the backing board, I drilled corresponding peg holes in the board and spray painted the board with Caribbean Sand textured spray paint. I then epoxied short wooden dowels into the holes in the ceramic pieces. The last step before mounting the pieces on | 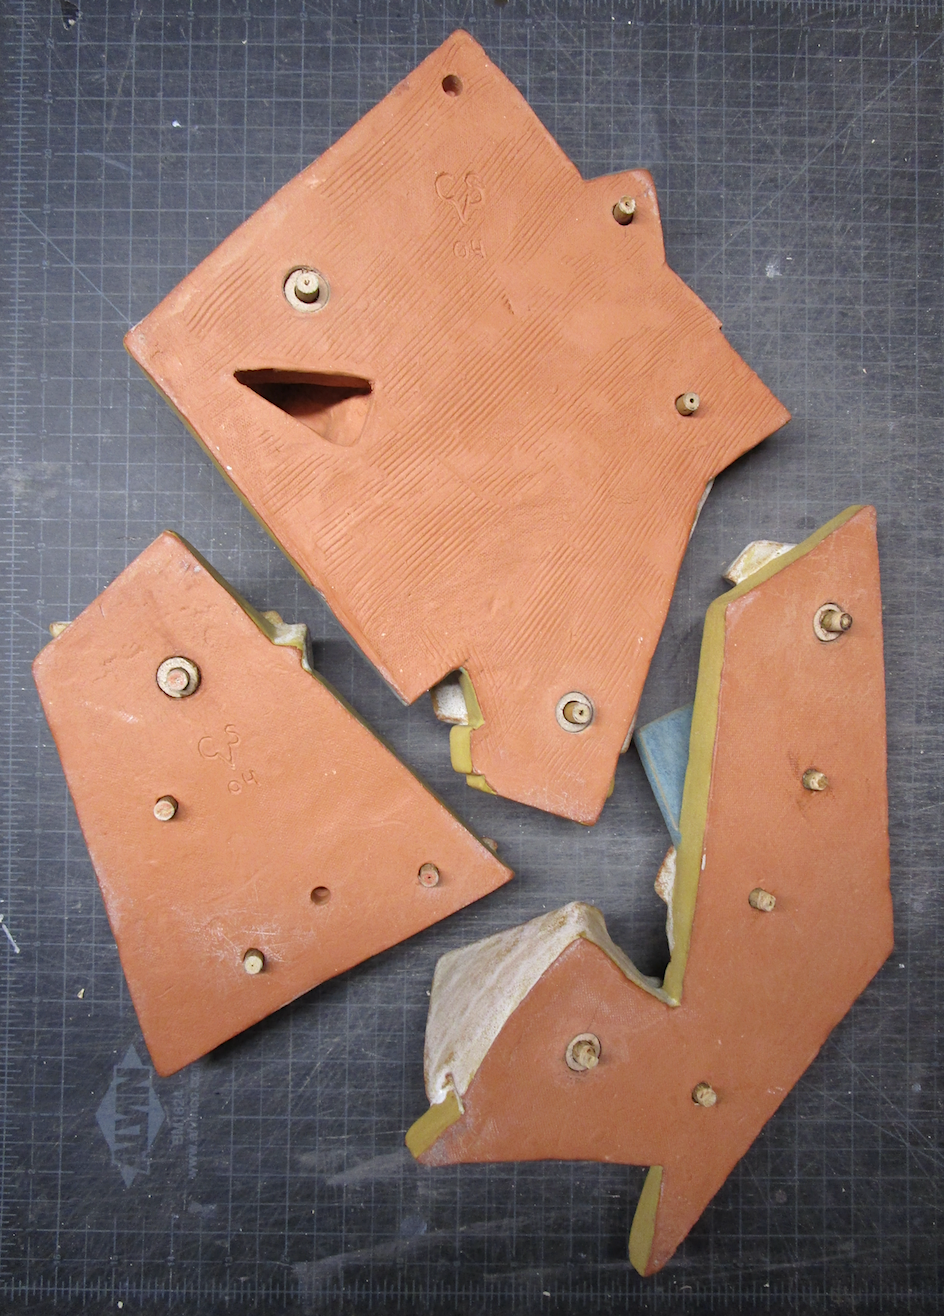 Pegs epoxied 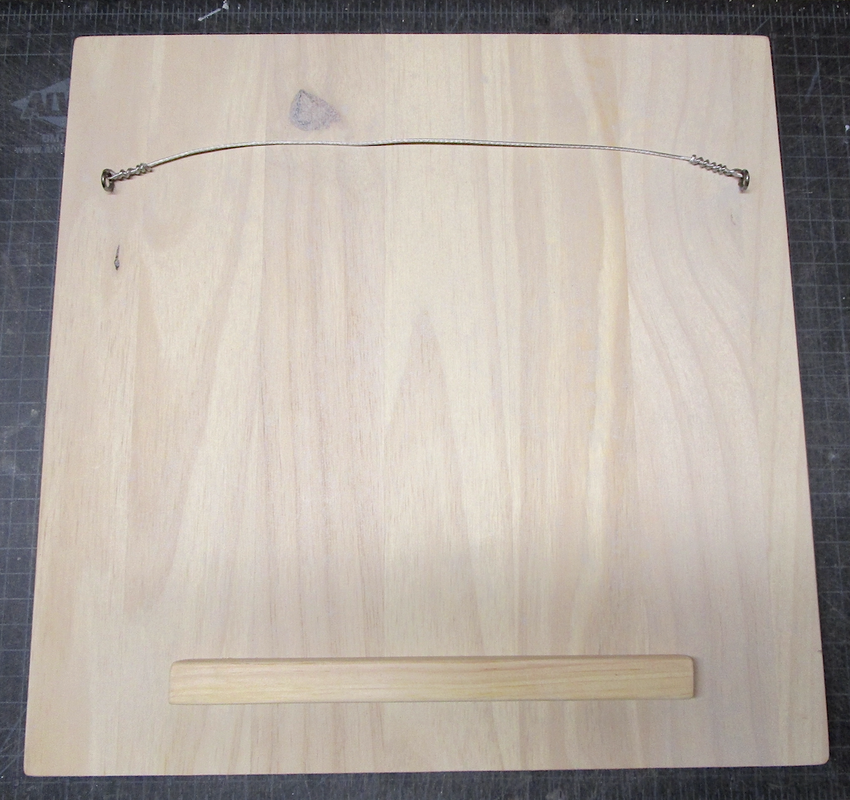 Reverse side set-up |
the board was to attach a wooden strip on the back (to allow the piece to hang flat in spite of the weight of the ceramic pieces) and a hanging wire.
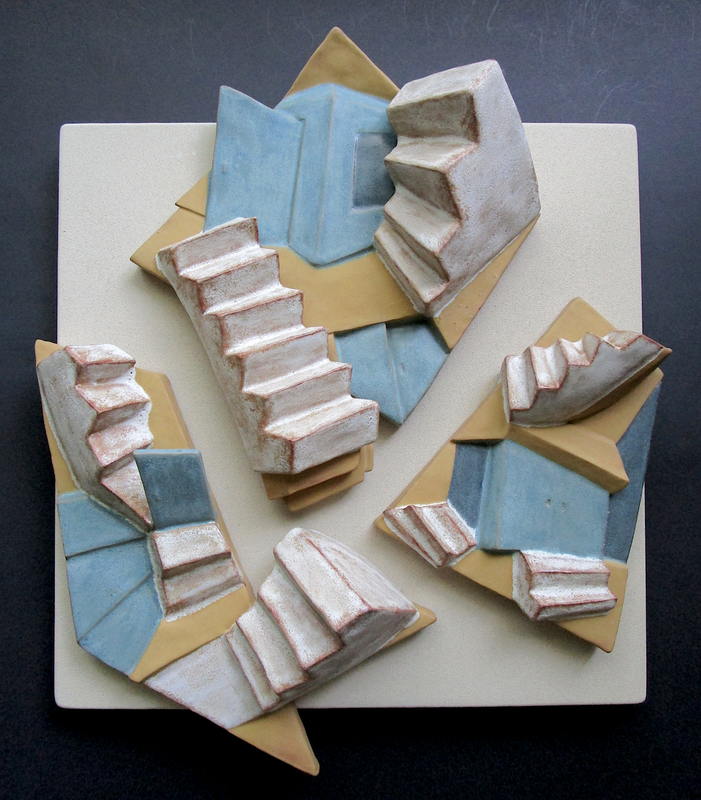
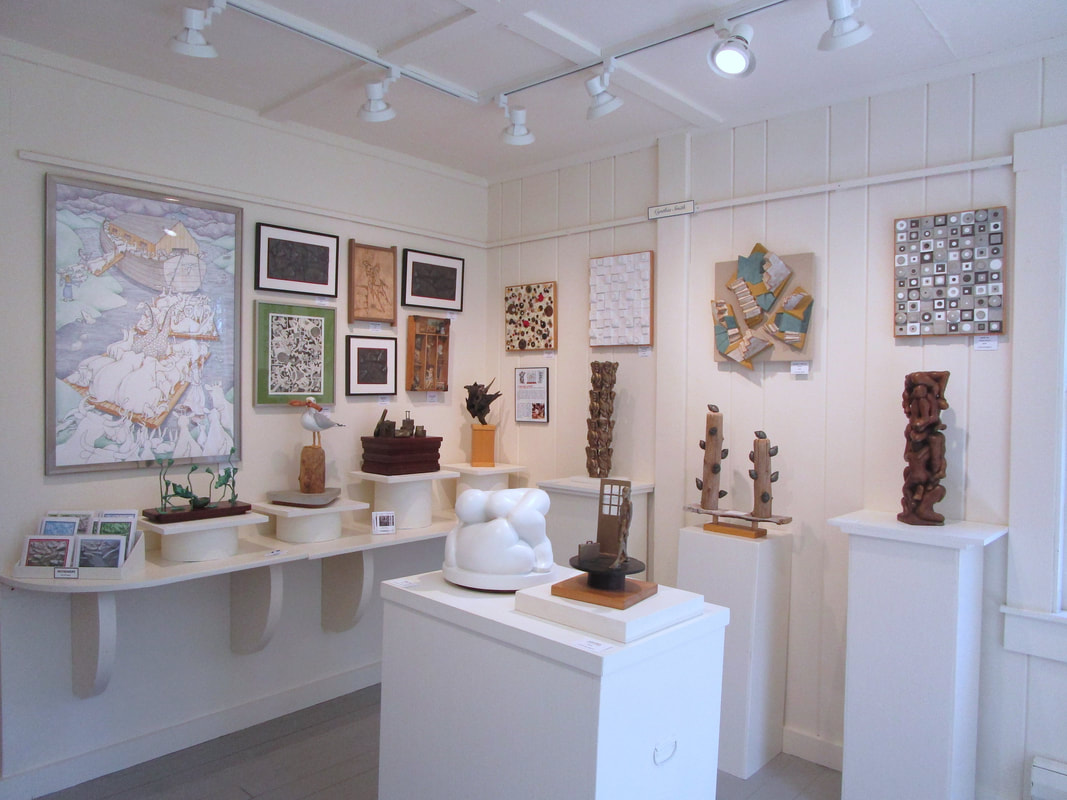
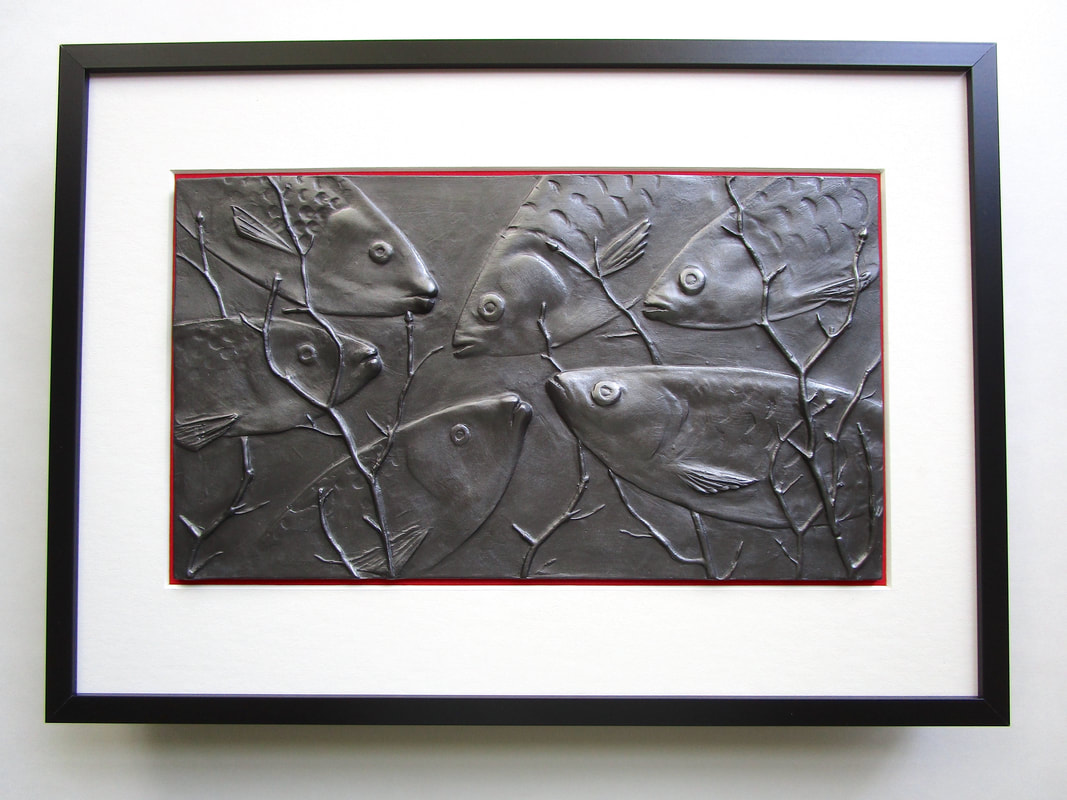
Finally I epoxied each piece to the backing board - it was ready to hang! I loaded it and the rest of the work that I had selected into my car and headed to New Harbor to set up my display area at Saltwater Artists Gallery. The gallery opens for long weekends starting May 28th and then will be open daily starting on June 18th...stop by if you are in the neighborhood!
Finally I epoxied each piece to the backing board - it was ready to hang! I loaded it and the rest of the work that I had selected into my car and headed to New Harbor to set up my display area at Saltwater Artists Gallery. The gallery opens for long weekends starting May 28th and then will be open daily starting on June 18th...stop by if you are in the neighborhood!
 Mounted | 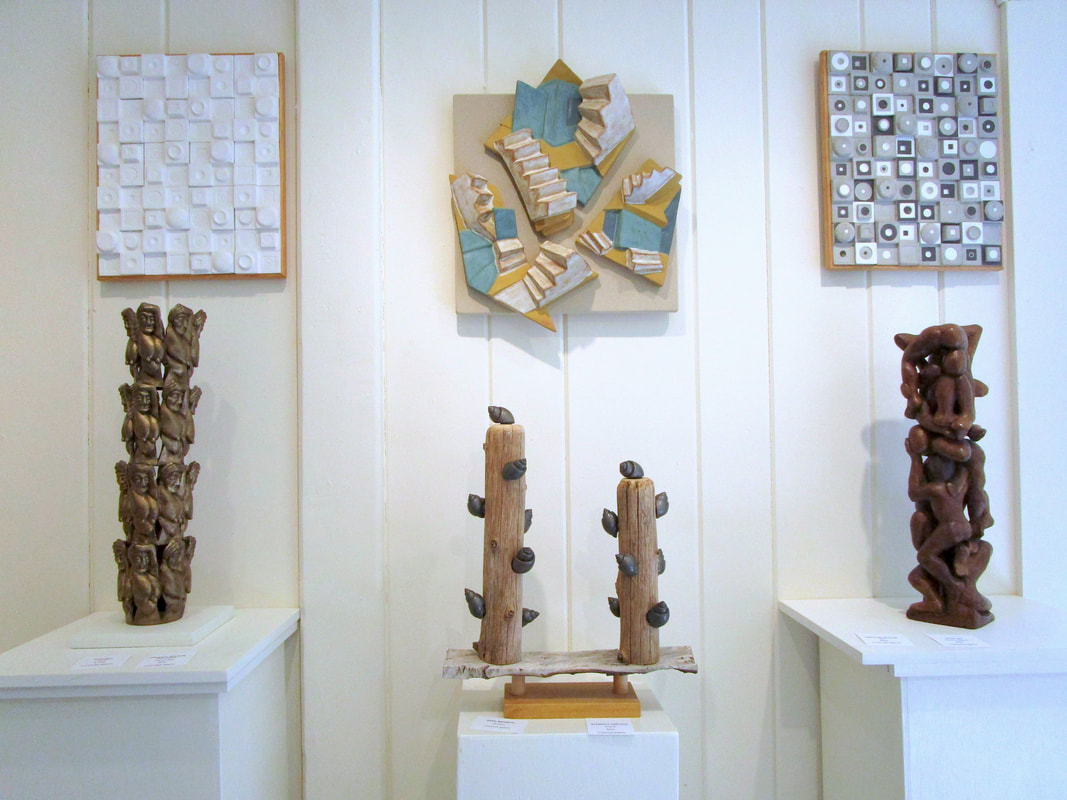 Hung |
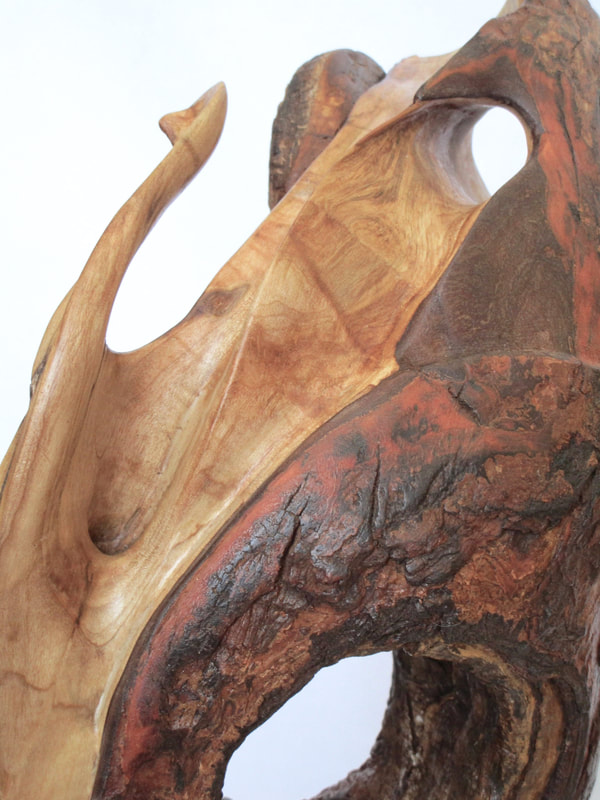
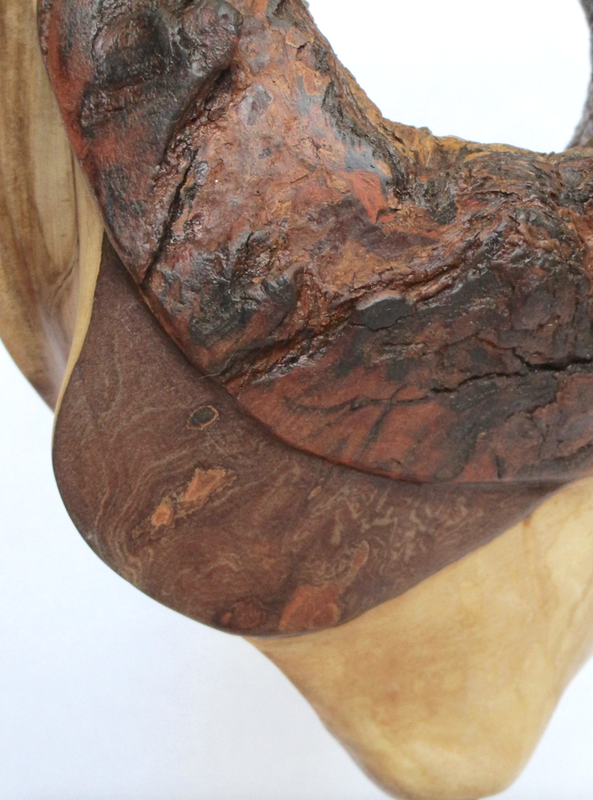
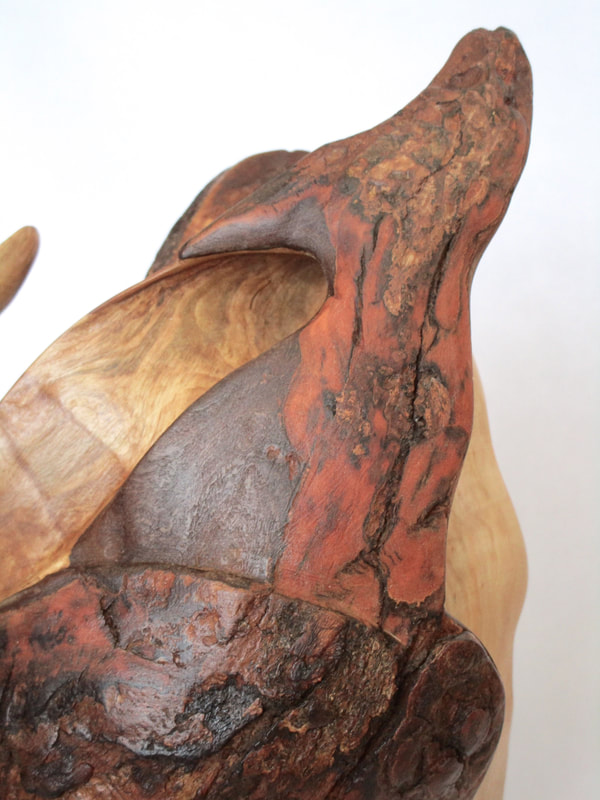
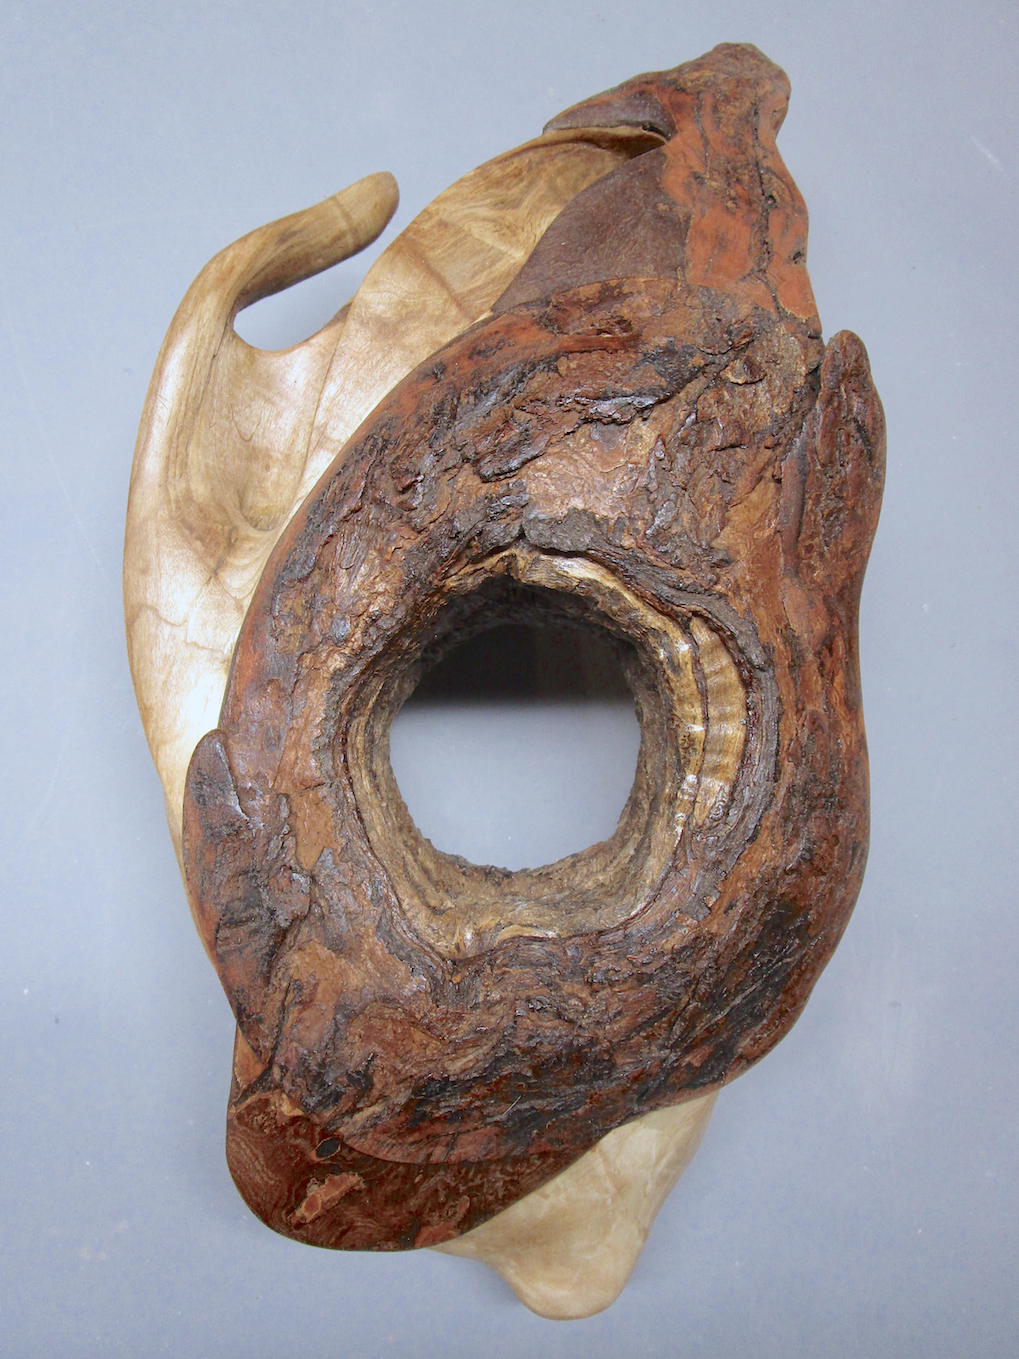
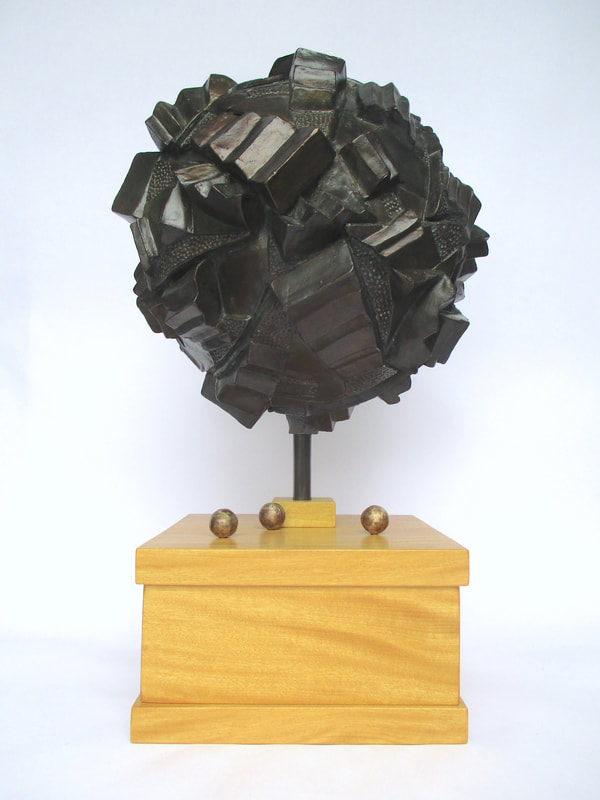
..."Stairway Triptych" and friends - ready for Saltwater Artists Gallery opening day


 RSS Feed