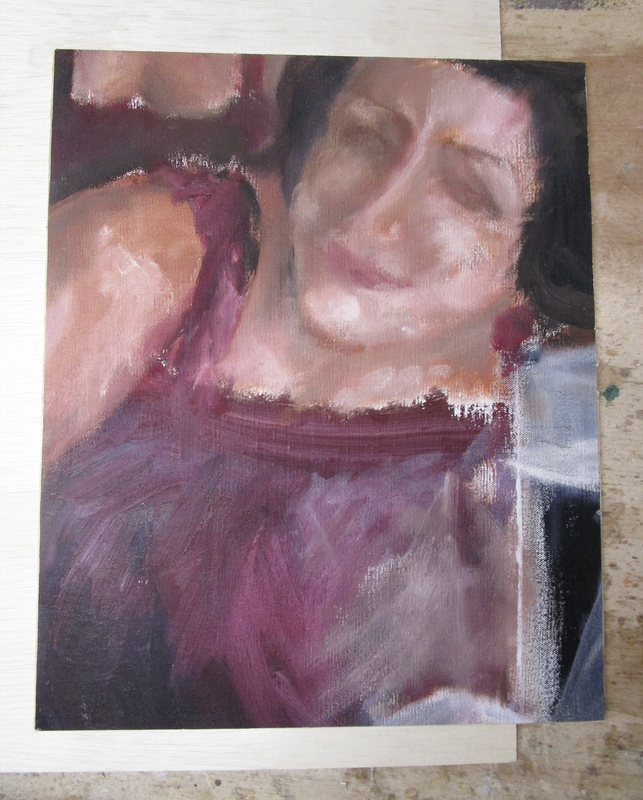
 Painting & backing board | I would never claim to be a painter, but I do have a few paintings remaining from college classes that I took many years ago. I recently un-earthed a 13"x16" section that I had excised from one of those paintings (I had "liberated" what I felt was the more interesting portion of a larger composition). As is often the case for me, this kind of rediscovery can be the impetus for a "reincarnation". In my mind I immediately pictured this image of a woman peering out of a small window. The proportions of the woman and her apparent proximity to the window would make her look larger and the window look smaller. I also wanted something on the sill - perhaps a small flower pot containing a seedling? |
I began this piece by adhering the painting to a 1/4" thick piece of birch plywood so that I would be able to mount it in the to-be-constructed window frame and to insure that the canvas wouldn't distort over time. I then proceeded to construct a small window that included a recess on the back side where the painting could be attached with small screws. I painted the window an off-white, and, before installing the painting, I painted out the partial image of a second figure that could be seen over the left shoulder of the woman in the foreground.
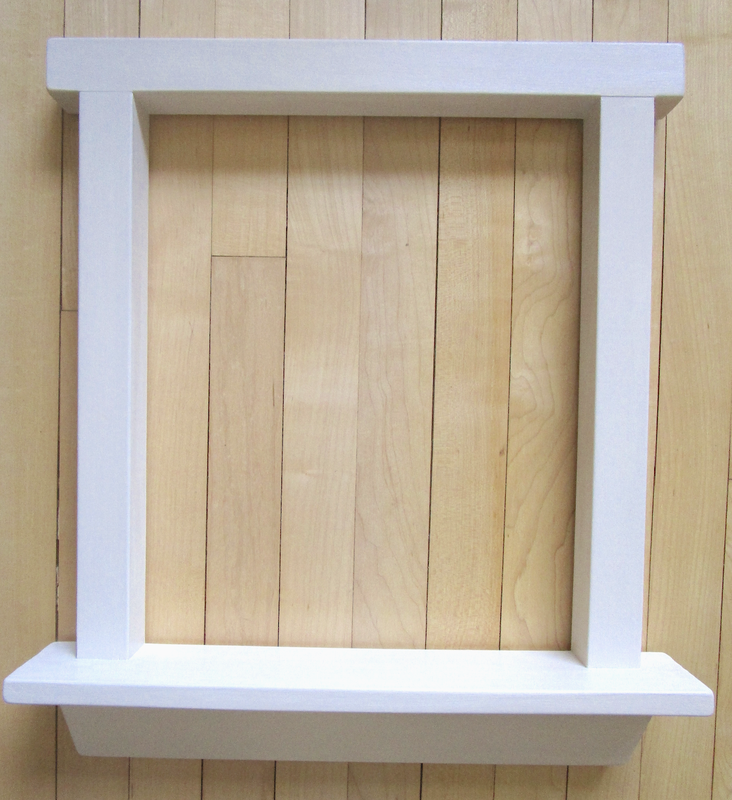 "Window" constructed & painted |  Back side - showing inset | 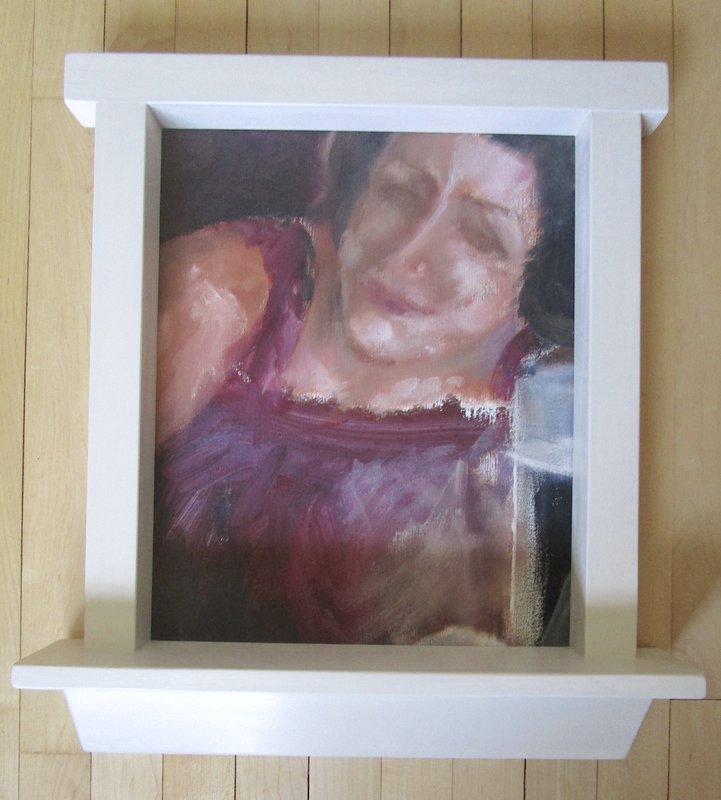 Painting edited & mounted |
The next step was to tackle the potted plant for the sill. I had a 3" terra cotta seedling pot that was a perfect size for what I had in mind, but it was "new", so I "aged" it using acrylic paint. I wanted to attach the pot with a bolt rather than simply epoxying it to the sill. I put a 1/4 thick layer of Apoxie clay in the bottom of the cup to prevent the pot from cracking when the bolt was tightened, and then drilled a hole through it after it hardened. I then drilled a hole in the sill and made sure that the pot would screw into it securely. I was ready to "plant".
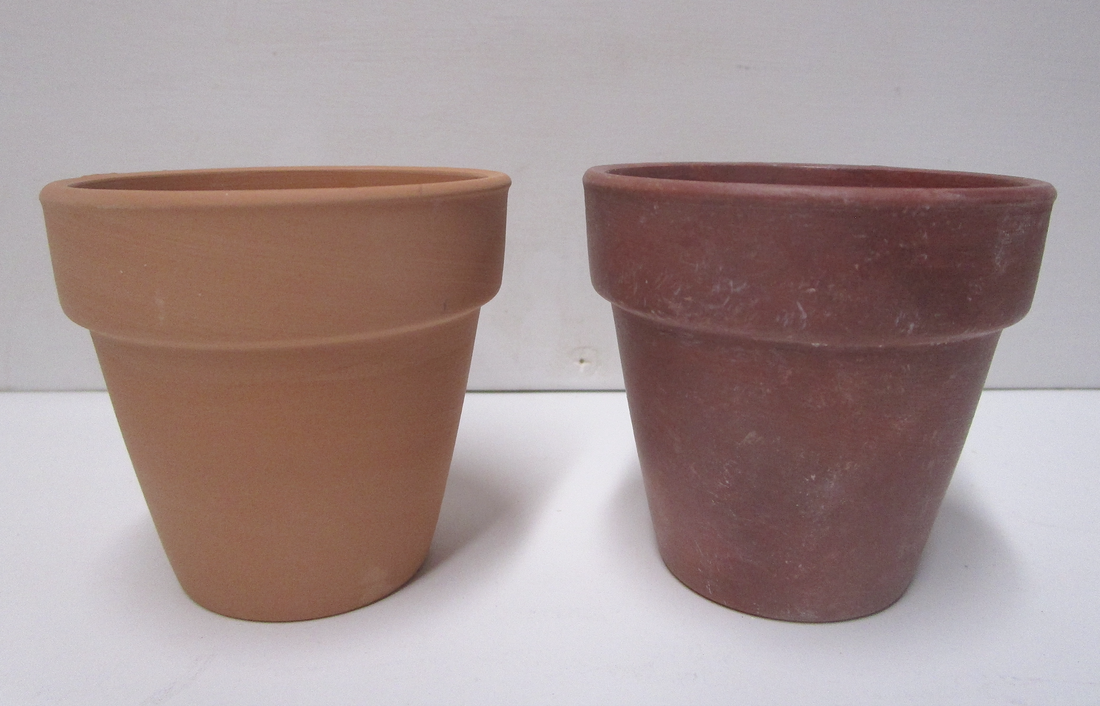 Seedling pot - before & after "aging" | 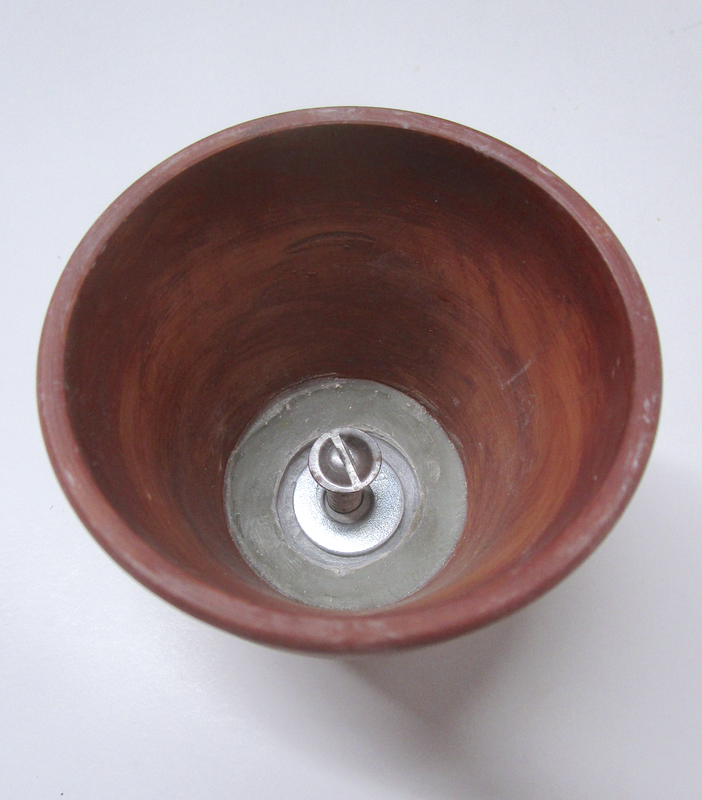 Attachment set-up | 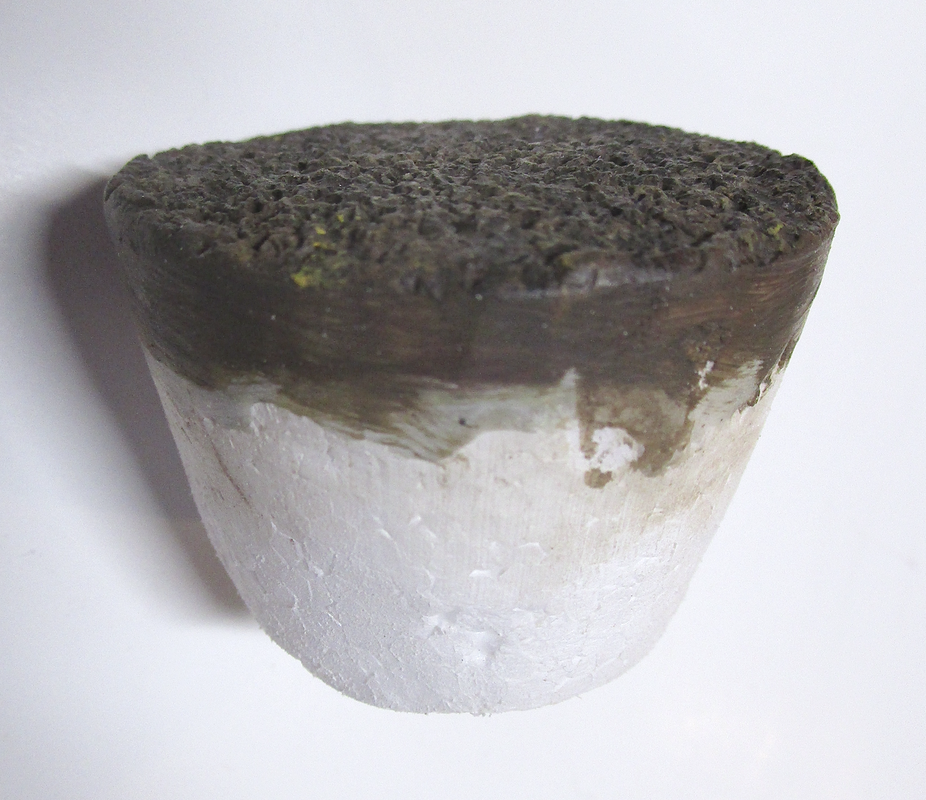 Styrofoam "plug" | 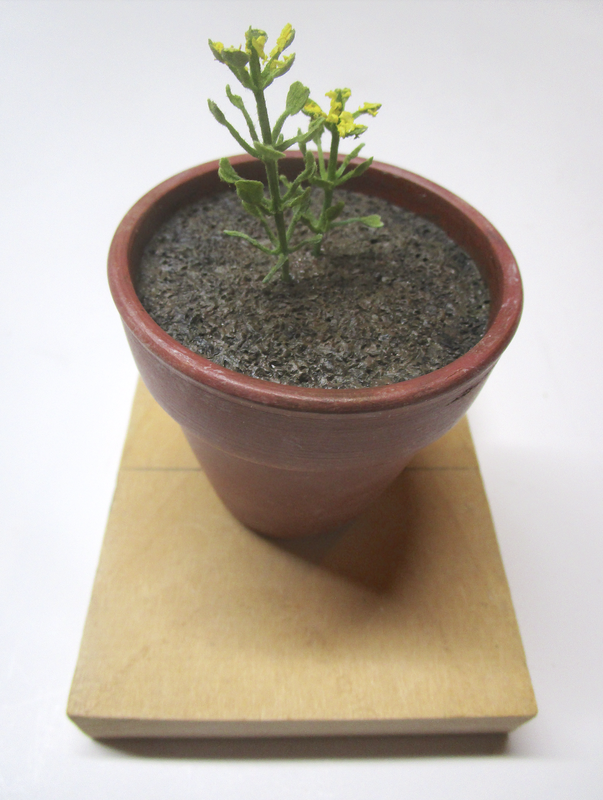 ...planted |
| To create the illusion of a dirt-filled pot, I first fashioned a slightly tapered cylinder of styrofoam that fit into the pot. I coated the top of the styrofoam plug with a 1/4" thick layer of Apoxie clay, and textured the clay to look like dirt. After the Apoxie clay hardened, I used acrylics to paint it a "dirt" color and then epoxied the cylinder into the pot. The final step was to drill 2 holes so that I could "plant" 2 very small (plastic) flowers and then screw the pot into the sill. C'est fini! (P.S. I generally have some sort of internal narrative or back story to most of my work, and the title "Hope in the Window" for this piece came from my dismay over the war in Ukraine and my hope that good will triumph over evil .) | 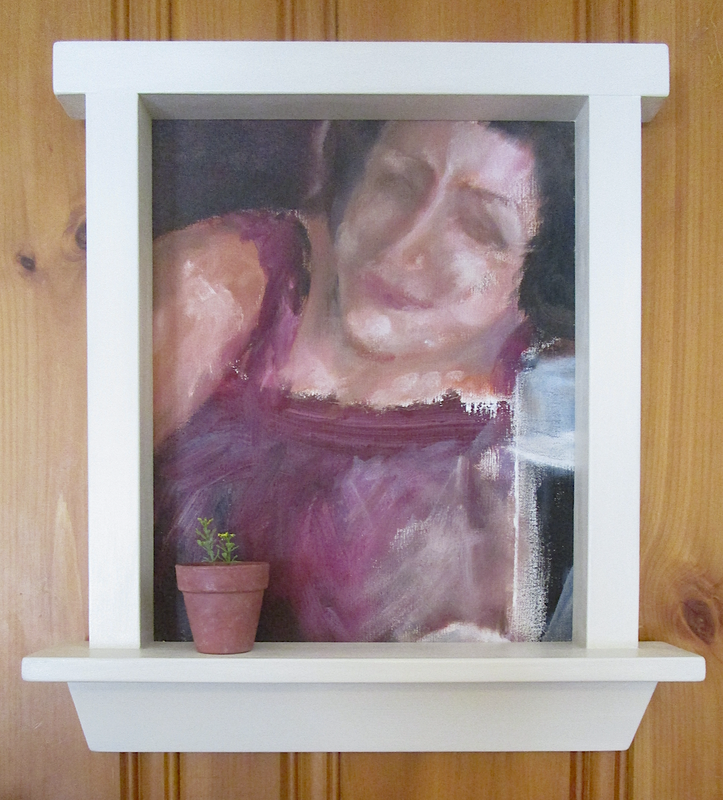 "Hope in the Window" ....complete |

 RSS Feed