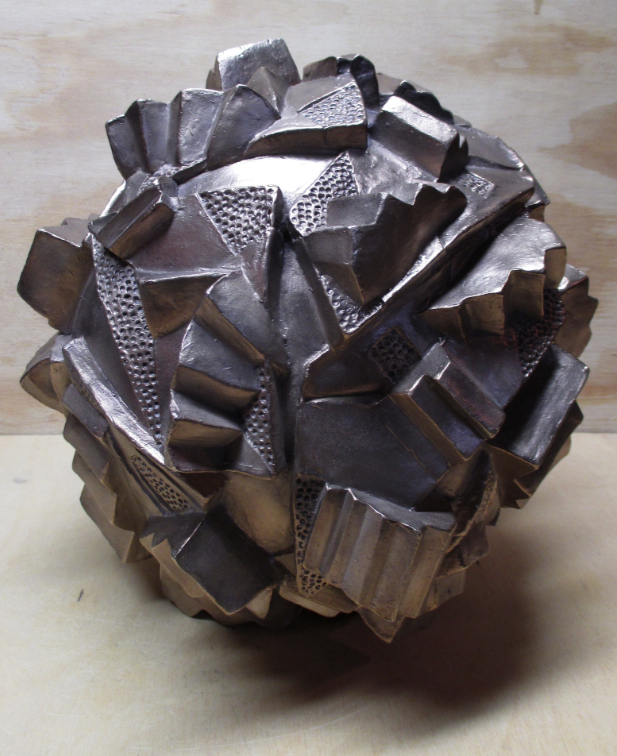
Welded, chased & bead blasted
| At long last - my stair ball project is finally complete! I started working on the wax for this piece about two years ago (see my blog entry for 9/11/12) and was not able to get it gated and poured until this past spring. Once it was cast, I chased the areas where I had had to make some minor repairs and welds. The next step was to patina the bronze and then make the box that was going serve as the base for the sculpture. | 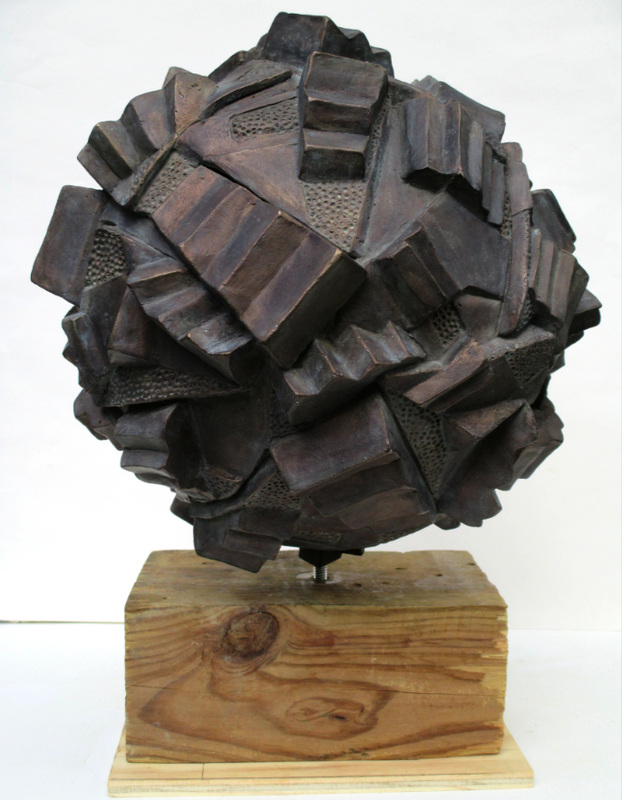
Unsealed patina
|
I knew that I wanted the patina to be fairly dark and that I wanted to get some sort of subtle variations in the color. After doing some test samples with varying mixtures of Birchwood Casey brown & black patinas, I decided to try mixing them, first with ammonia and then with vinegar. In the past I had used various combinations of ammonia and vinegar (and salt) to achieve different blue and green patinas either with heat or by fuming and thought the addition of one or the other or both might produce the look I was trying for. The winning combination turned out to be a 1:1:1 combination of BC black and BC brown and white vinegar. After the patina was applied to the piece and then rinsed, I sealed it with statin finish spray lacquer and started work on the wooden base.
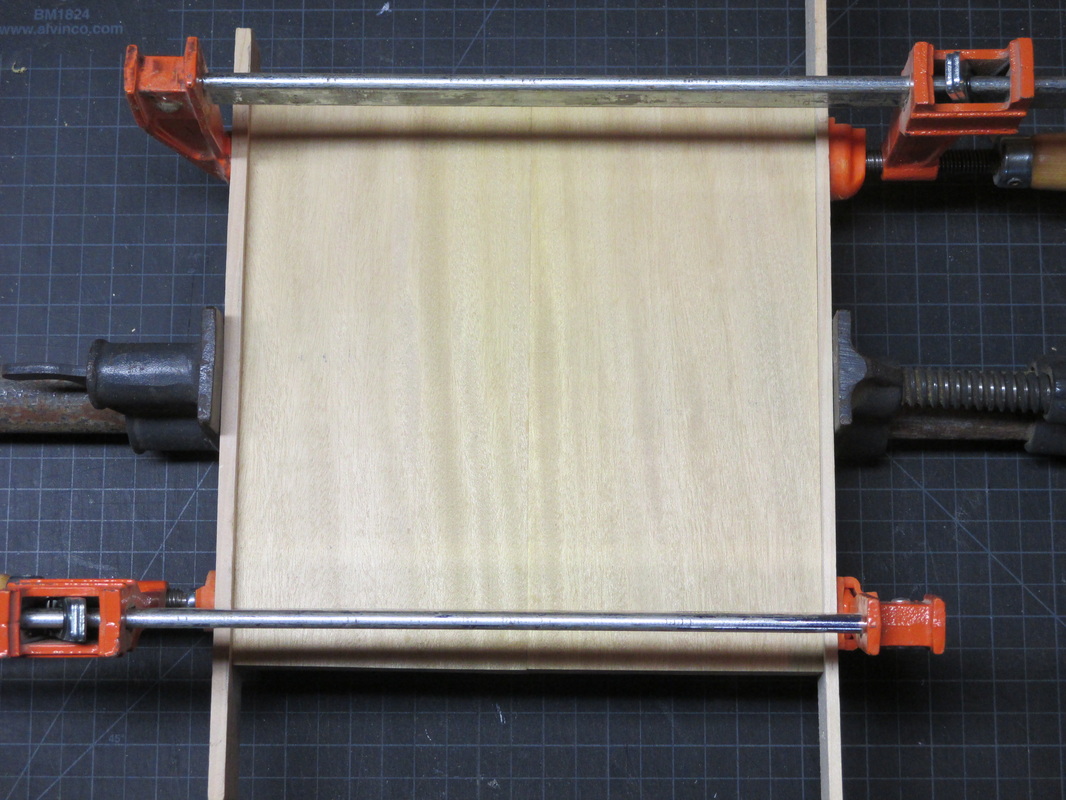
Boards glued & clamped
| 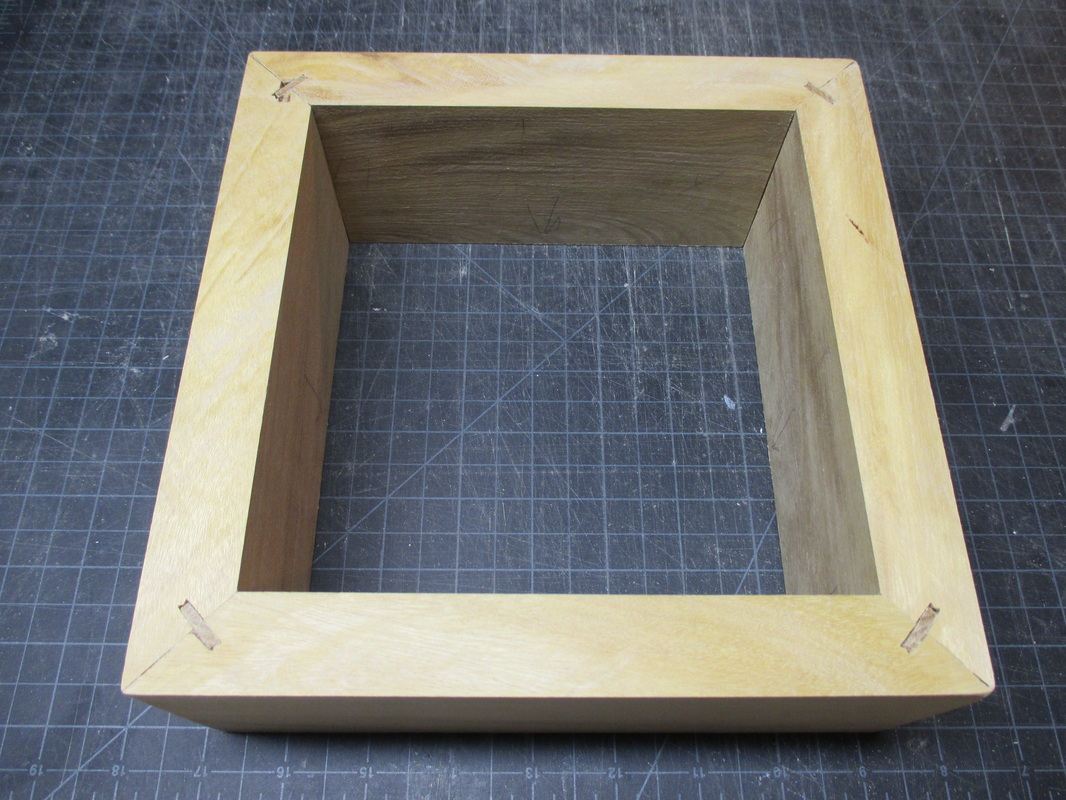
Sides glued with splined corners
| 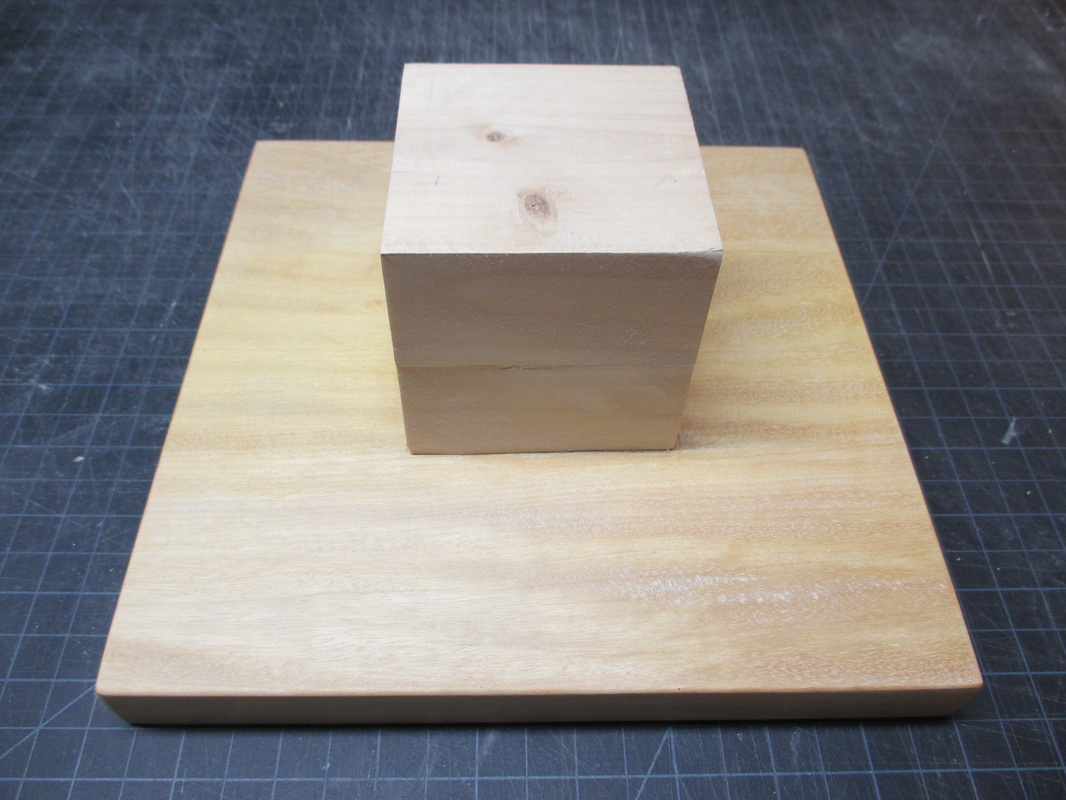
Bottom board with center piece
| 
Unfinished base box
|
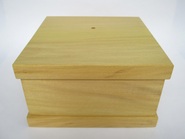
I used yellowheart to make the base. I liked the pairing of the color of the wood with the dark patina of the bronze. The top and bottom of the box were each made by gluing 2 pieces of board together to get the proper width. The sides were cut, splined in the corners and glued together. I also glued a 3 inch square block of wood to the center of the bottom before attaching the sides of the box to it. The block would add additional stability to the rod that would hold the bronze onto the base. Next I glued and screwed the bottom piece to the sides and filled the screwholes with yellowheart plugs. After gluing the top piece on I determined where the hole for the support rod needed to be placed so that the stair ball would appear balanced from all sides. I drilled a 5/16" hole through the base and made a recessed opening on the underside to accommodate a washer and nut. The box was given a final sanding with 320 grit sandpaper and coated with satin finish polyurethane. I epoxied one end of a threaded rod into the hole I had made in the bottom of the ball, threaded the rod through the hole in the wooden base, put on the washer and nut, and tightened the nut with a ratchet wrench and -
... it was finished!
... it was finished!

Sealed & mounted on base
| 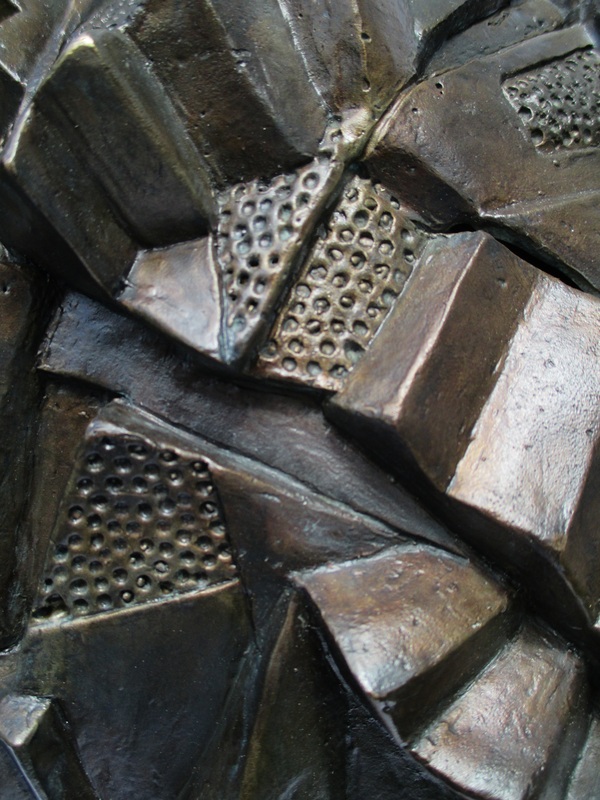
Up the Down Staircase ....detail
| 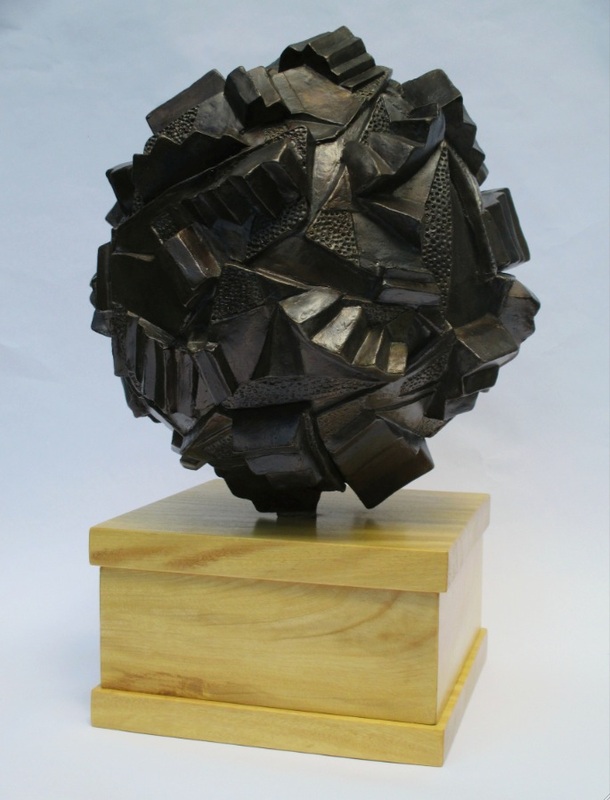
17" tall
|
* For more information and background on this piece see my blog entries for
9/11/12, 11/28/12, 10/27/13, 4/10/14, and 4/23/14.
9/11/12, 11/28/12, 10/27/13, 4/10/14, and 4/23/14.

 RSS Feed