 Wood object - view 1 | 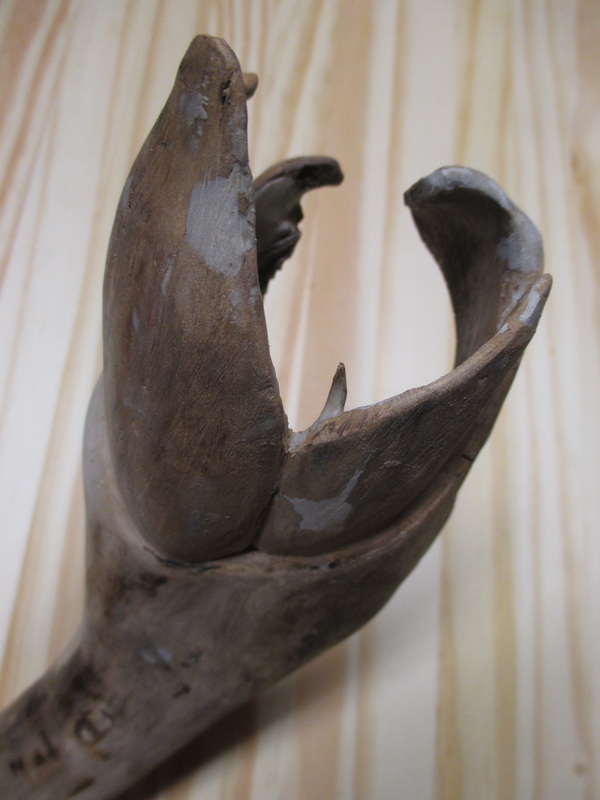 View 2 | 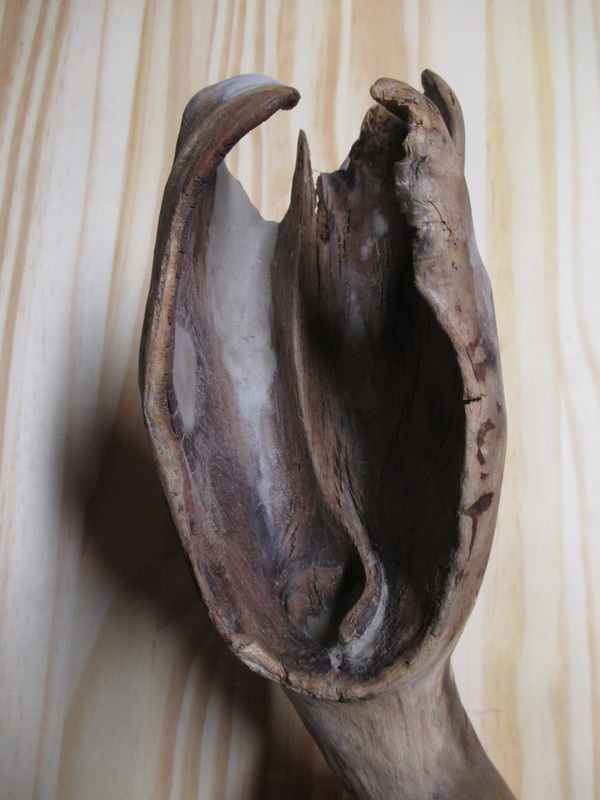 View 3 | 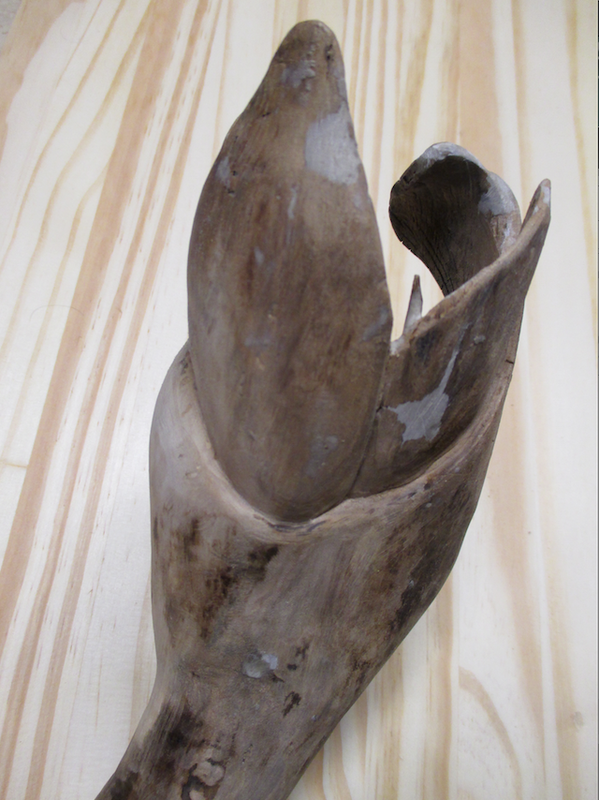 View 4 |
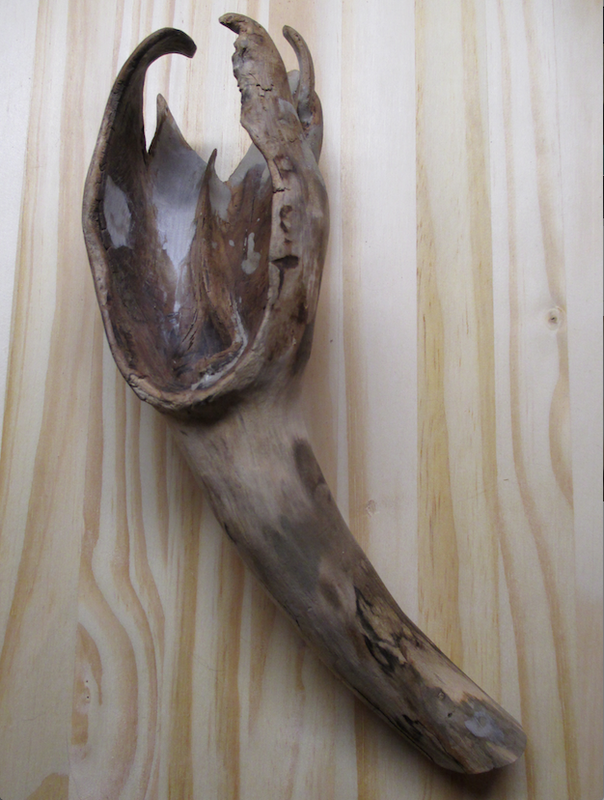
I have mentioned in previous postings that I like a challenge...well, my second two part mold project was just that...a challenge! The object I pulled out of my "save for some day" box for my second project was a piece of wood that, at some time, I had decided had artistic "potential". It was a section of a branch that had a growth anomaly, an enlarged hollow section that almost looked like it had "blossomed". It had a variety of opposing angles, thin edges, and extreme undercuts - not a great candidate for a two part mold, but, as I said, I like a challenge.
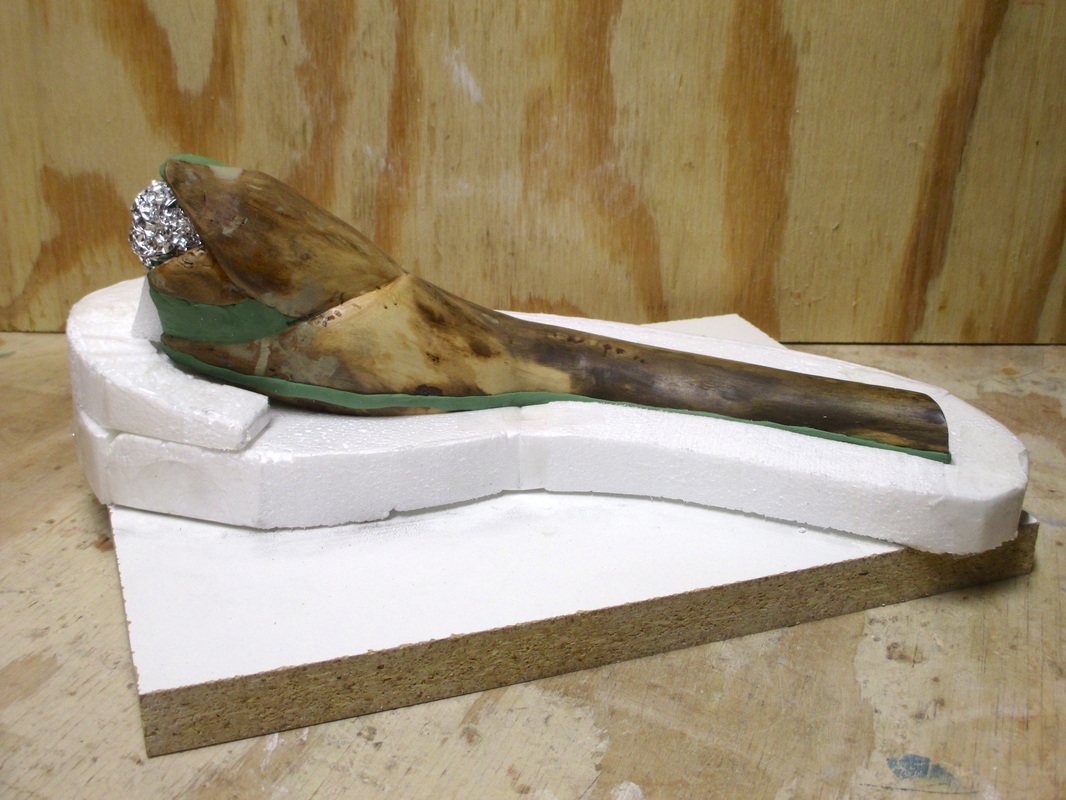 Object set into styrofoam base | 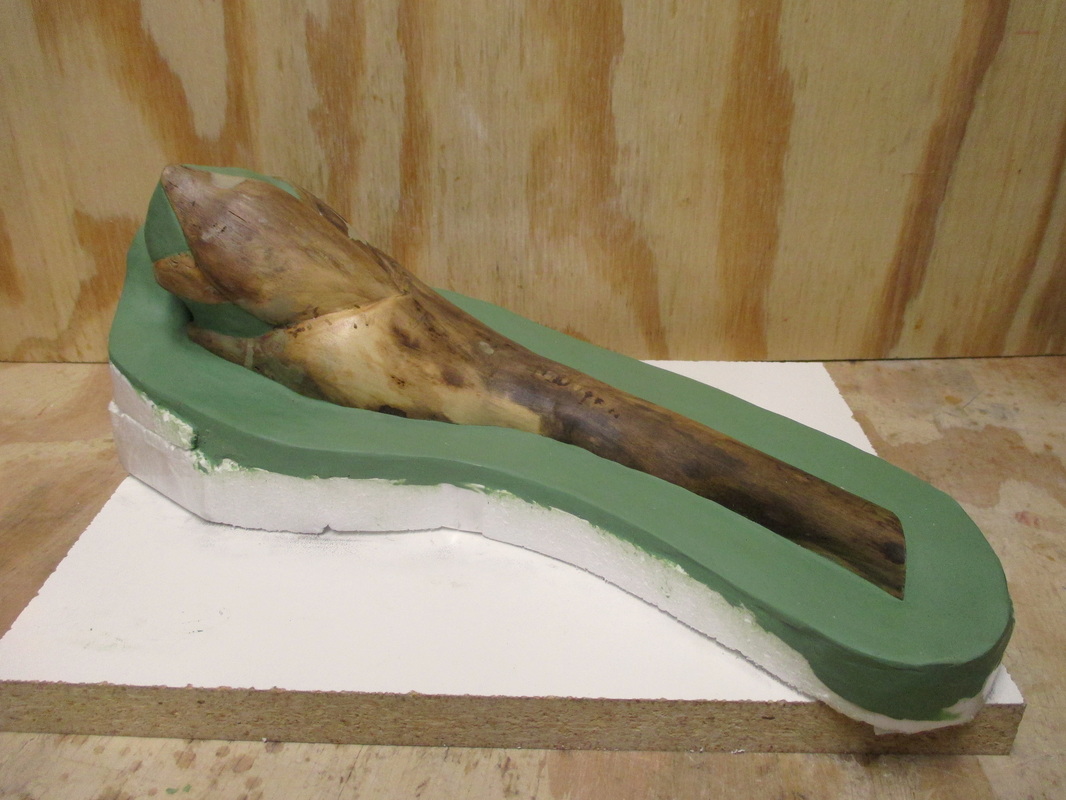 Building up "land" | 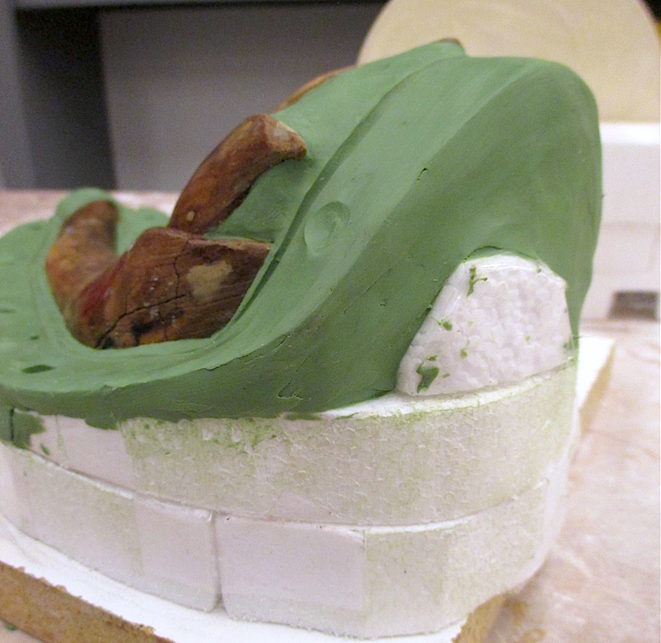 Land built up at high end |
The first thing I needed to do was to smooth off some ragged and brittle edges, and repair the surface areas that were rough or slightly deteriorated. I also shaped and refined the petal-like structures and the interior ridge. After setting the piece up in a styrofoam support base, I built up the plasteline "land" the way I did with the previous project (see my posting for 11/20). The challenge with this piece was to close off the open end and build the land high enough to allow for the eventual easy removal of the mother mold after casting. Finally, I fashioned and attached a plasteline pour cup, carved a registration channel, and embedded registration keys in the surrounding apron of land...the first side was ready for rubber.
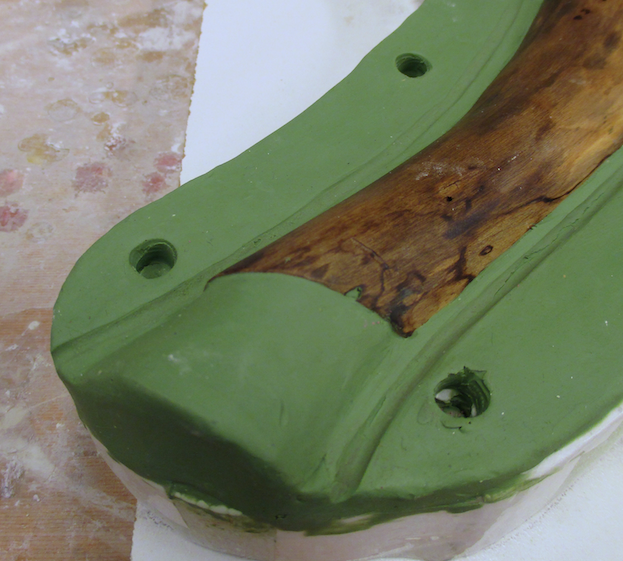 Pour cup added | 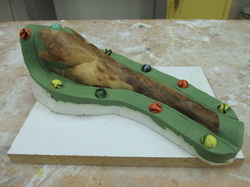 Registration keys embedded | 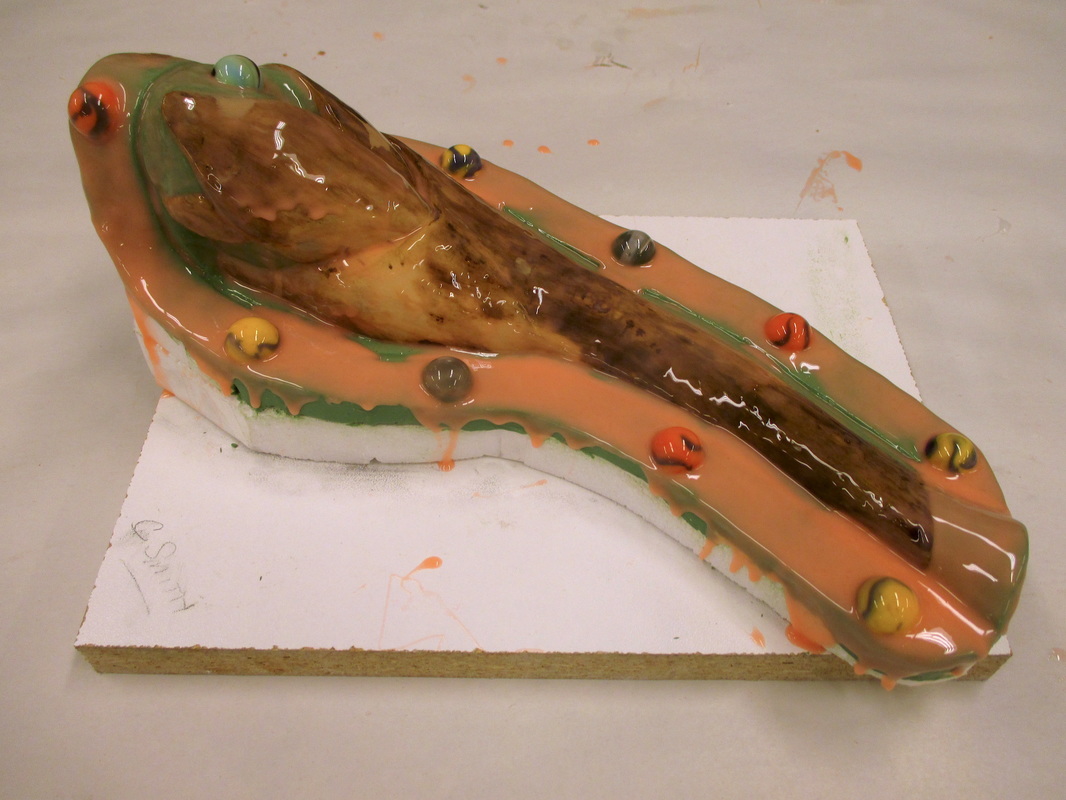 Application of Rebound 25 |
The remaining challenge on this first side was to make sure that I got enough of the Rebound 25 silicone rubber (a Smooth-On product) applied to the high end of the piece. The top surface was rounded and the sides were almost vertical. The brushed on rubber potentially would run down into the low spots and pool, and/or overflow the edges. I solved this problem by propping up the baseboard at different angles each time I brushed on a new coat. I also worked on the lower end first, so that the silicone would thicken up a bit by the time I worked my way back to the difficult end. After trimming the edges of the rubber, I applied the mixture of plaster and fiberglass matting in layers to form the mother mold...
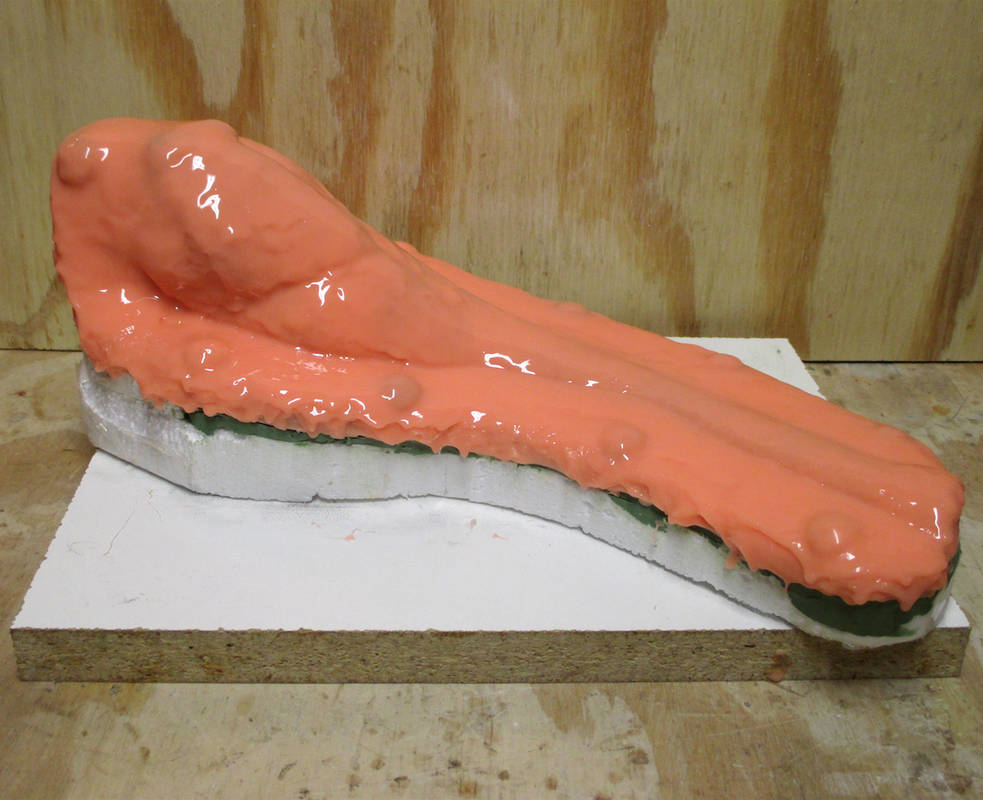 Final layer of rubber applied | 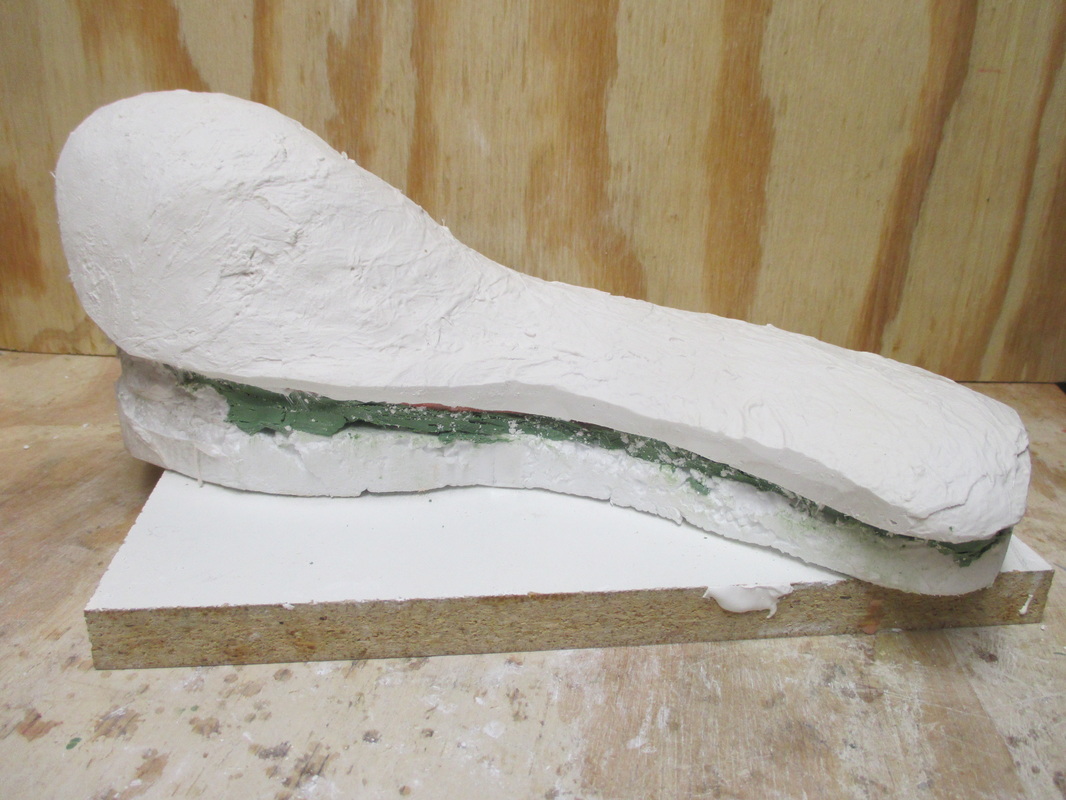 1st half of Mother mold completed |
...side one was complete - the next step... tackle the complexities of side two. Stay tuned !

 RSS Feed