C.V.SmithARTWORKS
  • Home
  • Blog
  • Sculptures
    • Bronze
    • Clay / Apoxie Clay
    • Plaster
    • Wood
    • Stone
    • SLIDESHOW
  • Galleries
  • Contact
  • Book
  • River Arts
  • BRAF
  • Saltwater Artists
  • CMCA
  • Yarmouth Art Festival

Pod Birds Complete ... Spring Greens at River Arts

5/3/2018

0 Comments

 
   Pod birds continued.... I used my trusty Dremel to clean up where gating had been removed from the bronze castings and any surface irregularities. This was particularly tricky to do on the textured surface of the nest, and even more tricky on the pointy ends of the poppy pods. Each cast poppy pod had a ring of gating around it to insure that all of the little pointy ends were cast (if you look carefully at the photo at right, you will see that one of the poppies still has that ring attached). I ended up using my belt sander to remove the rings of bronze gating. I secured my sander, belt side up, in my bench vise, ground the rings down close to the points, and then completed the removal with the Dremel. The final step on the pod points was to dull the edges that had been sharpened to a "lethal edge"  during the ring removal process! 
​   Before applying a patina to the castings, I glued together two 3" 
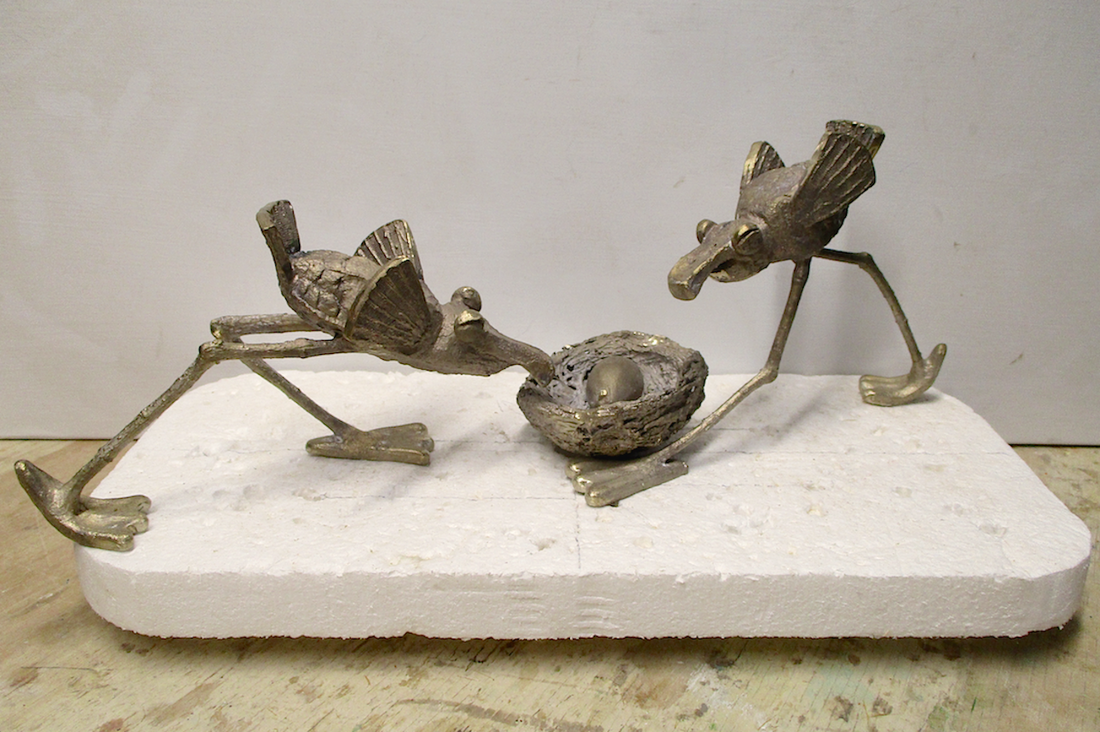
Picture
Birds & nest
Picture
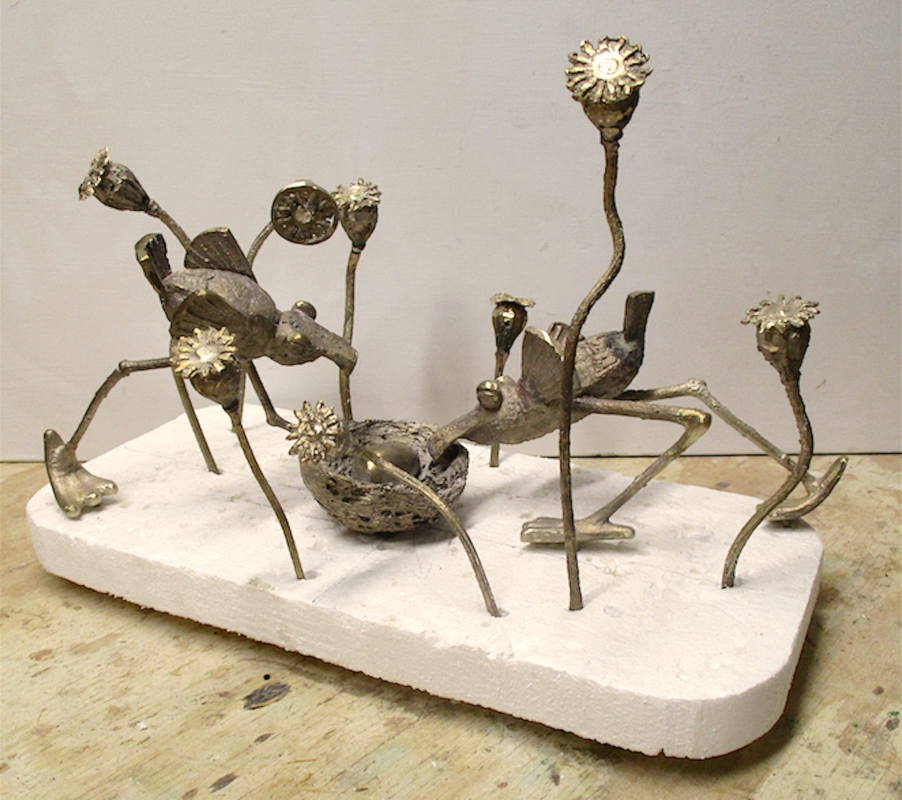
Testing poppy placement
wide​ Padauk boards that I had chosen to use for the base of the sculpture. I thought the deep red-orange color of the wood would contrast well with the blue-green patina that I was going to be using. While the glue hardened, I applied  the cold "Tiffany"  patina to the castings. I decided to leave the egg in the nest a natural bronze color to make it a focal point in the sculptural composition. I also removed some of the patina color on the nest to enhance the surface textures. I finished the castings by sealing them with satin polyurethane.
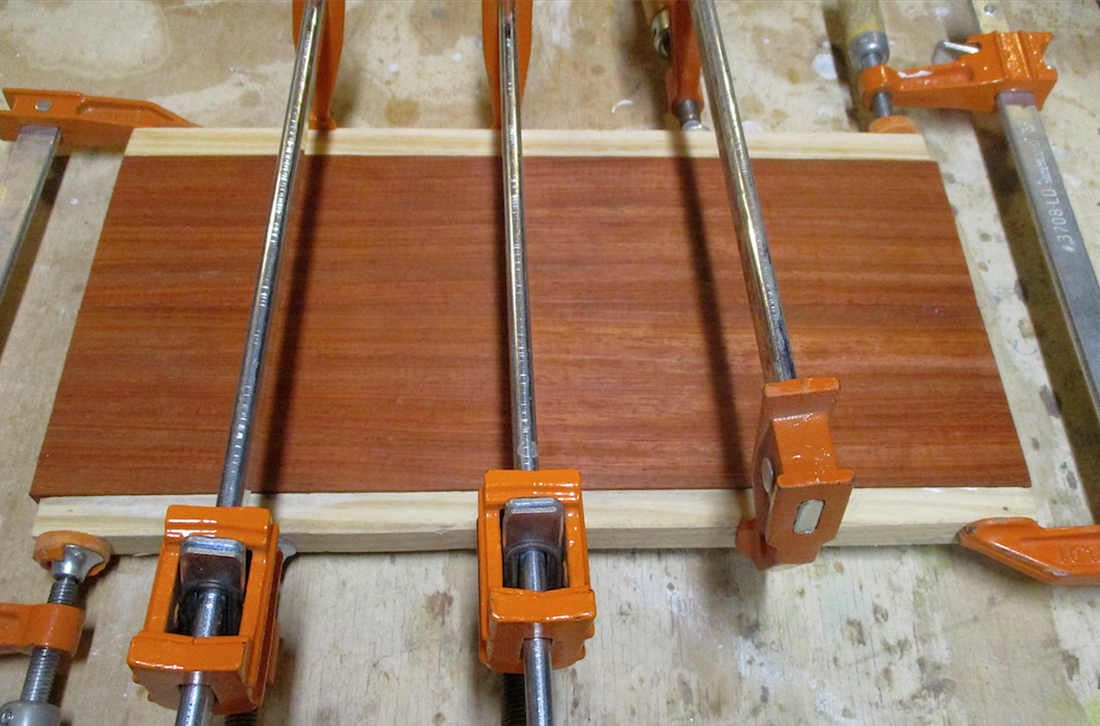
Picture
Padauk glued & clamped
Picture
Patina applied
Picture
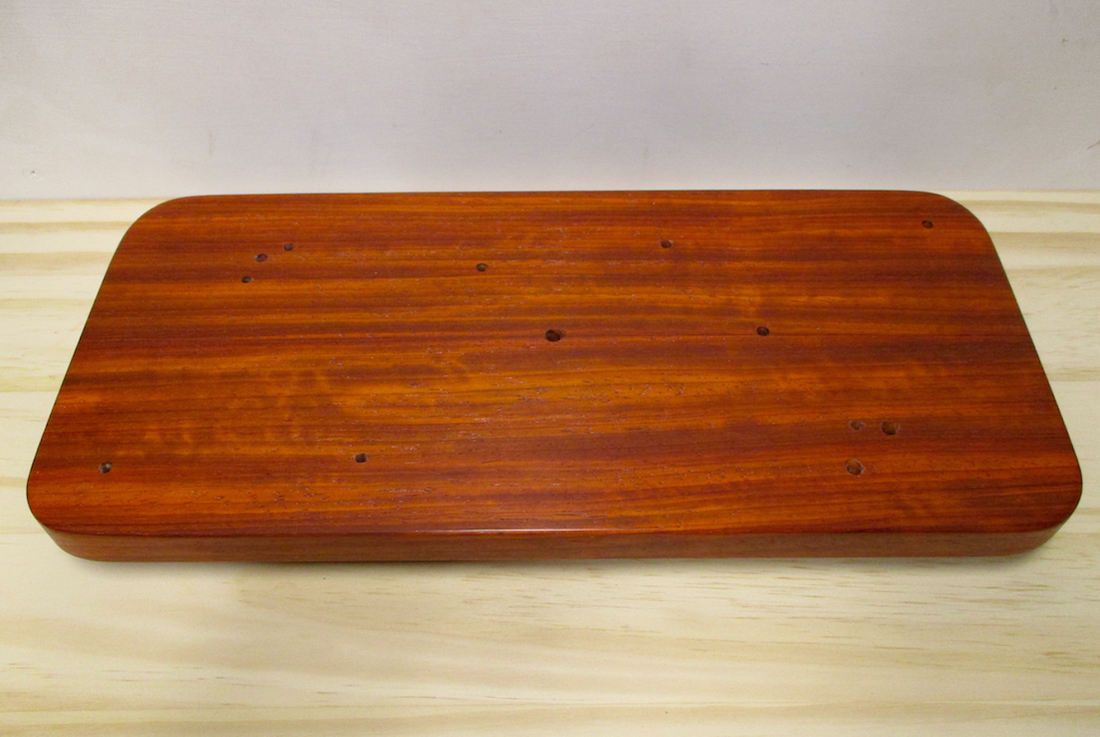
Sanded, shaped, drilled
    The next step was to prepare the wooden base. I sanded it, and then rounded the corners and drilled the holes where the various castings would be inserted and attached. I also added a smaller 1/2" thick walnut board to the bottom side of the base to add a little elevation to the piece. The base was then sealed with satin poly. The final step, after the base dried, was to attach the castings. I glued each casting into its designated pre-drilled hole using 5 minute epoxy. And - lo and behold ....Spring had sprung! The piece was ready to deliver to the Spring Greens show at ​​​River Arts Gallery ​in Damariscotta.
Picture
Picture
Picture
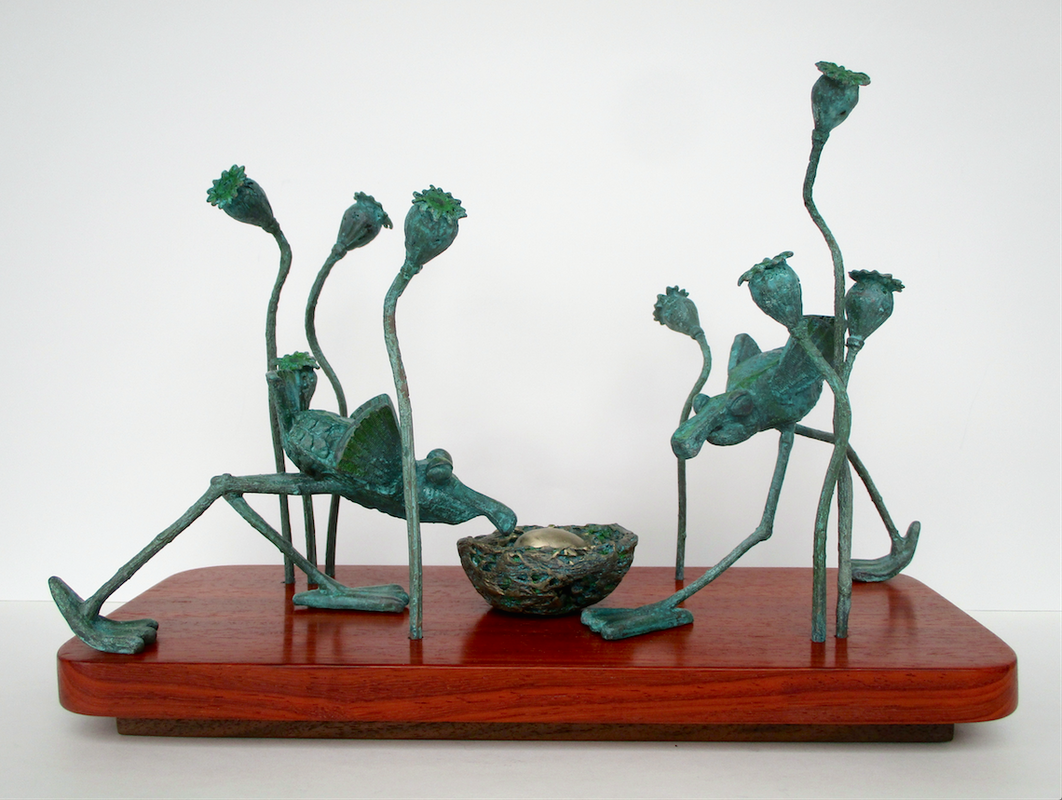
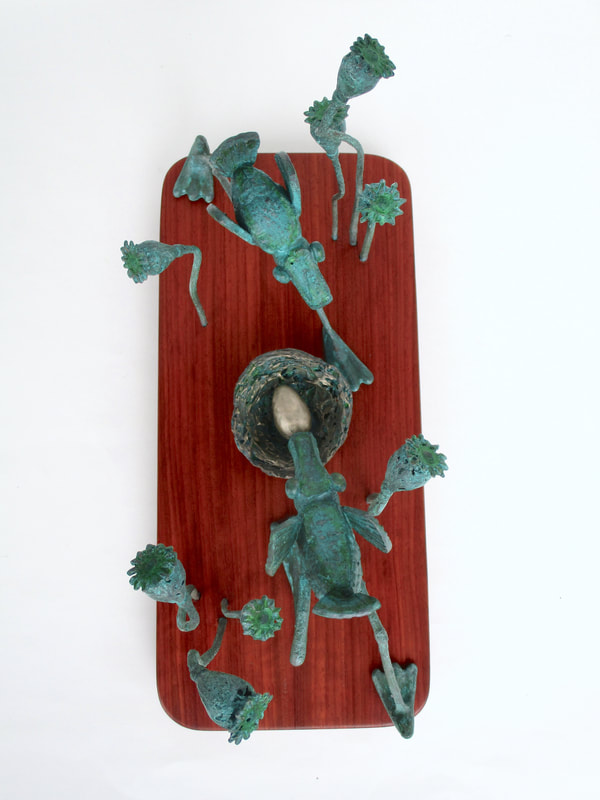
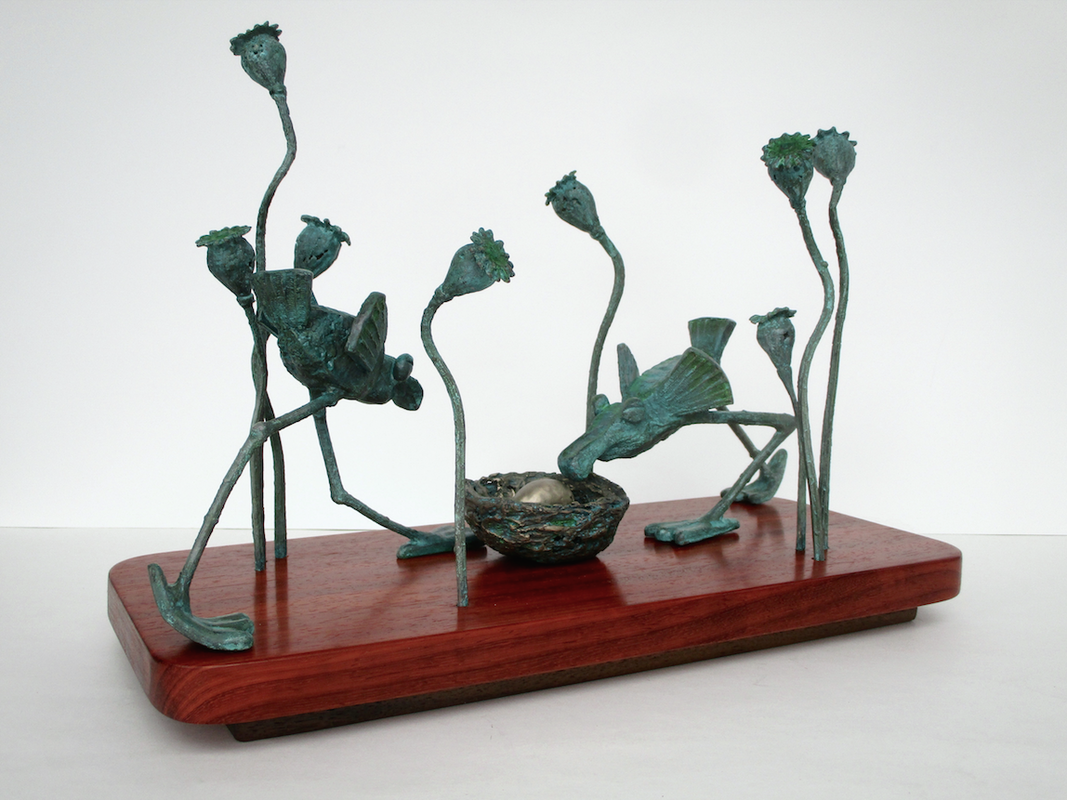
                                                                      3 views of  "Spring Arrival"
0 Comments

Your comment will be posted after it is approved.


Leave a Reply.

    Author

    Cynthia Smith, Maine artist, originally from Connecticut. Taught art at secondary level for 35 years, retired in 2004. Sculpts in bronze, wood, stone, clay & plaster. Her work can be seen at several mid-coast Maine galleries and shows.

    Picture

    RSS Feed

    Archives

    October 2022
    May 2022
    December 2021
    October 2021
    June 2021
    May 2021
    April 2021
    March 2021
    October 2020
    August 2020
    July 2020
    June 2020
    January 2020
    October 2019
    September 2019
    August 2019
    July 2019
    June 2019
    May 2019
    April 2019
    February 2019
    January 2019
    November 2018
    October 2018
    September 2018
    August 2018
    July 2018
    June 2018
    May 2018
    April 2018
    March 2018
    February 2018
    January 2018
    November 2017
    September 2017
    August 2017
    July 2017
    June 2017
    May 2017
    March 2017
    January 2017
    September 2016
    August 2016
    July 2016
    June 2016
    May 2016
    April 2016
    March 2016
    February 2016
    January 2016
    December 2015
    November 2015
    October 2015
    September 2015
    August 2015
    June 2015
    April 2015
    March 2015
    February 2015
    January 2015
    December 2014
    November 2014
    October 2014
    September 2014
    August 2014
    July 2014
    June 2014
    May 2014
    April 2014
    March 2014
    February 2014
    January 2014
    December 2013
    November 2013
    October 2013
    September 2013
    August 2013
    July 2013
    June 2013
    May 2013
    April 2013
    March 2013
    February 2013
    January 2013
    December 2012
    November 2012
    October 2012
    September 2012
    August 2012

Powered by Create your own unique website with customizable templates.