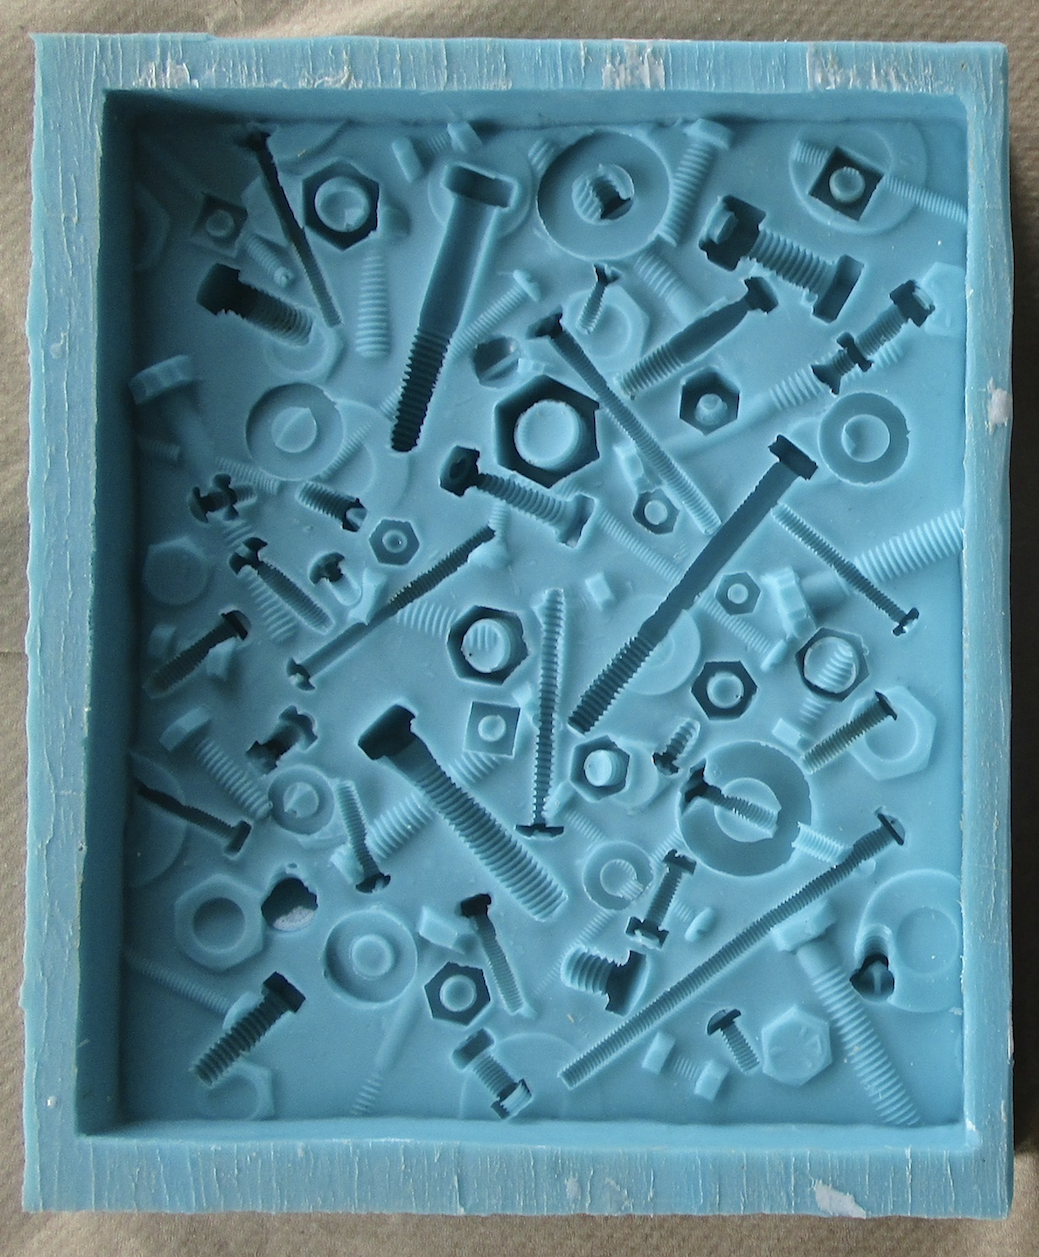
| Last week I participated in a 4 day moldmaking workshop at Maine College of Art. It was one of a selection of seven intensives being offered as a part of MECA's "Feed Your Soul" week. The program was open to secondary school art teachers as a way for them to get refreshed and inspired at the end of the school year. Luckily for me, they also opened up the moldmaking class to Continuing Studies students. The class was taught by MECA instructor and sculptor Ben Asselin...another reason to take the class! (See my blog posts from 2015... 10/30, 11/20, 12/10 & 12/31). On the first day, after Ben gave us a thorough overview of molding materials and techniques that we would be exploring | 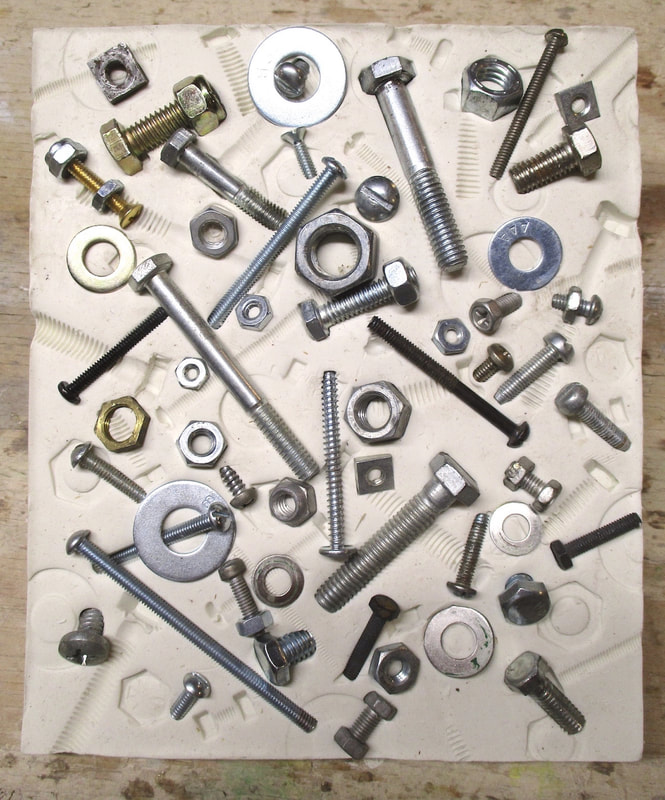 Nuts, bolts embedded in clay |
he had each of us made an alginate waste mold of our hand. Our homework assignment for the second day was to create a relief sculpture out of plasticine clay that we would be casting in a one piece block mold the next day. As I sat at my work table at home trying to decide what I would do with the slab of clay that I had rolled out, my eyes settled on a small plastic container of nuts and bolts that were waiting to be sorted and put away - and voila! I had my idea. At first I was just going to press the various nuts, bolts, and washers into the clay, and then I decided that I would also actually embed them in the clay so that I would have both impressed and relief elements in the design.
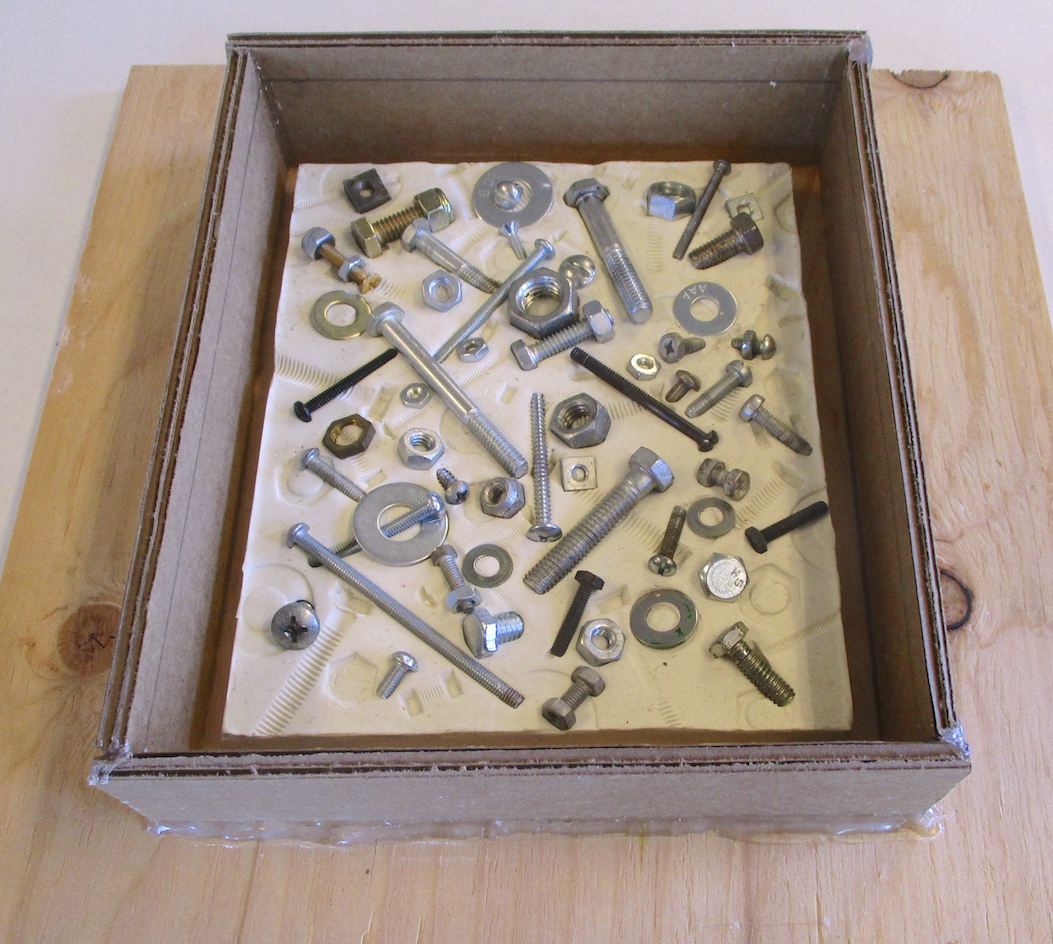 Relief surrounded by cardboard frame | 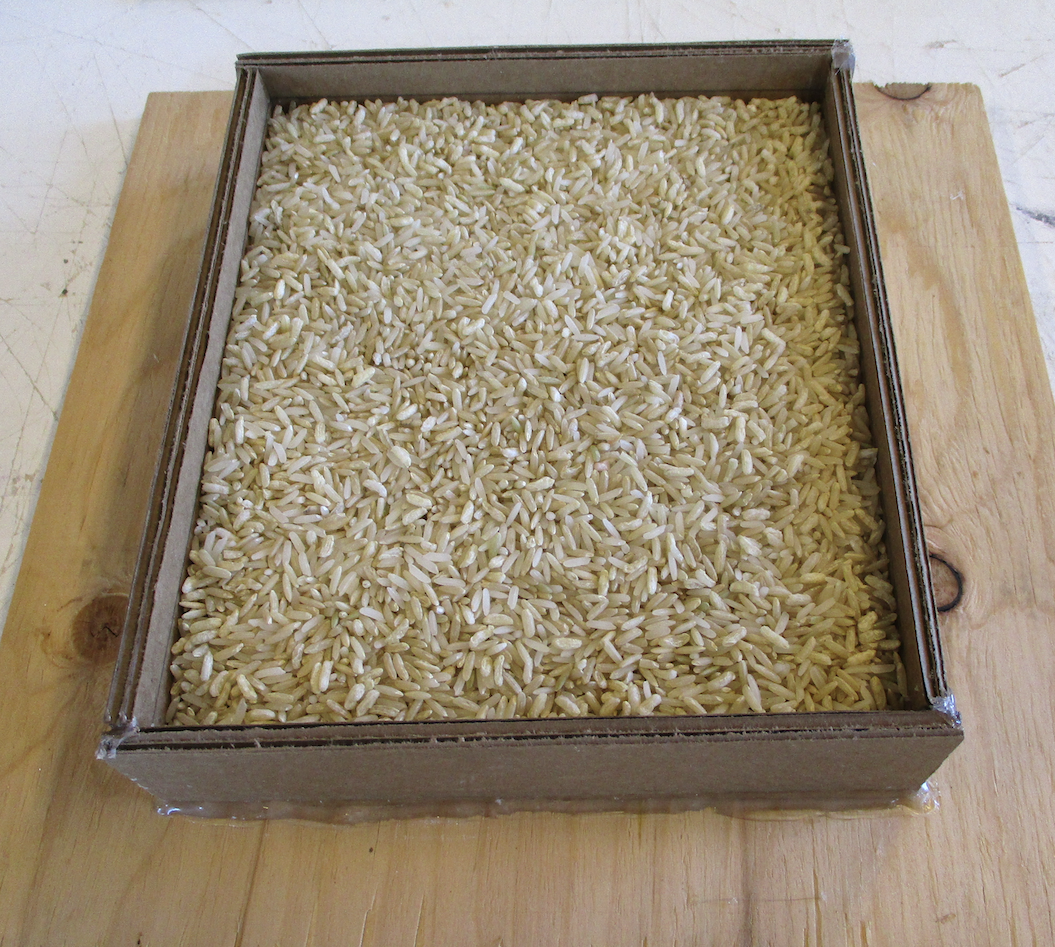 Measuring volume with rice | 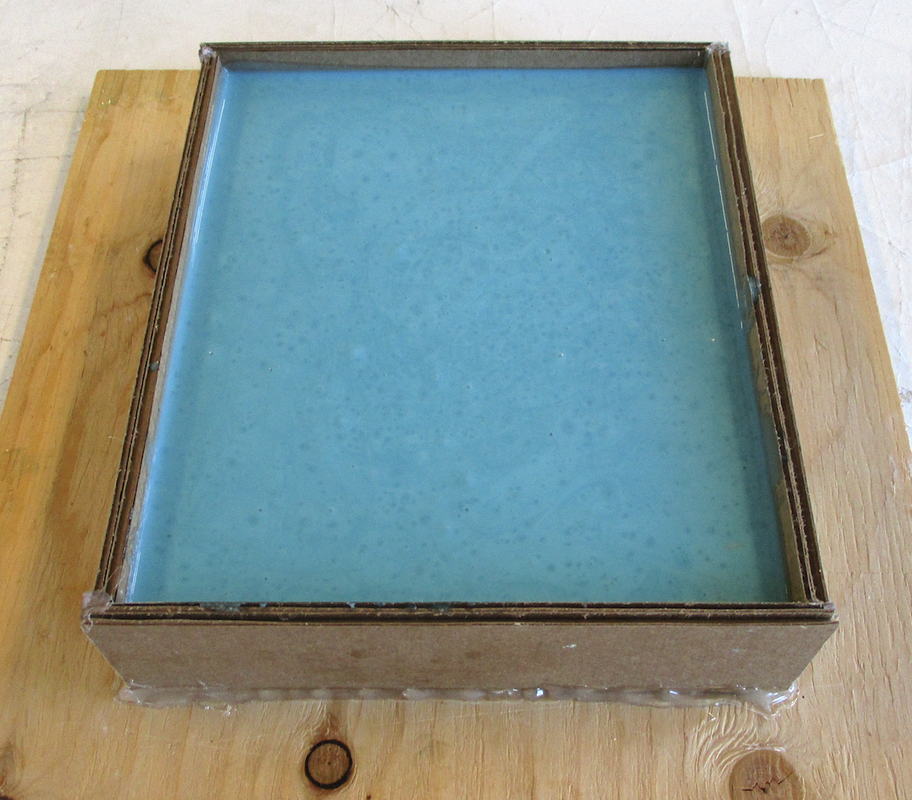 Poured silicone |
The next day in class we hot glued together a cardboard framework to contain the silicone mold material that would be poured over the relief. We determined the volume of silicone that would be needed by filling the cardboard frame with rice and then pouring the rice into a measuring container. We used a 2-part silicone from the Smooth-On Company called Mold Star Silicone Mold Rubber (16 Fast). Equal parts were mixed and poured into the mold frame on top of the relief (6 minutes work time). After 30 minutes, the cardboard frame was removed and the original relief was extracted from the cured silicone mold. The final step was to make castings from the completed mold using Smooth-Cast 305 Resin. This is also a 2-part material that is mixed in a 1:1 ratio and has a work time of 6 minutes. I made several castings and they all had consistently great detail, including the areas that had undercuts. I chose to use white for these castings to emphasize texture, light, and shadow, but I may experiment with different colors of resin or model paint on future castings. The design is effective from all angles, so I may also experiment with some groupings - a diptych, a triptych... maybe even a quadtych!
 Completed mold | 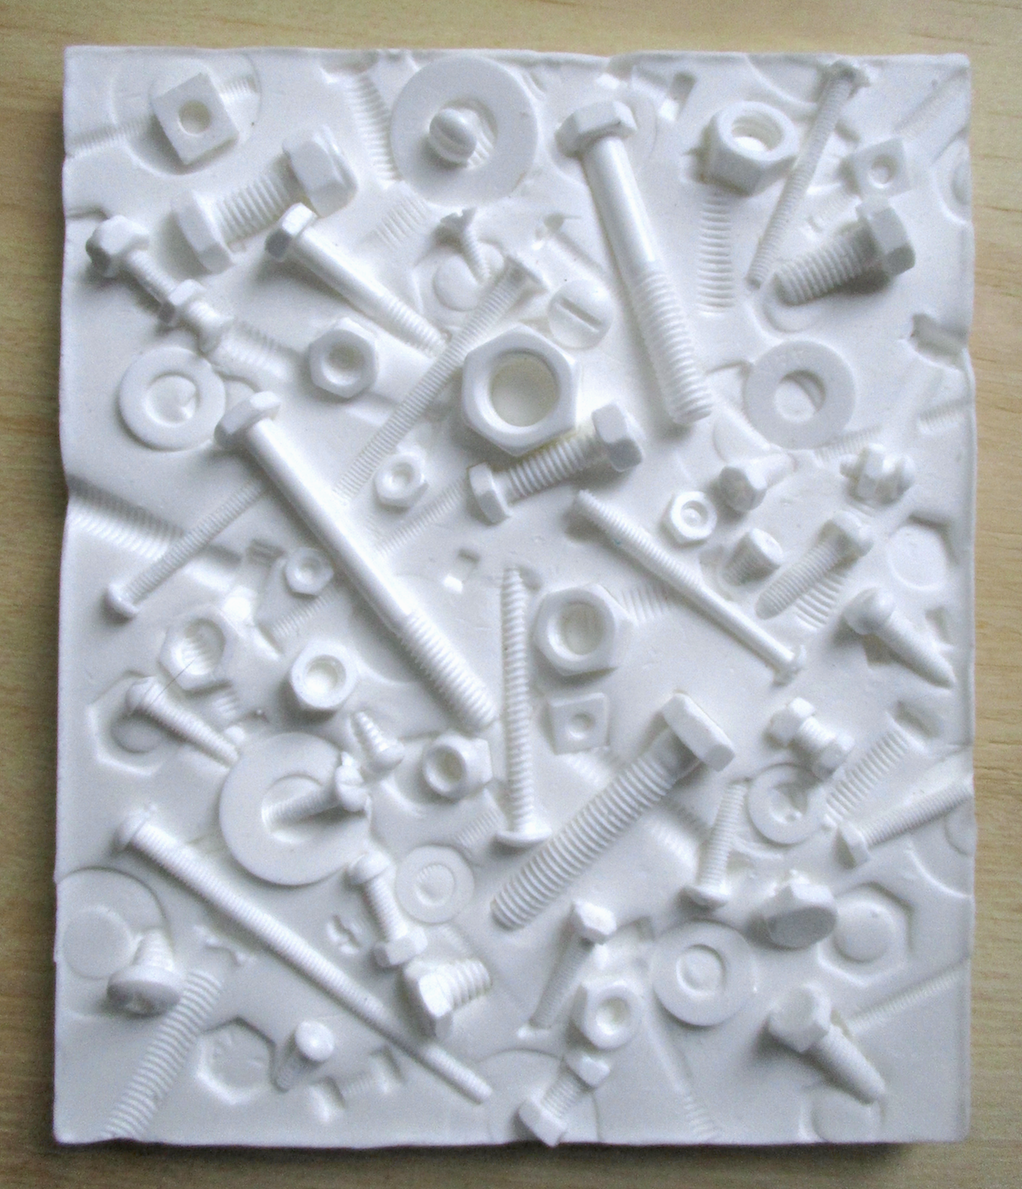 Resin casting ... view 1 | 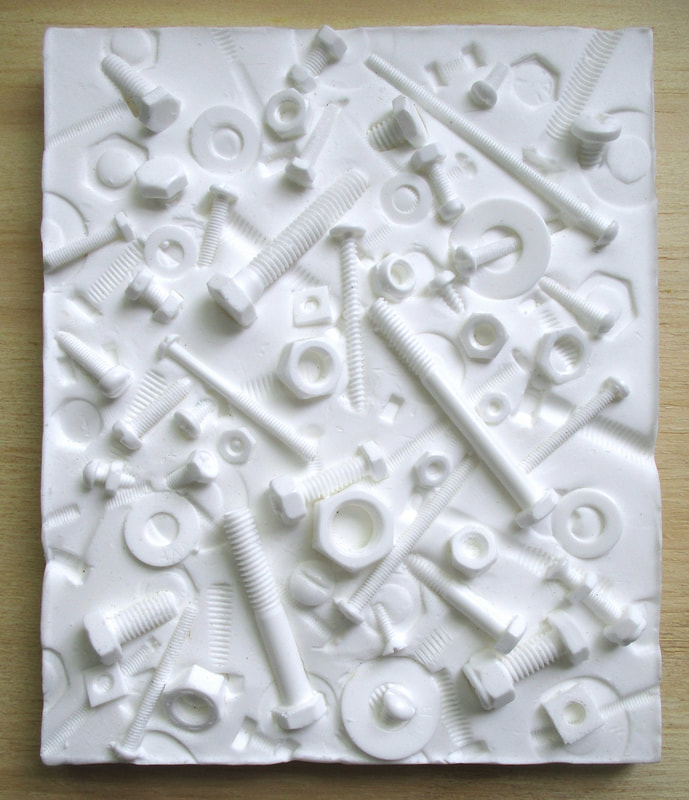 Resin casting ... view 2 |
I spent the last two days of the class working on a couple of 2-part brush-on molds that I brought home to finish...stay tuned!

 RSS Feed