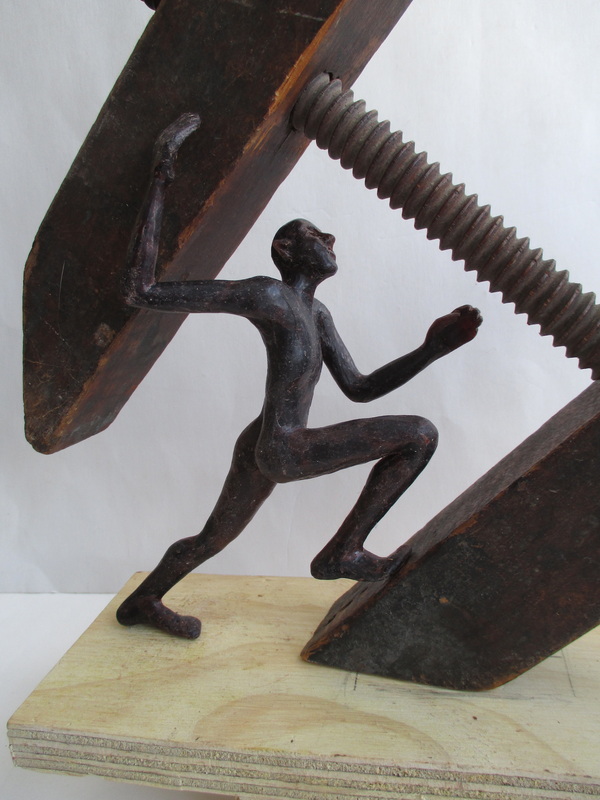
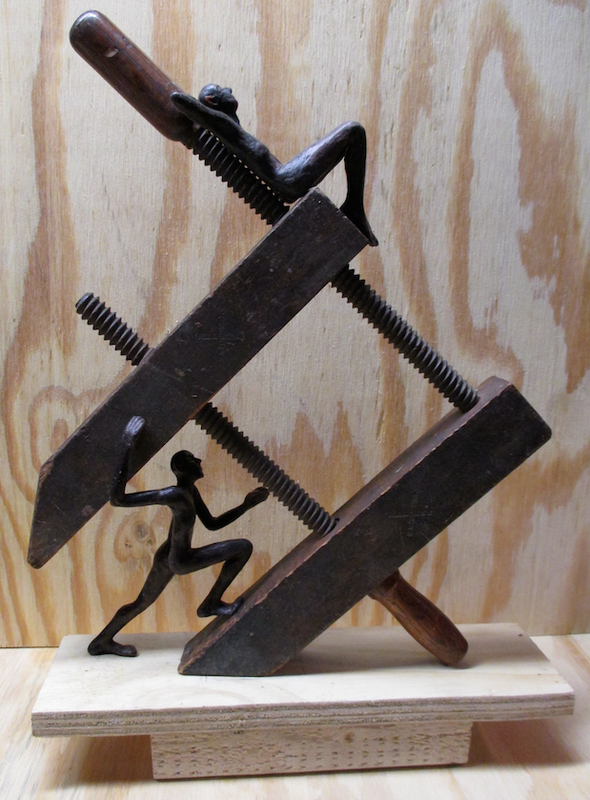
I am continuing to get pieces ready for the next bronze pour. I have finished the second wax figure for the wooden clamp sculpture. Once cast, this running figure will be attached near the end of the bottom clamp jaw below the reclining figure. I am planning to use a narrow board of yellow heart wood for the base. I used the same combination of bronze and yellow heart in my first wooden clamp sculpture (5-14-14), and was pleased with the effect.
 |  |  |
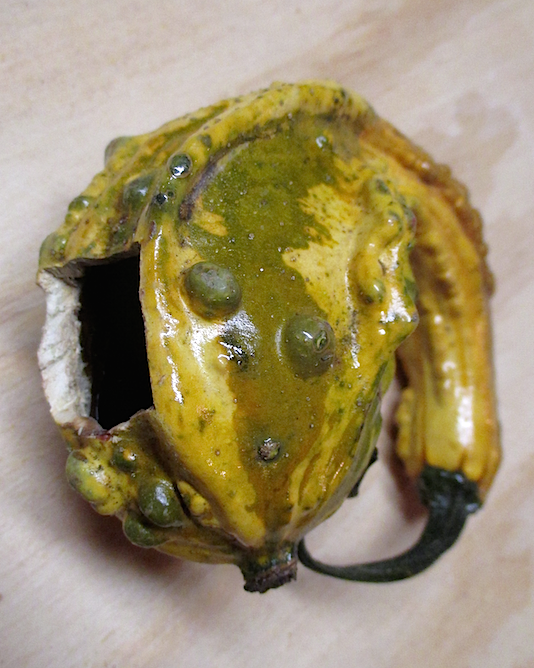 | I was unable to find any additional interesting small gourds to cast, so I will simply cast the one I have and set it aside for a future project. To prepare it for casting, I glued the end of the long twisted stem to the side of the gourd, and then sprayed the outside of the gourd with shellac so that the cast piece would separate from the investment material of the mold more easily after casting. I cut a small rectangular opening in the bottom, and poured in wax to fill the stem end and coat the inside of the "body" to make the walls thick enough to cast successfully. The rectangular cut-out will also be cast and eventually welded back over the opening. |
| After applying the initial coating of wax to the burlap sack that I described in my last blog entry, I built up the thickness of wax on the inside of the sack to a depth of about 1/4 of an inch to insure that the melted bronze would be able to flow freely throughout the piece. I also built out two 1/2" x1/2" small areas on the interior bottom edge of the sack. I intend to use a tap & die to create holes in those that I can screw attachment bolts into after the piece is cast. After making sure that the closure string hanging off the sack was securely attached in several places, I began the process of creating the gating system that will feed the hot bronze into the piece. I created an "octopus-like" arrangement of sprues, attaching the various "legs" to points along the top edge of the sack. (When I write about "attaching" I am referring to the process of "welding" 2 pieces of wax together by using a heated flat implement such as a palette knife.) I then turned the sprued sack upside down and welded it to a short main gate on top of an inverted cup that I had previously attached to a plywood baseboard. The final step was to attach several vents to the bottom edge of the sack (which was now at the top). These will provide the necessary exit pathways for the gases within the mold, which in turn will allow the bronze to flow freely through the entire form. My next task is to integrate the two figures and the gourd into this gating system. Stay tuned.... | 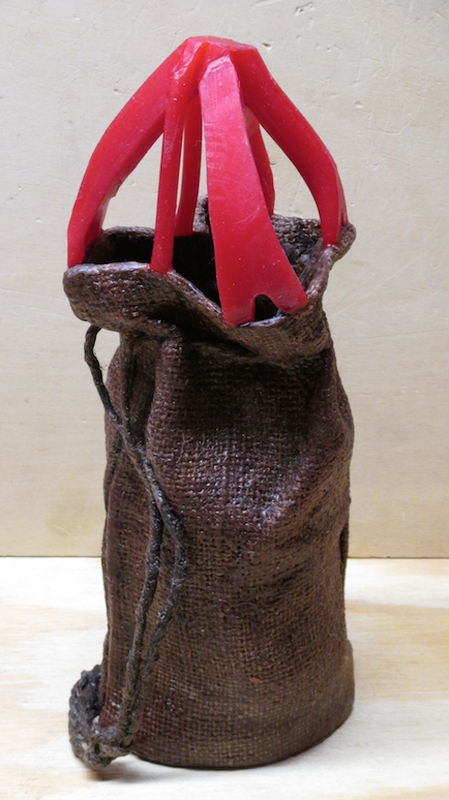 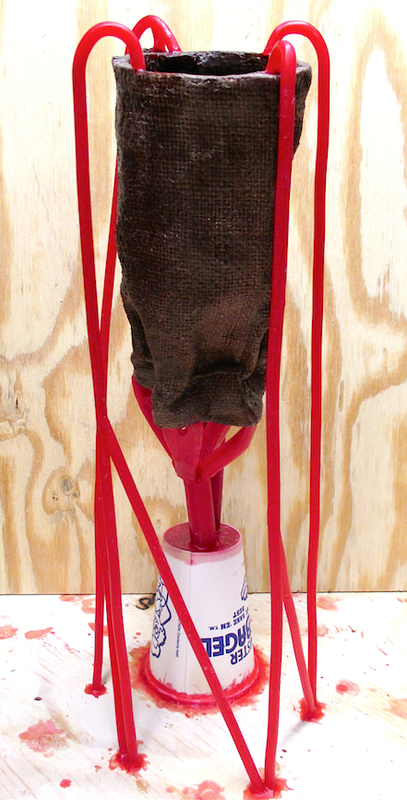 |

 RSS Feed