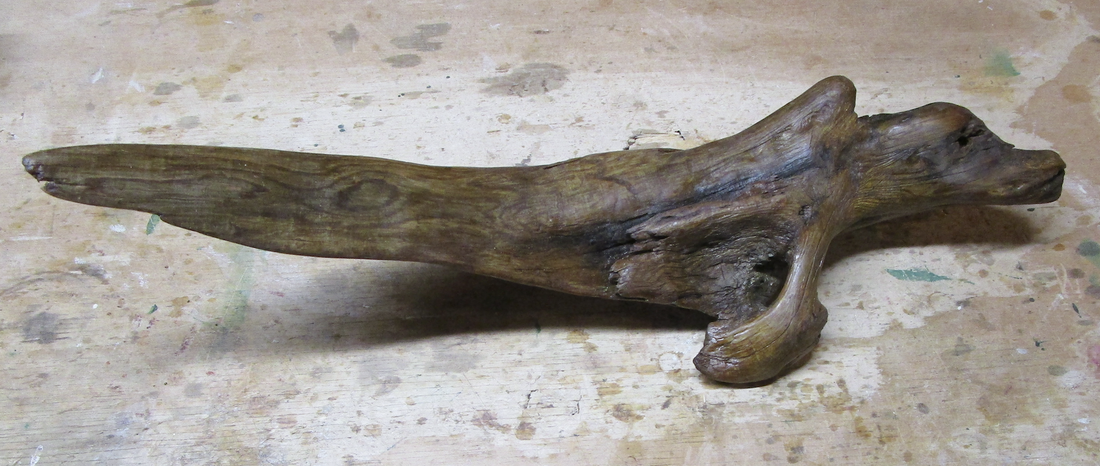
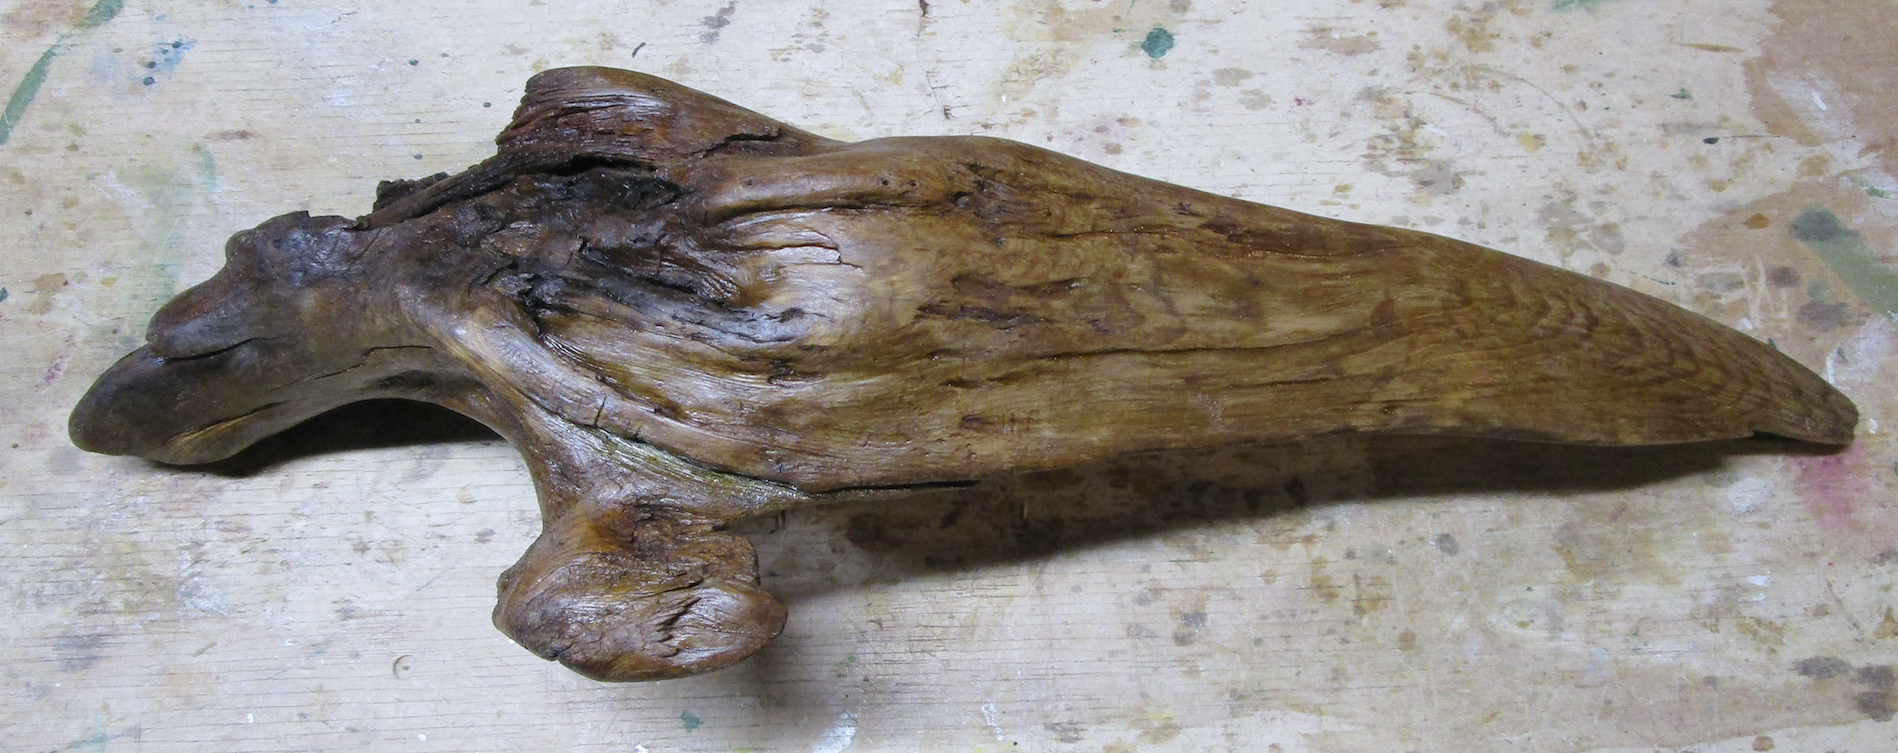
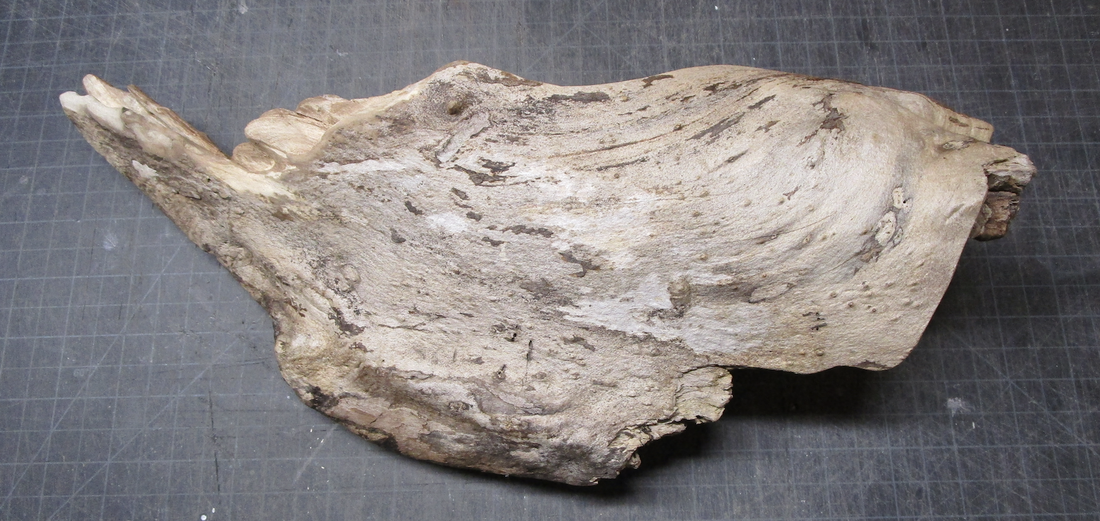
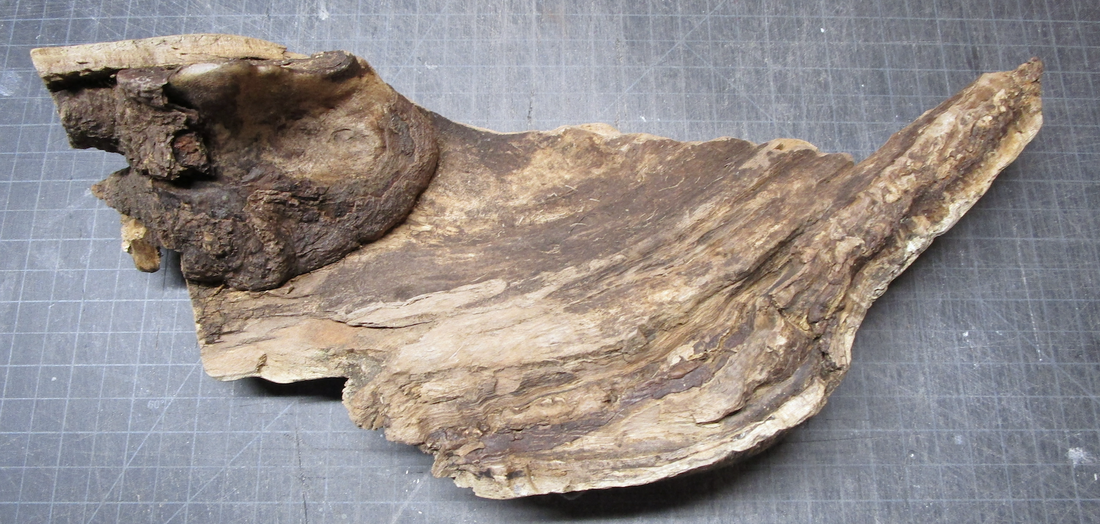
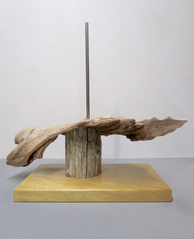
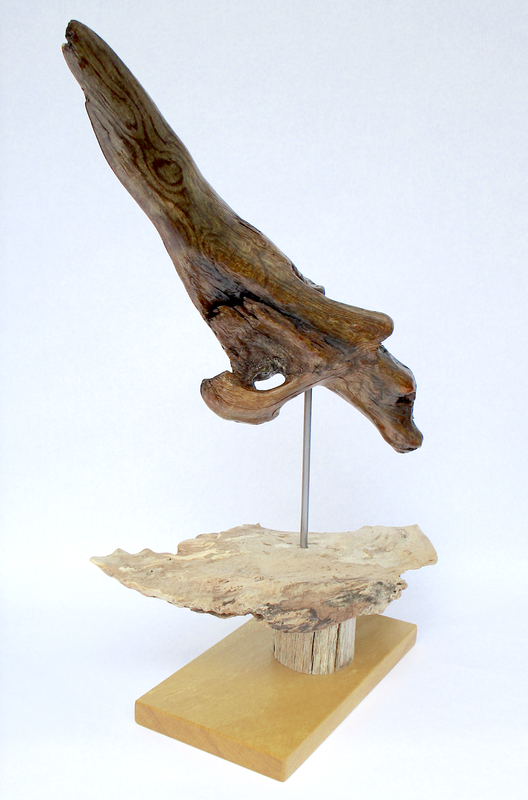
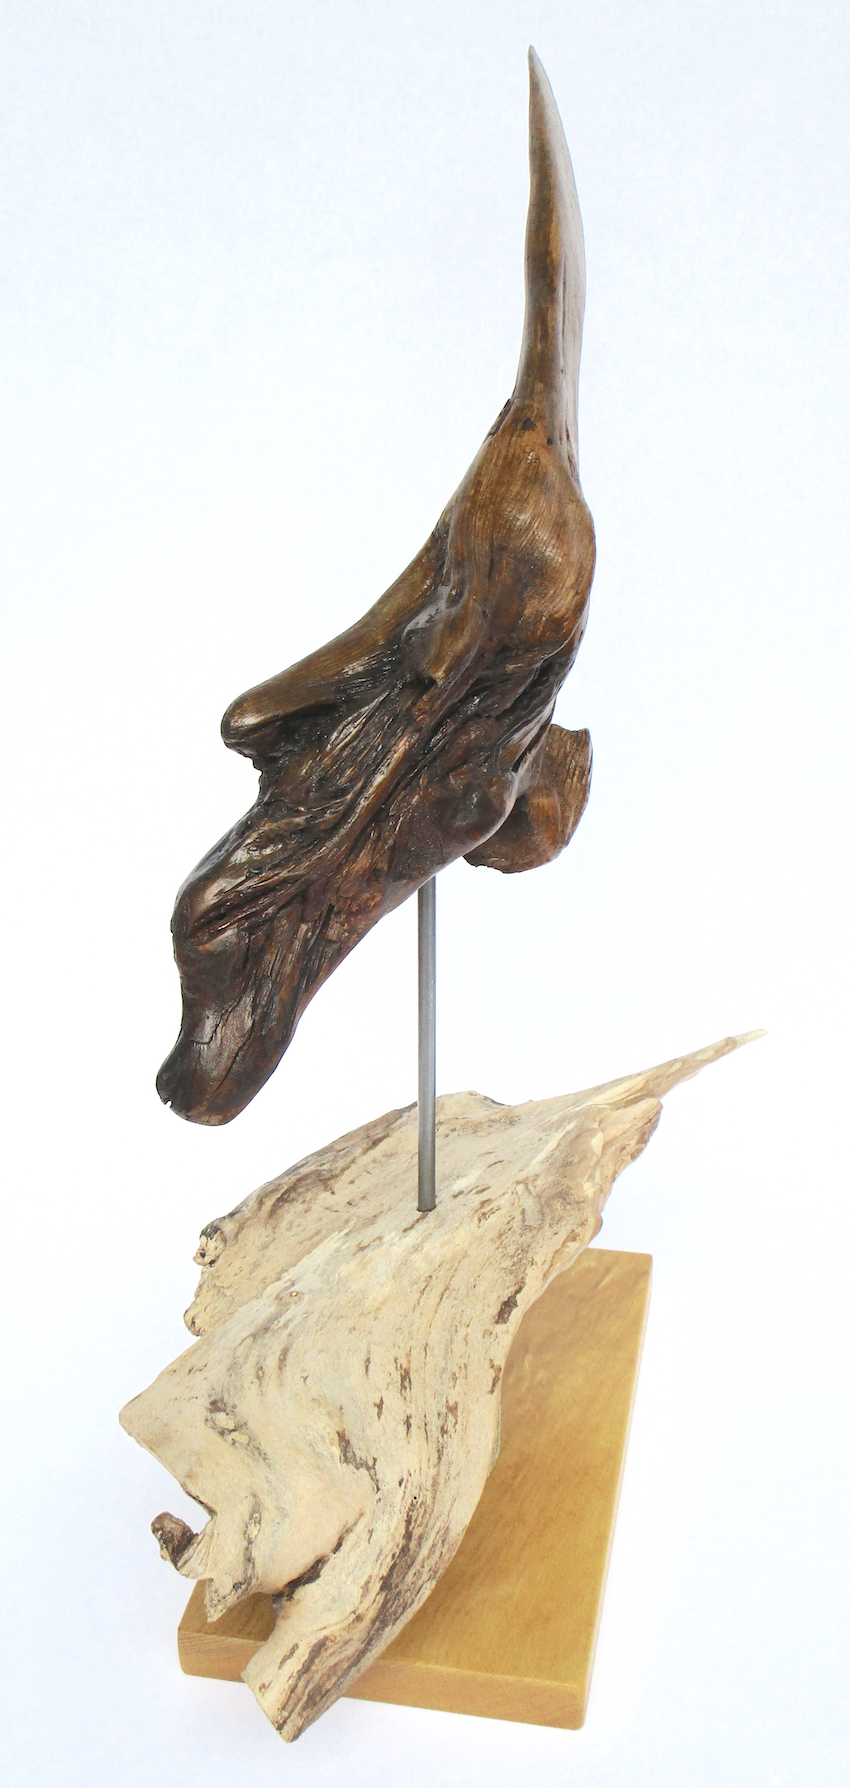
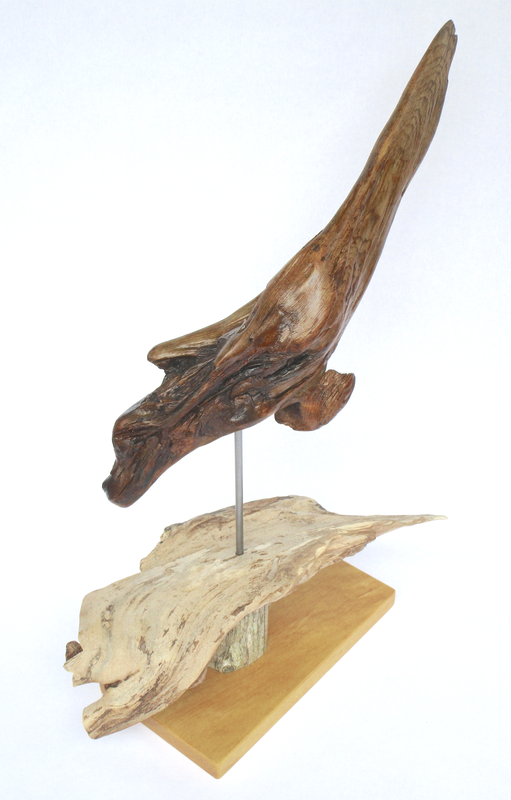
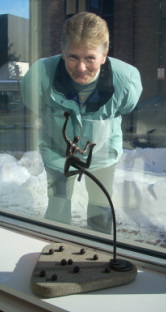
| I knew the first thing I had to do was to try to remove or tone down the glossy exterior coating on the driftwood. I ended up using paint thinner then denatured alcohol, followed by some gentle elbow grease with 220 grit sandpaper. After removing some areas of "punky" wood, I proceeded to shape and sand various "protuberances" to enhance the seal-like form that I saw in the contours of the driftwood. Finally I gave it a coat of satin polyurethane. The next step was to create a base and support on which to mount the "seal". This would involve another piece of rescued driftwood, a short section of an old cedar post, and a metal rod. This second piece of nicely grayed driftwood had a wave-like shape that I thought would work well with the direction I was headed in with the piece. After cleaning up some pithy areas and shaping its edges a bit, I fitted and attached a 3 3/4" tall piece of an old cedar post to the underside of the "wave" to elevate it off of the yellowheart board that would act as the base of the sculpture. The first step in assembling the piece involved drilling a hole in the base to accept the 12" metal rod that would hold up the seal., That was the easy part. Next I had to drill a hole in the seal's chest to receive the other end of the rod. I had to figure |
|
My latest project was the rehabbing and rebirth of a piece of driftwood that I found a number of years ago at a coastal antique/collectible/junk shop. Someone had tapered it, sanded some areas smooth, given it a glossy coat of shellac or polyurethane and some kind of push pin eyes. How it eventually ended up at the shop I don't know, but it called out to be rescued. I wasn't sure what I was going to do with it, but I couldn't leave it behind. out how I wanted to position the seal over the wave and then determine the angle the hole needed to be drilled in order to achieve that angle. The final step was to epoxy the rod into the base and then the seal onto the rod. The driftwood seal was finally where it was meant to be. "Deep Sea Diver" ... 3 views
0 Comments
Your comment will be posted after it is approved.
Leave a Reply. |
AuthorCynthia Smith, Maine artist, originally from Connecticut. Taught art at secondary level for 35 years, retired in 2004. Sculpts in bronze, wood, stone, clay & plaster. Her work can be seen at several mid-coast Maine galleries and shows. Archives
June 2023
|
 RSS Feed