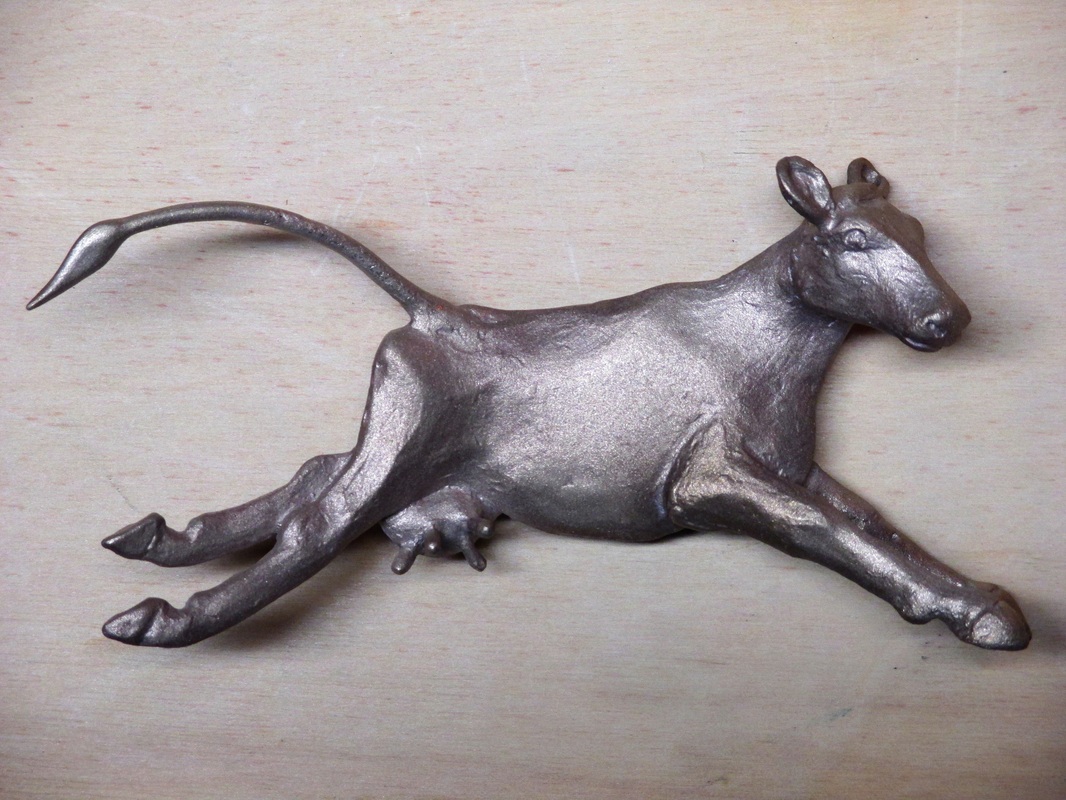
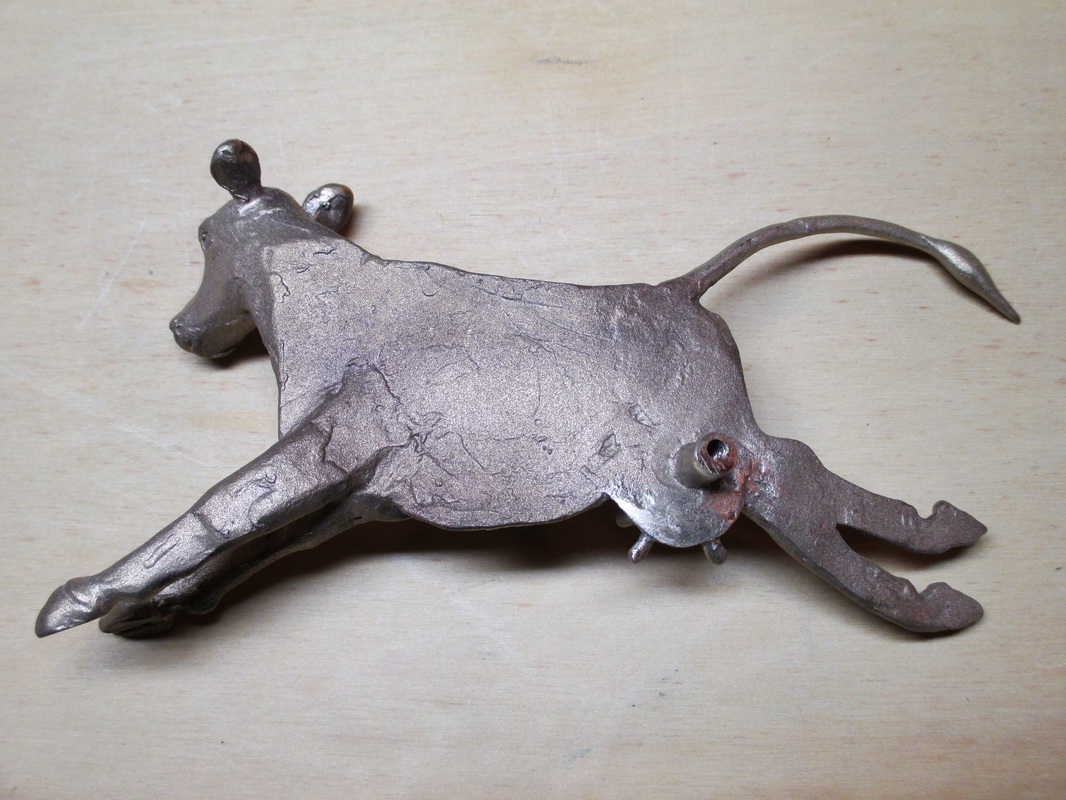
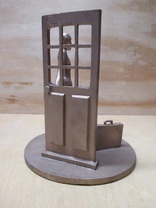
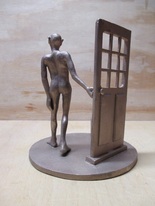
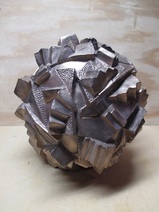
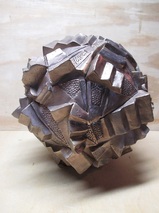
The final step this week was to bead blast each piece to prepare them for a future patina application. Some will be treated with chemical patinas to create a darker aged look, while others will be sealed with satin lacquer to maintain a bright bronze color. The process will be complete when the each piece has finally been mounted on its chosen base.
|
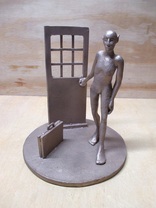
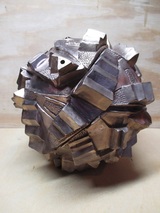
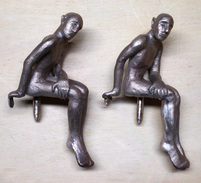
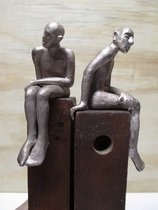
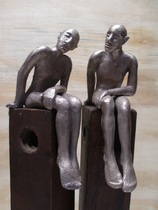
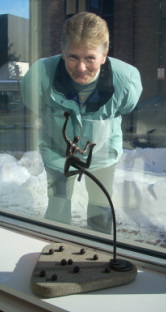
After chasing and re-texturing my castings (see my blog posting for 4/10/14), I had a few repair and attachment issues to deal with before heading down the home stretch with patinas and bases. The cow lost half of its tail and its front left hoof in the casting process. This sometime happens when there are small areas that the bronze has to reach and either the bronze isn't hot enough to flow into them or the flow is interrupted by exiting gases. The spare tail that I made also didn't cast, so I shaped a replacement out of a small piece of gating using my Dremel tools. This was then welded to the half tail remaining on the cow. For the missing hoof, a mound of weld material was built up on the end of the left front leg and then shaped with the Dremel and small files. The next step was to use a tap and die to drill a threaded hole in the short rod on the back of the cow so I can eventually attach it to the base. The casting of the door/man needed one small repair where the center of the window area of the door had failed to cast (see pic in blog entry for 4/10/14). I fashioned a small piece out of scrap gating to bridge the gap that was then welded into place. Then I chased and resurfaced the area to match the rest of the window structure. The stair ball amazingly had just one tread that had a couple of thin spots that needed to be built up with welding material and resurfaced, but the main task was to attach the two end plates (see blog entry for 4/10/14) to complete the form. Once they were attached, the weld areas needed to be chased and re-textured. The final step was to use the tap and die to create a threaded hole for the rod that will hold the piece to its base. The two small seated figures that will be attached to the tops of the wooden clamp (see blog entry for 3/3/14) did not need repairs. I did shorten the length of the attachment pegs (under the seats of the figures) that will be inserted into holes drilled into the tops of the clamp jaws. Once the clamp has been reassembled and mounted on a wooden base, the completed figures will be attached in position with epoxy.
The final step this week was to bead blast each piece to prepare them for a future patina application. Some will be treated with chemical patinas to create a darker aged look, while others will be sealed with satin lacquer to maintain a bright bronze color. The process will be complete when the each piece has finally been mounted on its chosen base.
0 Comments
Your comment will be posted after it is approved.
Leave a Reply. |
AuthorCynthia Smith, Maine artist, originally from Connecticut. Taught art at secondary level for 35 years, retired in 2004. Sculpts in bronze, wood, stone, clay & plaster. Her work can be seen at several mid-coast Maine galleries and shows. Archives
June 2023
|
 RSS Feed