After I completed the preliminary work of removing most of the gating and then bead blasting the remaining thin layer investment material described in my previous posting, I cut off the miscellaneous small remnants of gating from my bronze castings. I then moved on to the process of chasing and re-surfacing each individual bronze piece.
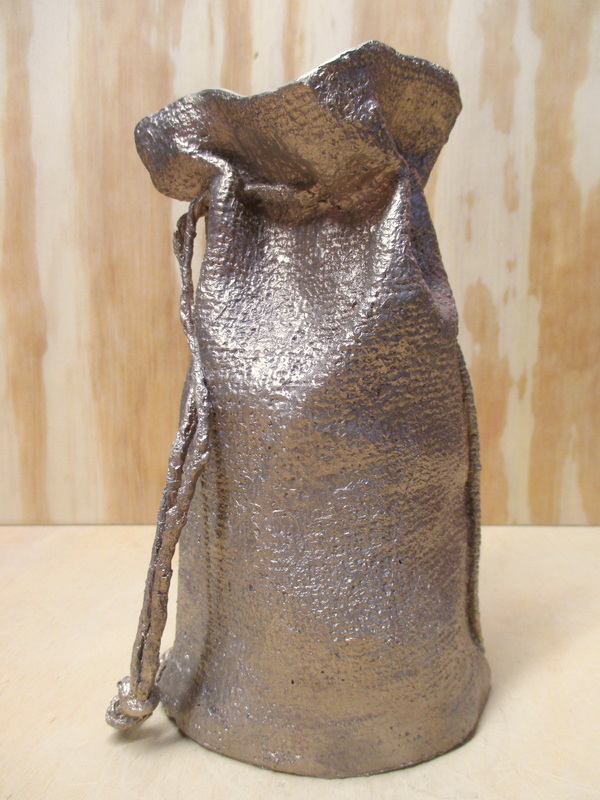 | 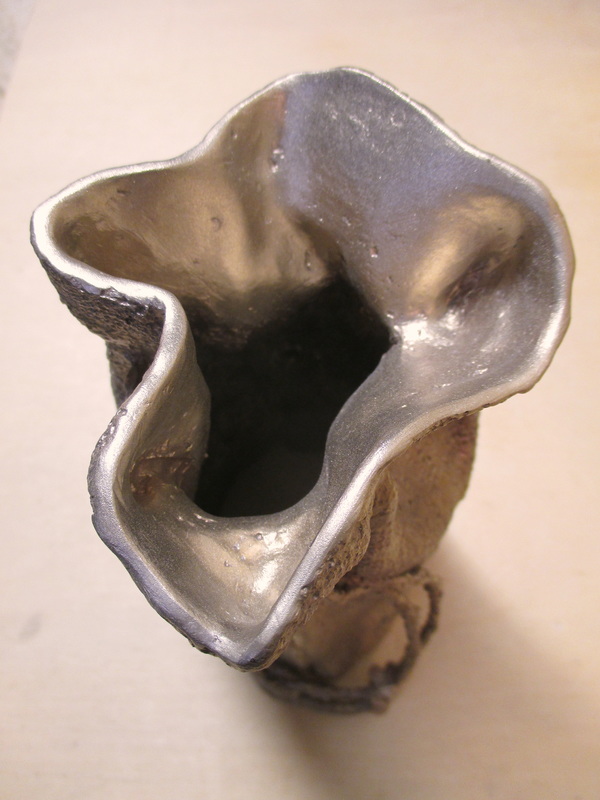 | 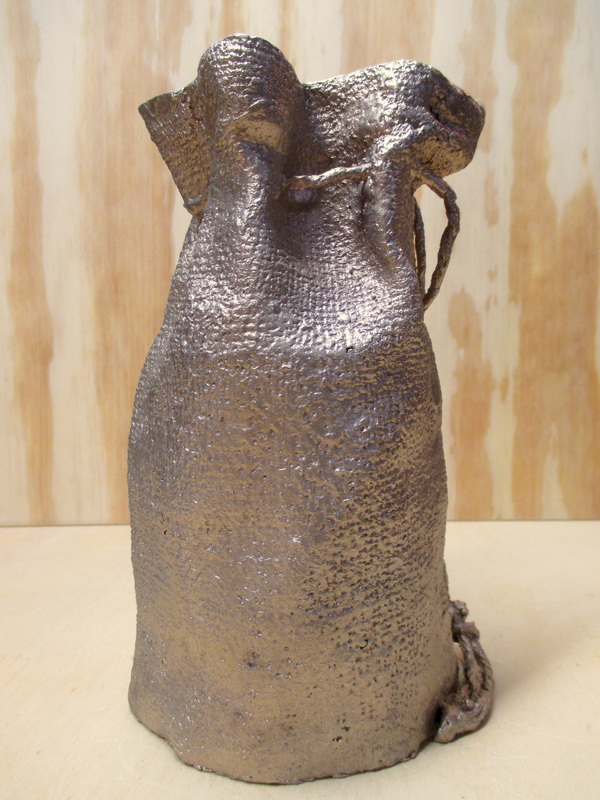 | 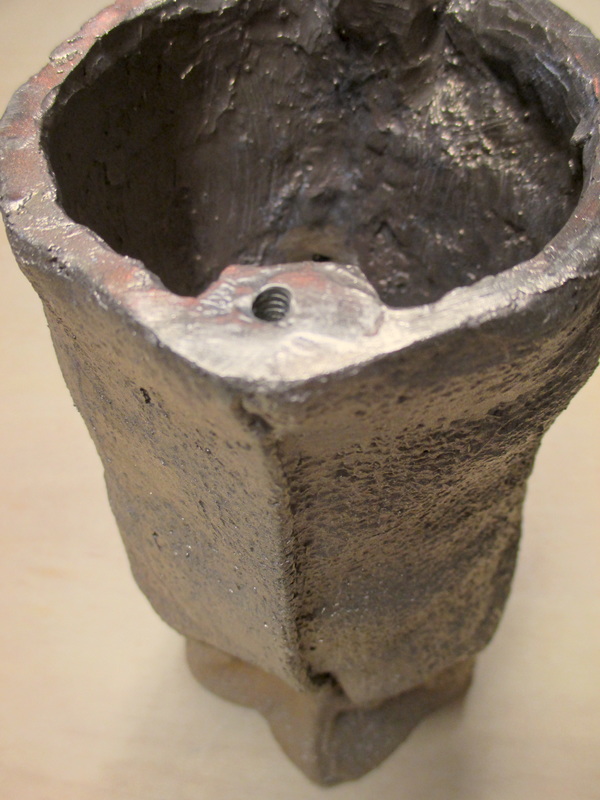 |
The attachment points on the top and bottom edges of the burlap sack casting were easily accessed. I ground them down with a Dremel sanding drum attachment, and smoothed them with a medium grit buffing wheel. The inside of the sack opening was slightly rough and uneven, so I used the Dremel attachments to smooth out the surface. This also served to make a more a more interesting visual contrast between the inside and outside of the sack. Finally I used a tap and die set to create threaded holes in the two wide projections I had contructed in the bottom edge of the sack. These will eventually be used to attach the piece to a base.
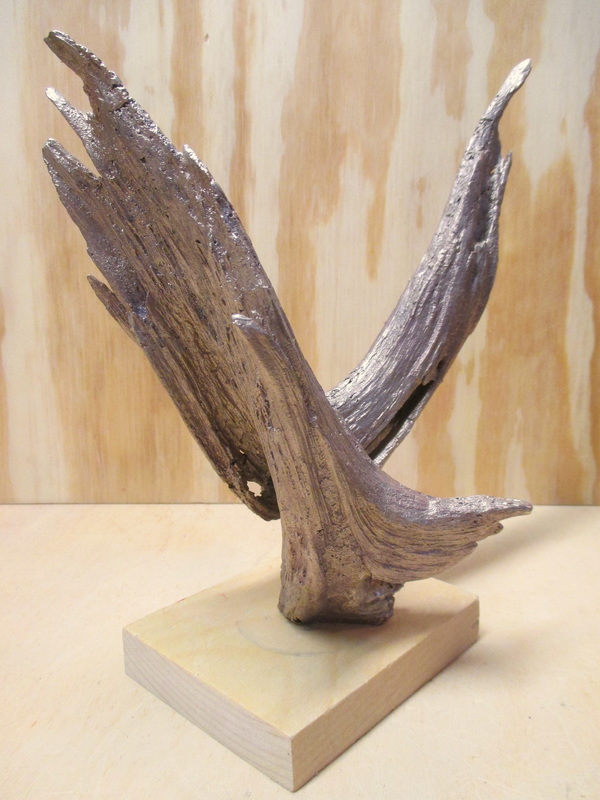 | 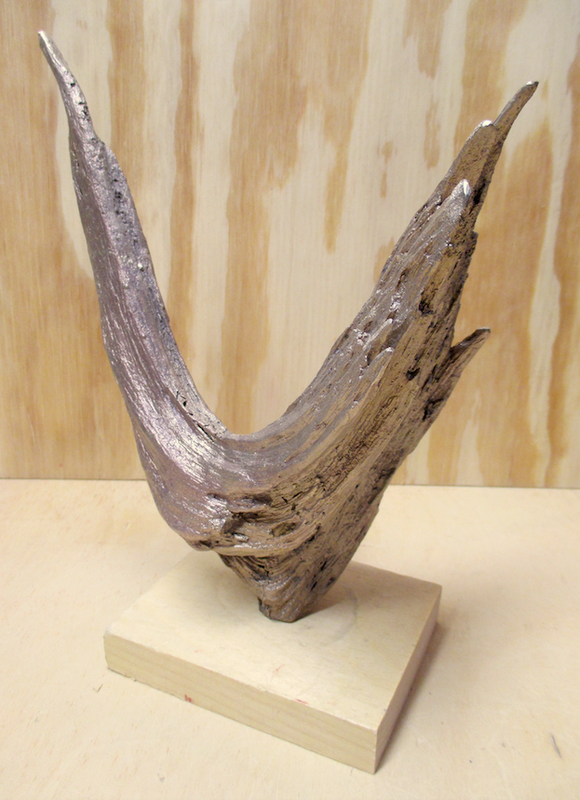 | 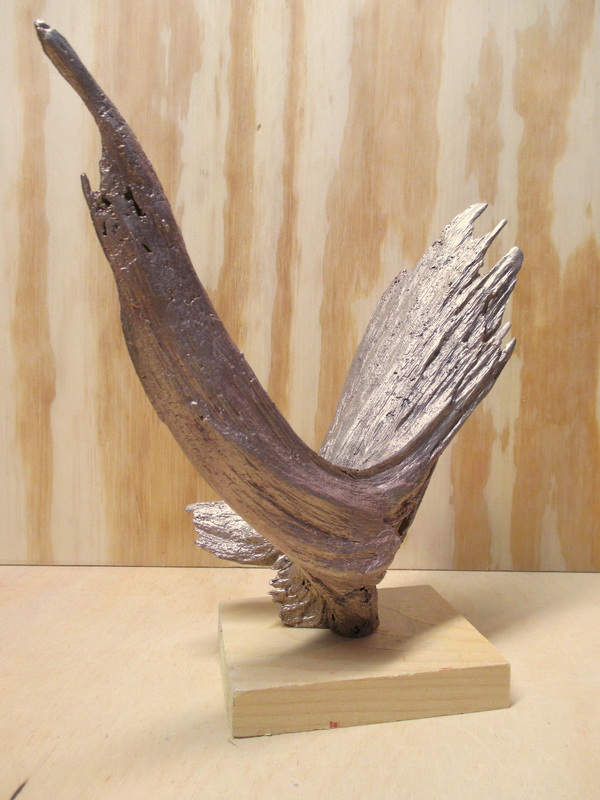 | 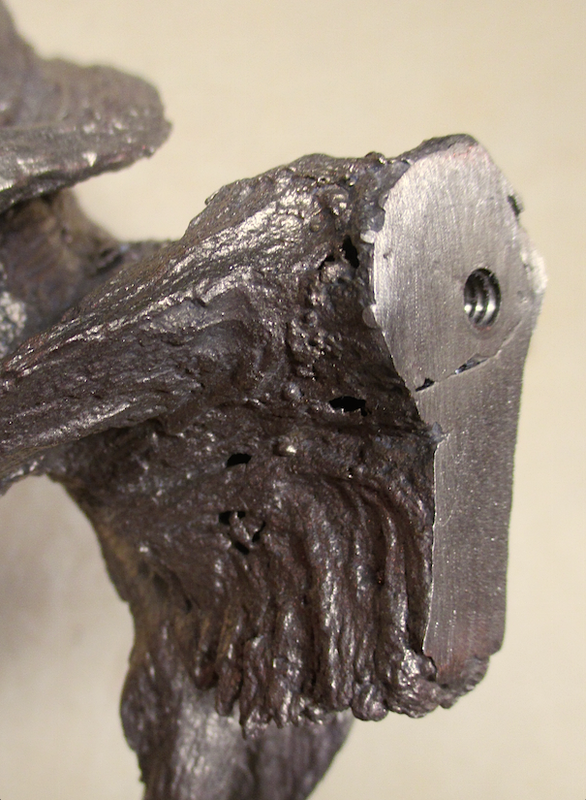 |
There were a number of small pieces of gating that had to be removed from the tips of the driftwood casting. The tips were then carefully reshaped using the Dremel and some small metal files. A cold chisel was used to tap off some small bronze "air bubbles" and a small amount of flashing that had formed during casting. I used a screwdriver and hammer to recreate some of the wood grain texture, and lightly tapped some rough grit sandpaper on it with a ballpeen hammer to blend the repair with the original surface texture. I again used the tap and die to create a threaded hole in the bottom to accommodate the rod that will be used to secure the sculpture.
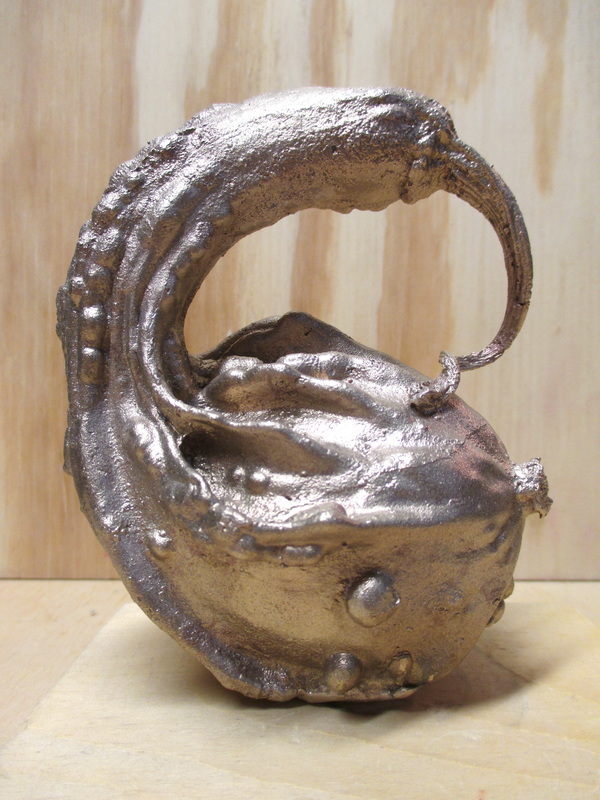 | 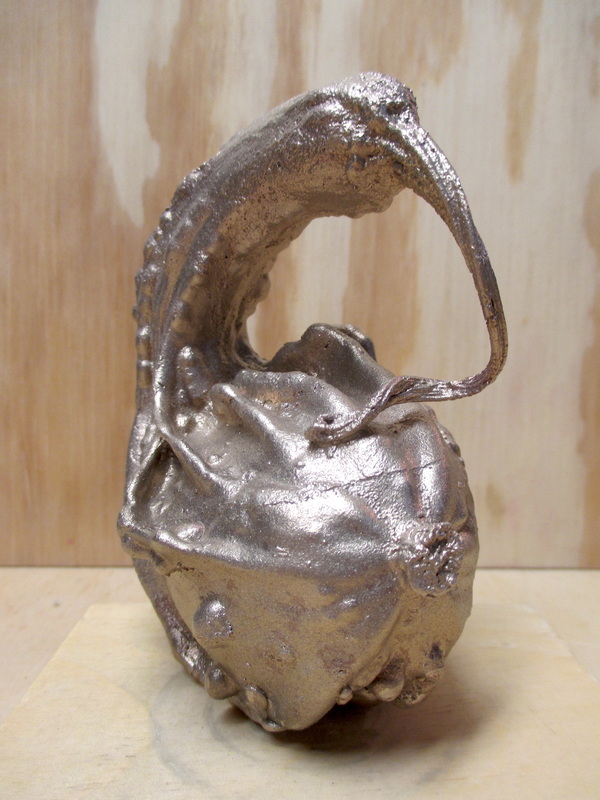 | 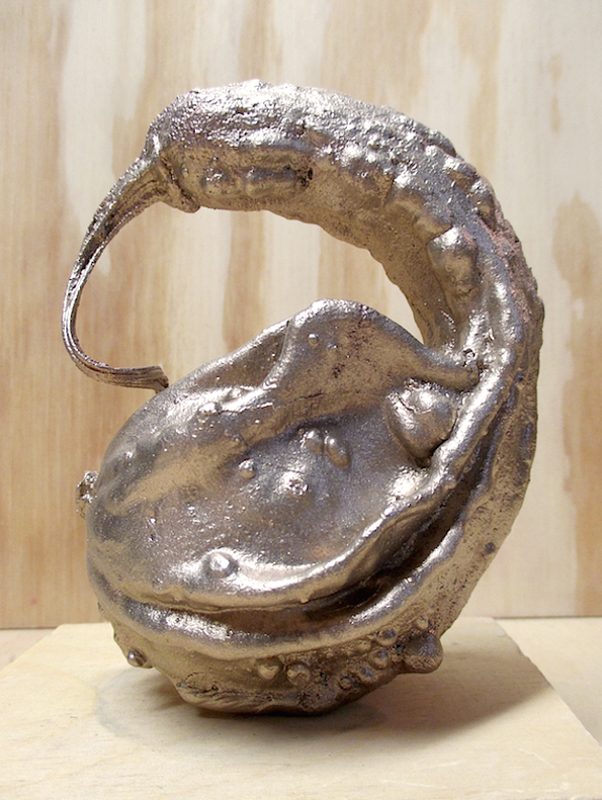 | 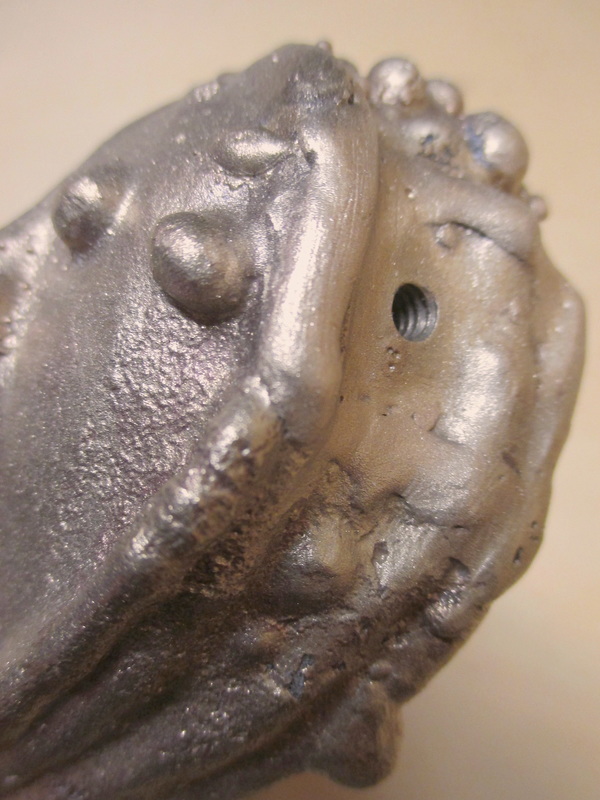 |
The gourd casting had only a few small bronze " air bubbles" that were easily removed with a cold chisel, and the gating attachment points were easily ground down and re-textured. I used the Dremel cutting wheel to remove the remaining pieces of gating from the rectangular cut-out that had been taken from the bottom of the gourd. The cut-out was then welded into the opening in the bottom of the gourd casting, and a threaded attachment hole was drilled into it.
 | 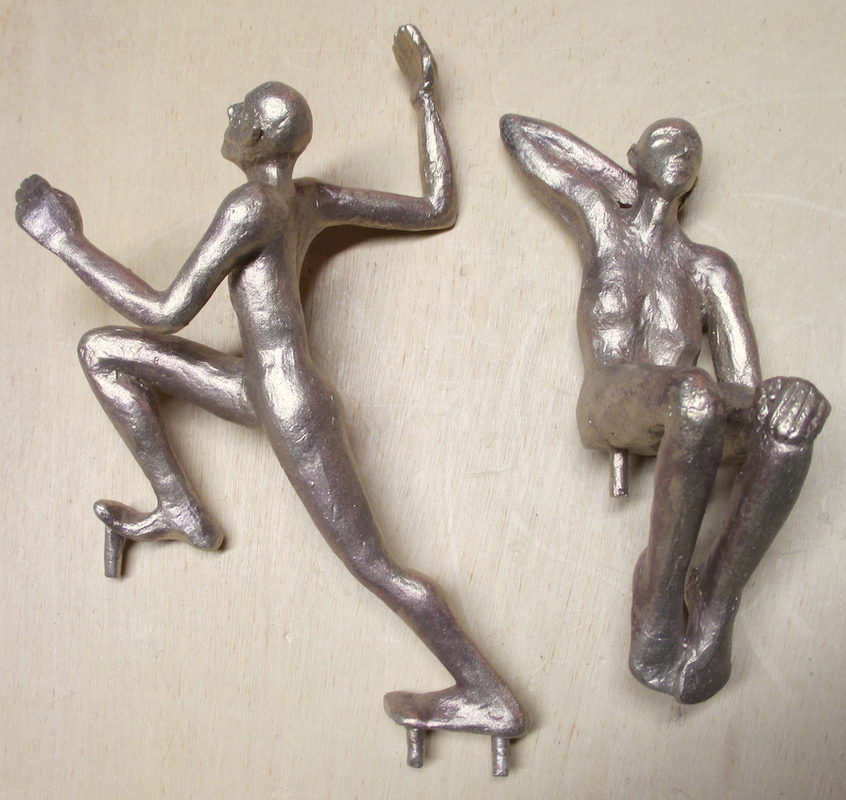 | 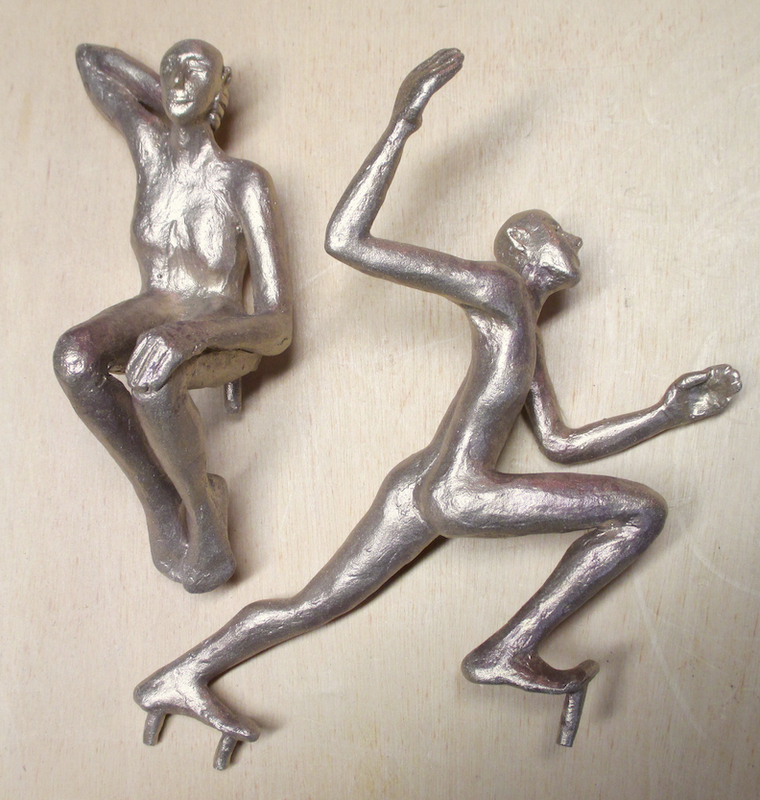 | 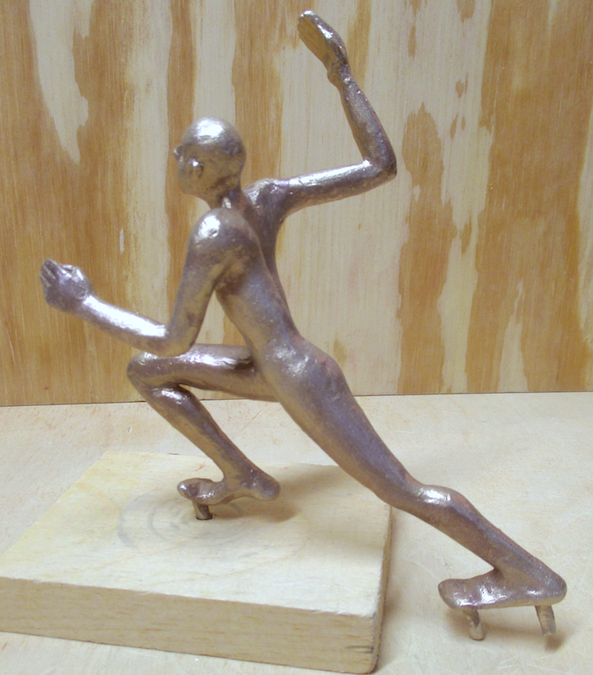 |
The most difficult part of chasing the two small figures was removing the gating and blind vent material from small detailed areas. Vents had been attached to the hands of the running figure and had to be removed. This then necessitated re-shaping the finger tips with small metal files. I also had to remove the blind vents (toothpicks) that had been attached to the tips of the ears and noses of both figures, and then reshape those features. The seated figure had two bronze "air bubbles" that had to be ground off, one over the left eye and one in the figure's crotch. I was able to do this using some small Dremel grinding attachments. I again used sandpaper and the ballpeen hammer to impress a texture on the repaired areas that would match the surrounding surfaces.
After all of my castings were chased, re-surfaced, and tapped I gave each them a trip to the bead blaster. The next step will be to make choices about bases, patinas, and set ups.
Stay tuned...
After all of my castings were chased, re-surfaced, and tapped I gave each them a trip to the bead blaster. The next step will be to make choices about bases, patinas, and set ups.
Stay tuned...

 RSS Feed