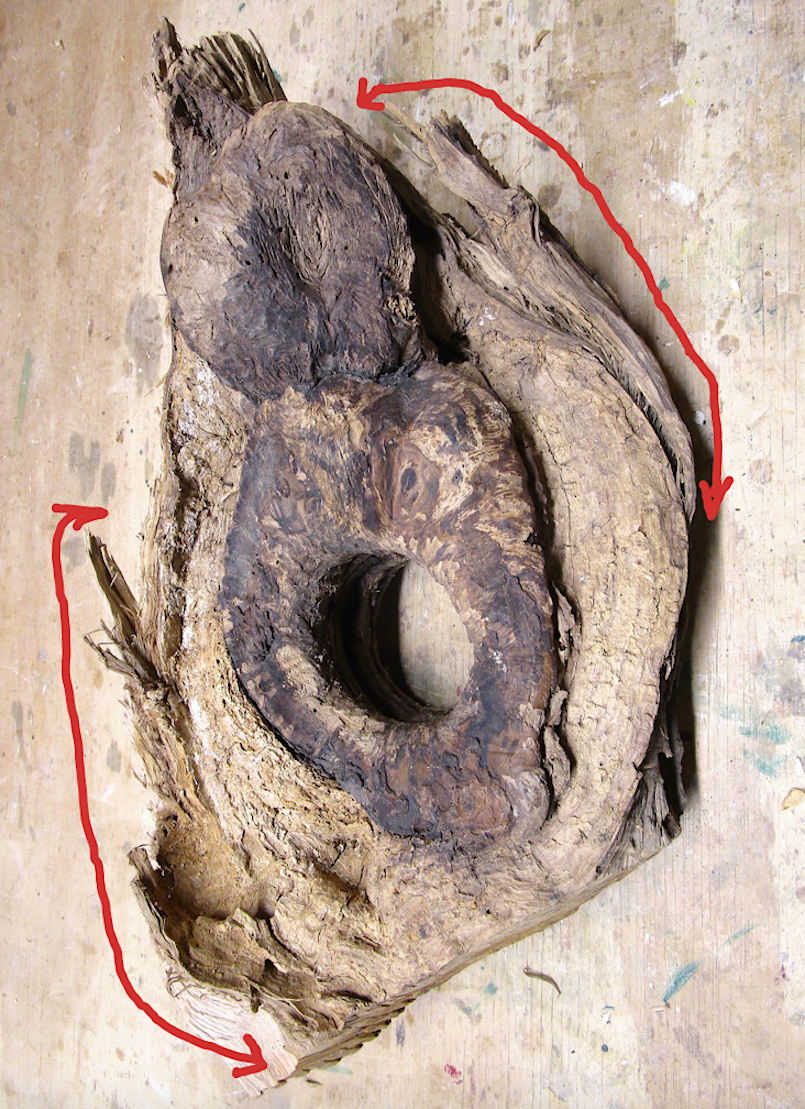
 Back side areas of concentration | The back side of the piece of maple that I have been writing about in my last 3 blog posts had a totally different character than its front side. I kept the central area containing the heart-like shape at the top and the callus material around the opening in their natural state, and concentrated my efforts on the surfaces surrounding them and the side edges shared with the front. The only way to address my concerns about the viability and visual value of the upper right side "tendril" was to asses and reassess it from all sides as I gradually carved, sanded and shaped it. Once I decided that the tendril needed to stay and had re-enforced the weak area it at its base, I was able to finish refining it. |
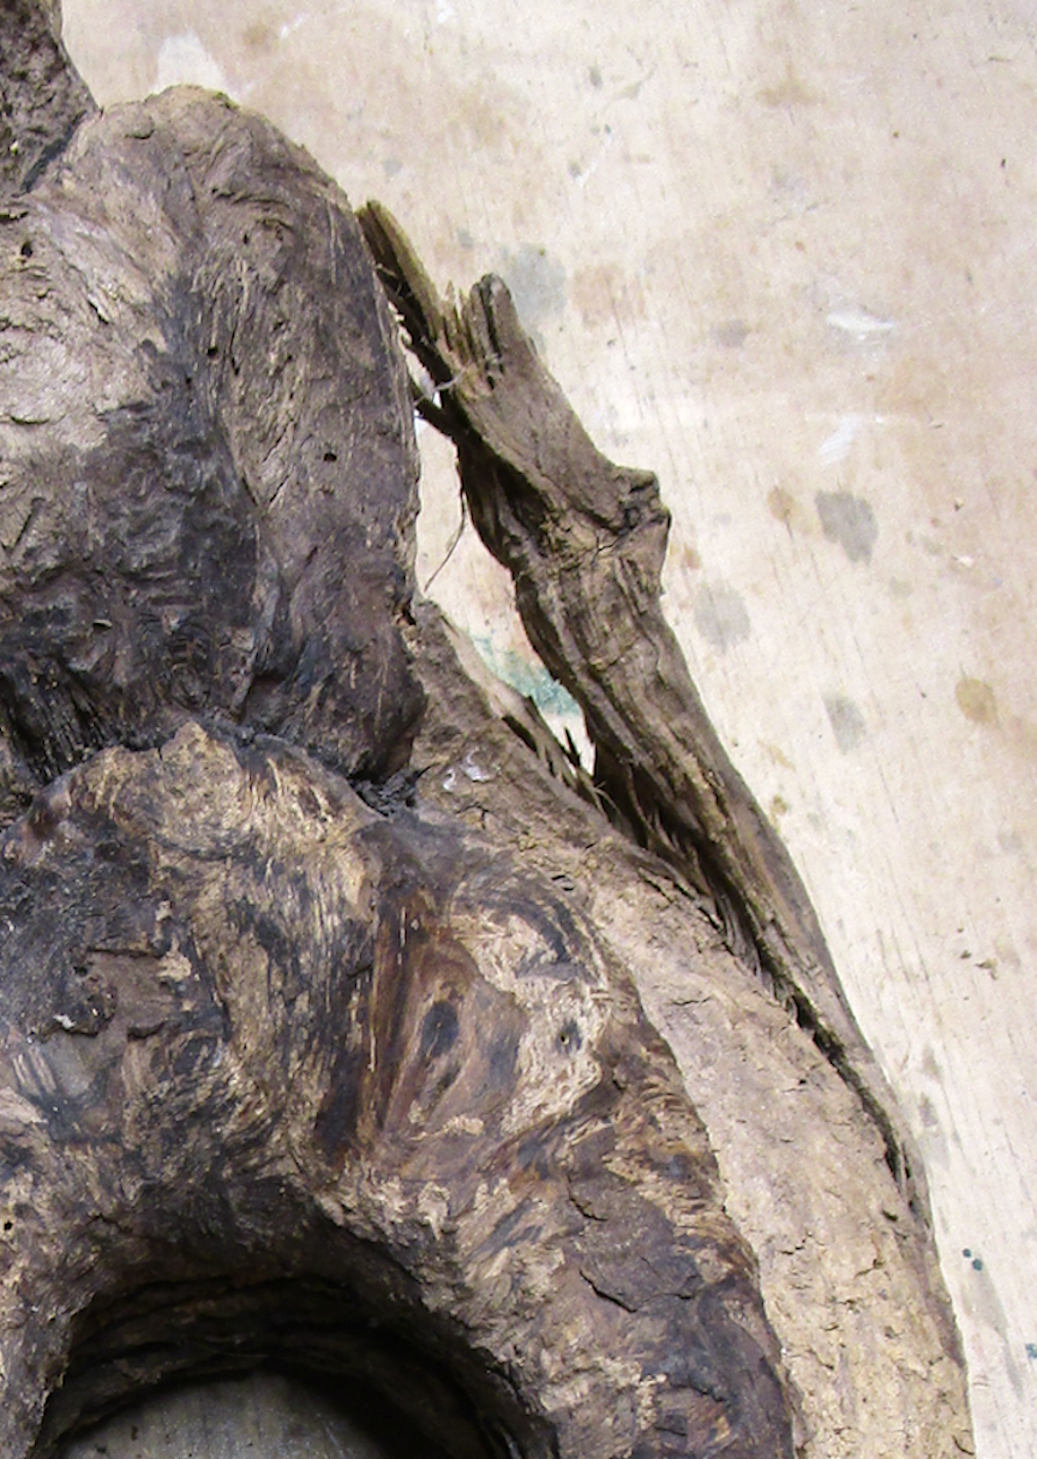 Upper "tendril" | 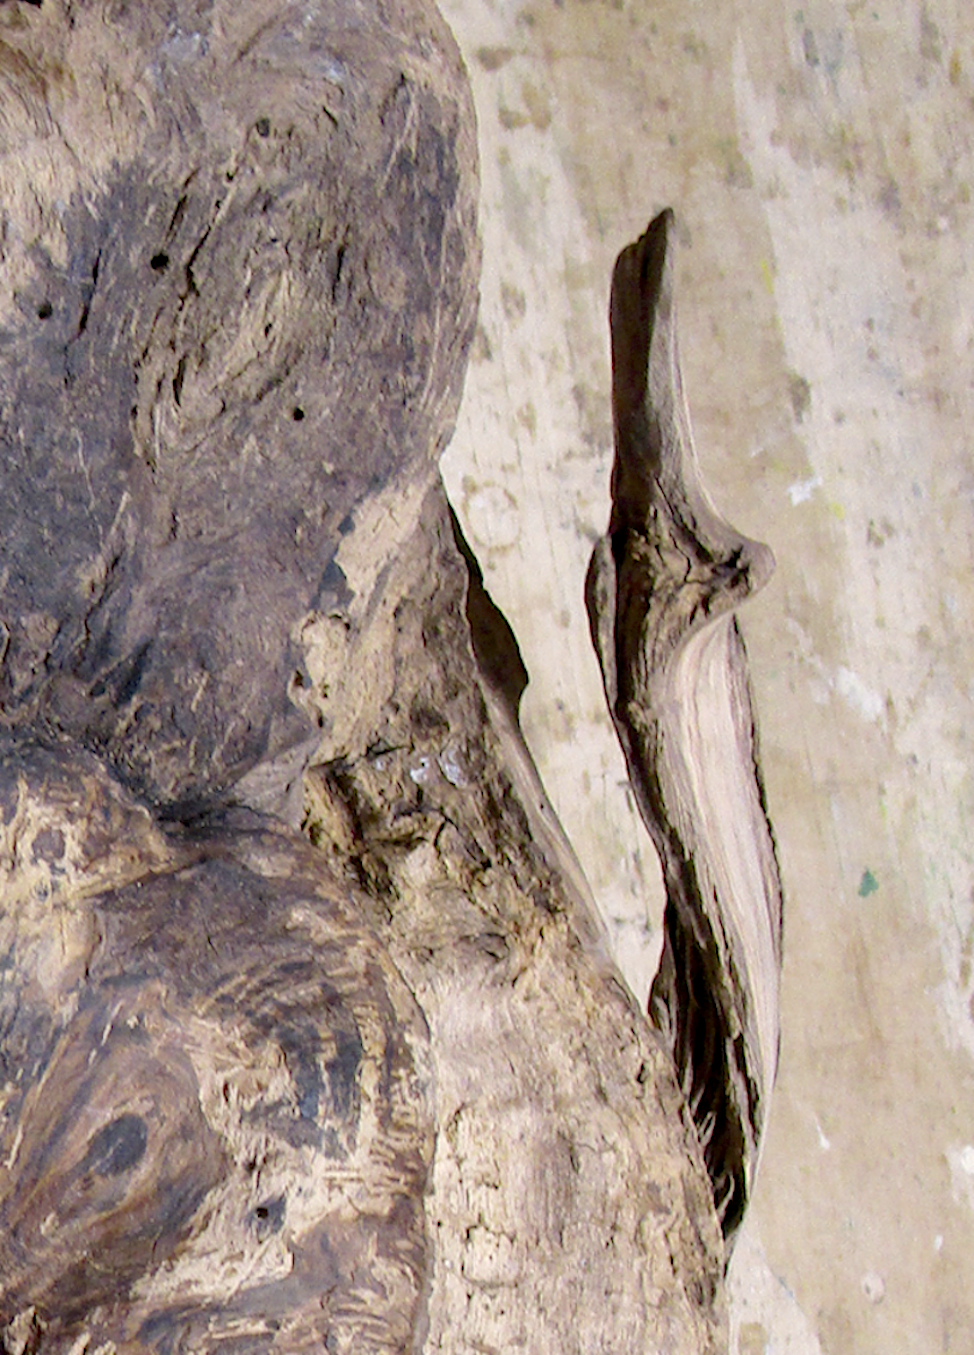 Reveal | 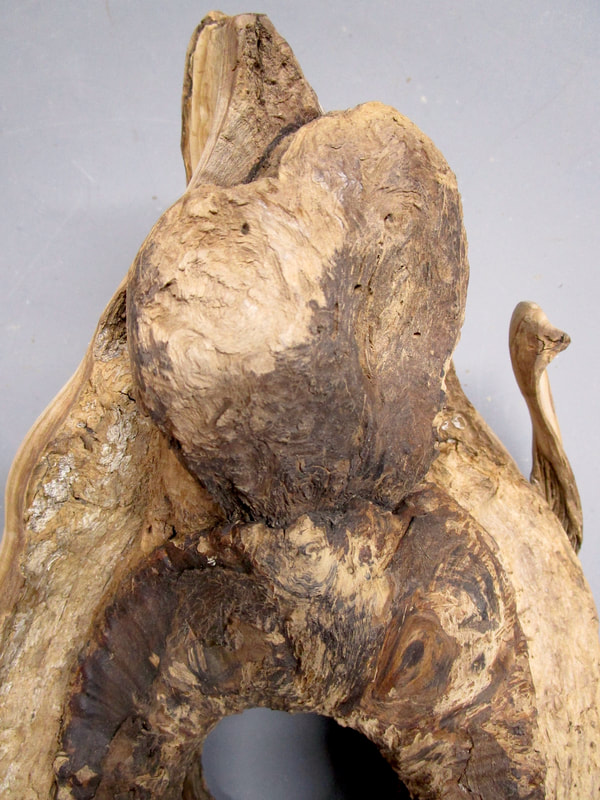 Re-shape | 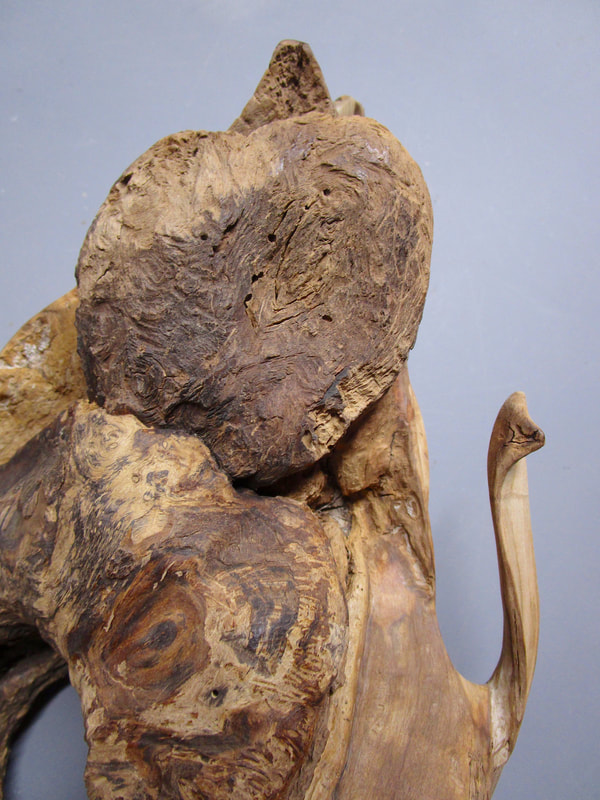 Repair & refine |
I had identified an area at the bottom of the piece as the only place where I would be able to securely insert a rod to mount the piece to a base. I shaped and smoothed a "path" down the left side past the lower "tendril", continuing around and up along the right side, leaving a "nub of wood at the bottom. After drilling a hole to accommodate a 1/4" rod, I refined the area around the eventual insertion site. At this point I decided that the tendril needed to be removed and, after doing so, I was able to further shape and refine the area.
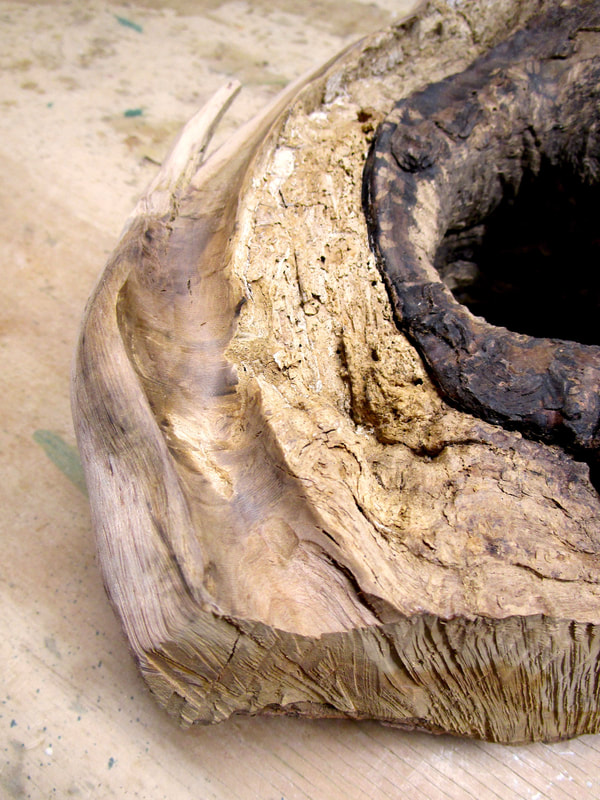 Identify | 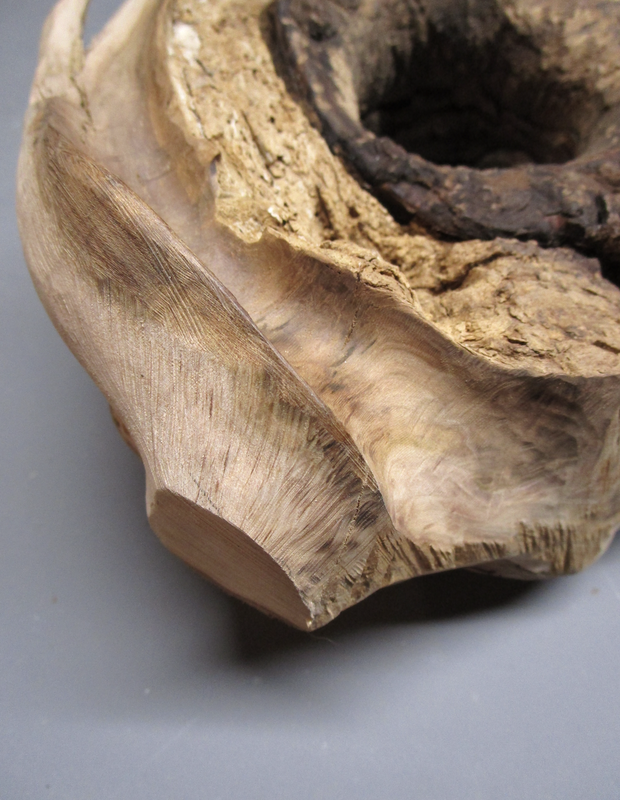 Create "nub" |  Refine & assess | 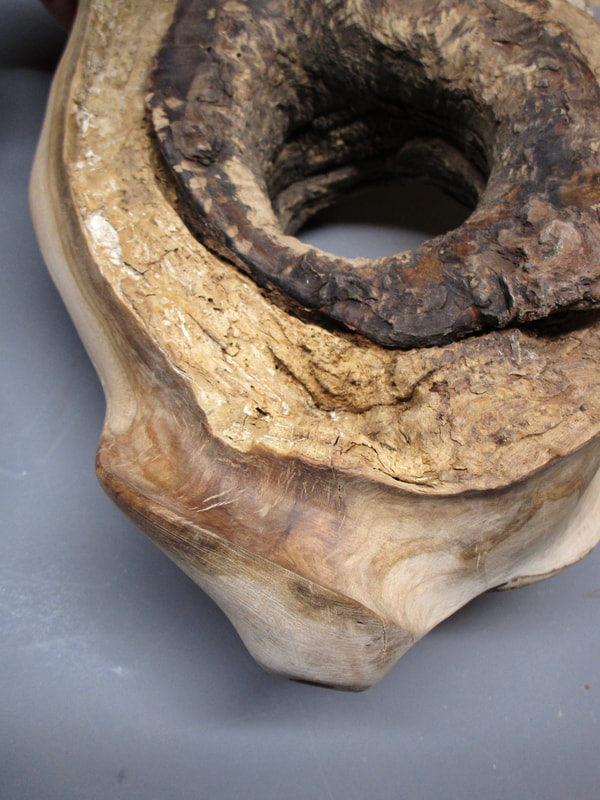 Remove & refine |
I wanted the hole that I drilled from front side to the back side through the top behind the "heart" to serve as a visual connector between the two sides. I gradually opened the hole wider and curved the area around it on the back side, thinning the surrounding walls. Finally I changed the curve at the top from convex to concave, then refined and sanded the area.
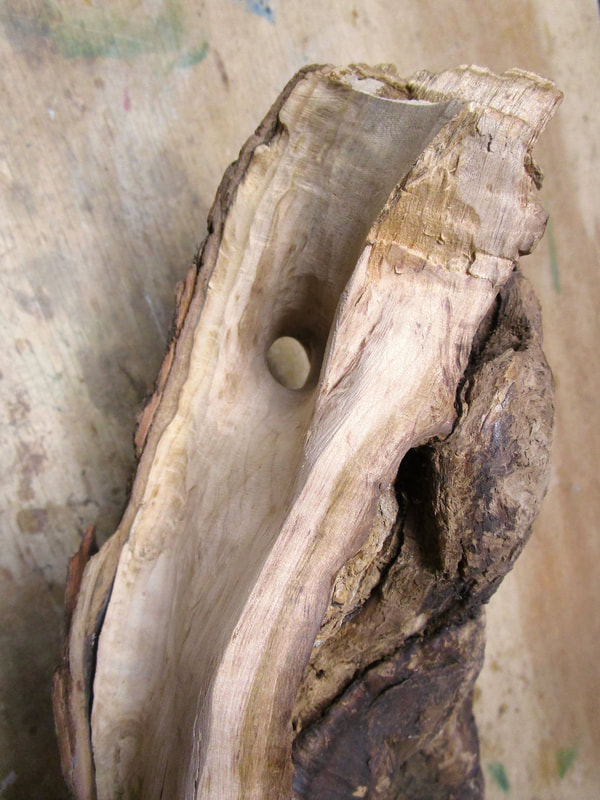 Rough out | 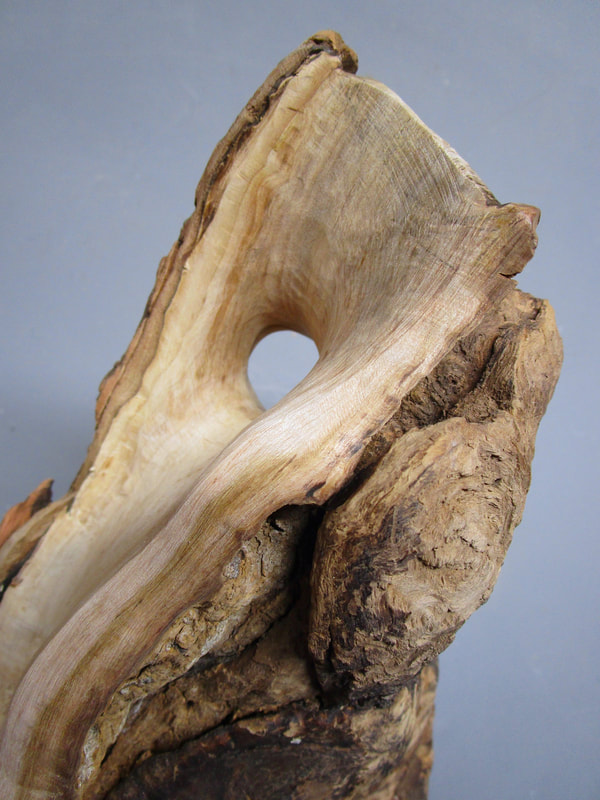 Open & explore | 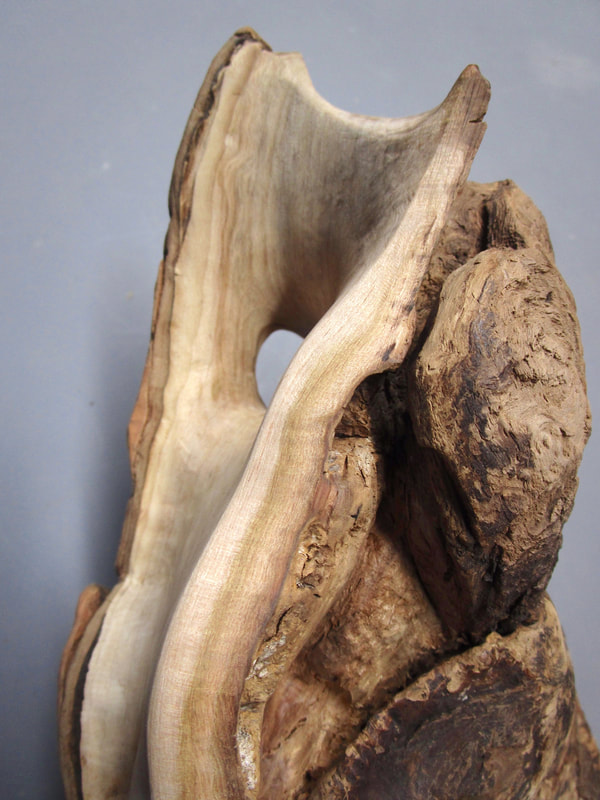 Revise | 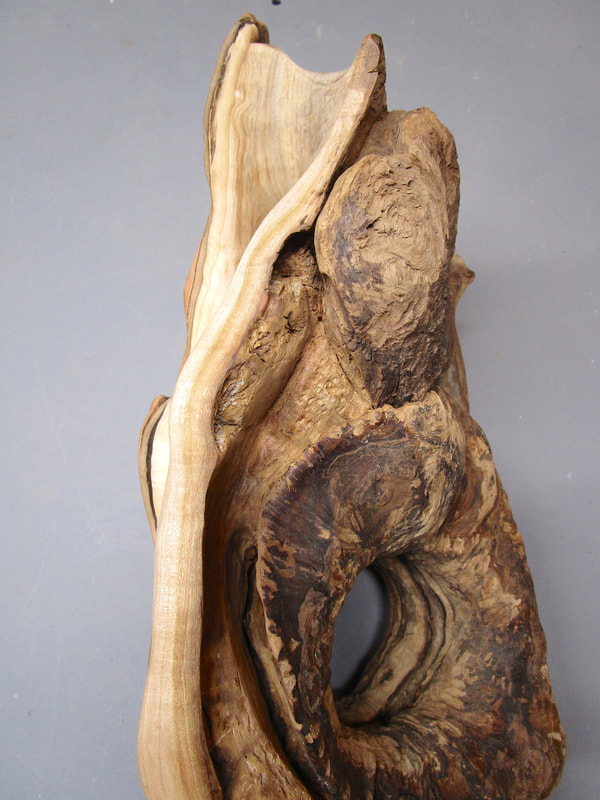 Refine |
After adjusting the texture of the surfaces around the edge of the callus, making the right side smooth and creating a tradition from smooth to rough on the left side, the final step before mounting the piece on a base was to coat it with satin polyurethane. This process brought out a variety of color variations both in the natural surfaces and the sanded surfaces. The piece was ready for mounting with rod to base...tune in for Wonderland Part 5.
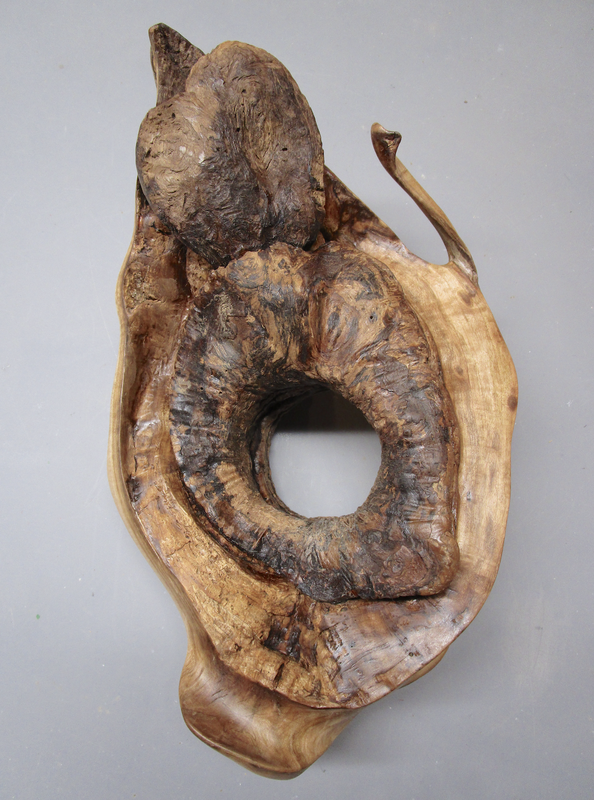 Poly | 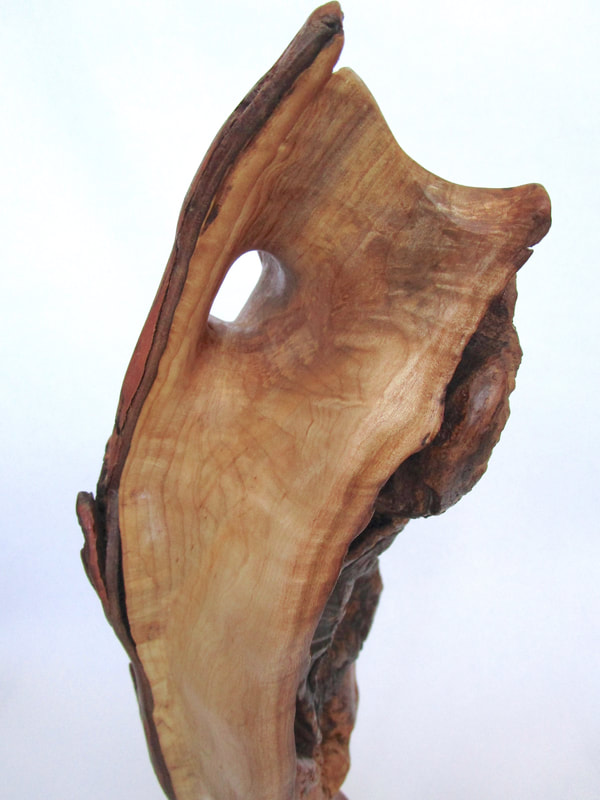 Opening detail | 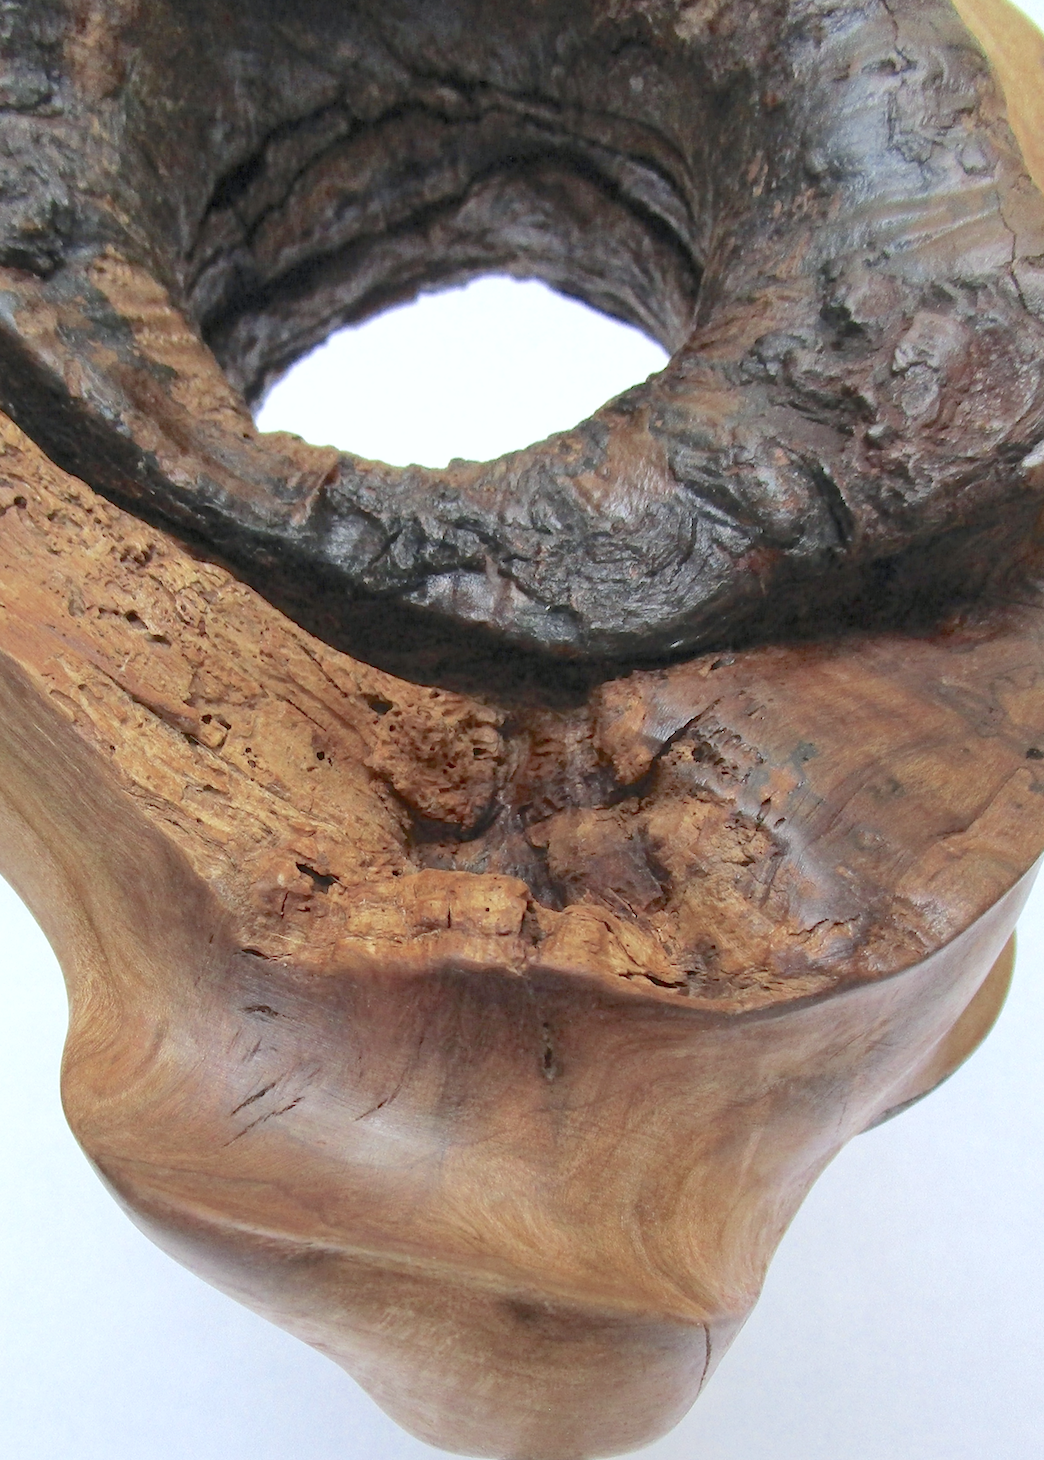 Base detail | 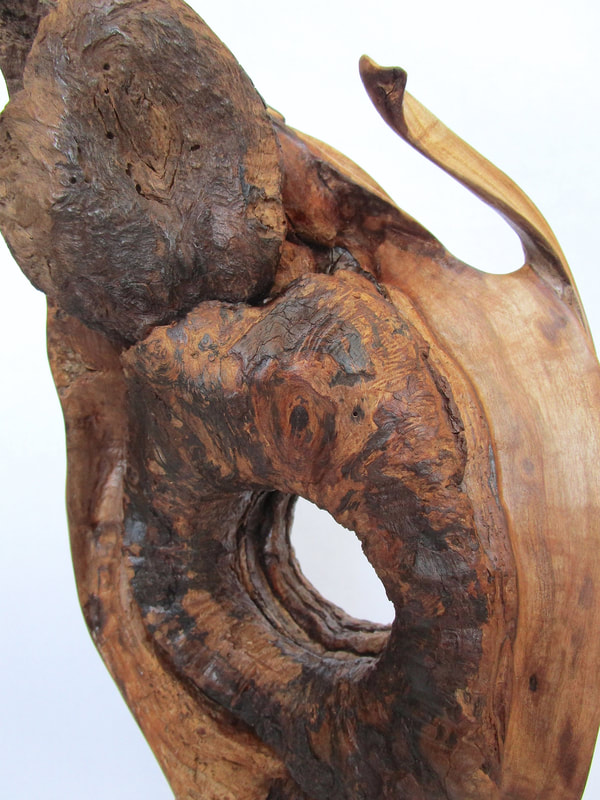 Tendril detail |

 RSS Feed