| As I said in my previous blog post, sculpting a piece of natural barked wood can present some surprises that may require attention, re-construction or re-direction. Upon inspection of this particular piece of maple, I saw that there was a place on either side of it that had a ragged slightly splintered-off section. I wasn't sure if I wanted to keep them or not, so I decided to gradually shape or shrink them as the sculpture evolved. After removing some of the bark, I sanded and shaped the wood revealed beneath, creating a contrast of smooth and rough textures. This allowed me to begin the process of assessing and refining the side two elements. | 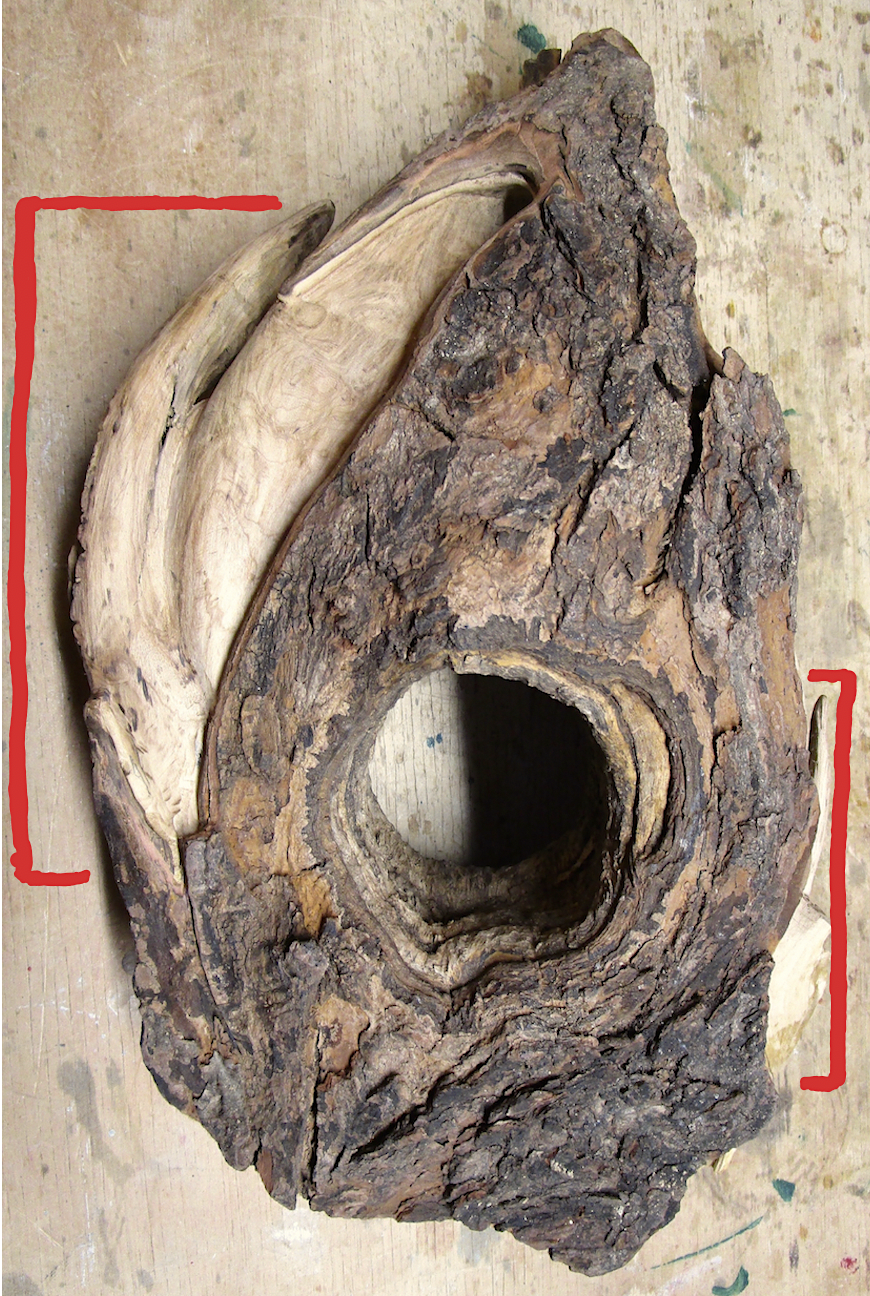 Areas of concern |
 Opening the "peak" | 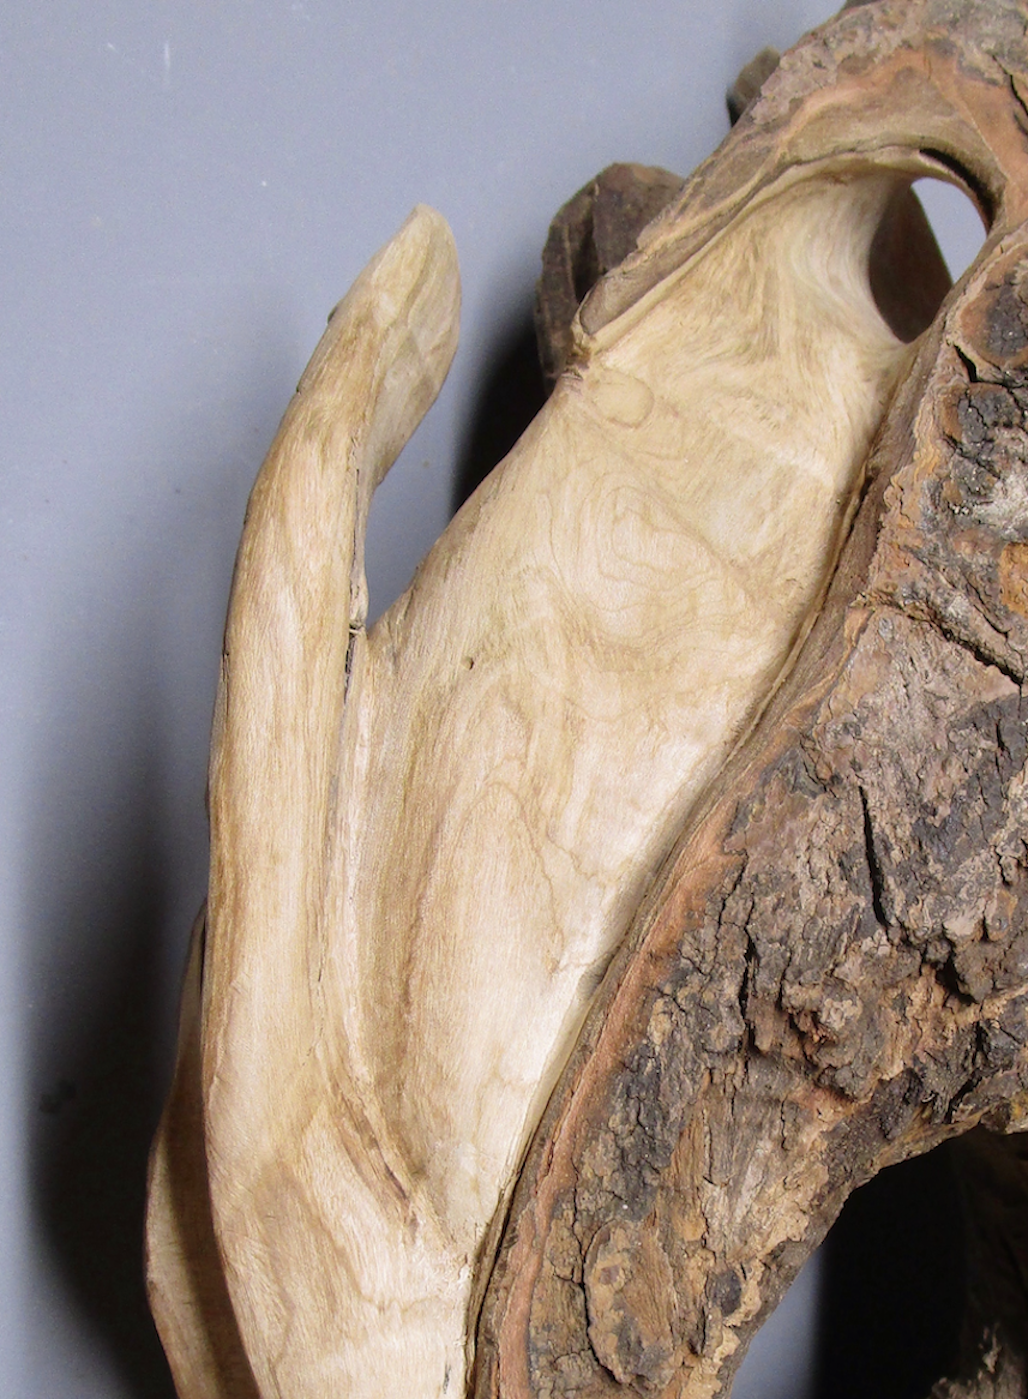 "one" worm hole | 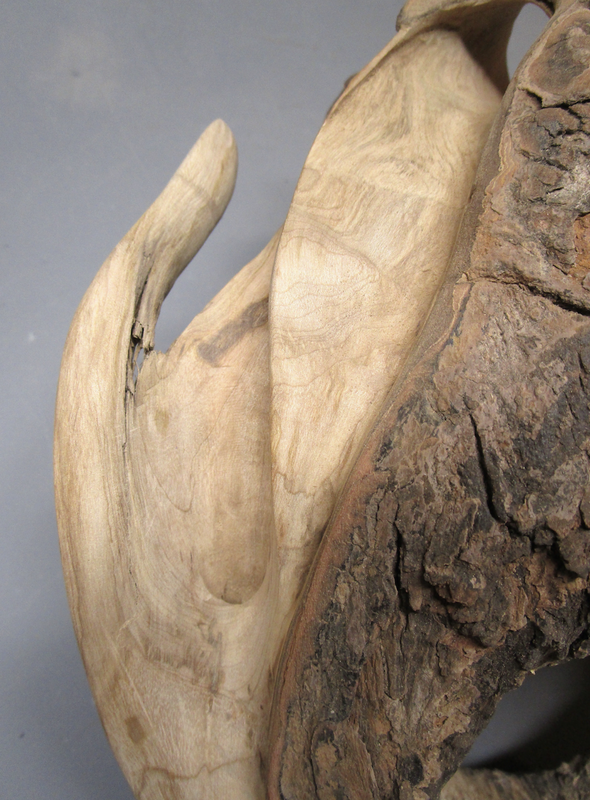 Revelations | 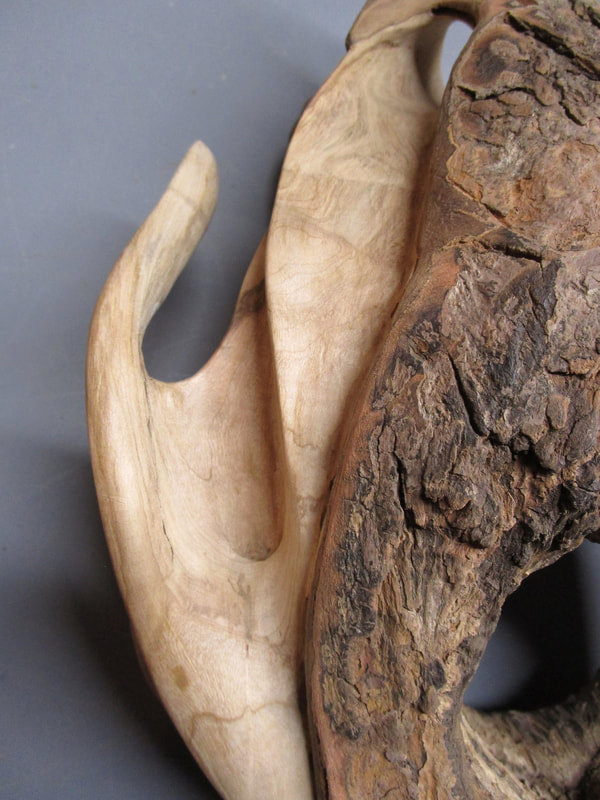 Reshape & repair | 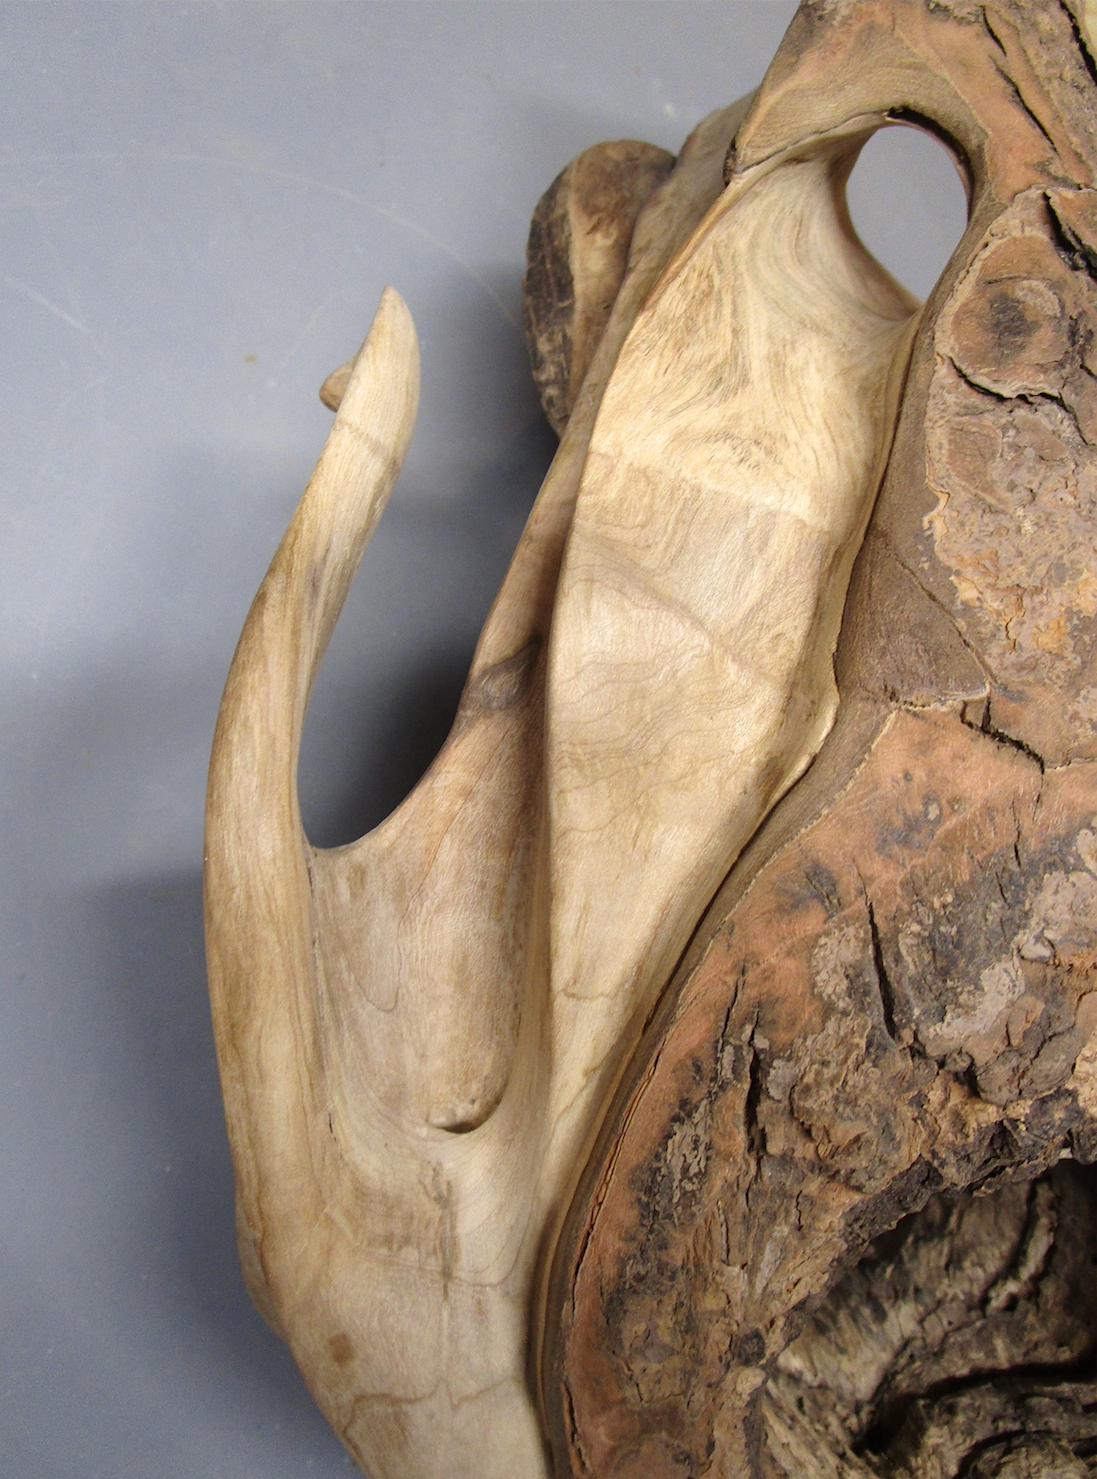 Refine |
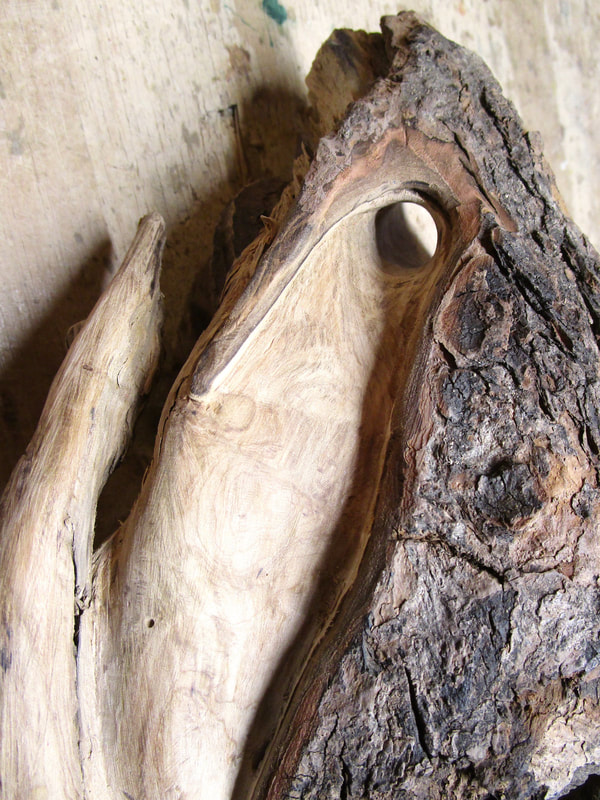
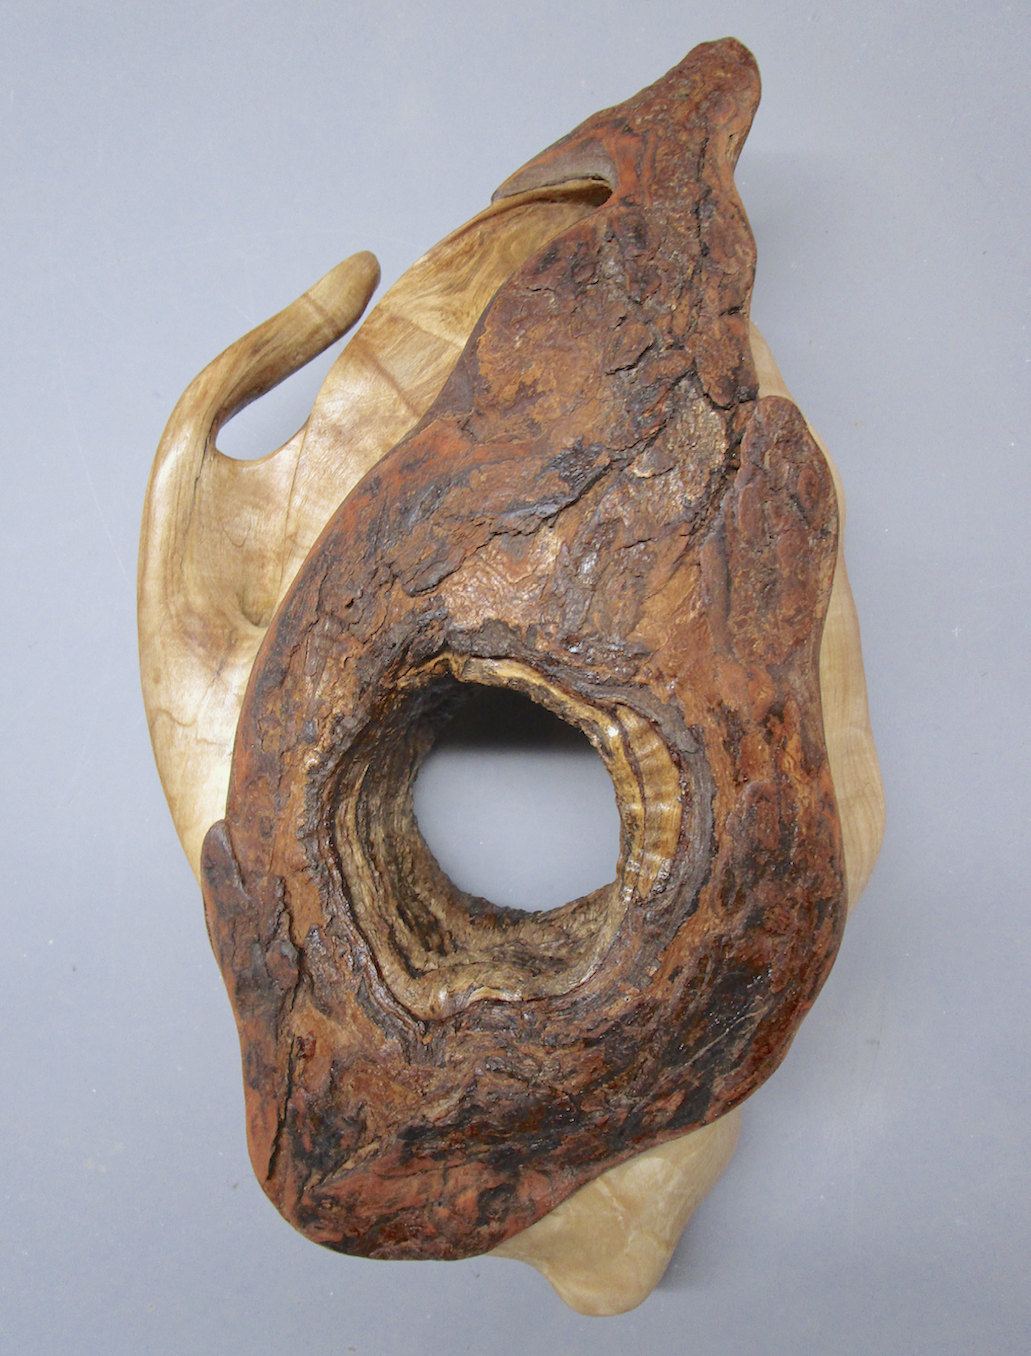
As I began to refine and shape the elongated wood "tendril" on the left side I saw that it had an interesting way of echoing the contour of that side. After creating an opening at the "peak" to echo the opening of the branch hole, I continued to shape the area to the right of the tendril and, in doing so, I uncovered a small worm hole. Instead just of ignoring it, I tried to eliminate it by chiseling out more material but this revealed a cluster of worm holes. I ended up totally reshaping the area (I was pleased with the change), but it also exposed a splintery crack at the base of the tendril that made its survival doubtful. I was able to repair and strengthen the area by filling it with Quickwood (a mastic epoxy). This repair allowed me to continue to refine the shape of the tendril and the area around it.
 Begin | 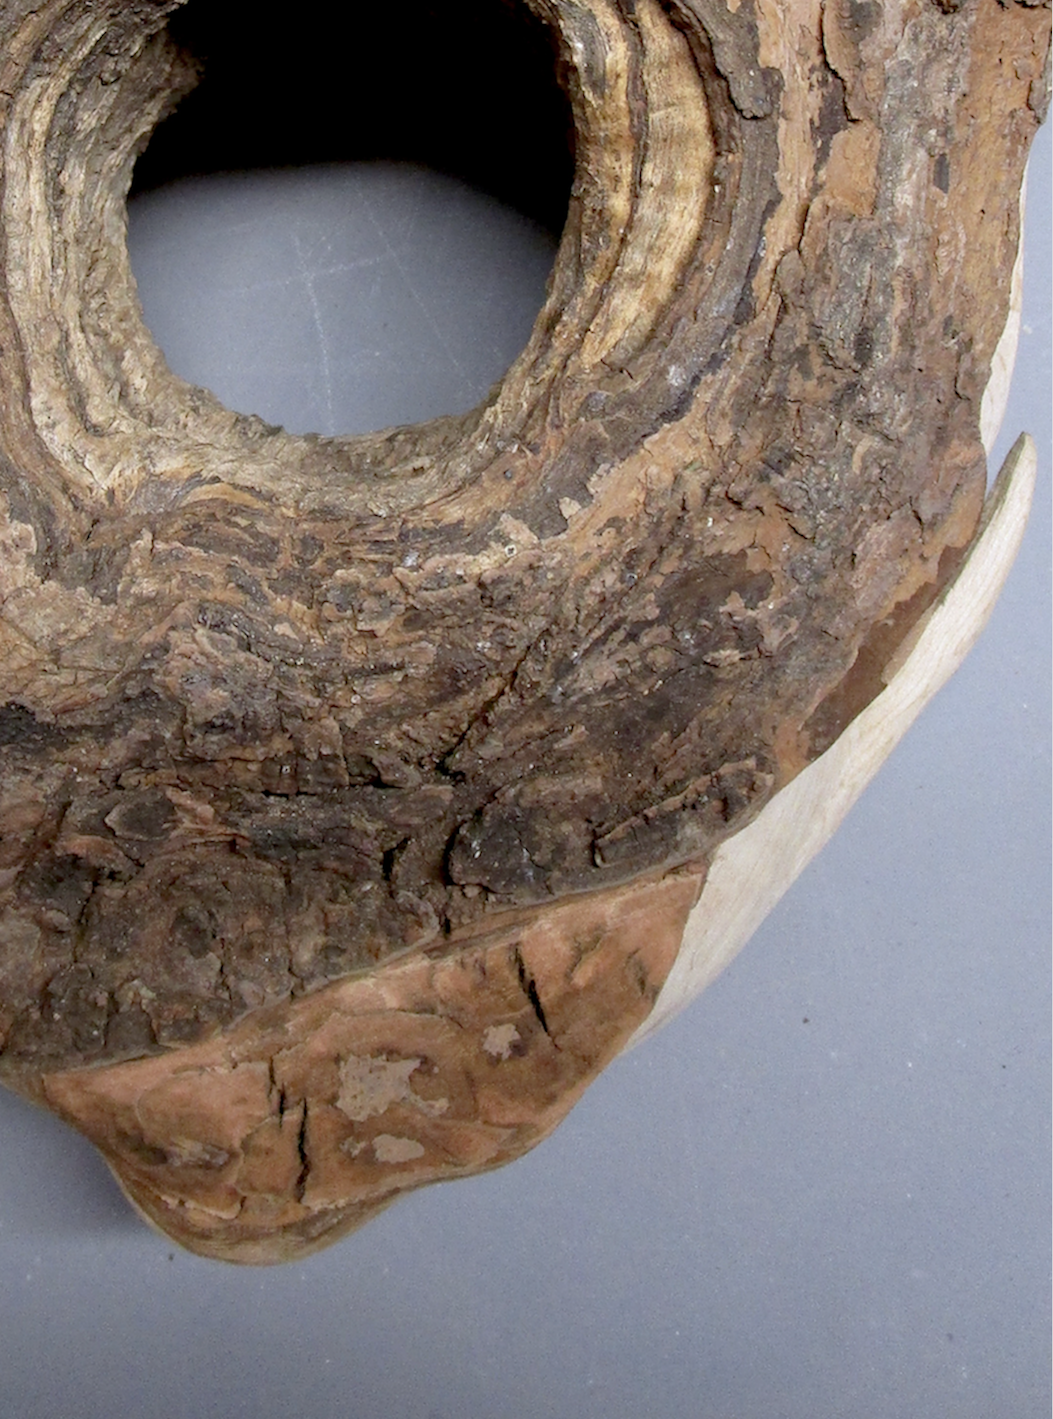 Explore | 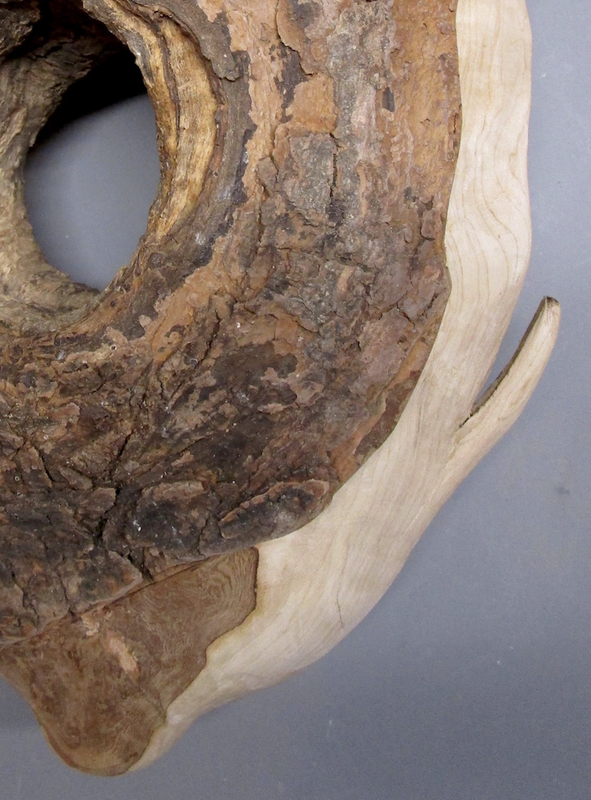 More |  Clean & assess | 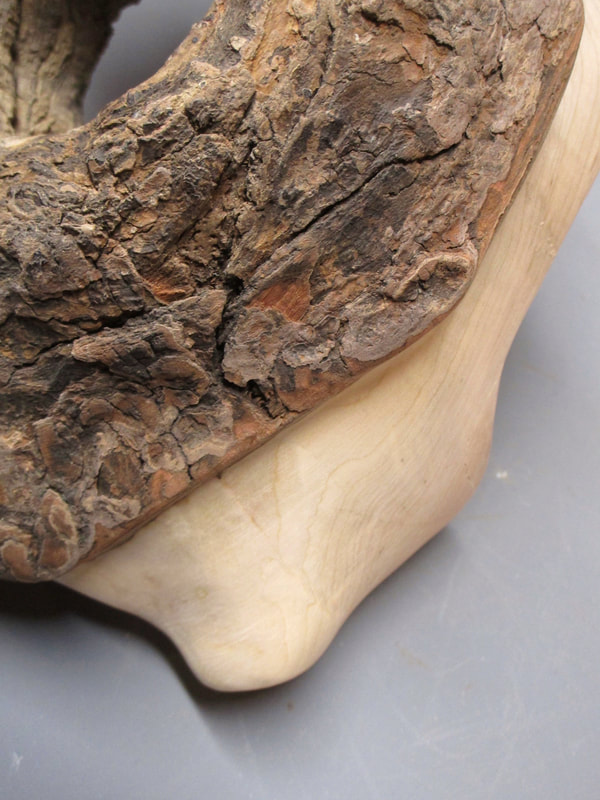 Remove |
The fate of the second side element, a smaller "tendril", was decided after a step by step removal of bark at the lower end and side of the piece. As I removed the surrounding bark, I also started to shorten the length of the tendril. Initially I thought that it could act to mirror the upper tendril on the other side, but eventually I decided that it did nothing to enhance the form of the piece and needed removal. Again I was faced with a structural dilemma - a crack at the base of the tendril necessitated removing a fairly deep chunk of wood. There was no going back. In the end, I was pleased with the results of my re-shaping and sanding efforts.
 Satin poly | 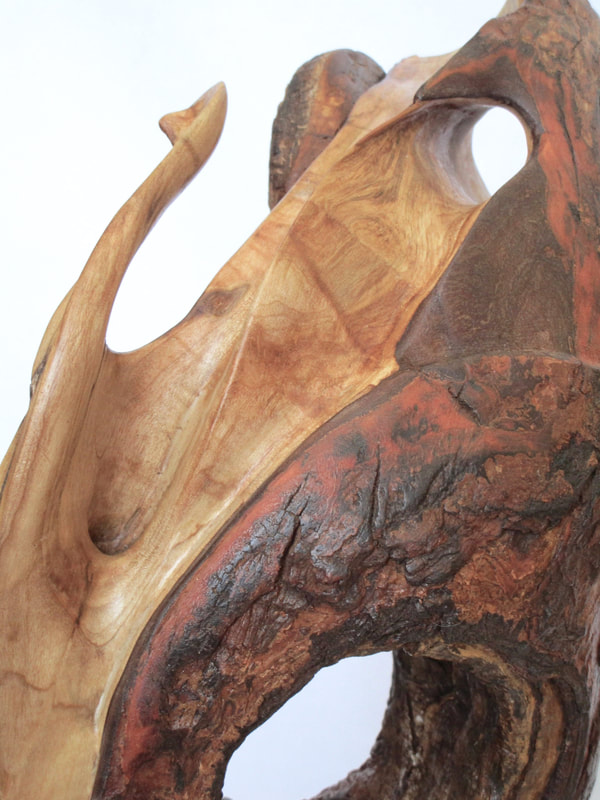 Adjustment view 1 | 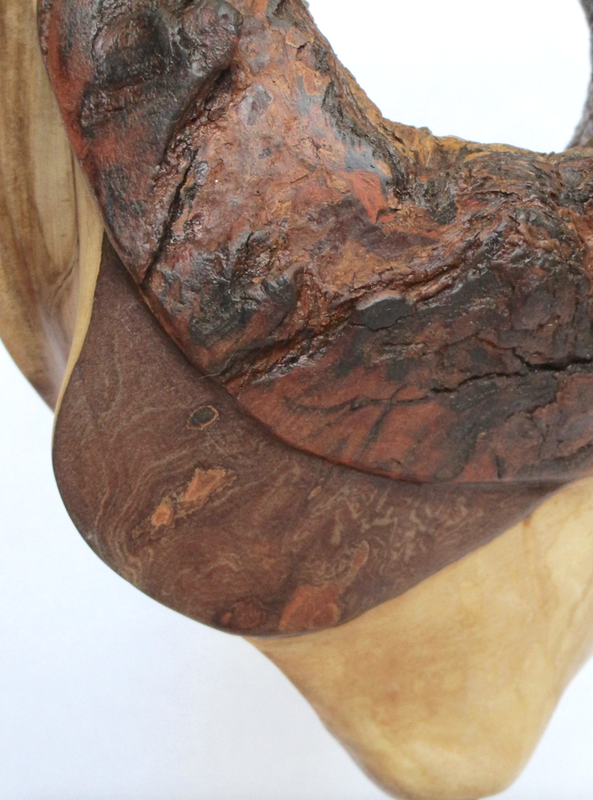 Adj.view 2 | 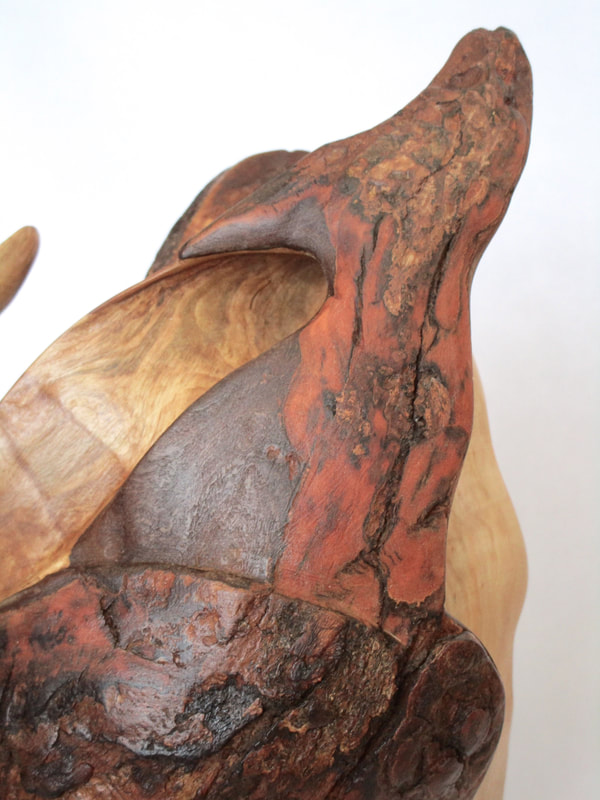 Adj. view 3 | 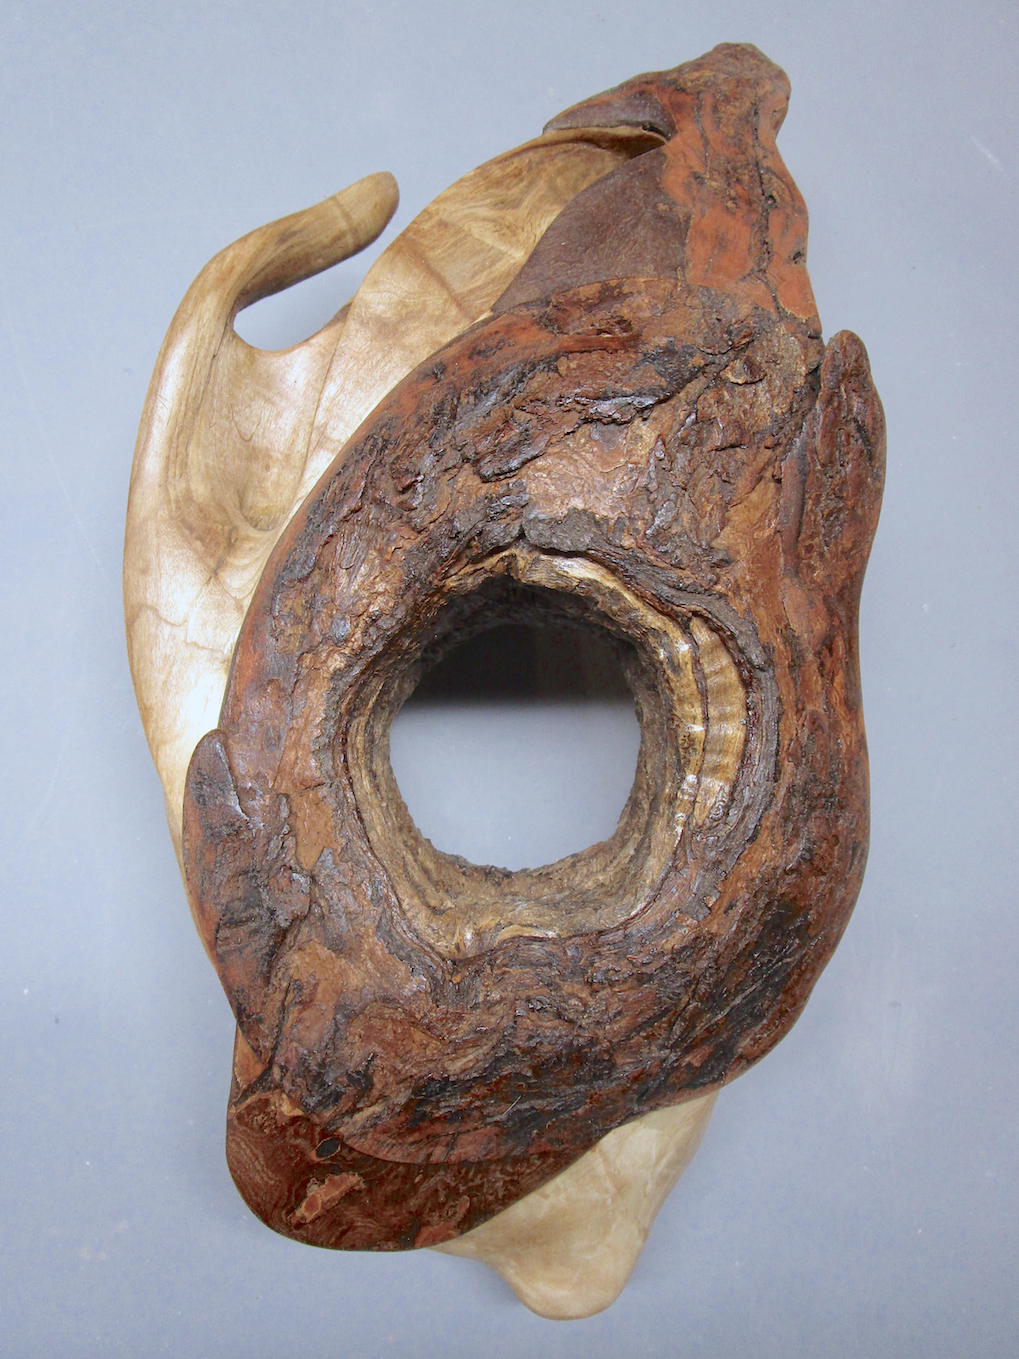 Final view |
After applying a coat of satin polyurethane, I decided that the remaining area of bark was too uniform in texture. In order to vary the surface quality and break up the shape of the barked area, I smoothed out spaces at the top and bottom creating the effect of a raised bark oval around the branch hole. The side now felt complete. In my next blog post I will recount the evolution of the second side of the maple branch hole sculpture. Stay tuned!

 RSS Feed