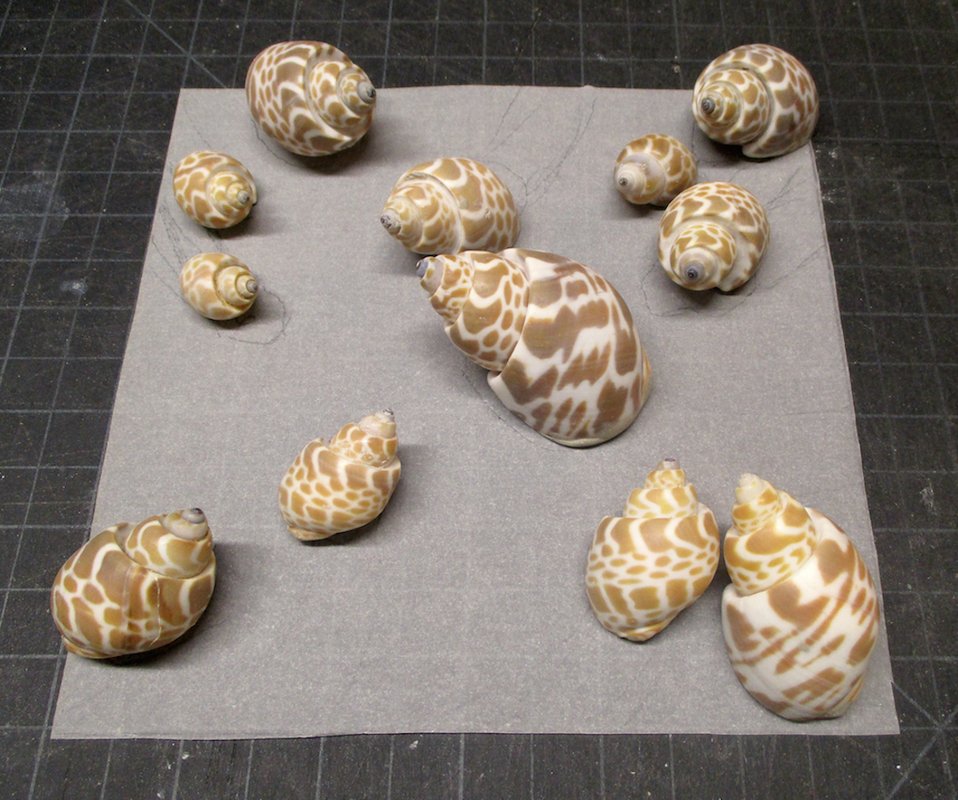
 Arranging the "players" | I recently found myself heading back to the craft store to search for inspiration for a piece for the current Summertime themed art show at River Arts Gallery in Damariscotta. I went there with things like starfish and seashells in mind, and ended up coming home with a couple of bags of snail shells. Each bag had a nice variety of shells of varied sizes, measuring from about 3/4" to just under 2" long. I was still in "relief mode" after completing my most recent fish plaster relief sculptures (see my previous blog posting), so my first |
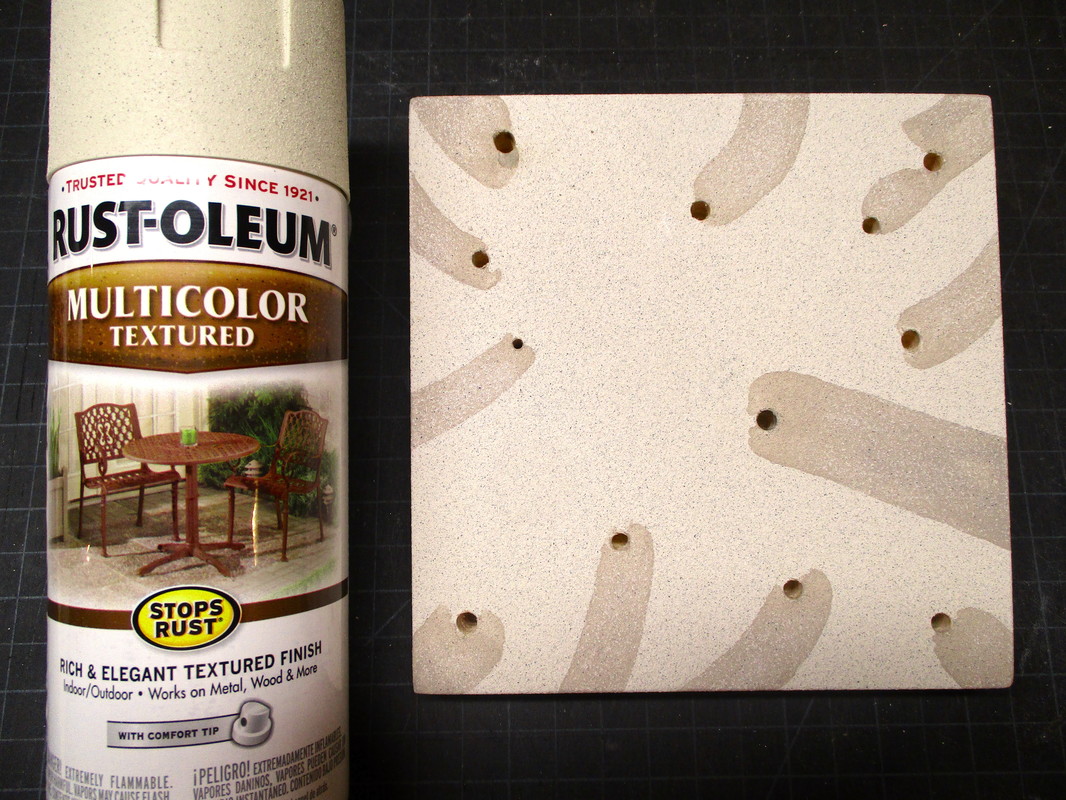
thought was to attach the snails on a sand textured plaster square that could be framed in the same way I did the fish. I quickly nixed that idea in favor of simply using a wooden board that could be sprayed with a Rust-Oleum textured paint that is sand colored. After coming up with a tentative arrangement of a dozen of the snails, the next step was to cut the wooden board to size (about 6 1/8" x 6 1/8") and figure out how to put the piece together.
 Filling shells with Apoxie Clay | 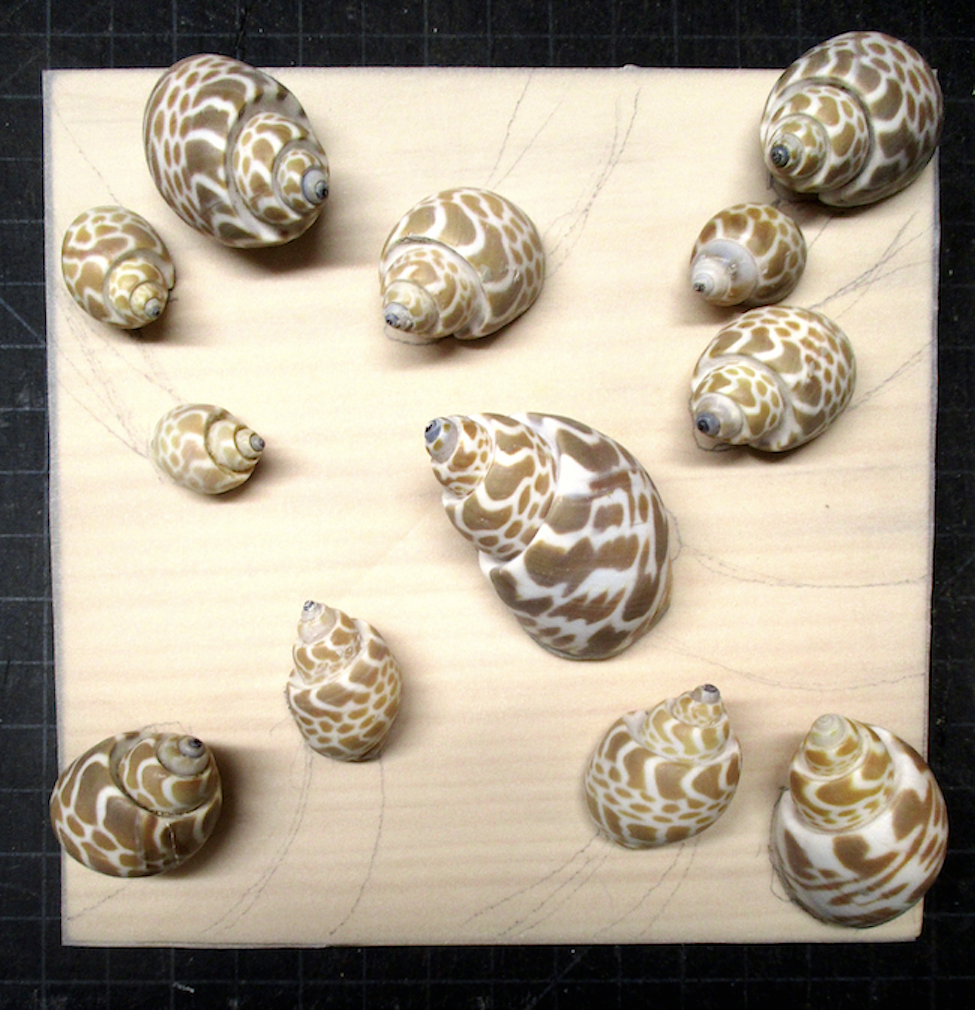 Arrangement on board | 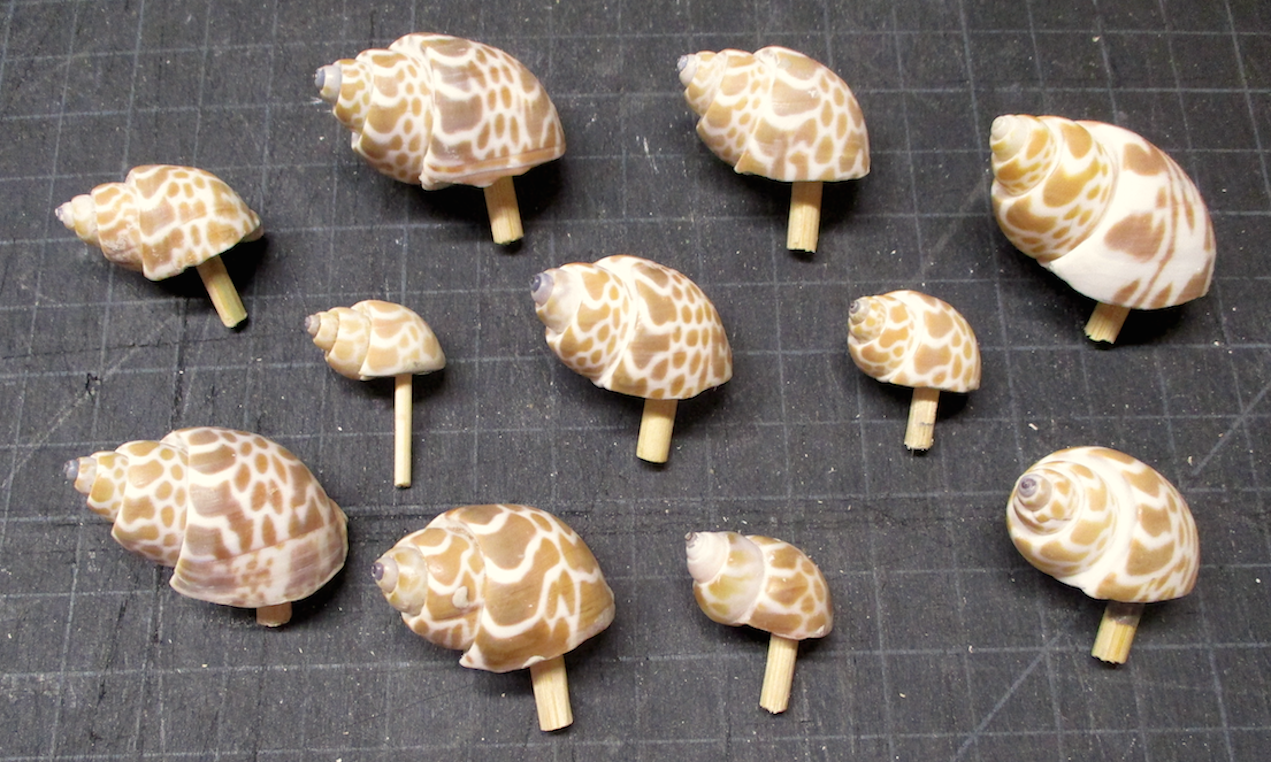 Holes drilled & pegs added |
I decided that rather than just gluing the snails directly onto the board, I would use wooden pegs to insure that the shells would be securely attached. I filled each shell with Apoxie Clay, let it harden, then drilled holes for the wooden pegs in the clay. Before gluing the pegs into the holes, I marked out the positions of the snails on the board and drilled the "receiving holes" for the pegs. I also decided that I wanted to create a "snail trail" behind each snail to show that each one was moving in a specific direction. I mixed up a sand color with acrylic paint that was slightly darker than the color on the base. I then thinned the paint a bit with water, and painted the trails on the board. When the paint was dry, I sanded the trails lightly. Since the base coat of Rust-Oleum actually has a sandy texture, the sanding created the same sand-like texture in the darker acrylic paint of the trails.
 Holes drilled & board painted | 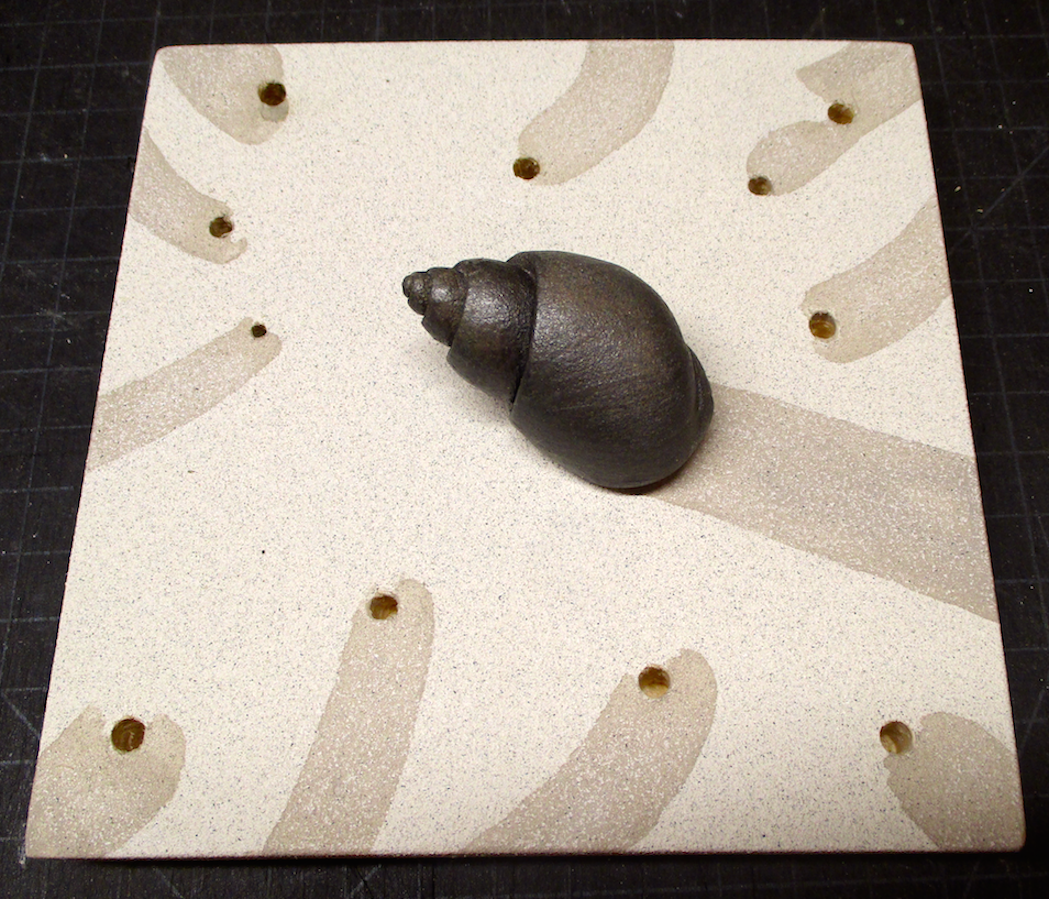 Center snail painted & attached | 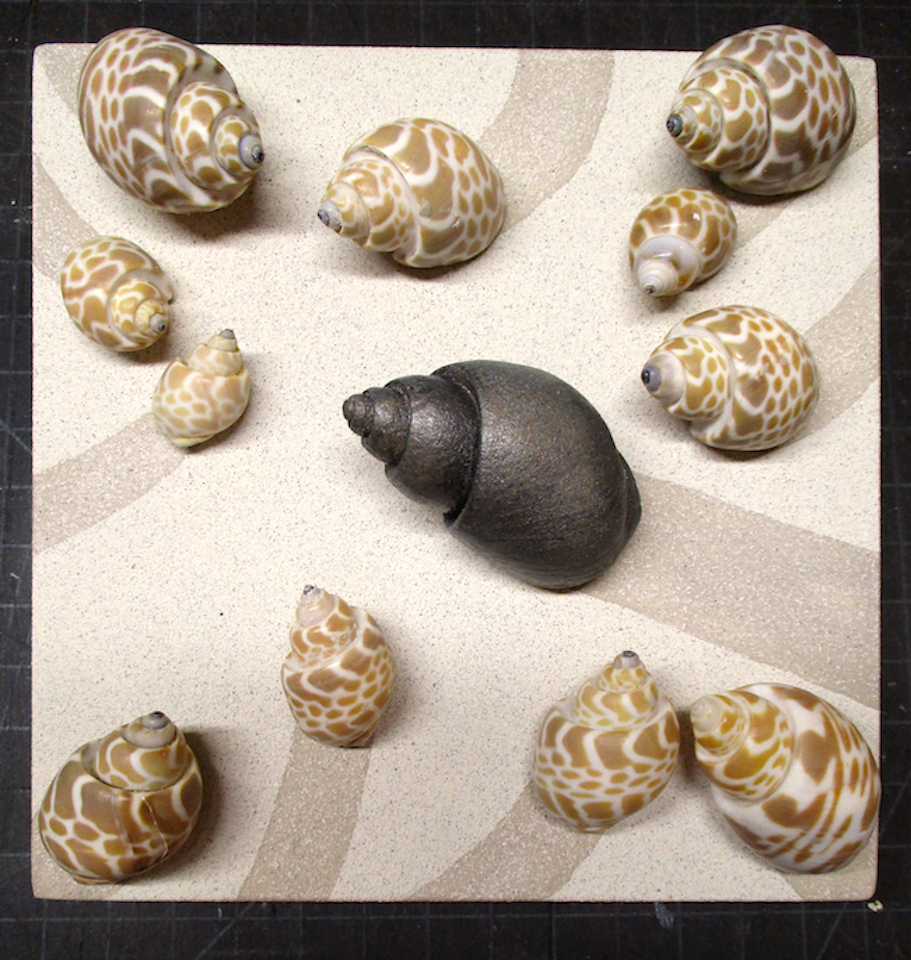 Attaching remaining snails |
My final decision, before gluing the snails in place, was to paint the large center snail a dark color by spray painting it with layers of several different colors (grey, brown, green) and adding a little Graphite Grey acrylic to emphasize the recesses. I wanted a contrast to the somewhat exotic coloring of the original snail shells, and I thought it would add a nice variation to the dynamics to the composition. The last step, after gluing the snails to the prepared board, was to mat and frame the piece. I was pleased with the outcome, and have titled the piece "Beach Crowd". I will let the viewer decide if "crowd" is a noun or verb. I have quite a few snail shells left over, so wouldn't be surprised if there were more snail reliefs to be made in the future.
Stay tuned!
Stay tuned!
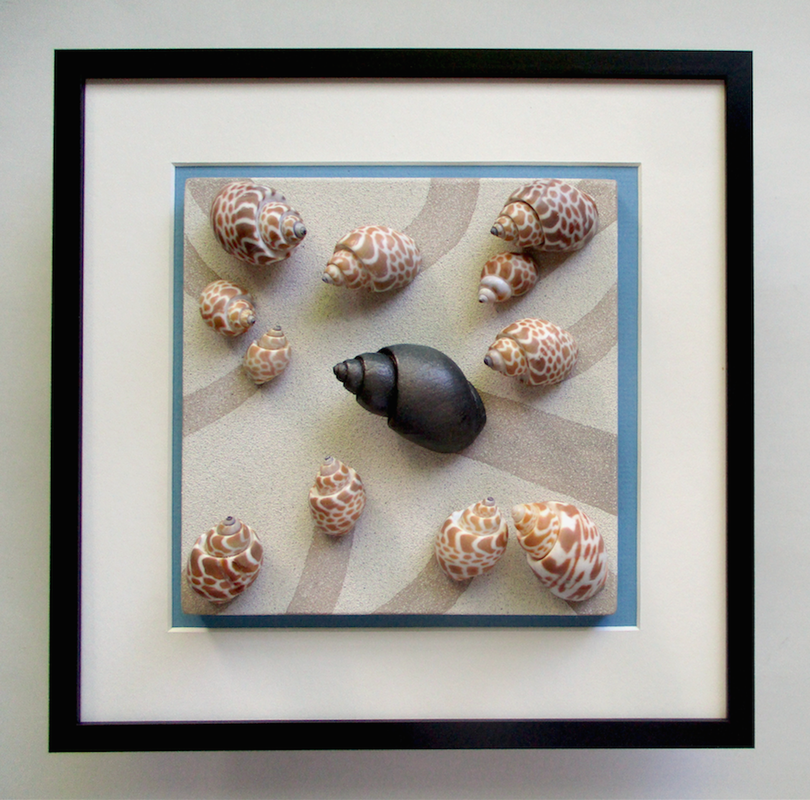
... matted & framed 10"x10" ... "Beach Crowd"


 RSS Feed