...then came the elbow grease! (See blog entry for 3/27/14.) The process of extricating the cast bronze pieces from the investment molds took about an hour of chopping, chipping and pounding. First I had to use a hatchet to make a shallow cut down the length of each mold to cut through the cylinder of chicken wire. Then I used a wooden wedge and hammer to force the mold open and break apart the investment material. (Wooden wedges are used so that the surface of the bronze is not inadvertently cut or scarred by a metal tool.)
After filling a 30 gallon trash bin with the bulk of the mold debris, I spent the next 3 hours tackling the first stage of preparing the bronzes for finishing. I set up an angle grinder with a cutting wheel and began the process of removing the gating from the cast pieces. I started
with the smaller pieces because the gating was more open and easier to access with the cutting wheel. Then I tackled the stair ball which had more attachment points and heavier gating. (See blog entry for 10/27/13.) I was able to remove all of the gating except the part of the main gate that was held in place by the remaining investment inside the center of the ball form. I used a drill with a long bit, in combination with hammer and chisels, to loosen the investment material around the gate. Once the imbedded gate was removed, I chipped and drilled out as much as I could of the rest of the investment material.
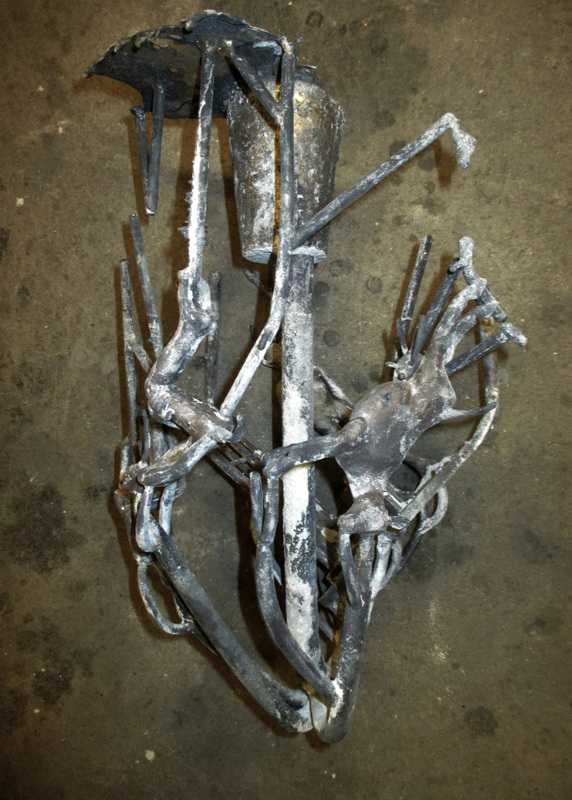
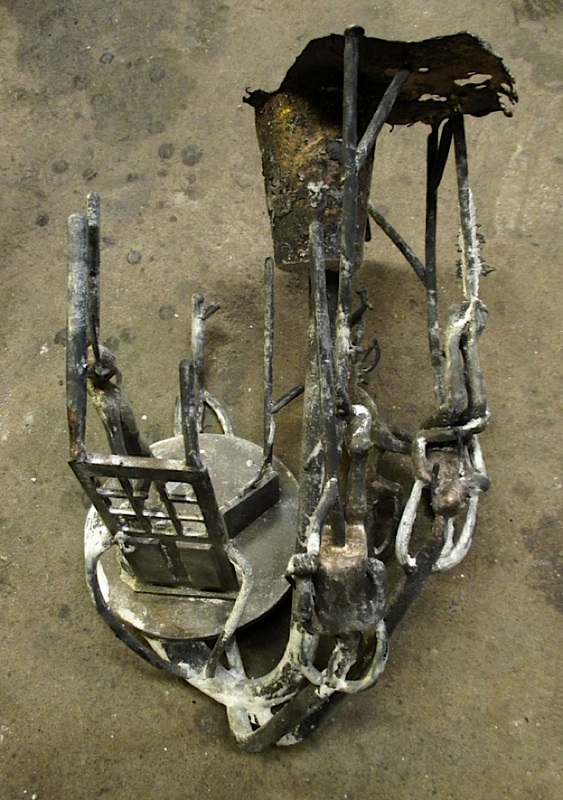
Small pieces broken out of mold with gating & cup still attached
| 
Small pieces with gating & pour cup attached...view 2
| 
Stair ball...gating removed, center still filled with investment & main gate
| 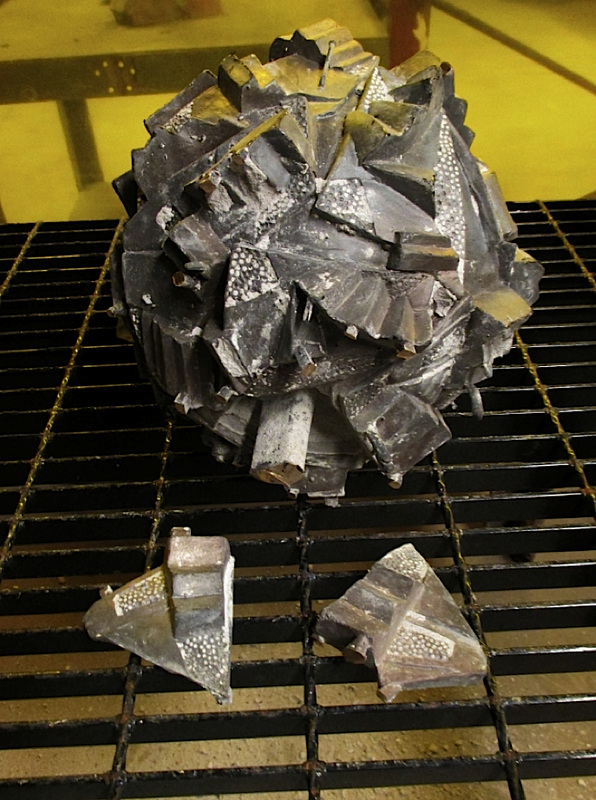
Stair ball...gating removed, center still filled...view 2
|
Over the next few days I used the angle grinder to take down the raised points of attachment from the gating on each piece. After cleaning off the exterior surfaces of the bronzes with a brass wire brush wheeI drill attachment, I used my Dremel sanding barrel and polishing brush attachments to further reduce and blend out the attachment points. I used a hammer and a couple of small cold chisels to remove surface irregularities (bronze "air bubbles", flashing, etc). Once I had the gating attachment points and surface issues smoothed out, I undertook to resurface those those areas with textures that would visually blend into the surrounding surfaces. For the re-texturing, I held varying grits of sandpaper (40, 60, & 80) over the smooth spots and then used a hammer to imprint the grit texture into the bronze. I also continued to work on removing the remnants of investment that were stuck in the nooks and crannies of the interior of the stair ball form. (I will use the bead blaster to do the final clean out.) The next step will be to do some welding to attach the two end plates to the stair ball form and to attend to various small repairs. Stay tuned!
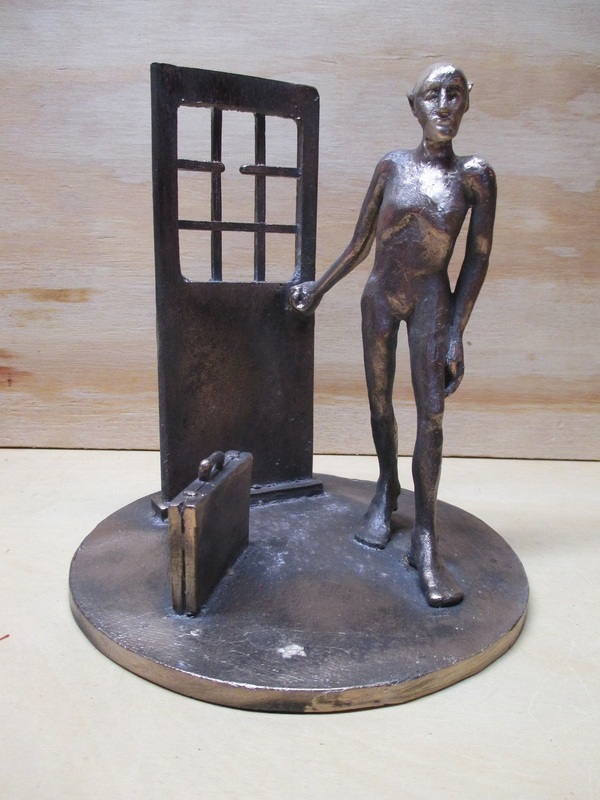
Door man gating removed & attachment points chased
| 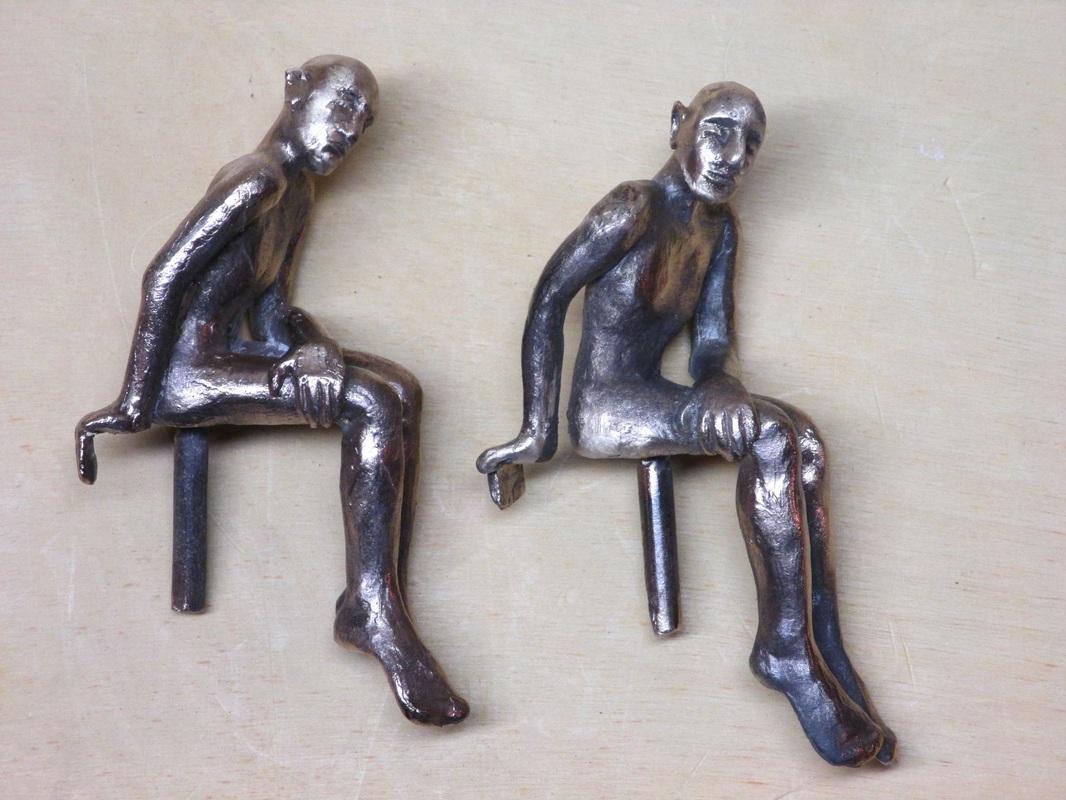
Pair of seated men with gating removed & attachment points chased
| 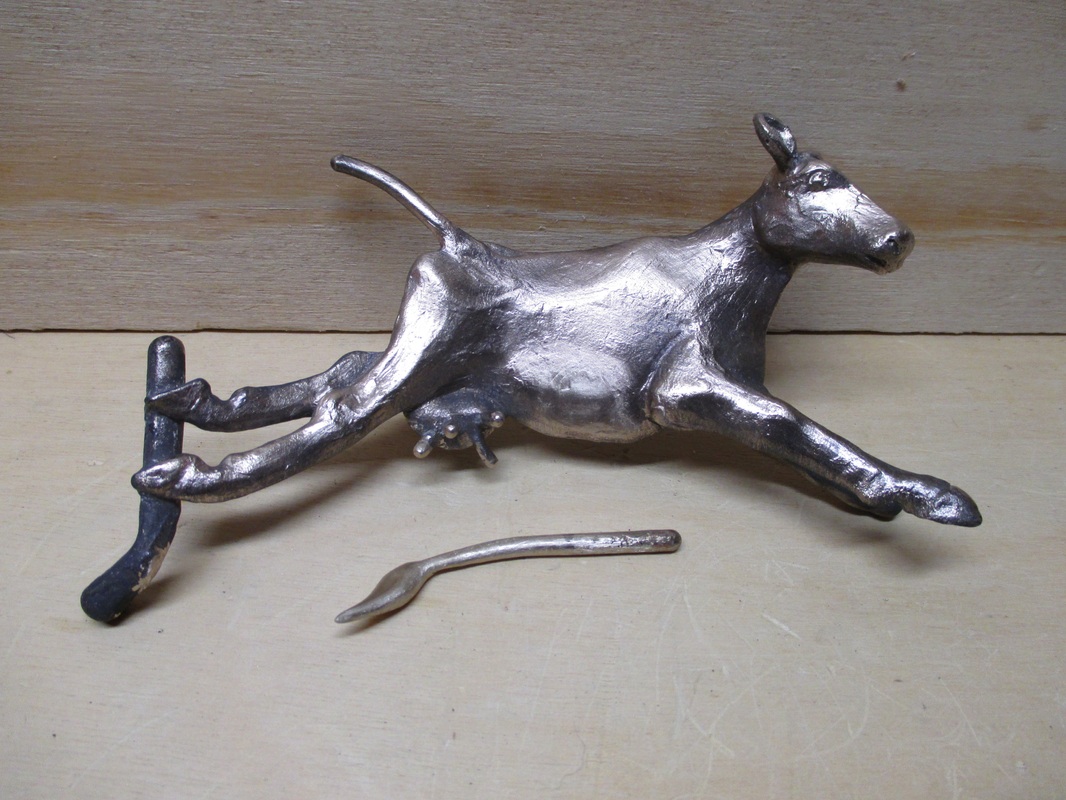
Cow with most of gating removed & attachment points chased... plus replacement tail
| 
Stair ball - gating & investment removed, surface chased
|
*Note: For additional background info see my blog entries for 3/15/14, 3/3/14, 11/28/12, & 9/11/12.

 RSS Feed