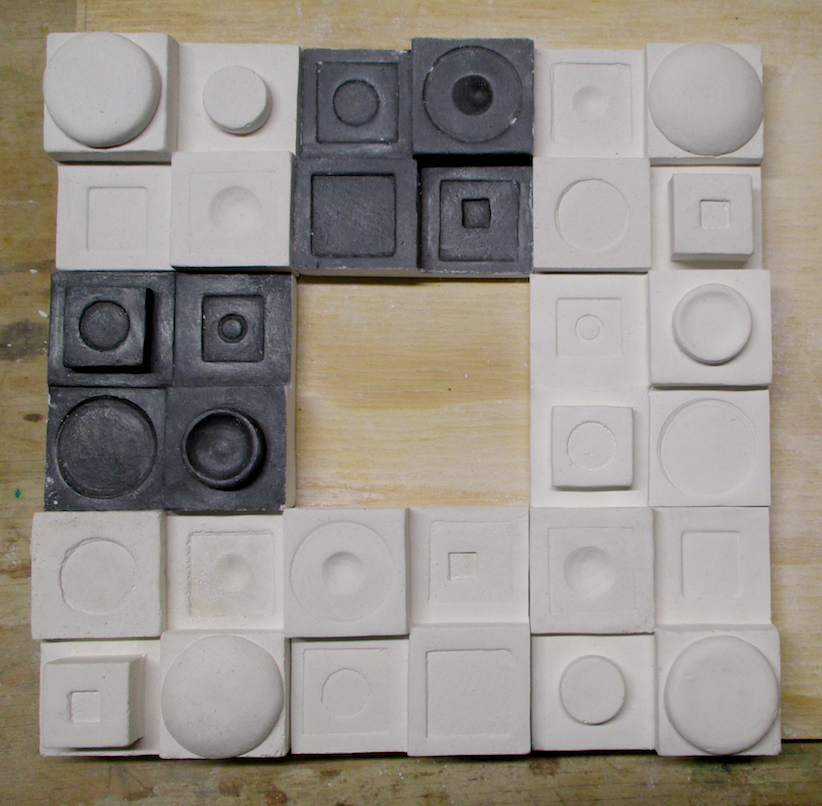
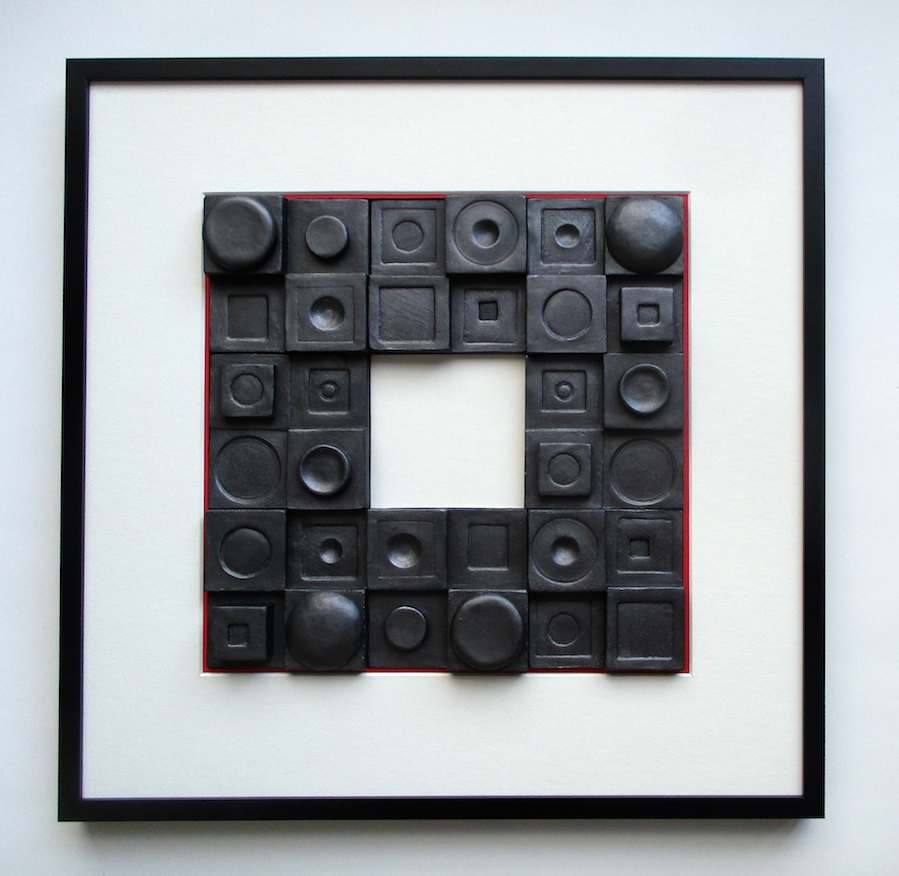
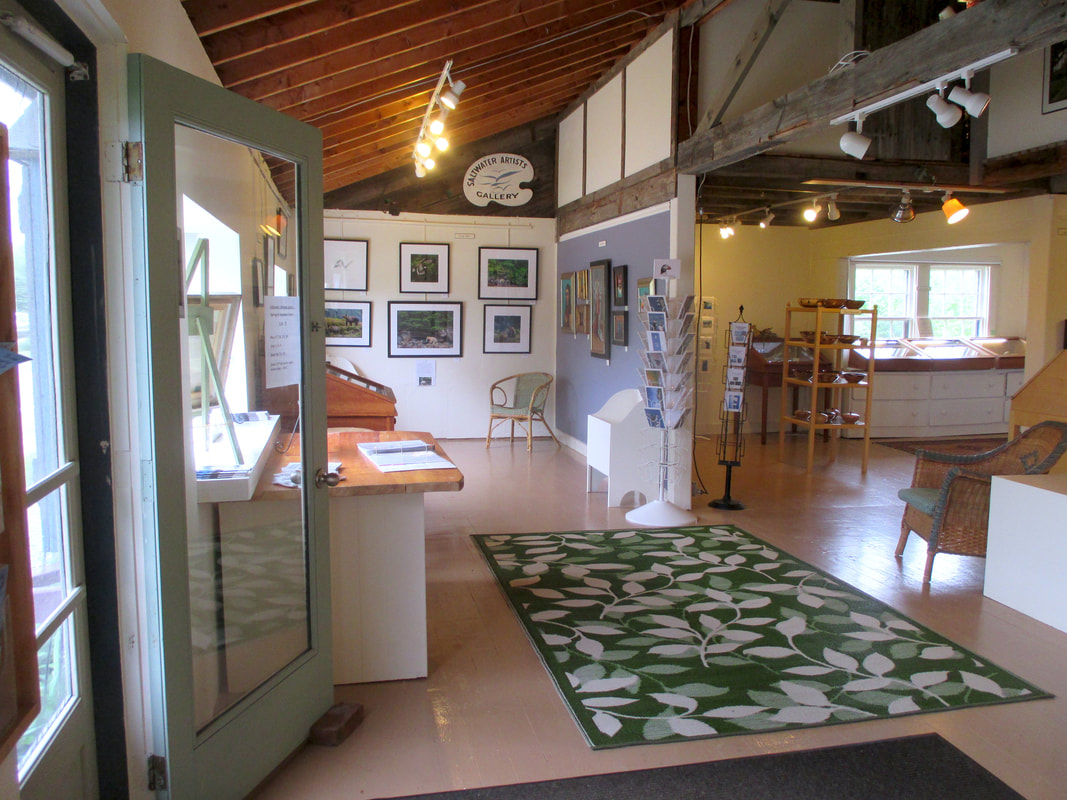
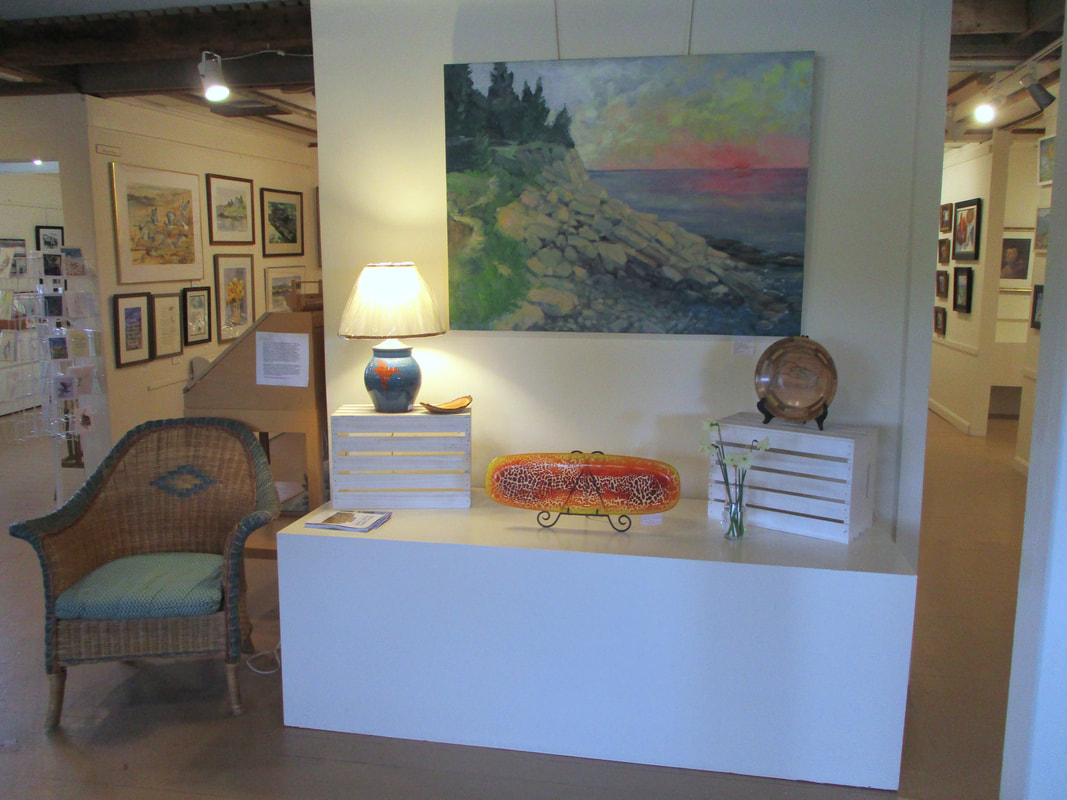
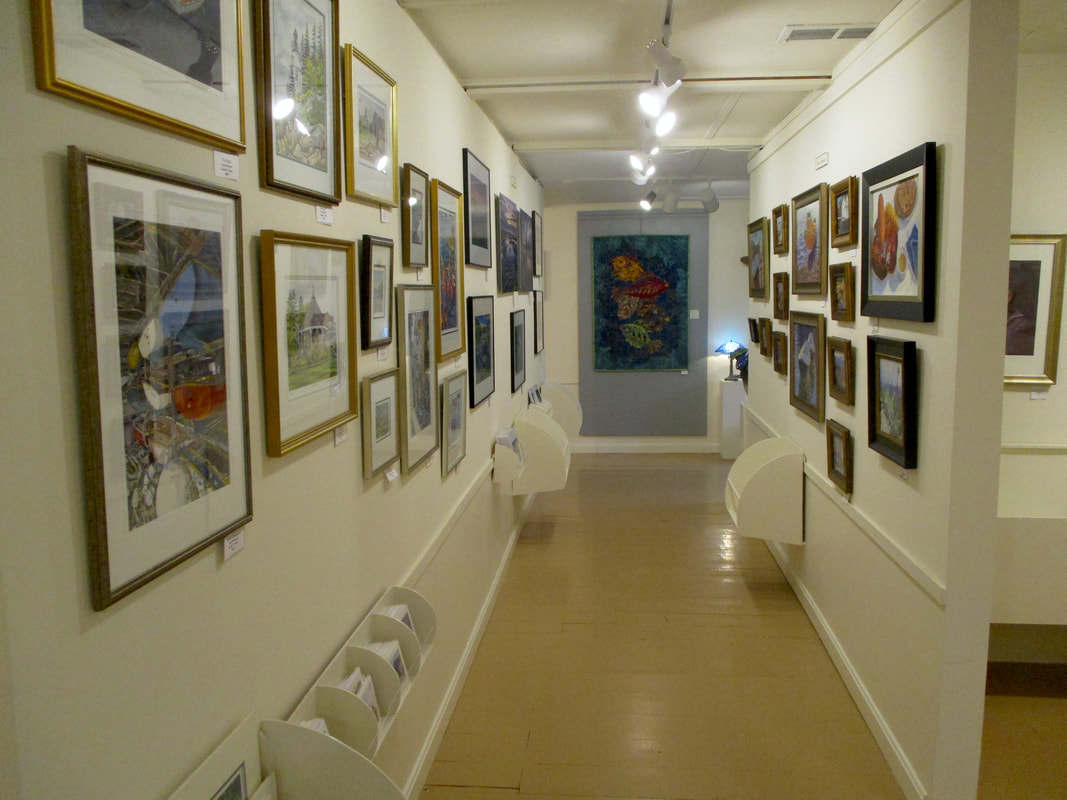
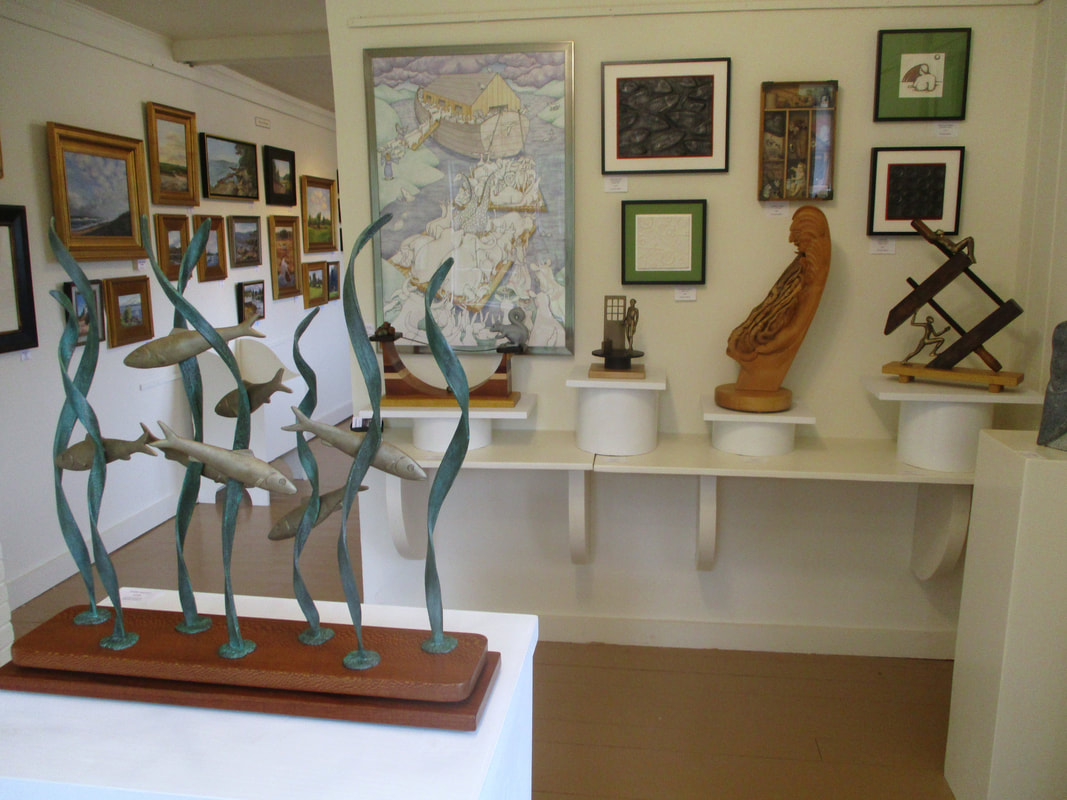
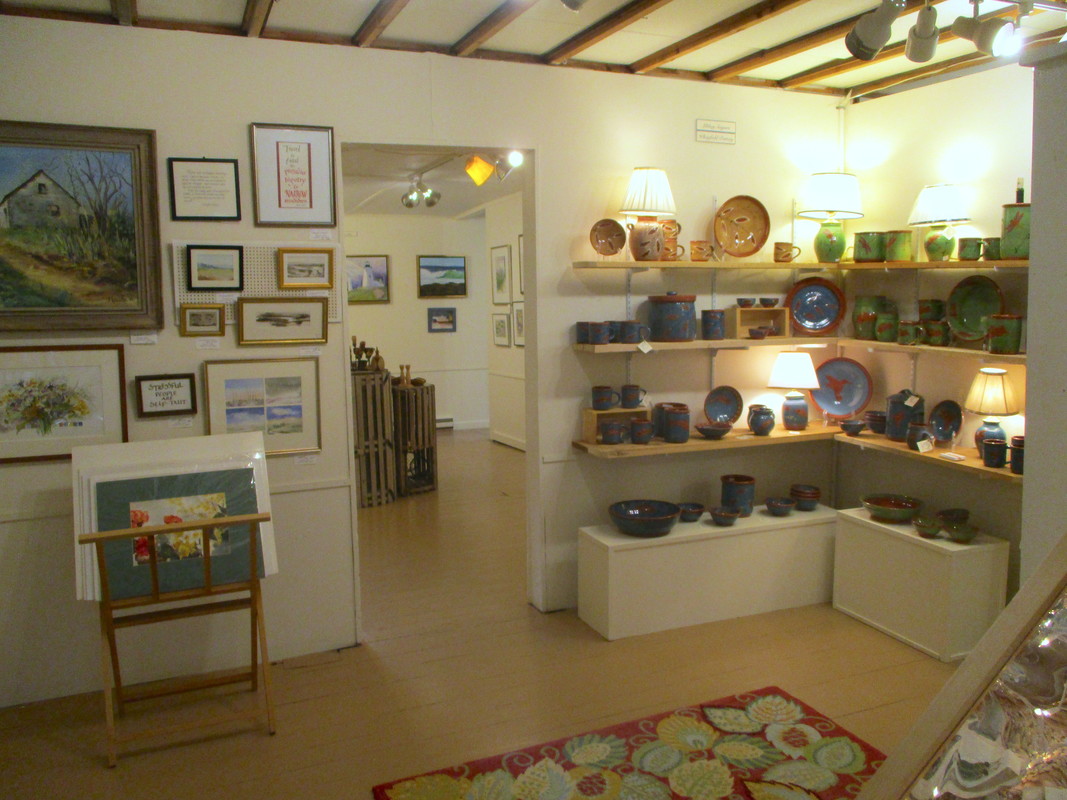
| It's been a very busy winter and spring at Saltwater Artists Gallery in New Harbor on Pemaquid Point. In addition to major work done under and around the building to re-furbish our "underpinning", the gallery's electrical wiring and light switches were replaced and a new track lighting system was installed. Artist members gathered in mid-May for the pre-season organizational meeting and "clean-up day". After marveling at the off-season improvements to the Gallery, the members were updated on committee work done over the winter and the overview of the upcoming season - then we tackled the jobs of cleaning the floors and windows, dusting shelves, and distributing pedestals and art bins in preparation for "hanging day". My first day to "sit the gallery" was June 3rd and I took a couple of photos to share of some of the artwork displays set up for the season. | How many artists does it take to change a light bulb?  Judine French, Cynthia Smith, & Carol Wiley adjust new track lighting |
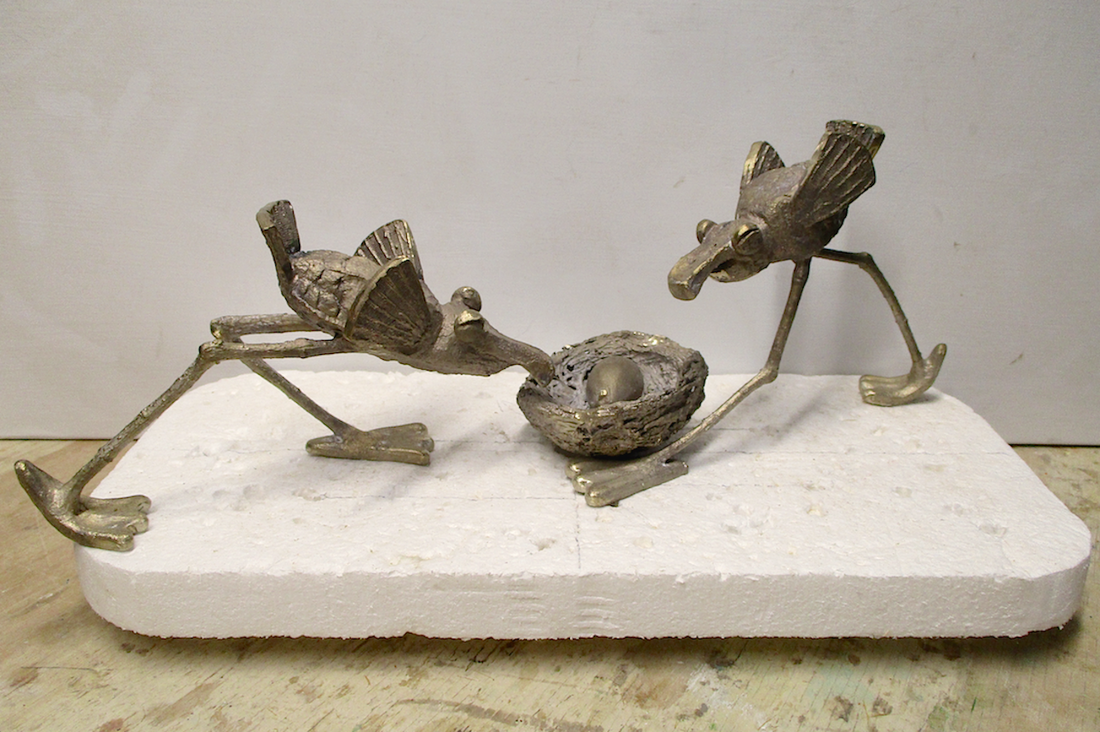
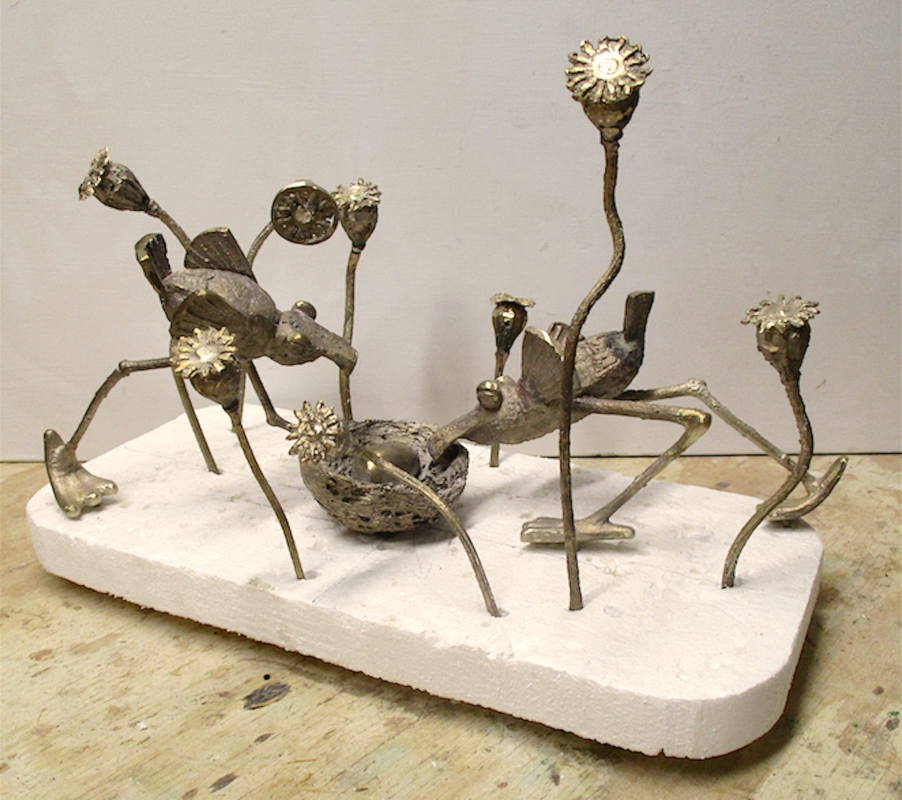
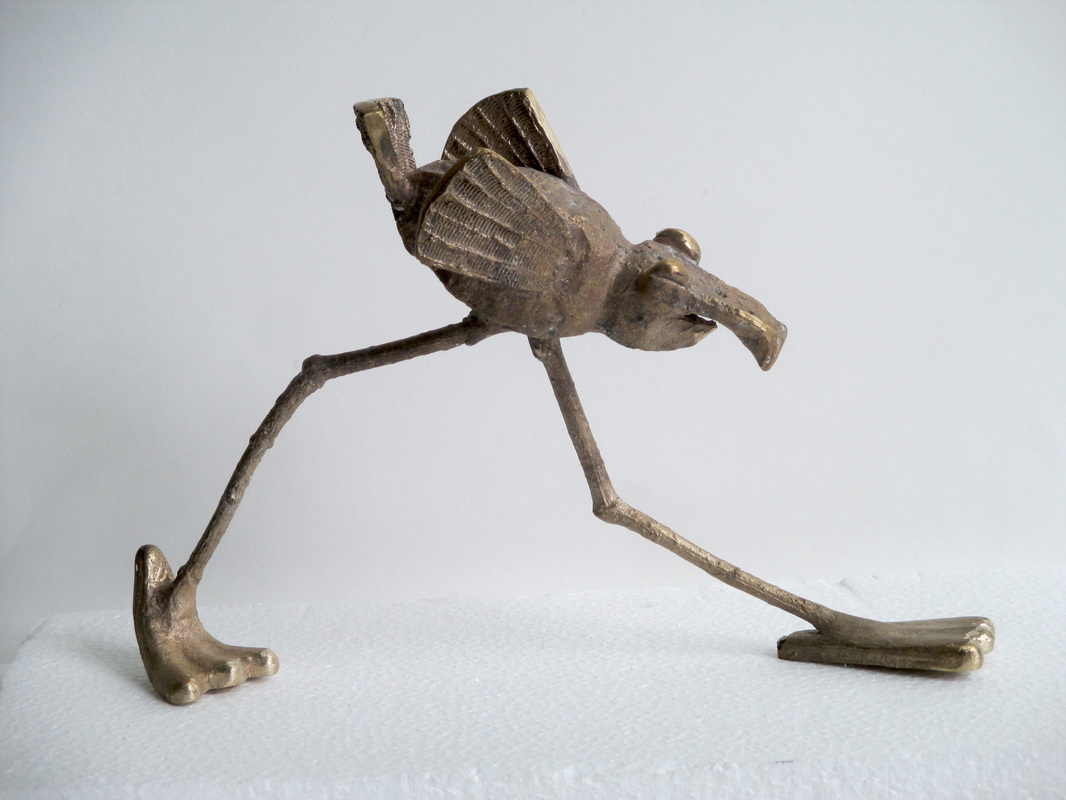
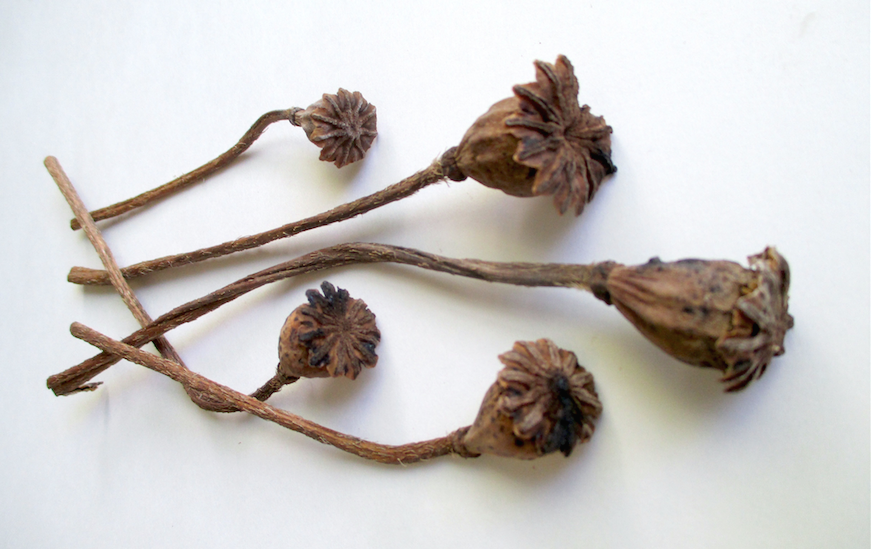
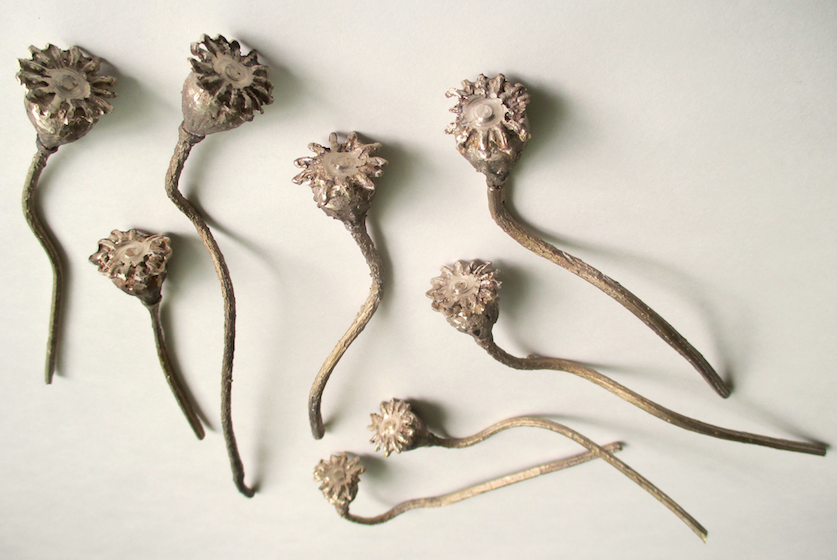
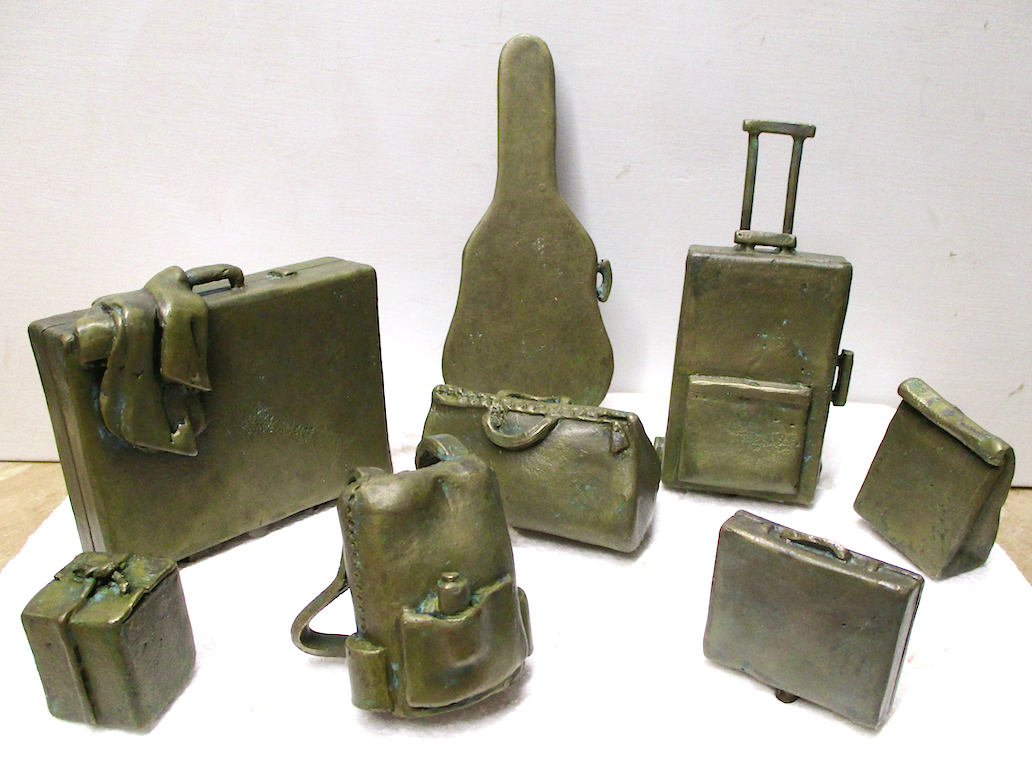
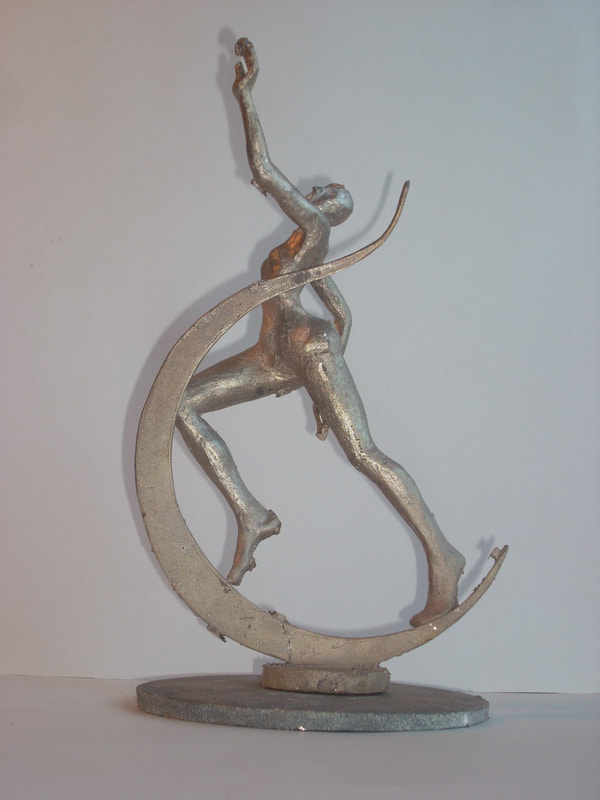
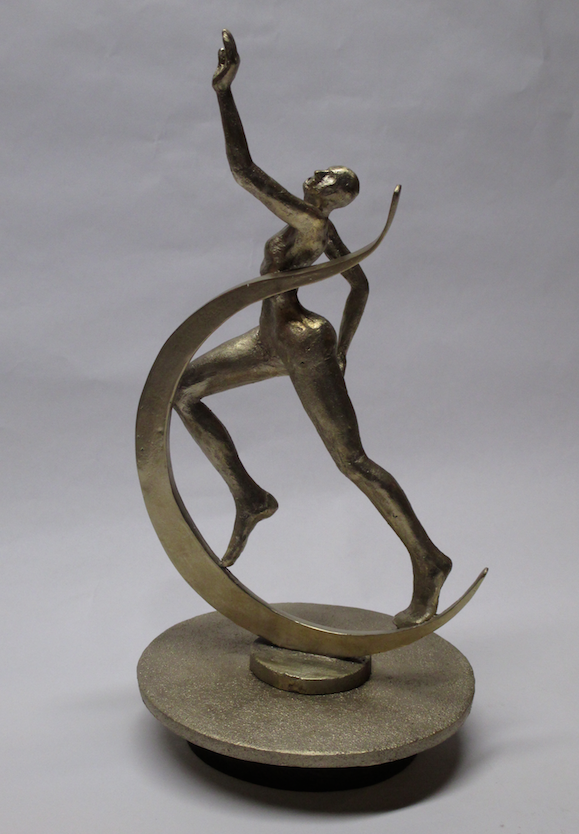
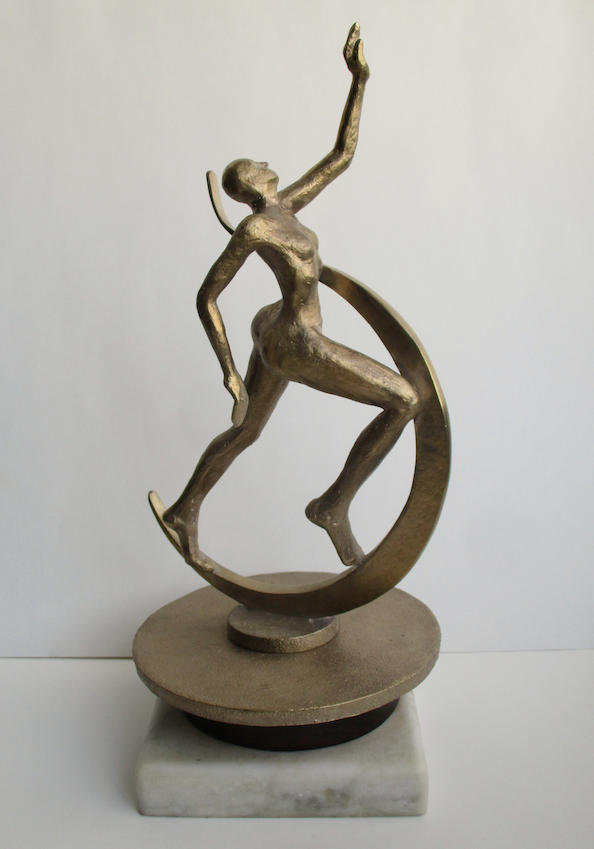
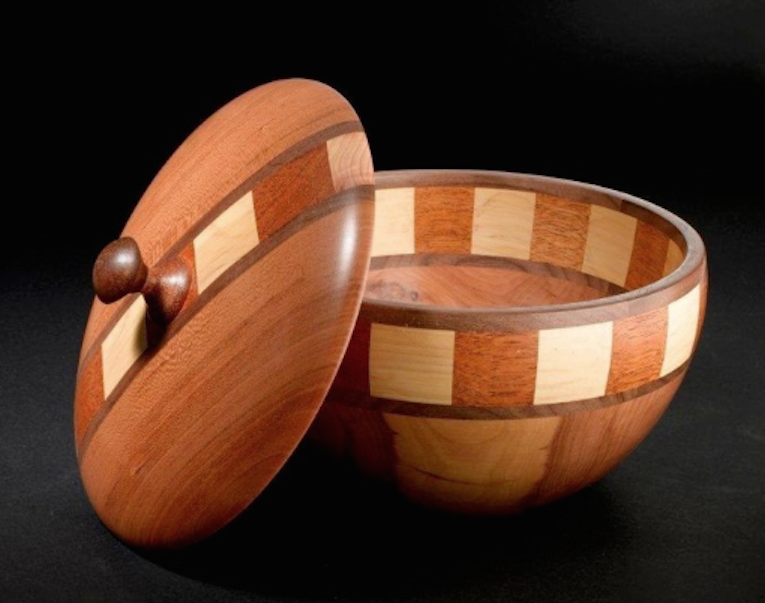
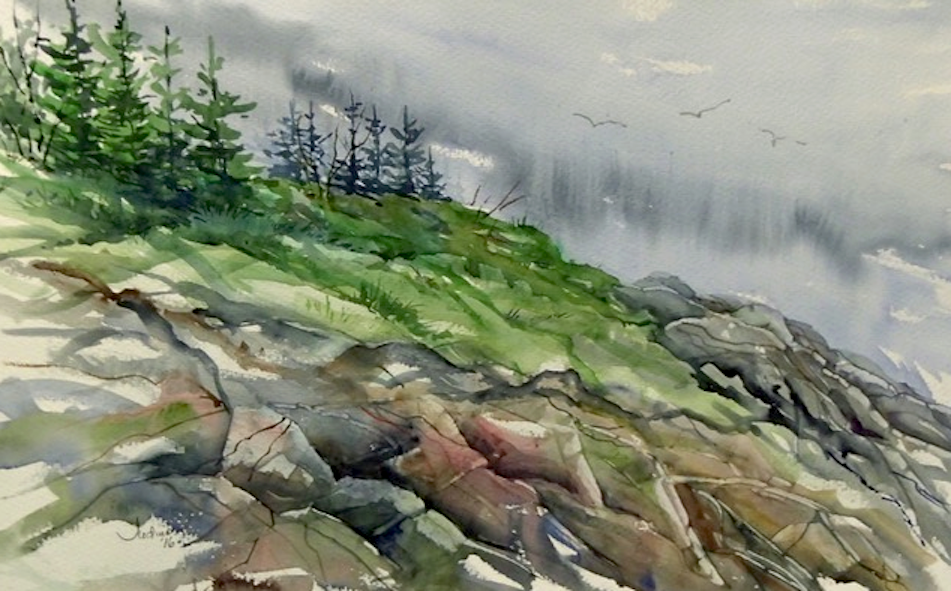
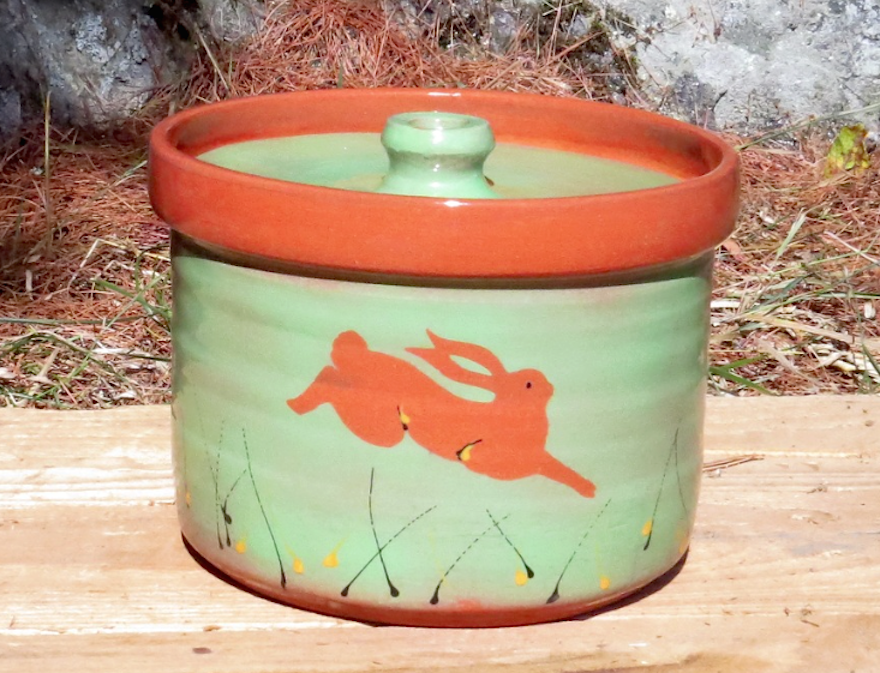
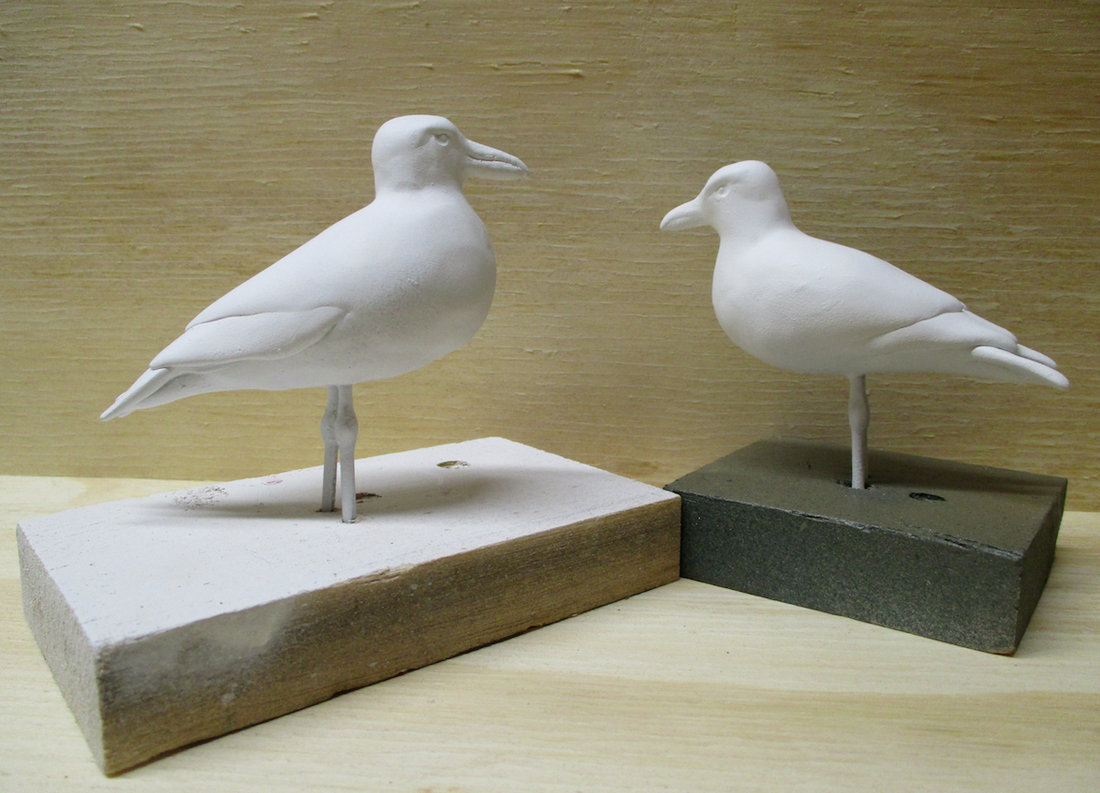
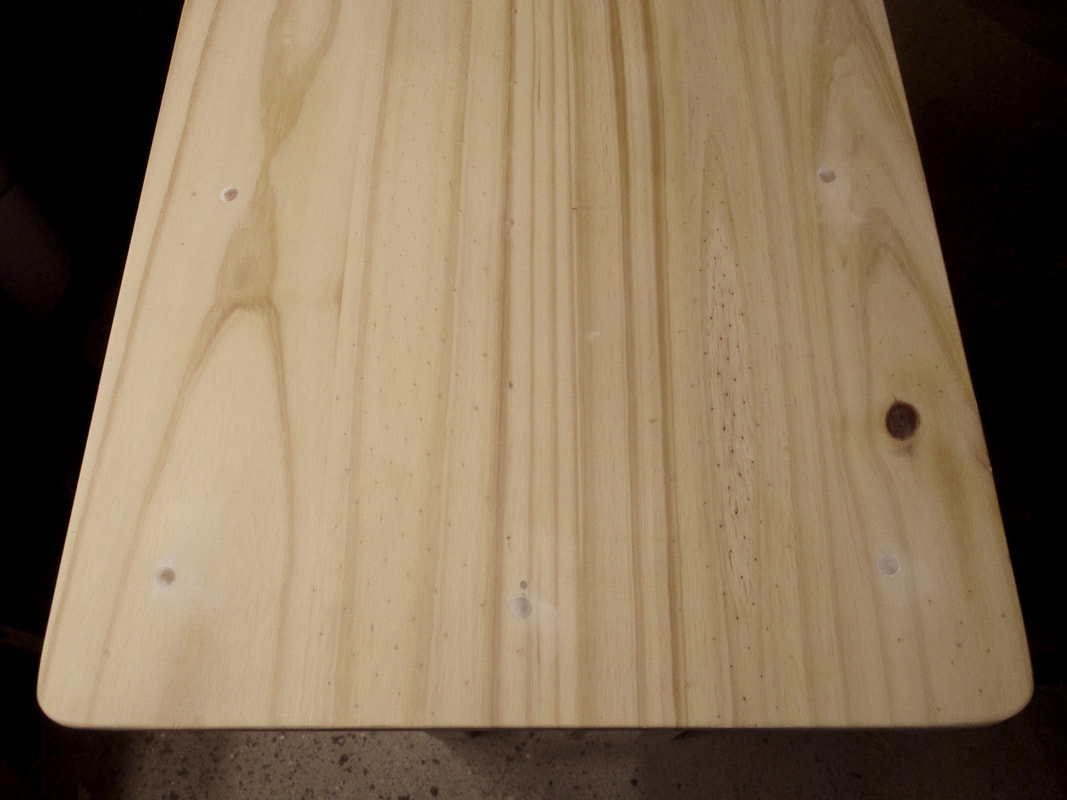
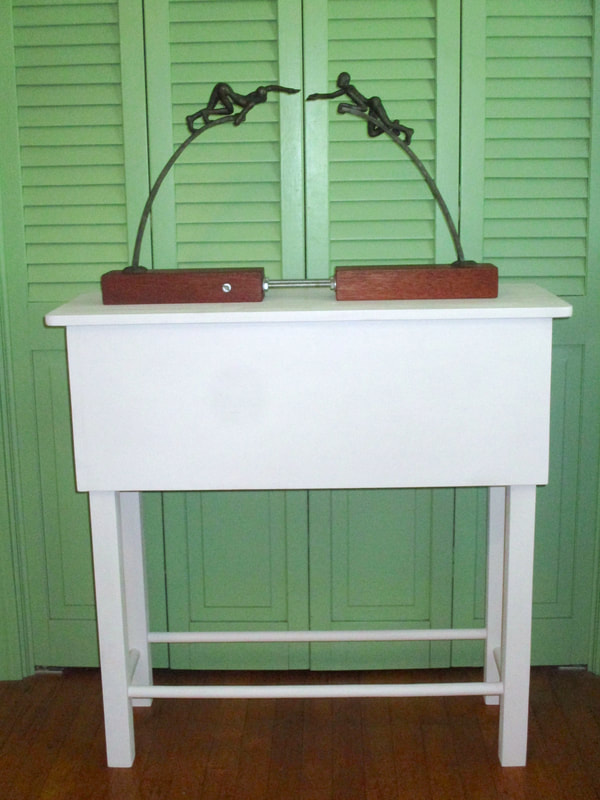
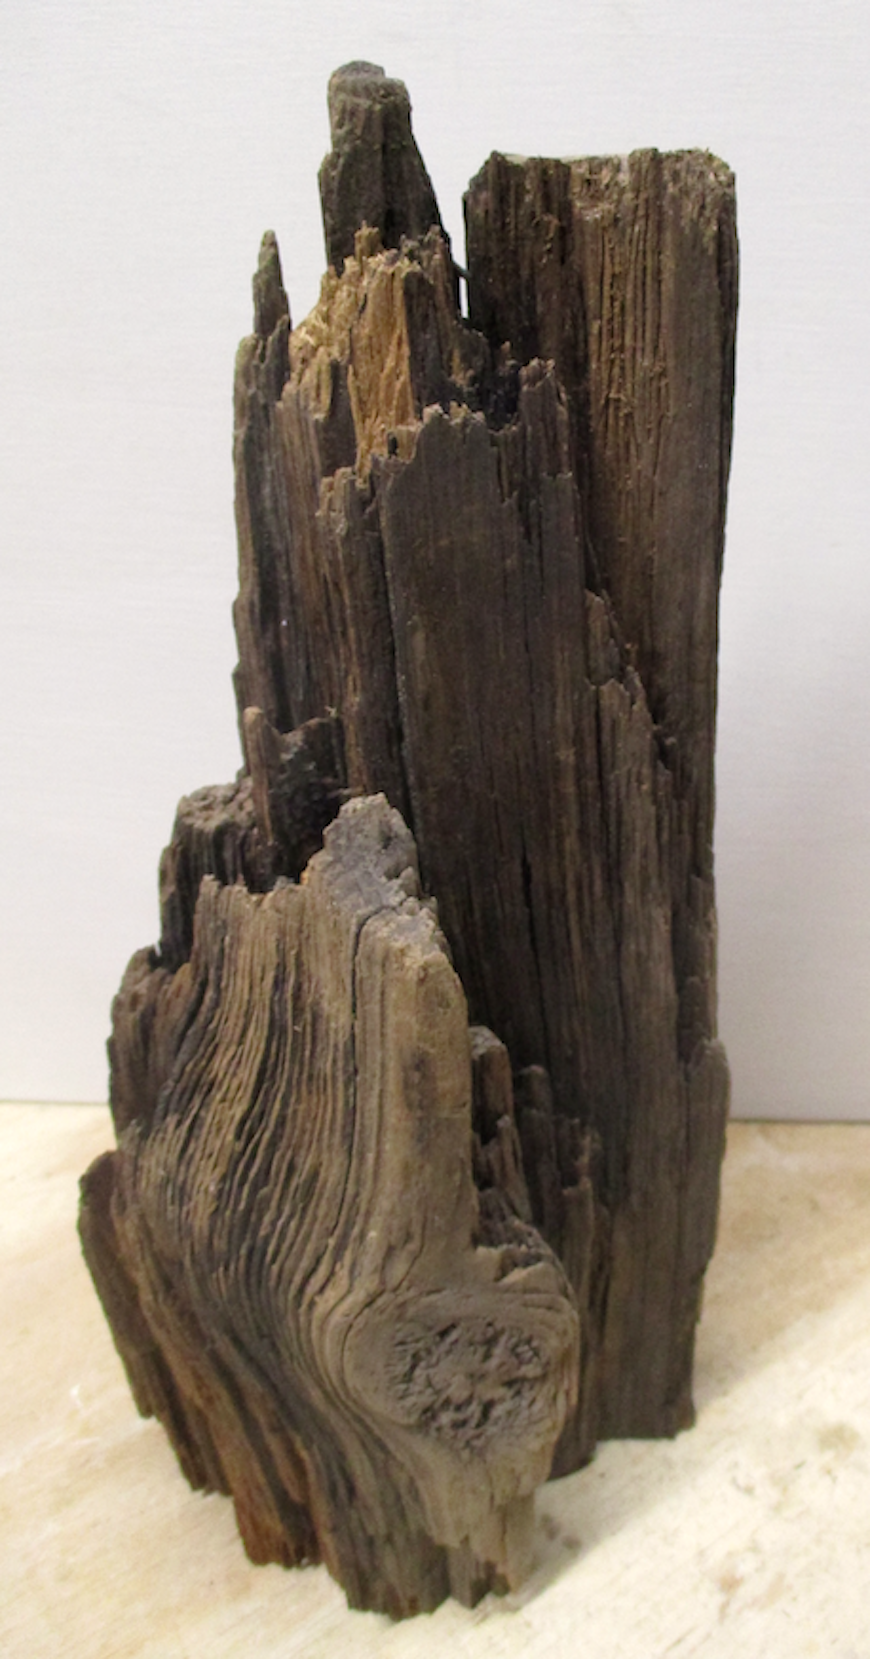
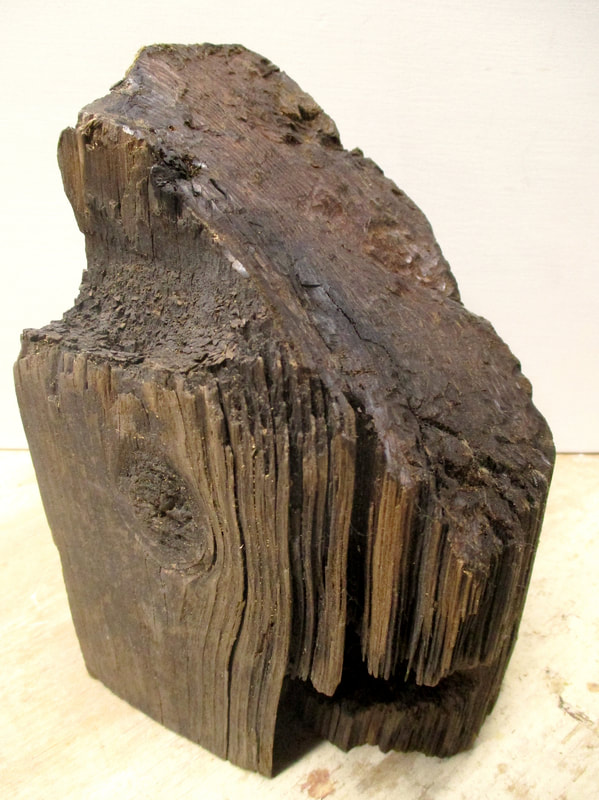
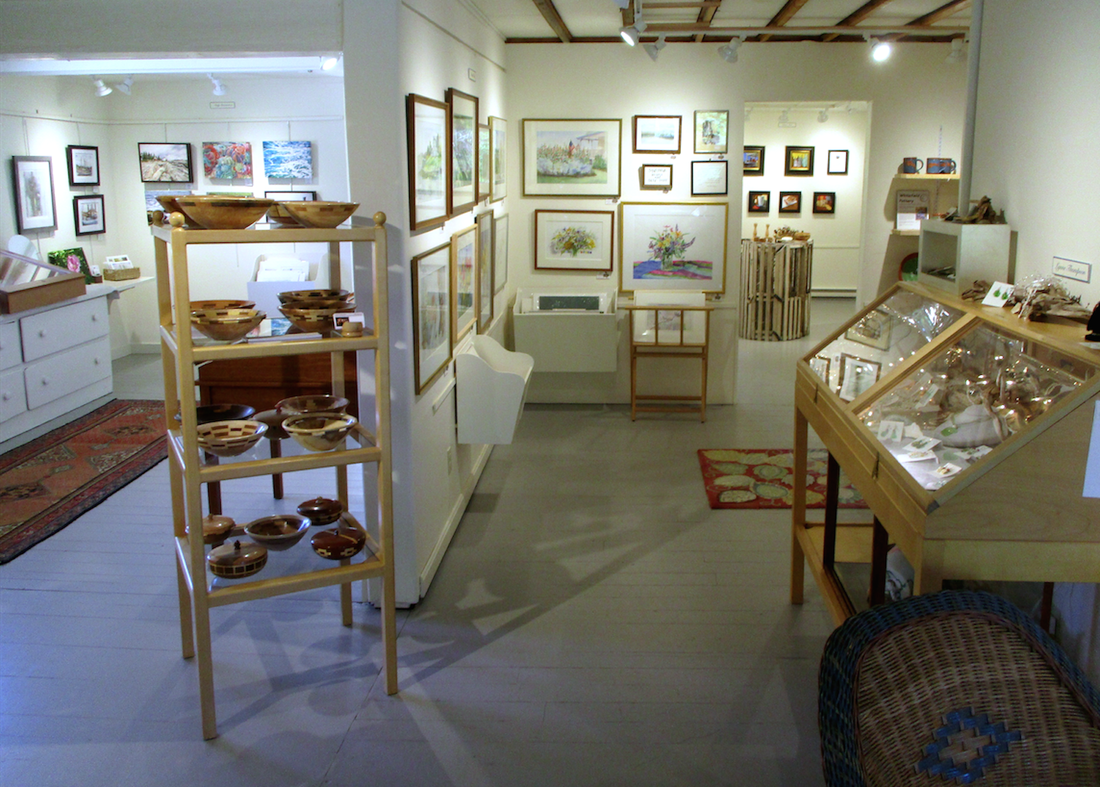 Tom Raymond - wood, Maude Olsen - watercolor 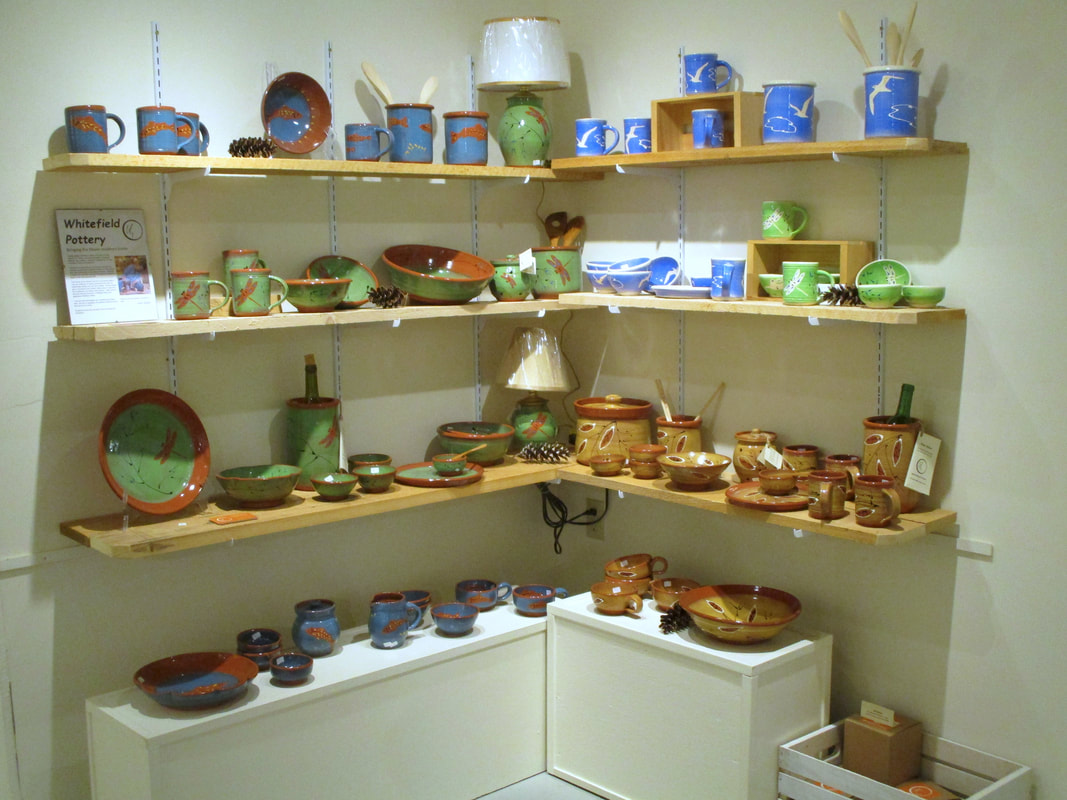 Libbey Seigars, Whitefield Pottery |  ...my space 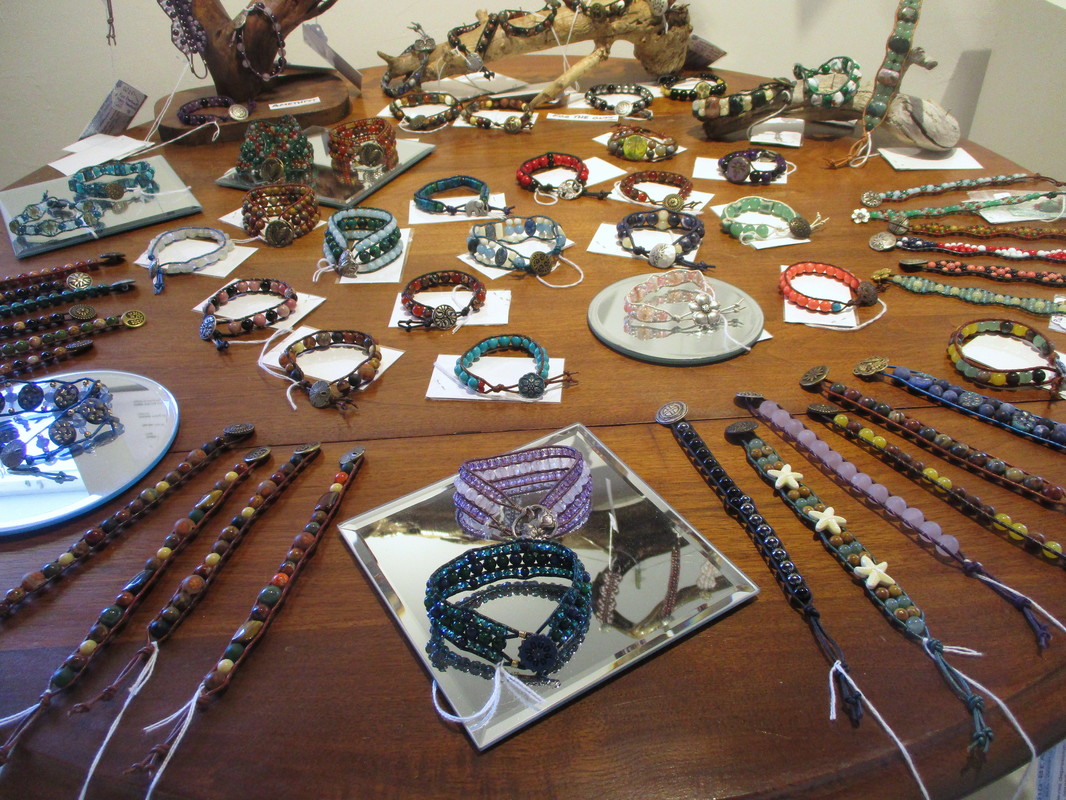 Cat Crozier - jewelry |
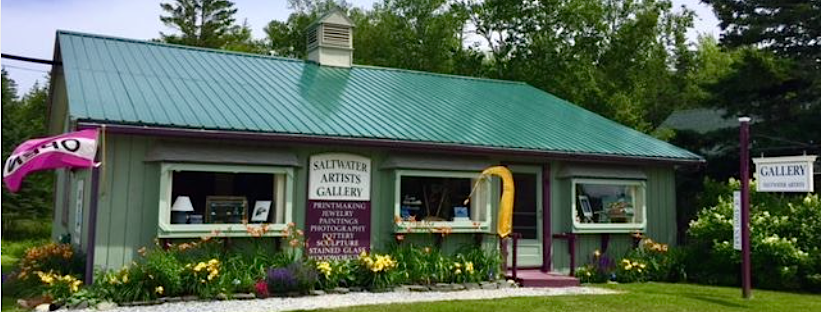
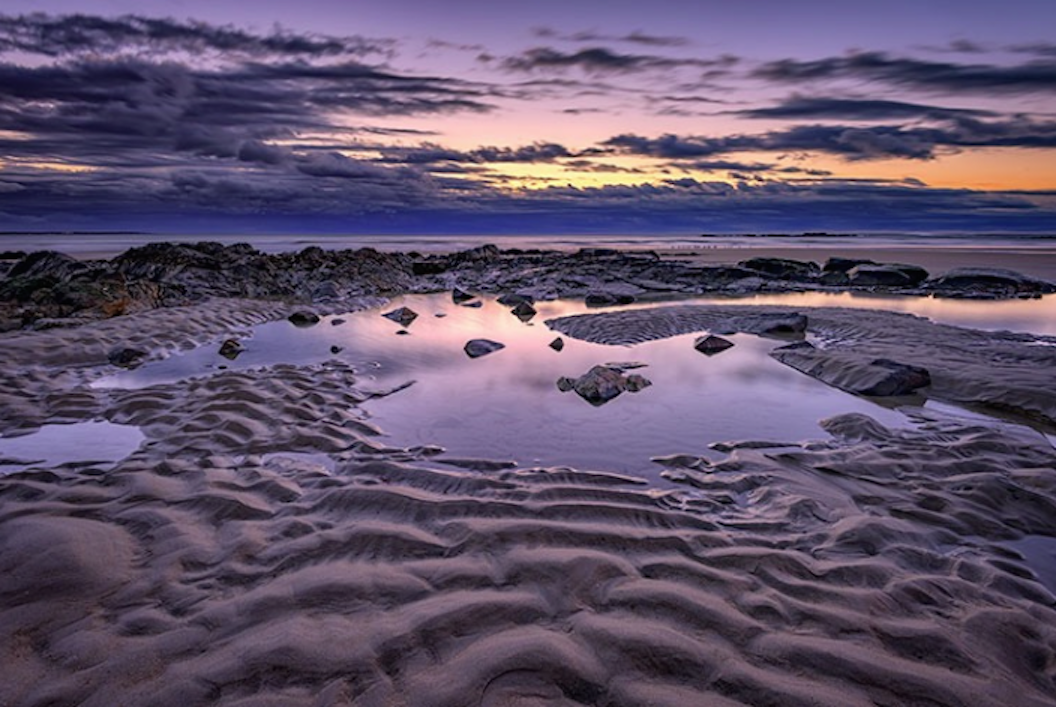
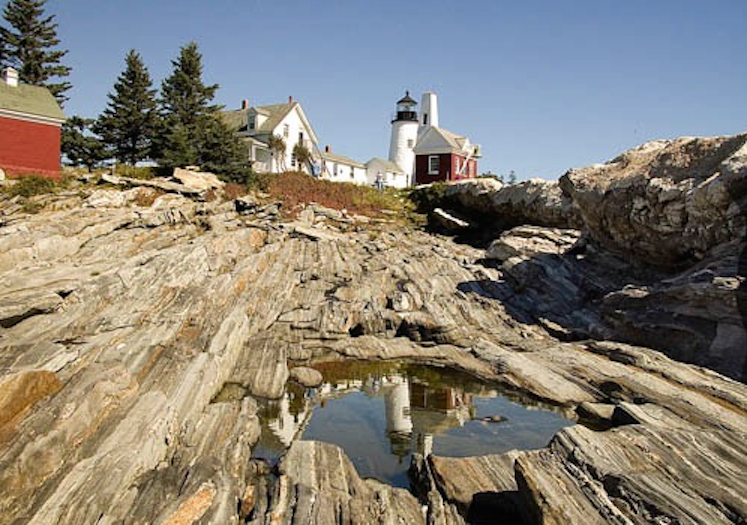
So - as you head to Maine for your summer vacation to explore the rocky coast, dine on lobster, go on a whale watch or a puffin cruise, check out the Saltwater Artists Gallery - we're just a quarter of a mile from Pemaquid Lighthouse.
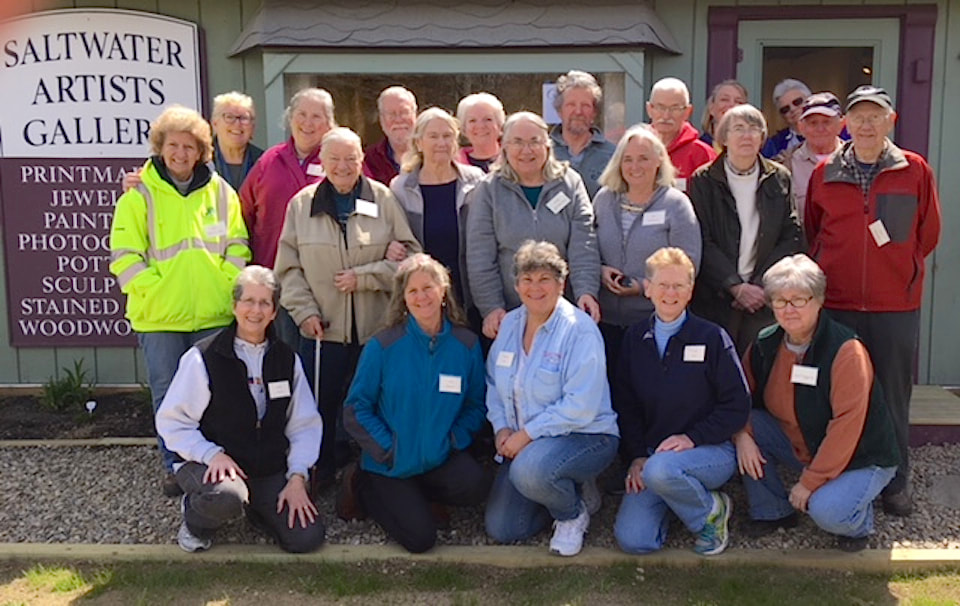
Saltwater Artists take a break on clean-up day


 RSS Feed