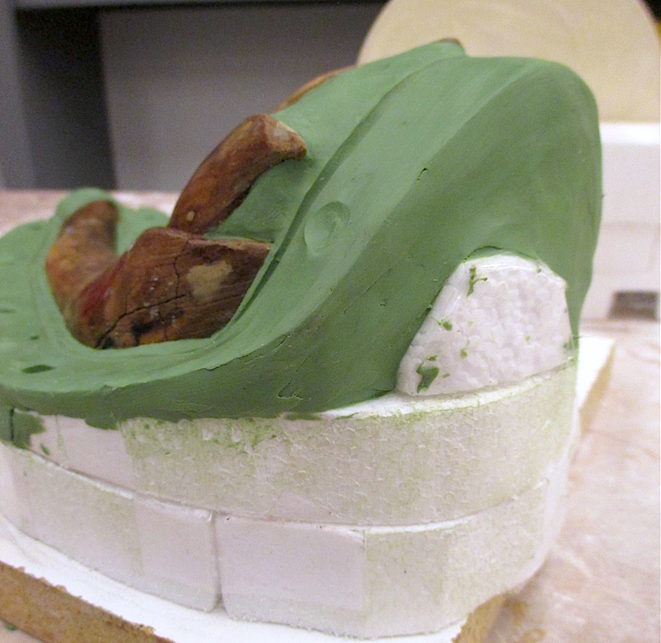
Constructing the second half of the two part silicone mold that I described in my last posting (12/10/15) was much more challenging than the first. The extreme curved undercuts of the second side of the object were the biggest obstacle to completing the mold successfully. The mother mold would not be able to be removed from this side unless I reconfigured the undercuts into straight sides during the rubber application process. Our instructor, Ben Asselin, recommended mixing shredded bits of cotton balls with the silicone. The addition of the cotton would make the silicone more viscous and allow me to build up specific areas without them sloughing down or becoming too dense and inflexible after curing.
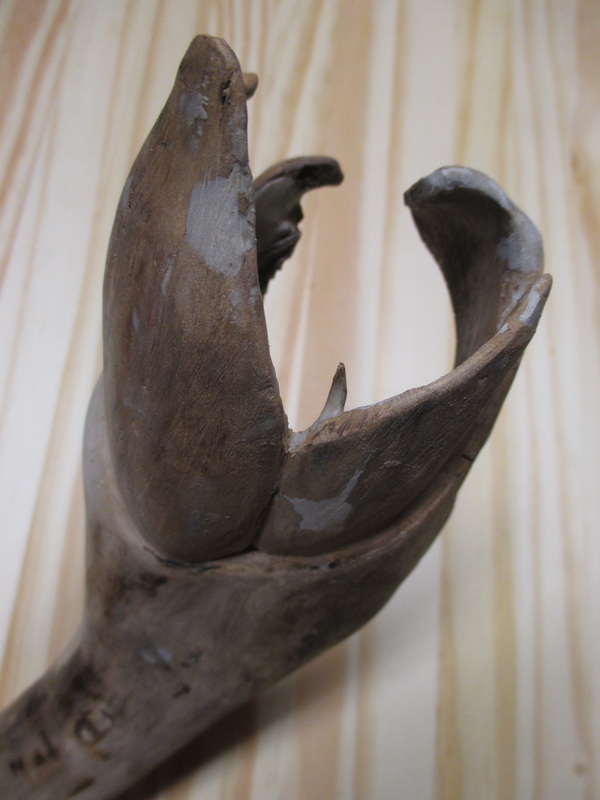
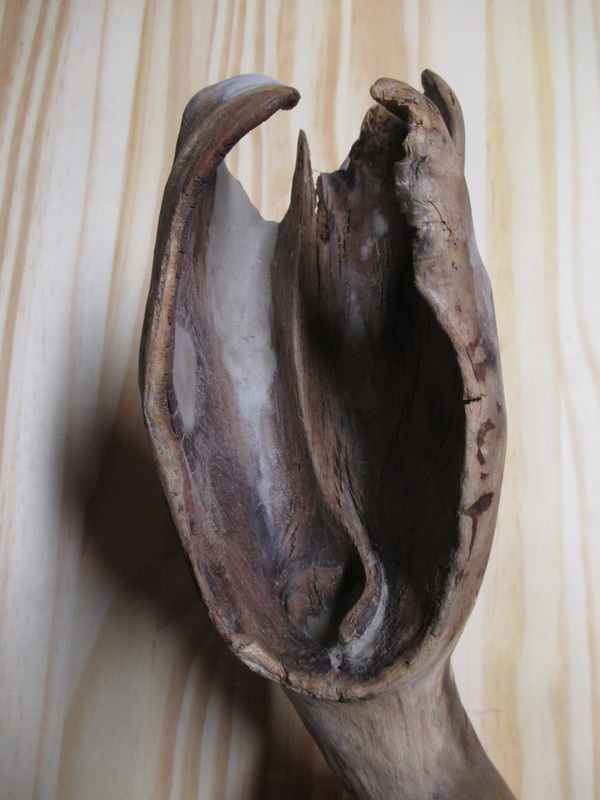
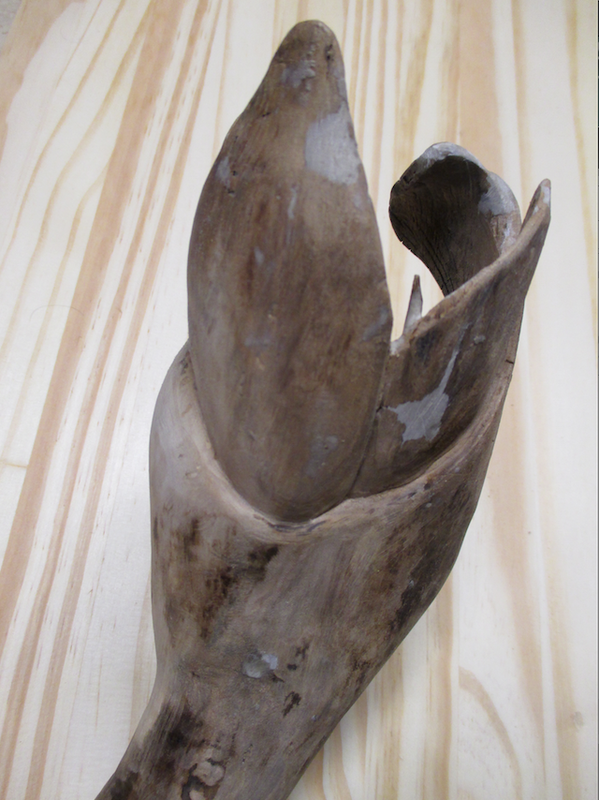
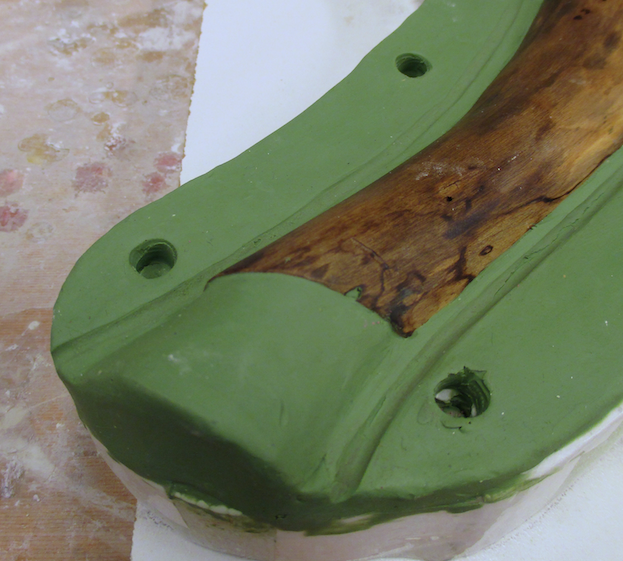
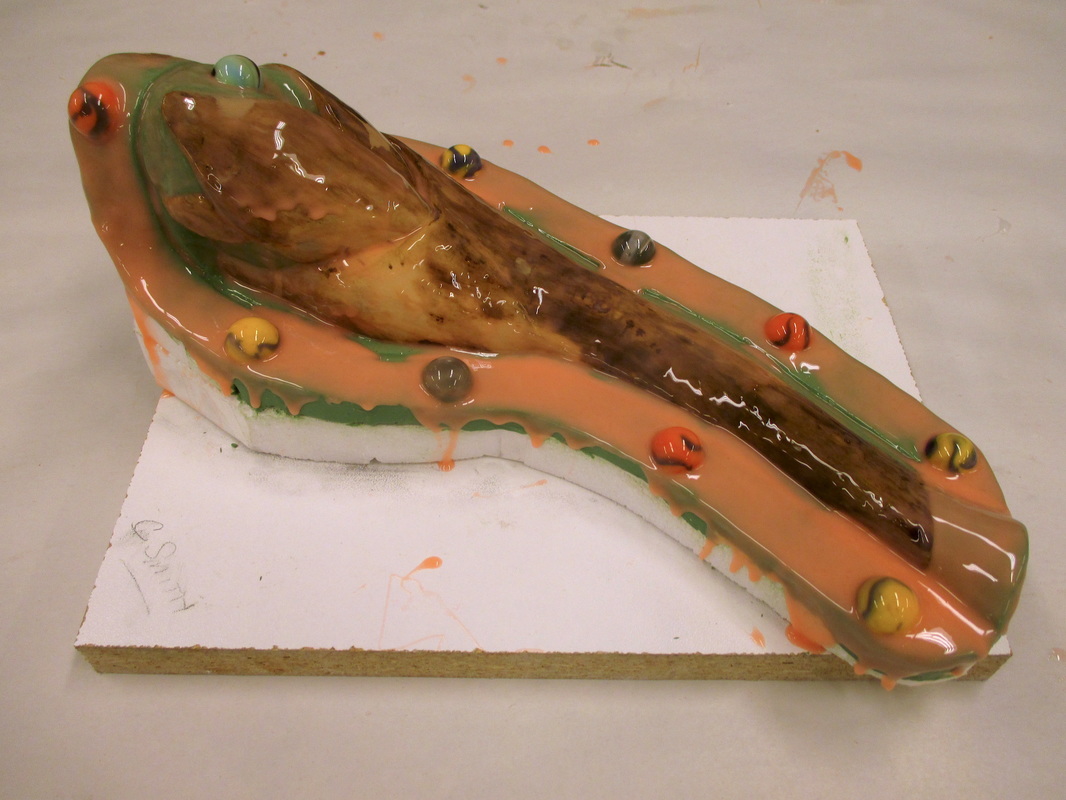
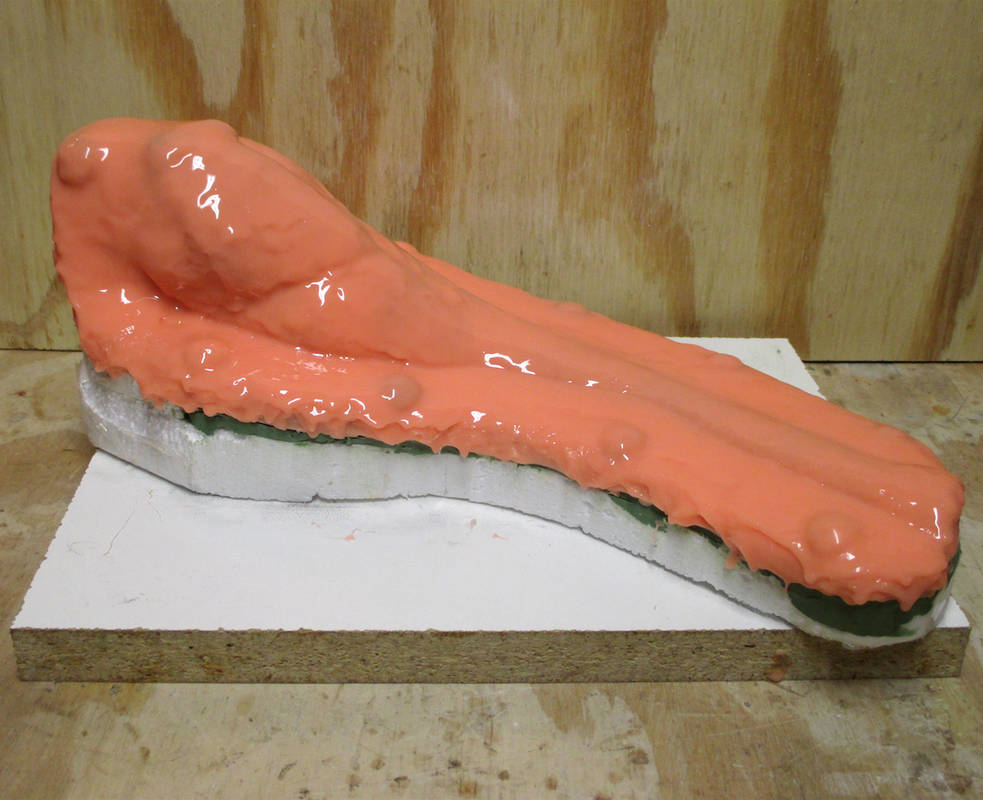
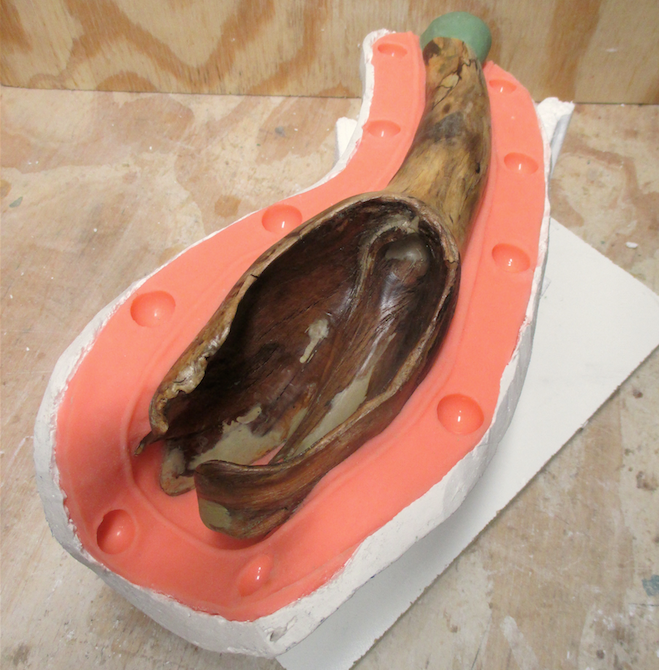 Inverted - land & marbles removed | 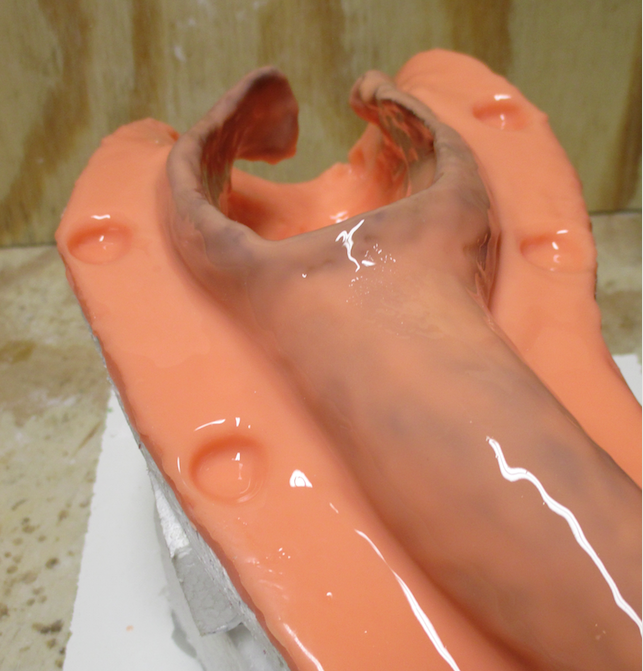 View of undercuts | 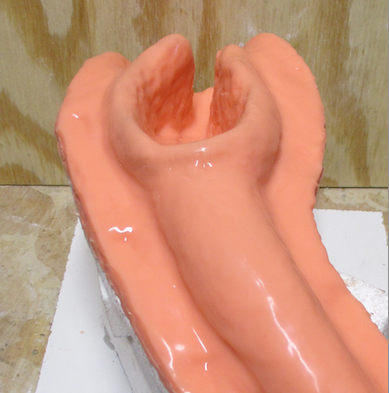 2nd attempt - undercuts eliminated |
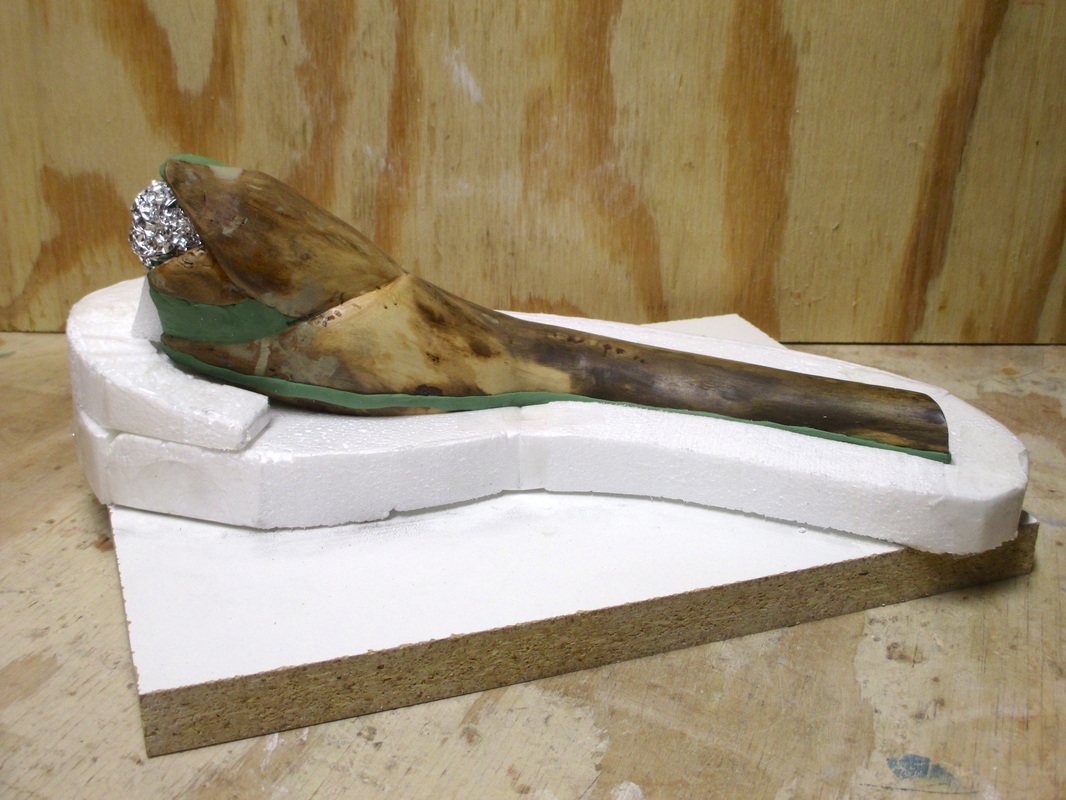
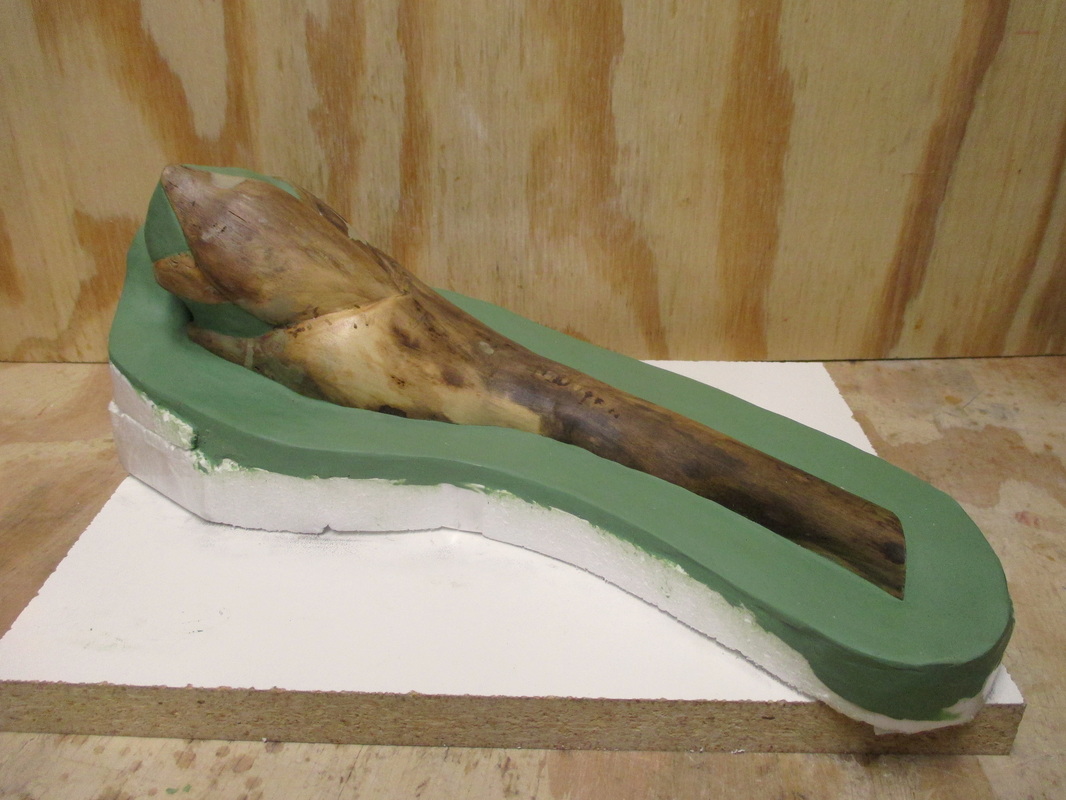
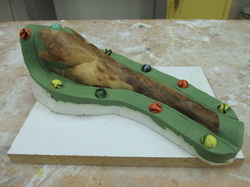
I began this next phase of the process by inverting the first half of the mold and stabilizing it with a styrofoam supports. I removed the plasteline land (except for the pour cup) and the marble registration keys, and then applied 2 base coats of *Rebound 25 to the mold and object surfaces. After preparing a supply of shredded cotton bits, I was ready to apply the remaining layers of silicone and reconfigure the undercuts. This was my first experience using cotton mixed in with silicone, and it did not go well. I hand dipped the cotton bits into the silicone mixture and then applied it to the walls of the undercuts. The "globs" of material were hard to control - they stuck to my rubber gloves and clumped in varying thicknesses. After managing to get everything coated and built up, I made the mother mold. After the mother mold hardened I was able to remove it without difficulty, however, the silicone was another story! The silicone had gotten too thick in the central cavity, causing it to be very inflexible and almost impossible to remove the wood original...which meant it would be equally as difficult to remove a casting. My only choice at this point was to begin the second half again.
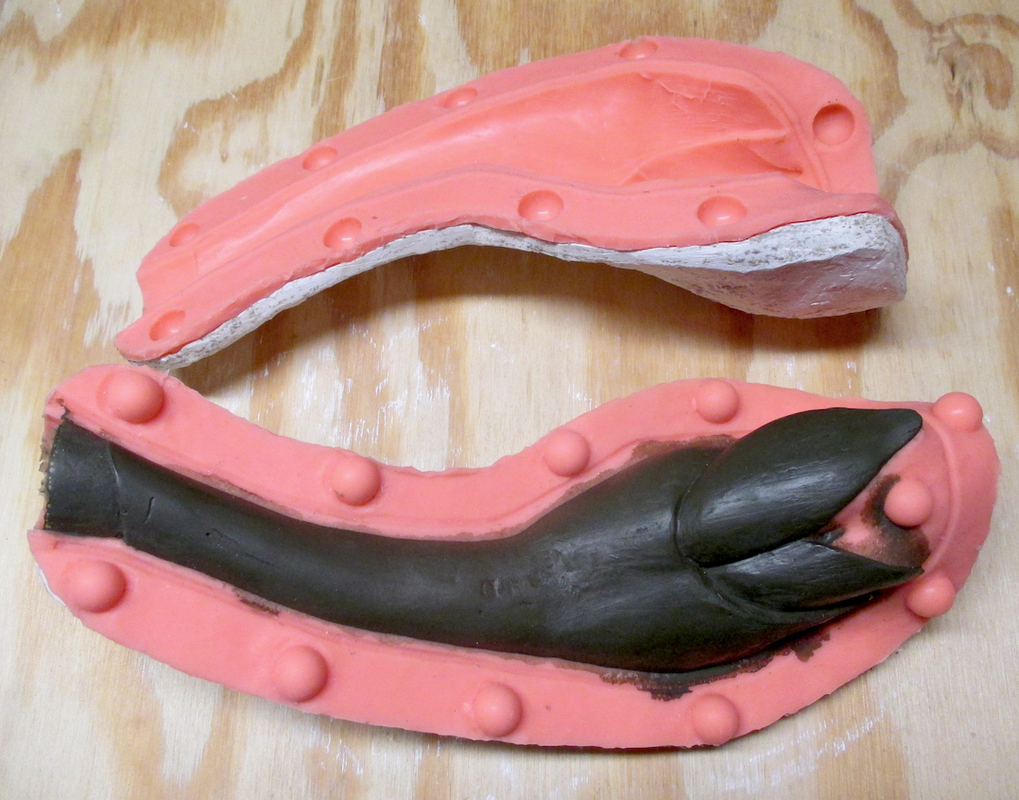
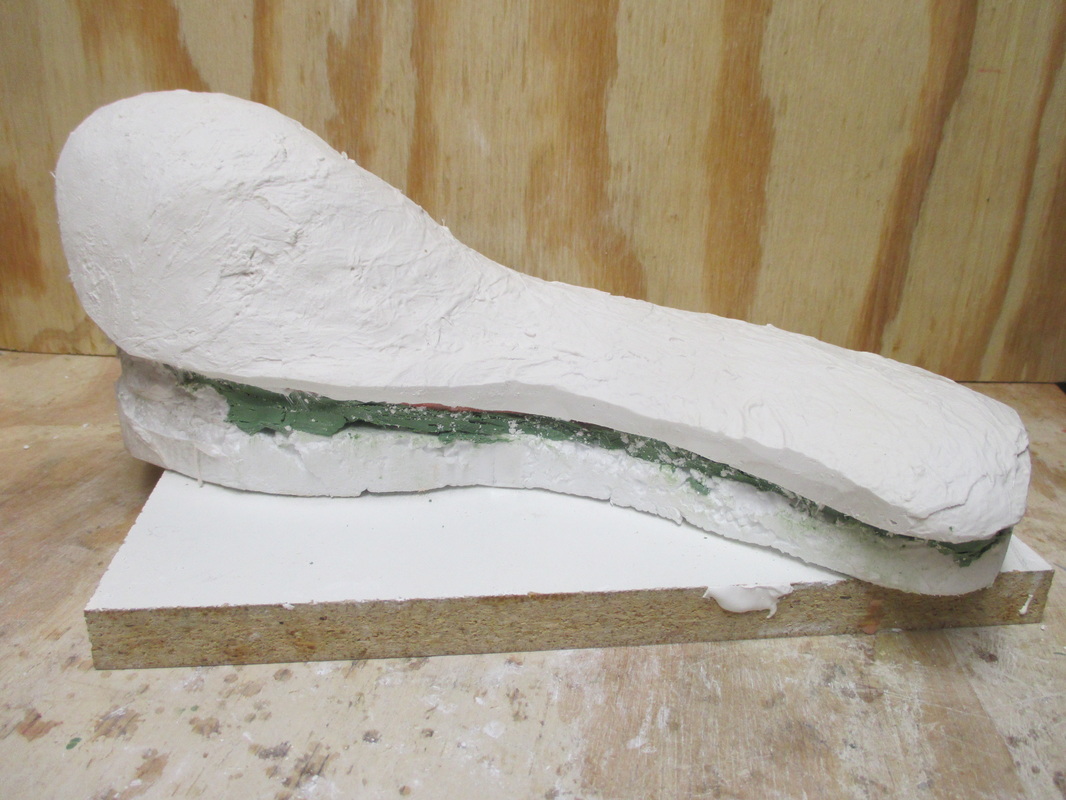
 Mother mold complete | 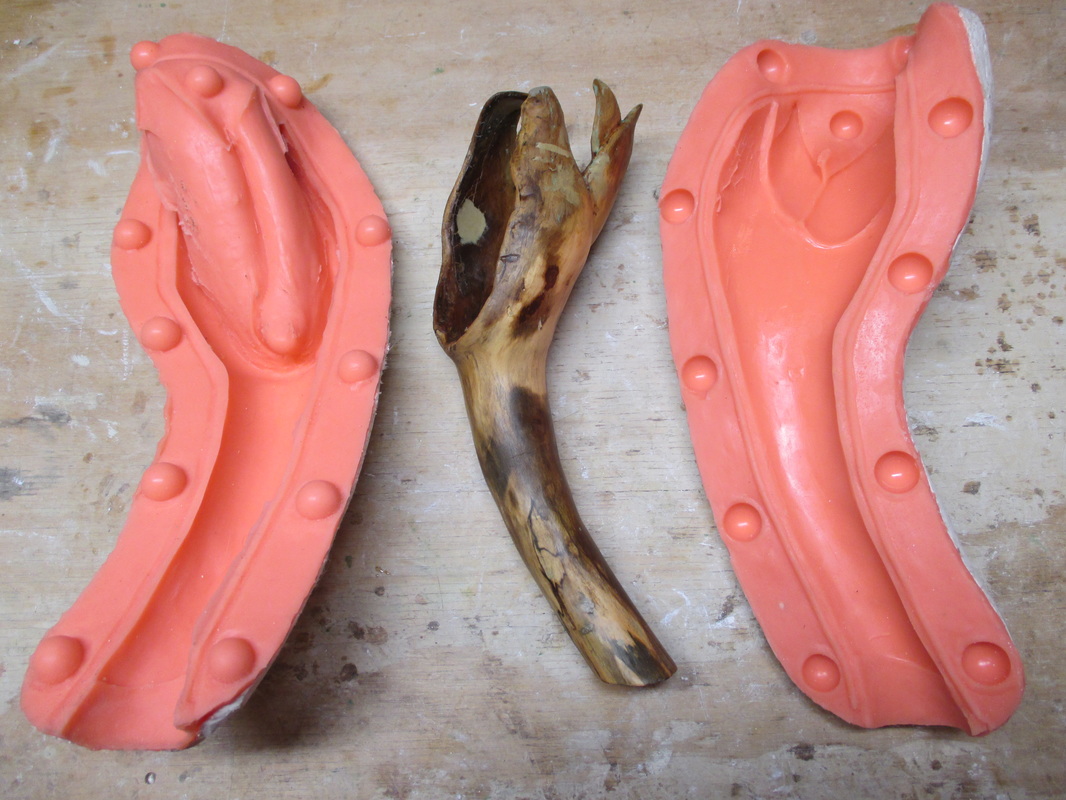 Original object removed from mold | 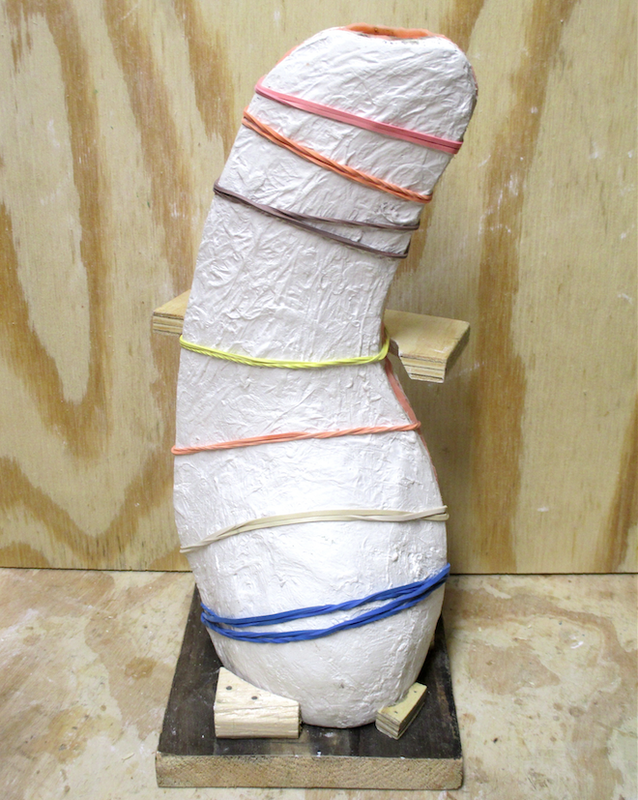 Mold ready for pour |
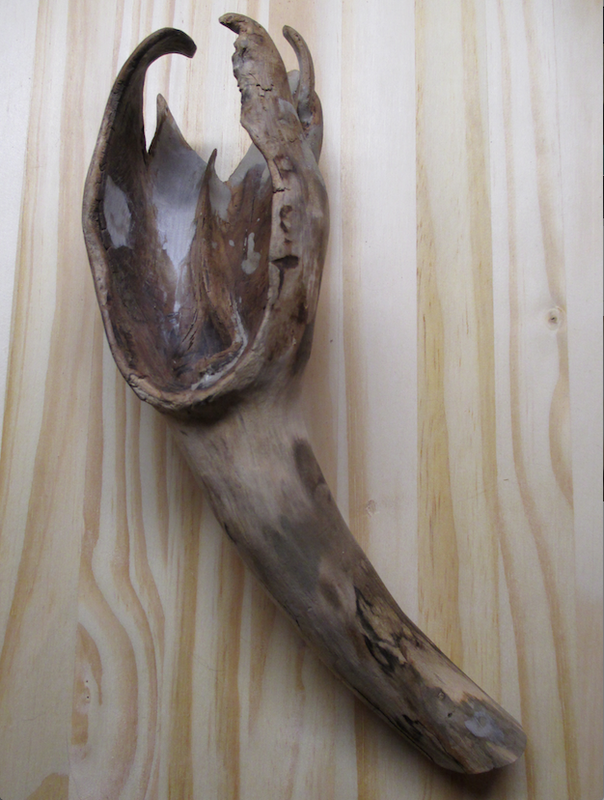
My second attempt, with some minor adjustments, went much more smoothly. I dipped smaller bits of cotton into the silicone, used 2 wooden craft sticks to apply the silicone and cotton mixture, and let each layer firm up before applying the next layer. I was also careful not to get the silicone too thick on the floor of the central hollow area. Once the silicone had cured, I made a new mother mold and crossed my fingers. Problem solved! I was able to remove the wood original from the mold with relative ease. The next step was to make a cast from the mold. After securing the mold with a half dozen strong rubber bands, I positioned it in the wooden stand I made to keep it upright during the pour. I mixed a batch of *Smooth-Cast 305 (the same 2-part casting resin that I used for the one part mold described in my blog post for 10/30/15), adding a few drops of brown Smooth-On color tint. I filled the mold and, after allowing about an hour of cure time, I was able to extract a successful casting. (I also made a second casting trying out a mixture of green and brown color tinting.) Now that the challenge presented by the severe undercuts has been met and conquered, the next step will be to determine the future of these castings. Have I mentioned that I like a challenge?!
 Casting revealed | 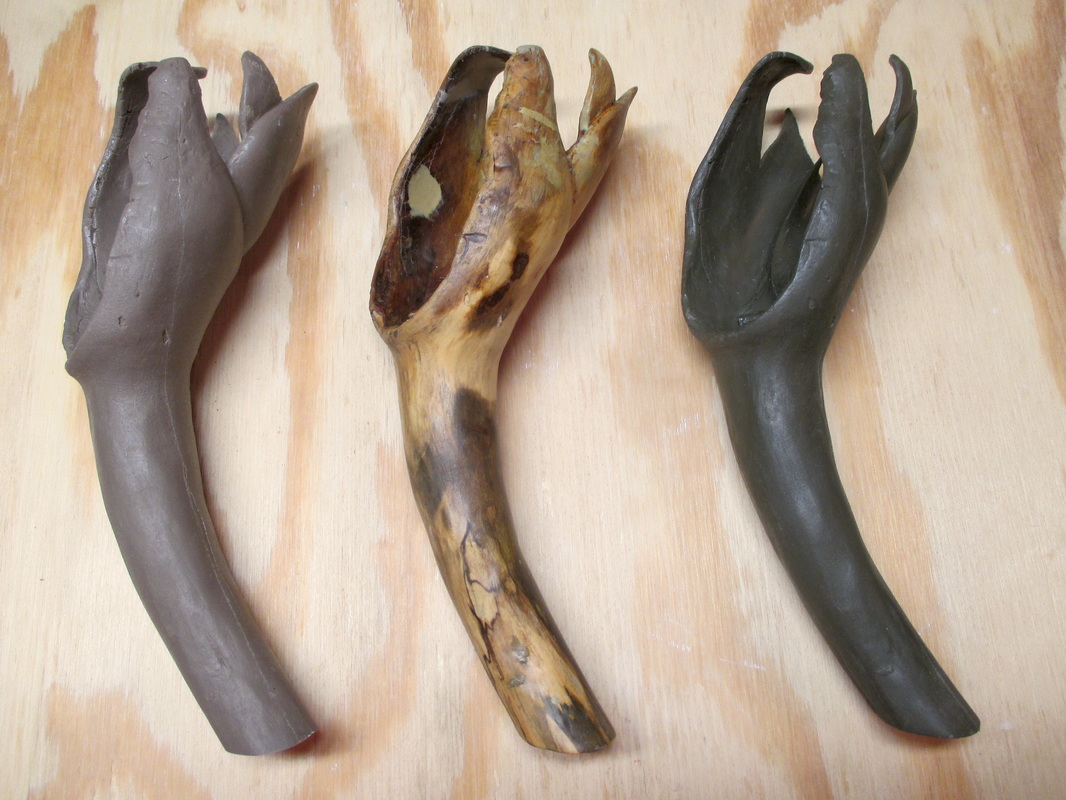 Original with 2 castings |
* Note: Rebound 25 and Smooth-Cast 305 are products made by Smooth-on Company.

 RSS Feed