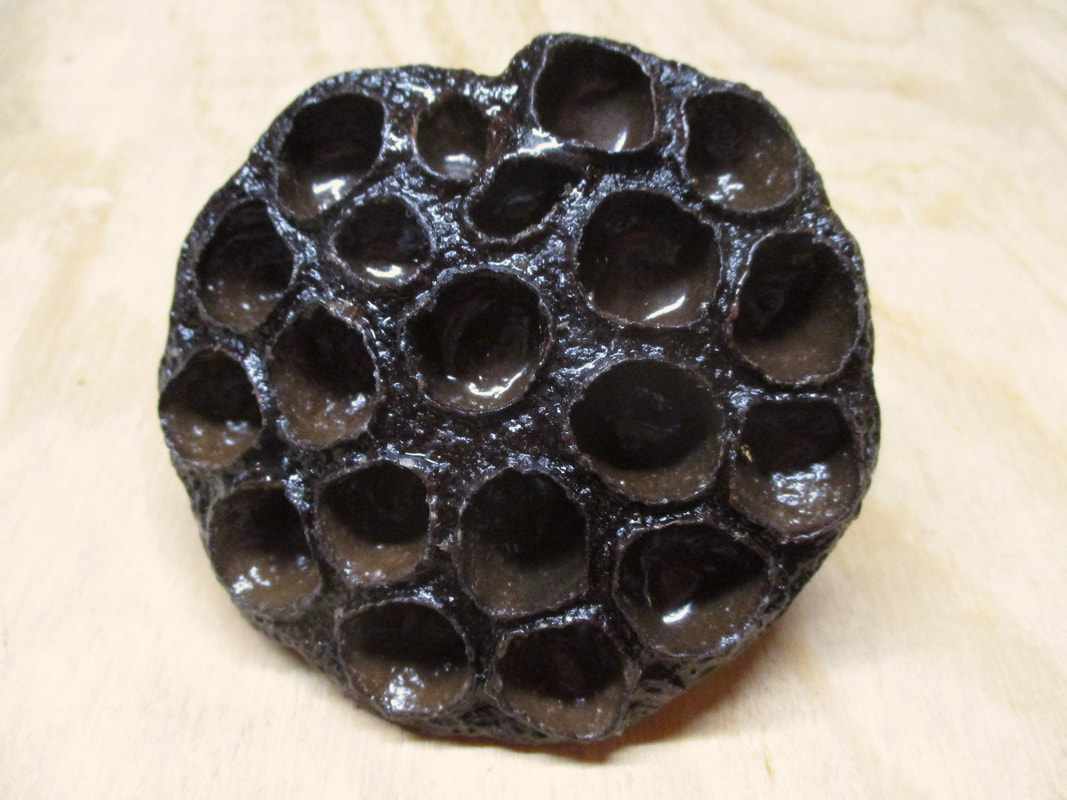
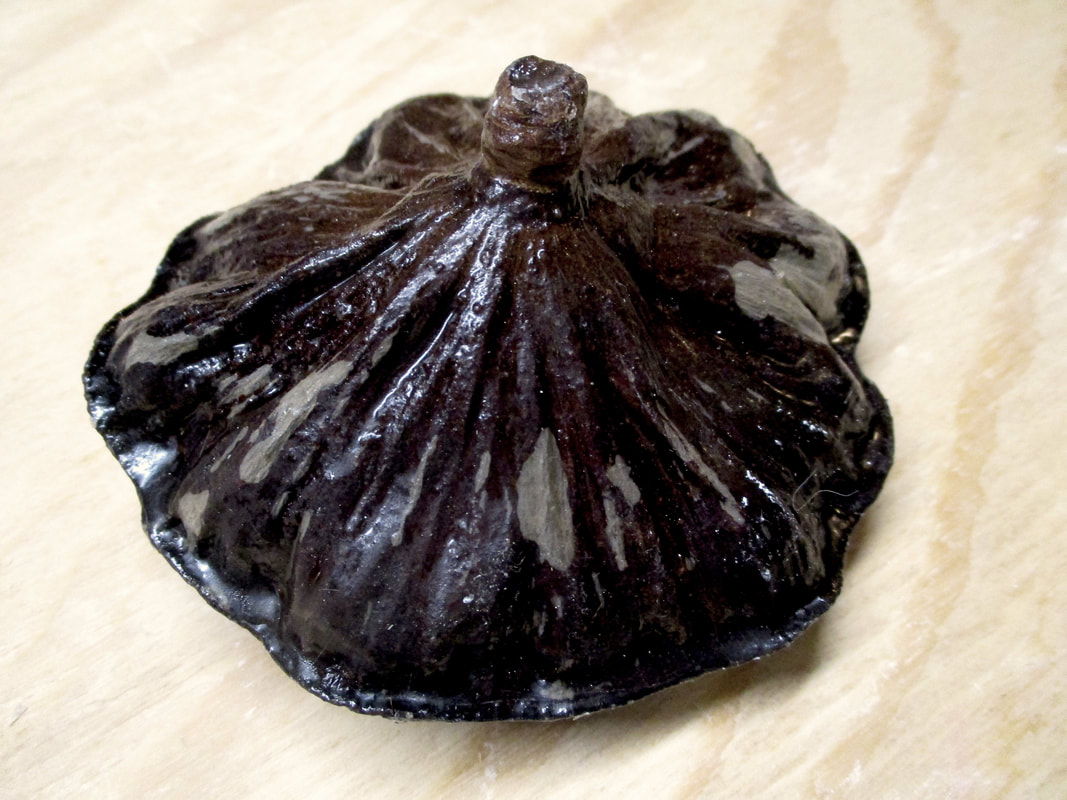
 Pod bird & snail 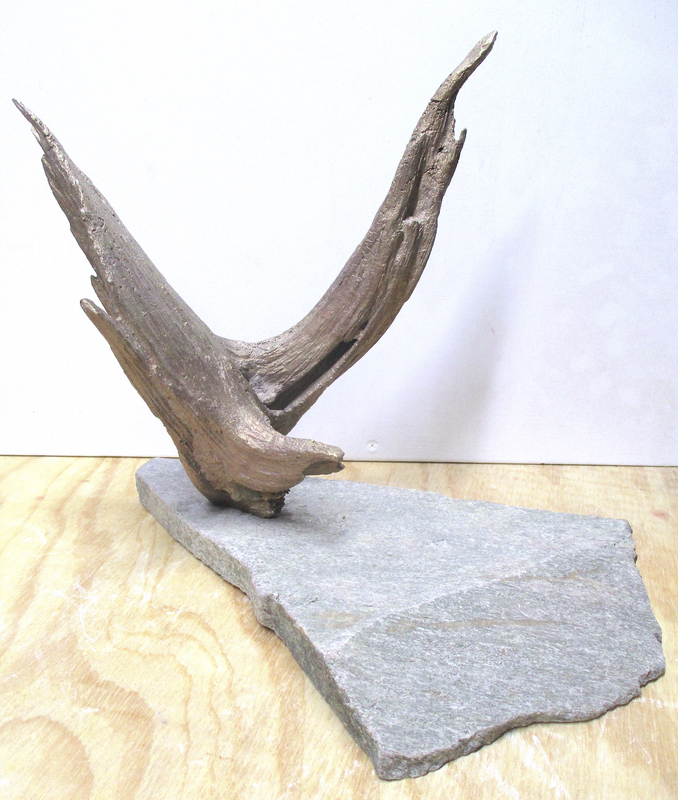 Bronze "driftwood" & granite slab 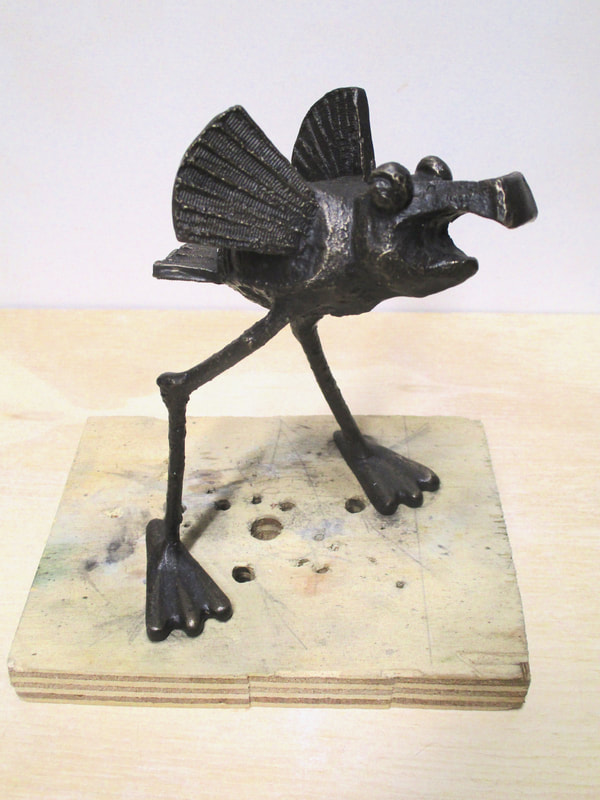 Patina applied | I took a break from my recent mold endeavors to get back to completing another unfinished project. It was time to utilize my last remaining bronze "pod bird" in a sculpture (see my blog posts for 4/2/18 and 5/3/18). I also thought that I might also be able to incorporate a bronze casting of a piece of driftwood that I made a couple of years ago. The piece had a bird-like appearance from one particular angle, and I thought it might tie in well with the pod bird. After unearthing a wedge-shaped slab of granite that I had stashed away for future use as a sculpture base and playing with possible configurations of the elements I had picked out, I realized I needed something else to complete the image. What was the bird squawking about? Perhaps a territorial intruder? I had a couple snails that would be just the ticket! With the "cast of characters" selected, I began the process of arrangement and assembly. The driftwood would be at the small end of the wedge and the snails would be headed up the small slope at the wide end. The pod bird would be positioned in the center facing the approaching snails. I used a black cold patina to darken the bird so that it would stand apart visually from the driftwood that I buffed and then sealed with satin spray lacquer. I drilled holes into the hardened Apoxie Clay that I filled the snails with, and then epoxied in short lengths of threaded rod that would be used to attach the snails to the stone base. I cut a piece of Padauk wood to fit the underside of the granite base to slightly elevate the piece. It would also lessen the amount of drilling into the granite that I would have to do, and give the sculpture base a softer underside. The last step before assembly was to drill the holes in the granite so the various elements could be attached....no easy task!! I had to drill three holes 1/2" deep into the slab and two that would |
go all the way through the slab. Slow going, but mission accomplished! After epoxying the Paduak piece to the bottom of the granite slab, I completed drilling the two through-holes through the wood and then added recesses in the wood to accommodate the washers and nuts that would be used for the attachment of the driftwood piece and the larger snail. The piece was ready for assembly.
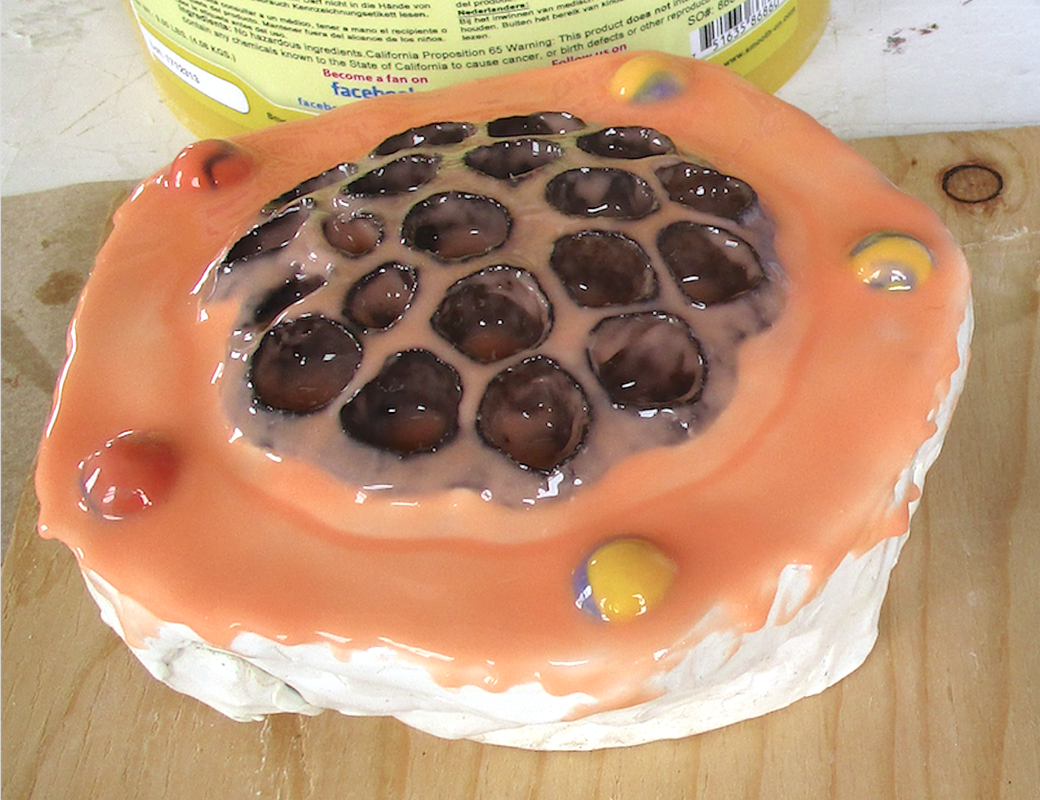
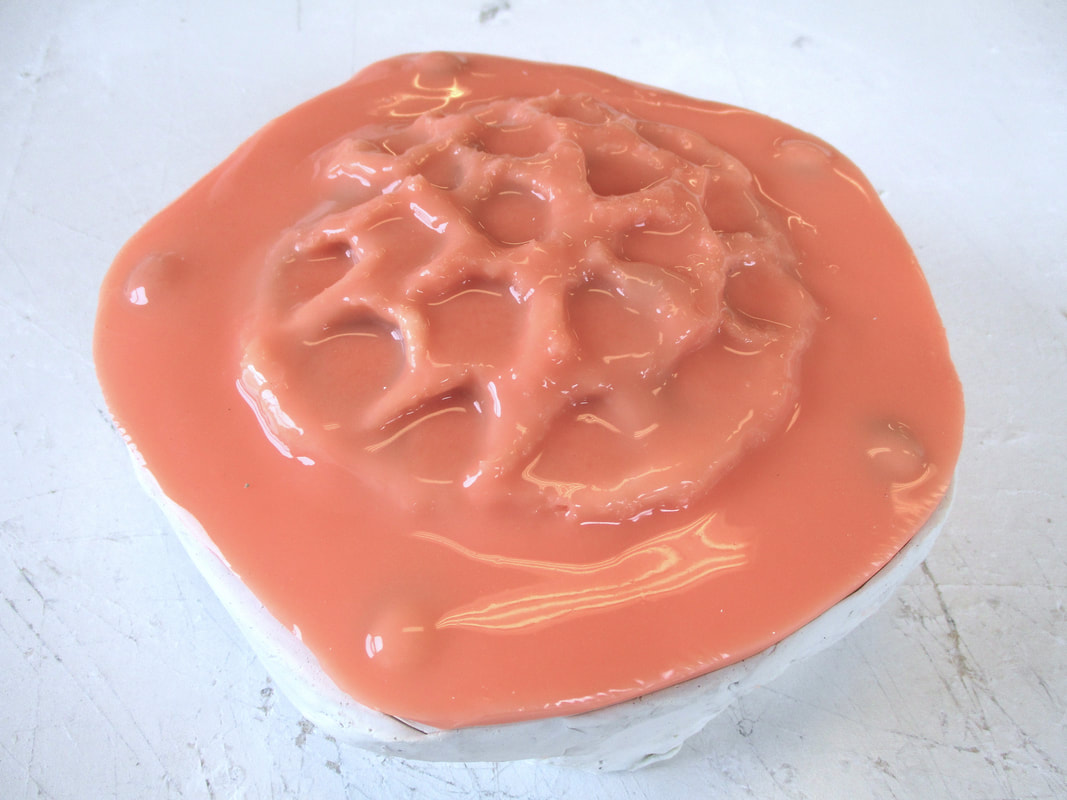
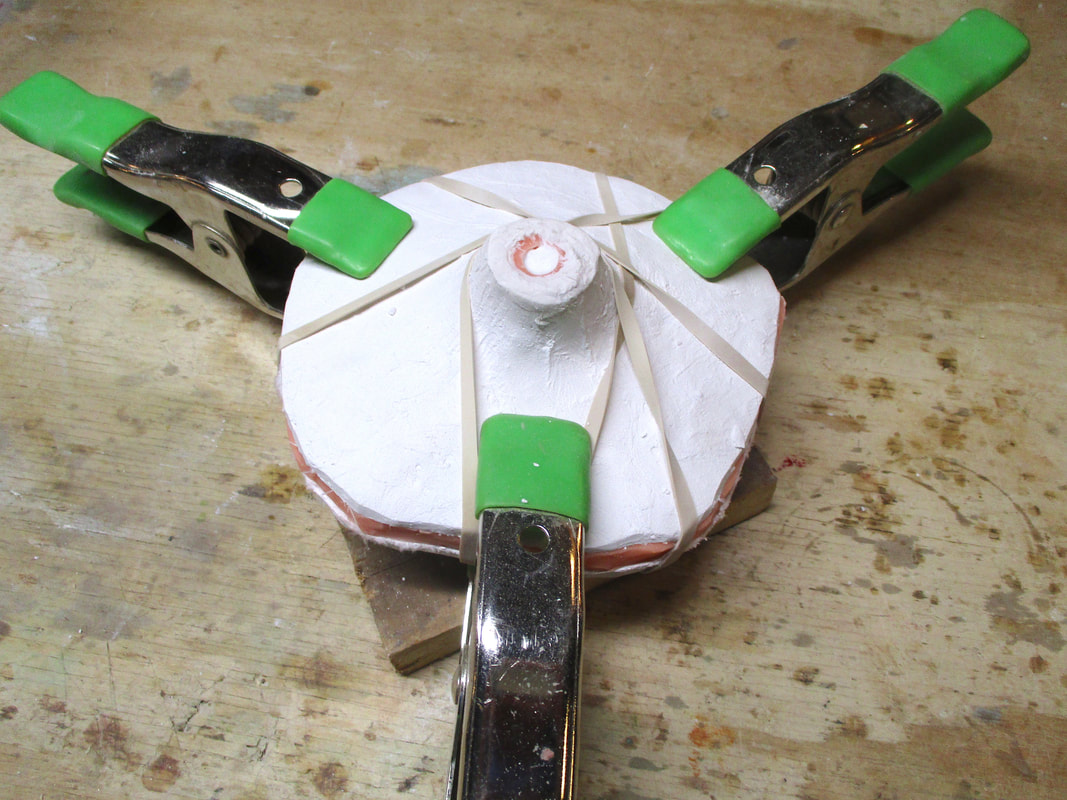
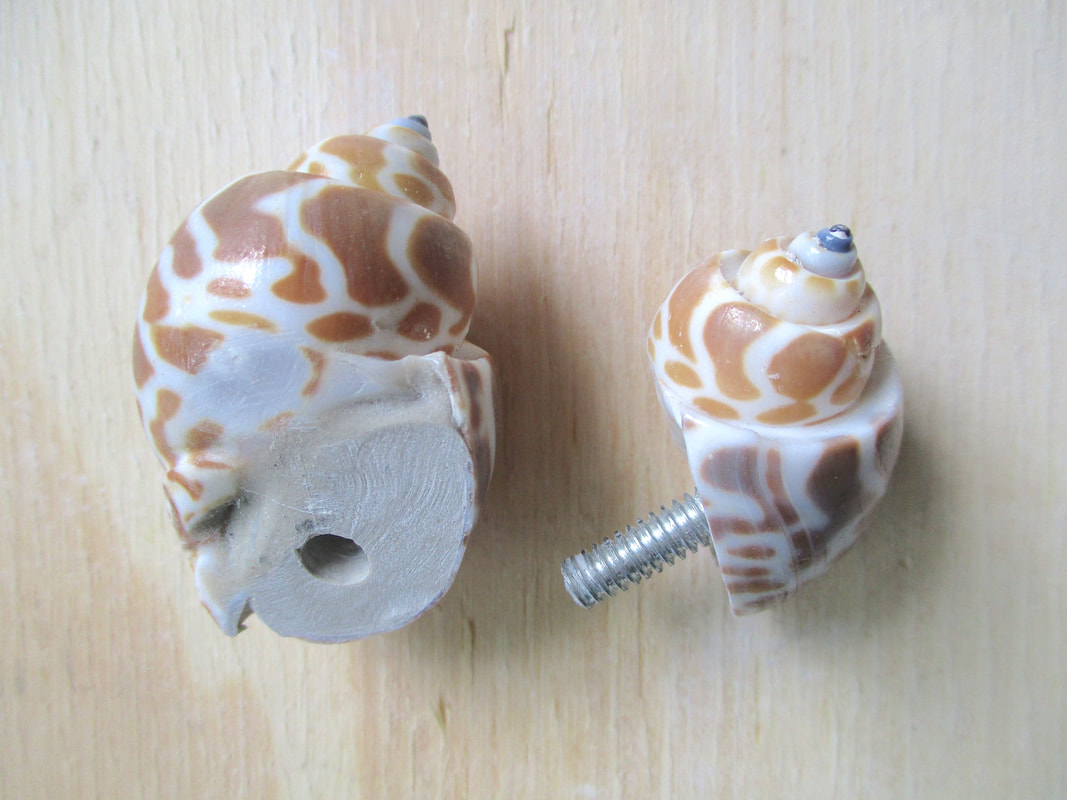 Filled & drilled | 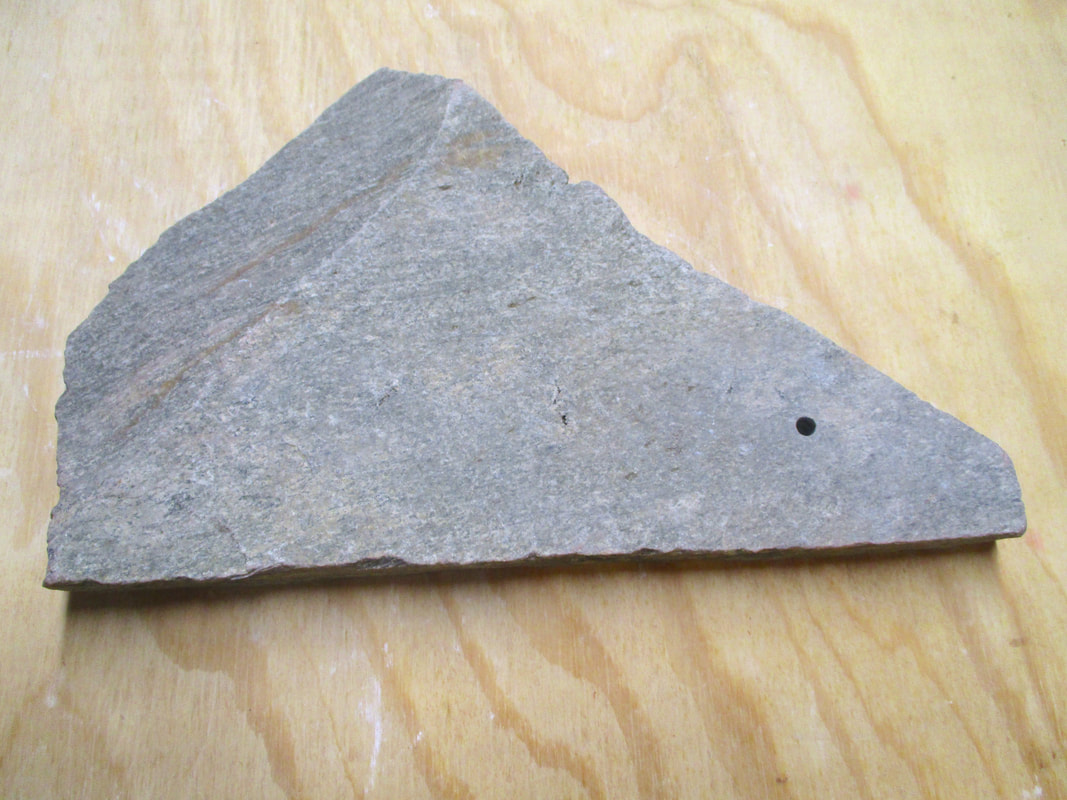 First hole drilled | 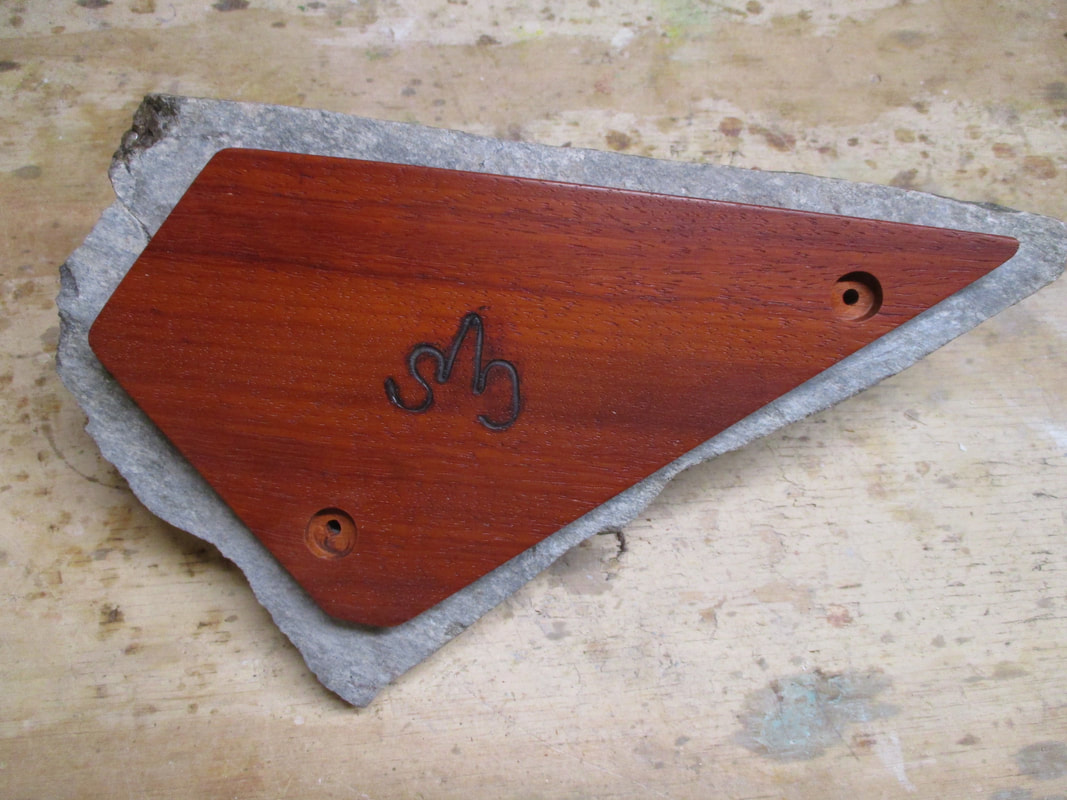 Baseboard drilled & attached |
I attached the pod bird by epoxying the short rods that extended from the bottom of each of the bird's feet into two of the 1/2" holes that I had drilled into the granite slab. The bronze driftwood had a threaded hole into which I had epoxied a piece of threaded rod. I inserted the rod through the through hole that I had drilled in the small end of the granite base and then secured it with a washer and nut. The last step was to attach the two snails. One had a threaded rod that went through to the wood and was attached in the same manner as the driftwood. The shorter rod on the smaller snail was simply epoxied into the final 1/2" hole. The completed piece is currently being shown until September 14th at the River Arts Gallery in Damariscotta. Stop by, if you are in the neighborhood!
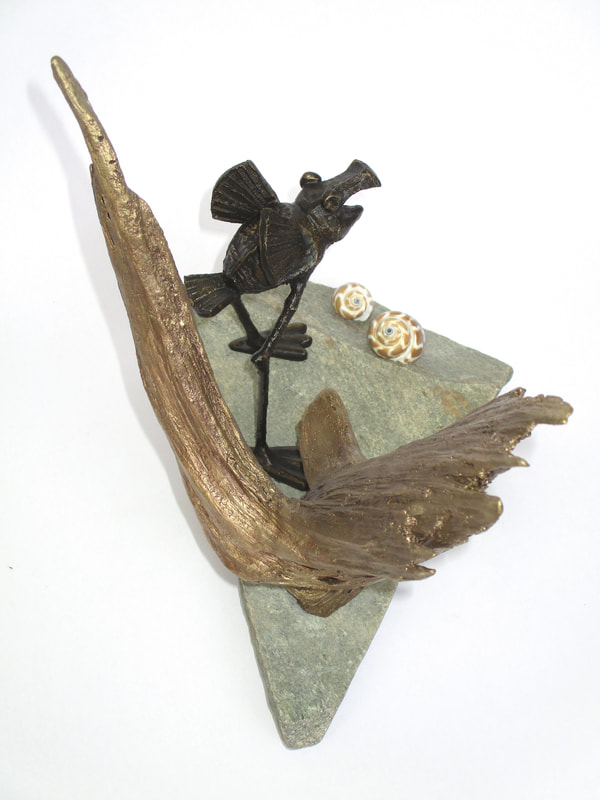 | 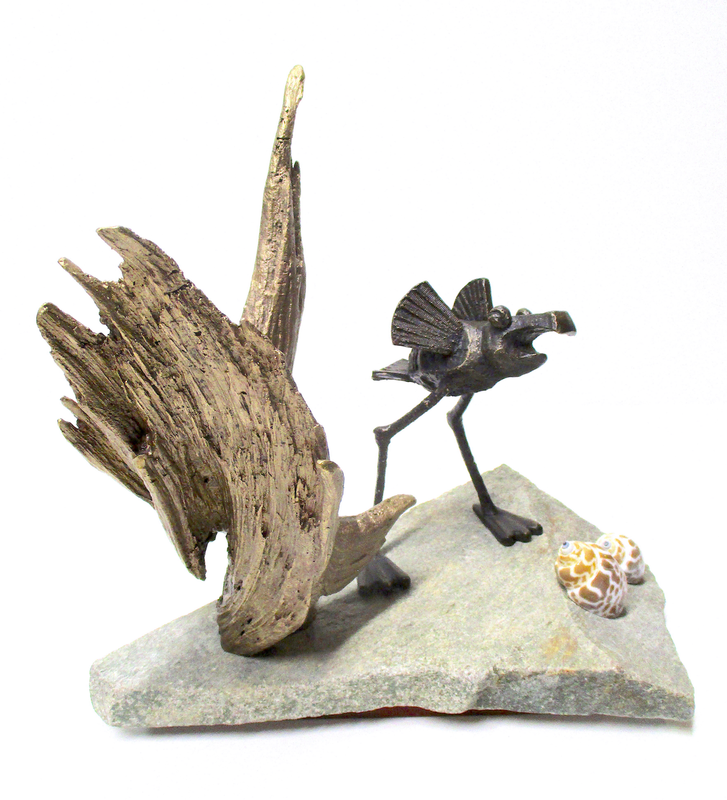 Shoreline Encounter | 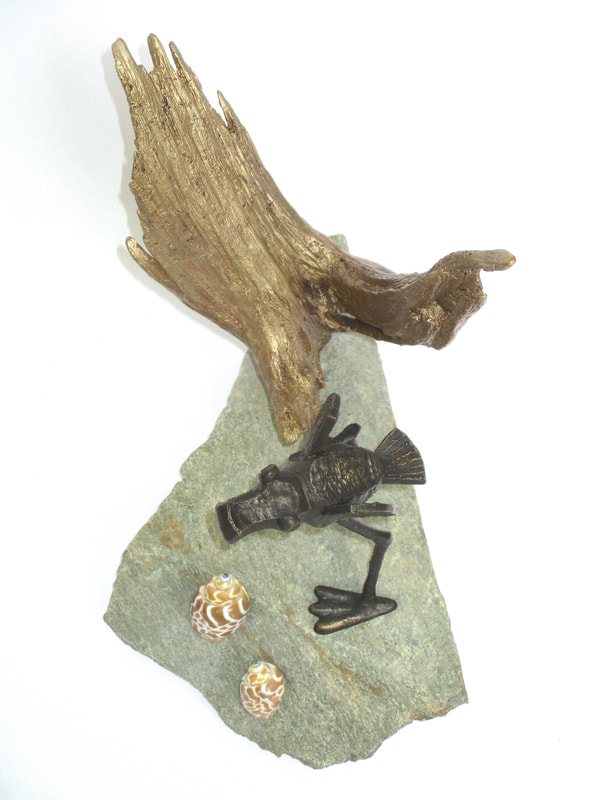 |


 RSS Feed