A couple of weeks ago I was running a bit ahead of schedule as I headed to a gallery on the coast to drop off some artwork, so I decided to make an unscheduled stop at an antique / collectible / junk shop shop just over the bridge in Bath. I had gone past this shop for years and had always been intrigued by the piles (and I mean piles!) of "stuff" that surrounded its entranceway. Usually either it wasn't open when I went by, or I was in a hurry and couldn't stop, but evidently the stars were aligned just right on this particular day. As I prowled through
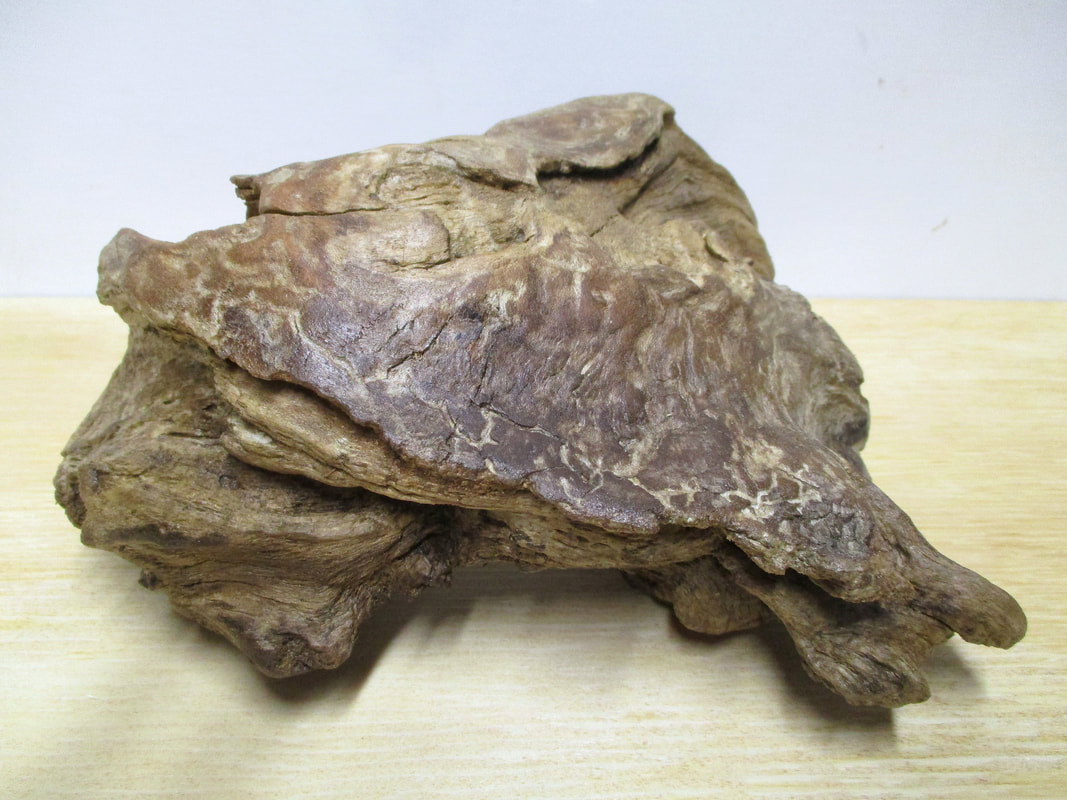 View 1 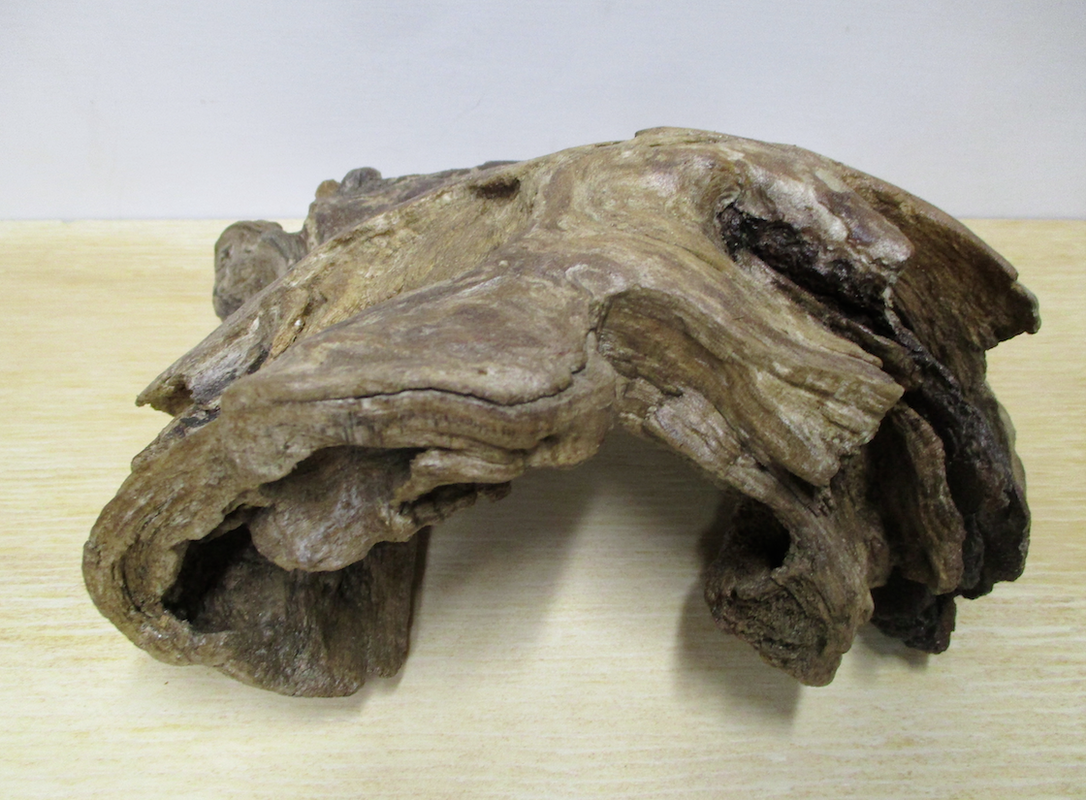 View 2 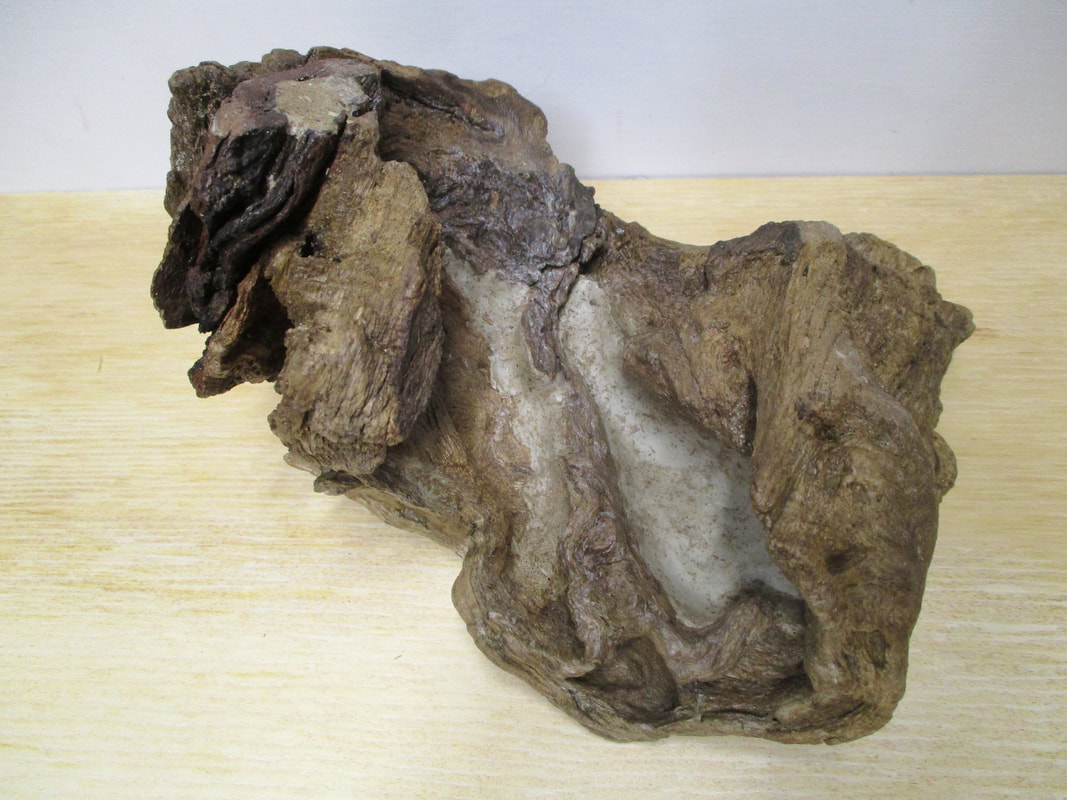 Reinforcement | the piles and jammed aisles of the vast range of objects a and items of varying ages and categories, I knew I would have to put the shop high of my list of favorite places to explore for the type of offbeat and unique "found objects" that I sometimes incorporate into my artwork. This particular day, I came away with a couple of pieces of driftwood, one of which I knew would be a perfect base for the two extra seagulls that I had left over from my "Coastal Trio" sculpture (see my blog entry for 7/19/17). The first thing I had to do was remove the areas of soft "pithy" wood that were lurking in the various nooks and crannies of the driftwood. As I proceeded to attack the problem, I found there was more of this soft wood than I first thought. I hoped there would be enough solid wood to still make the piece viable as a base. As it turned out, the removal of the soft areas actually served to increase to visual interest factor of the nooks and crannies, and I was able to stabilize the piece by packing Apoxie Clay into the weak areas on the underside. I sealed the wood with a matt finish acrylic medium to stabilize the outer surface. |
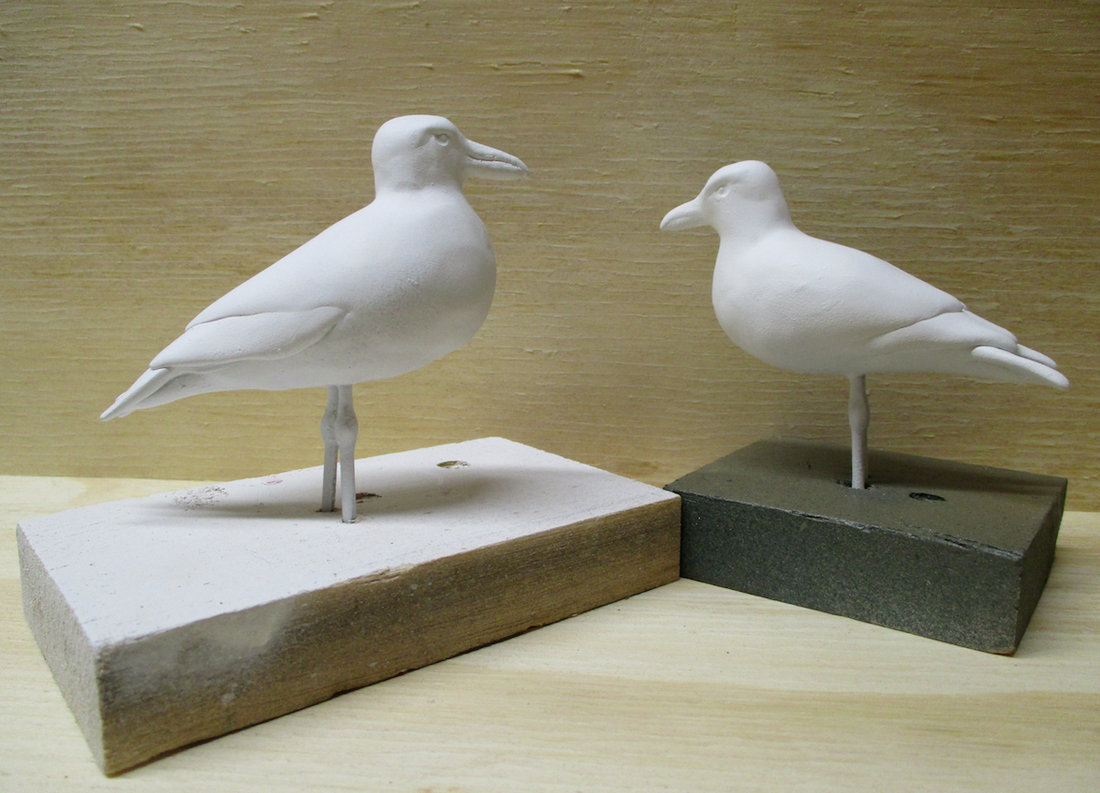 Gulls primed and ready for feet | 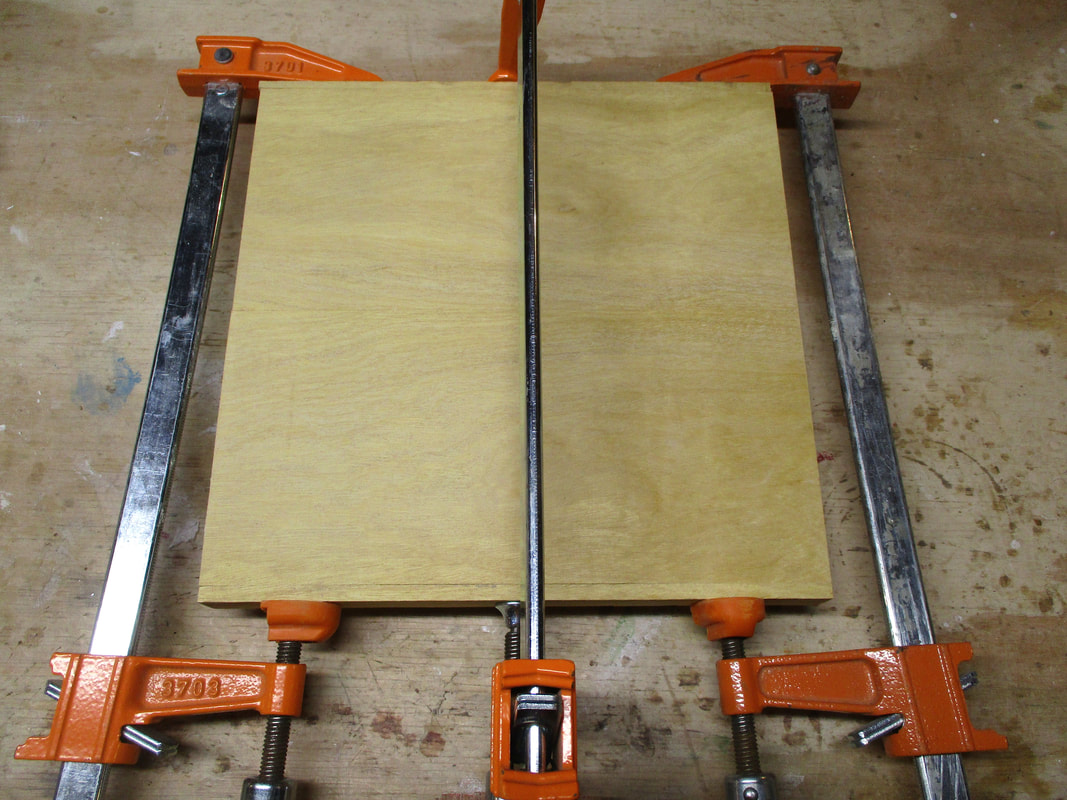 Base boards glued & clamped | 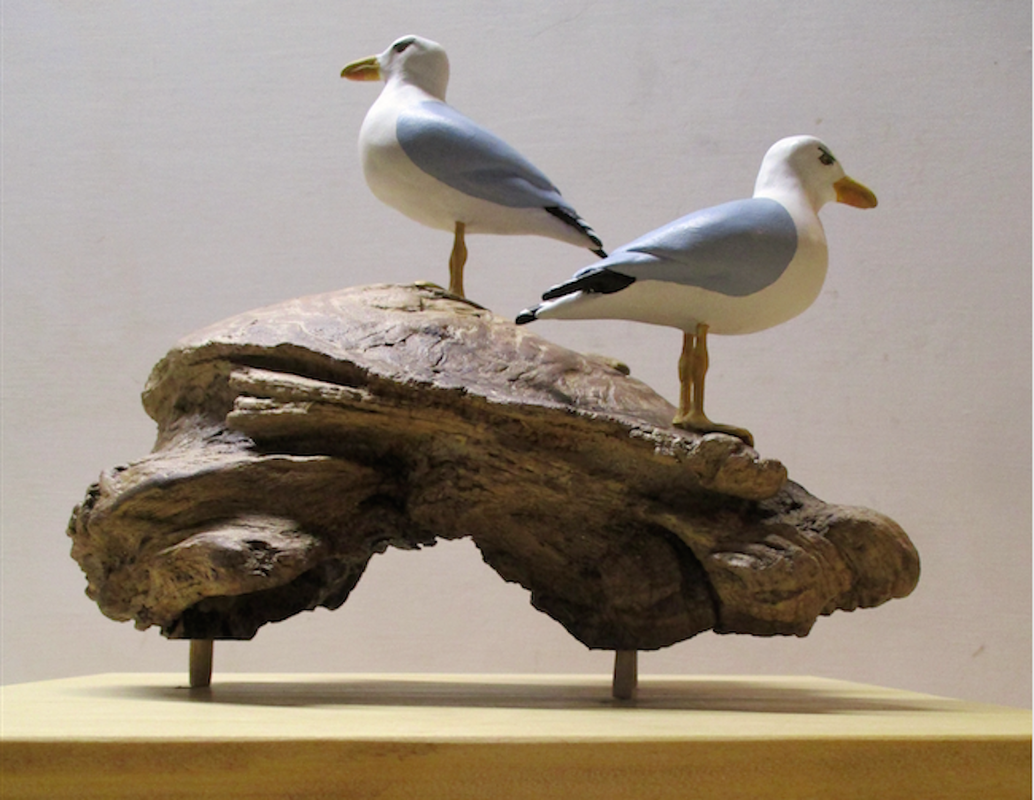 Gulls painted, pegs made |
The next step was to cut, sand, and glue two pieces of yellowheart wood together to serve as a baseboard (9" x 9 1/2") for the sculpture. While waiting for the glue to set, I added feet to the seagulls using the same process that I used in the Coastal Trio sculpture (blog entry 7/19/17). I then sanded and sealed the yellowheart with satin polyurethane and painted the seagulls with acrylic. After cutting 3 short pieces of thin doweling to use as attachment pegs, I drilled holes in 3 small flat areas on the bottom of the piece of driftwood. After inserting the pegs in the holes I determined where the piece would sit on the baseboard, and drilled the holes that would receive the other end of the pegs. The last step before before assembling the the sculpture was to accumulate a few possible pieces of "coastal miscellany"... things that might be found on a shoreline beach. First I made a pot buoy out of wood, then I used wood stain to darken a length of string to simulate old fashioned pot warp. I picked out a few small shells from my "maybe I'll use this someday" stash, packing the inside of each shell with Apoxie Clay so that I would have a solid flat surface to use for attaching them to the baseboard. I was finally ready to put all of the pieces of the sculpture together.
| The first step in assembling the piece was to epoxy the wooden pegs into the holes in the bottom of the driftwood, and then into the respective holes that had been drilled in the baseboard. After the driftwood was securely attached to the baseboard, I put epoxy into the holes that I had made for the extensions that came out from the bottom of gulls' feet, and then secured the gulls into place on the driftwood. I was actually able to drill holes into the undersides of 3 of the shells that I had filled with Apoxie Clay, which allowed me to insert small wooden pegs for a more secure attachment to the baseboard. I then epoxied the other 2 very small shell halves directly to the wood. After tying a small length of the "mini pot warp" to the lobster buoy, I drilled a hole in the bottom side of the buoy and inserted a wooden attachment peg. Then final step was to attach the lobster buoy to the baseboard. I drilled a receiving hole in the yellowheart, epoxied the buoy in place, and then very carefully added small amounts of epoxy to several spots on the underside of the pot warp to secure it to the board. C'est fini ! |  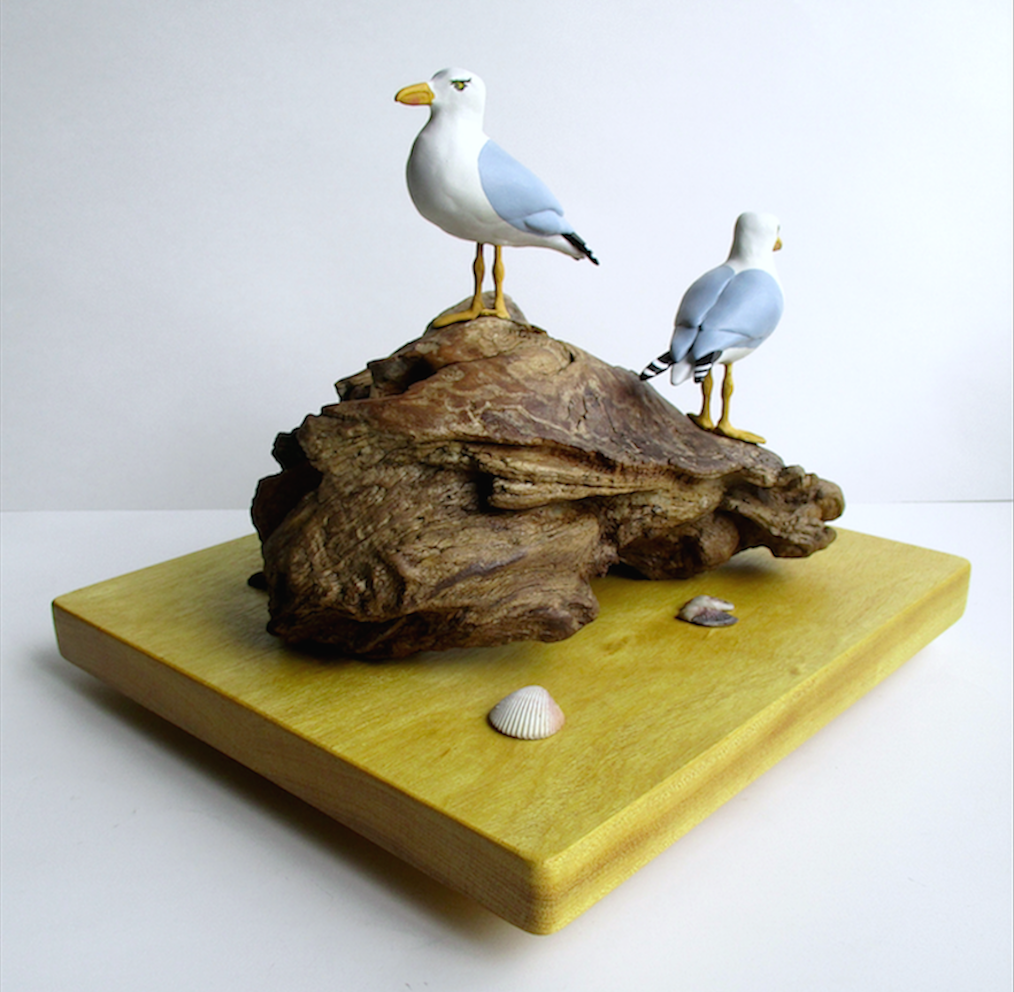 |

 RSS Feed