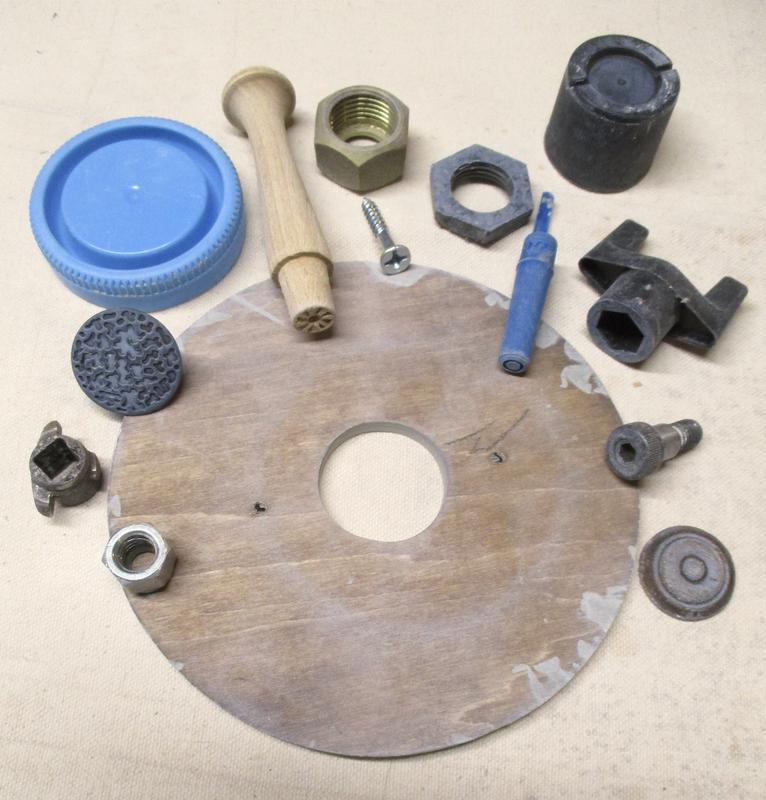
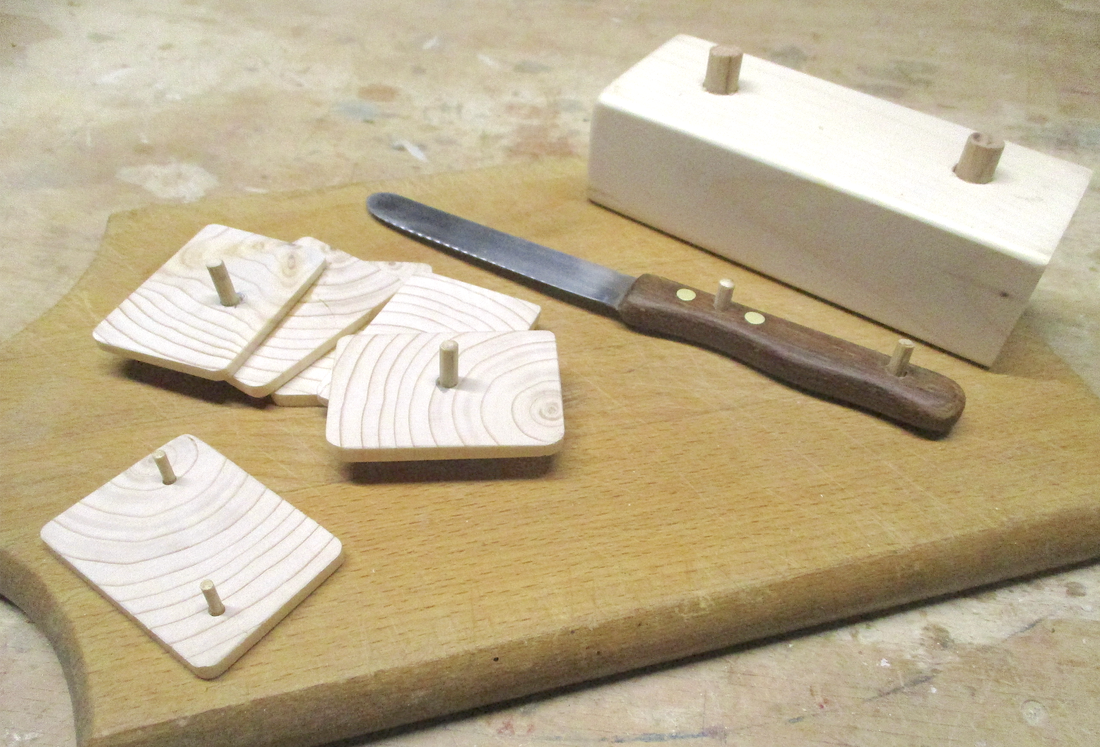
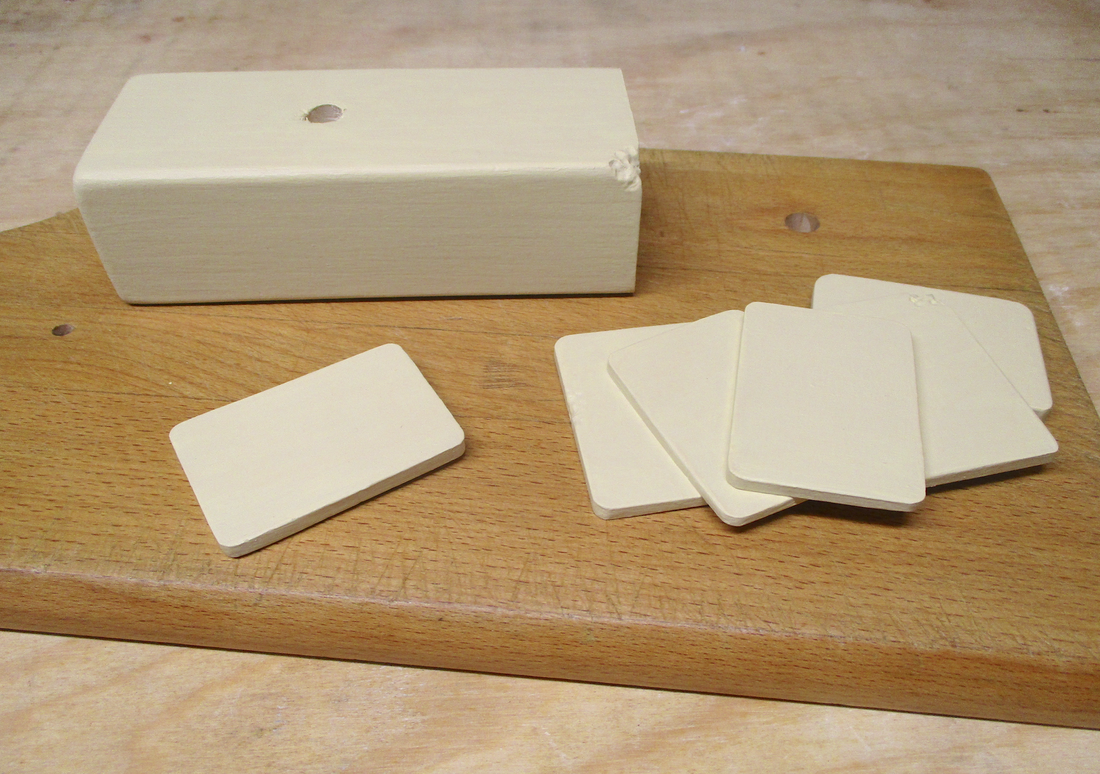
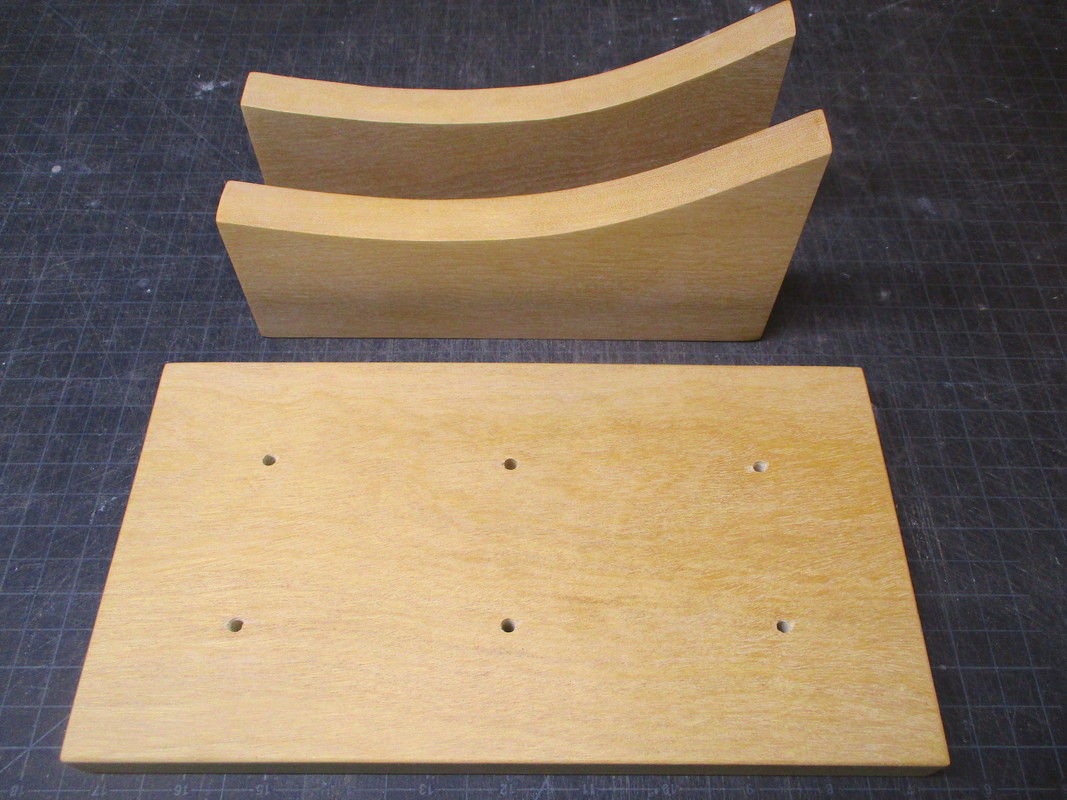
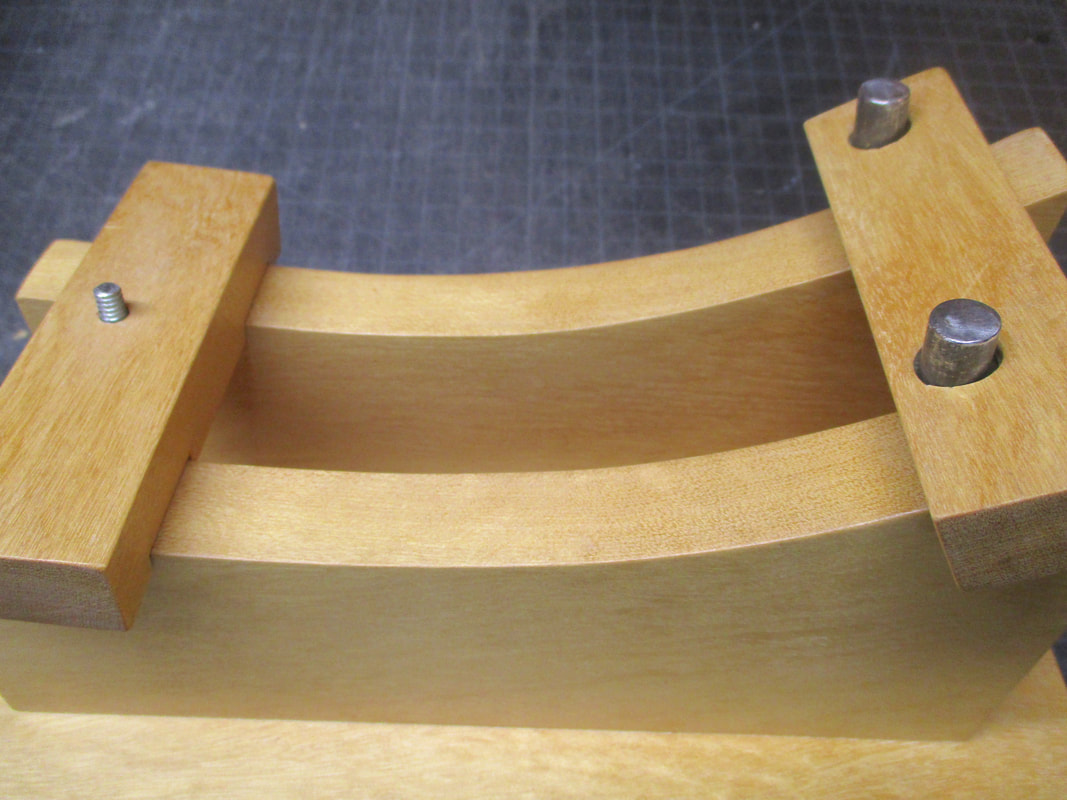
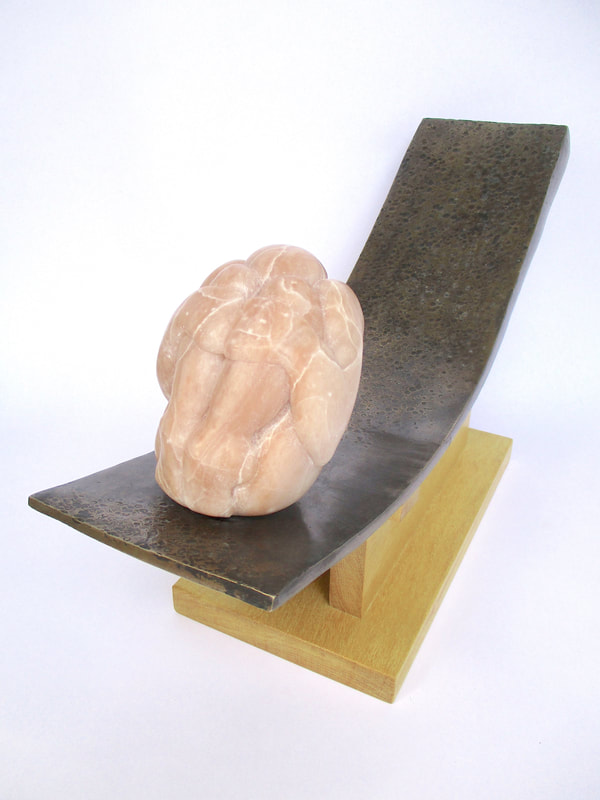
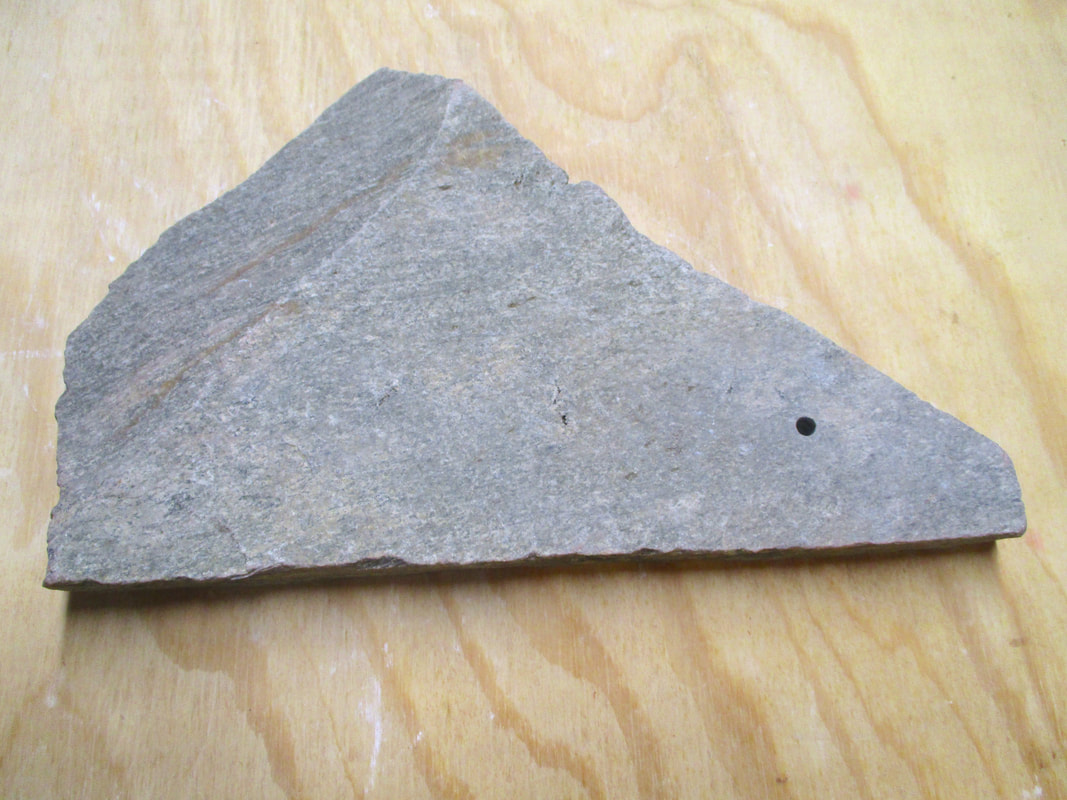
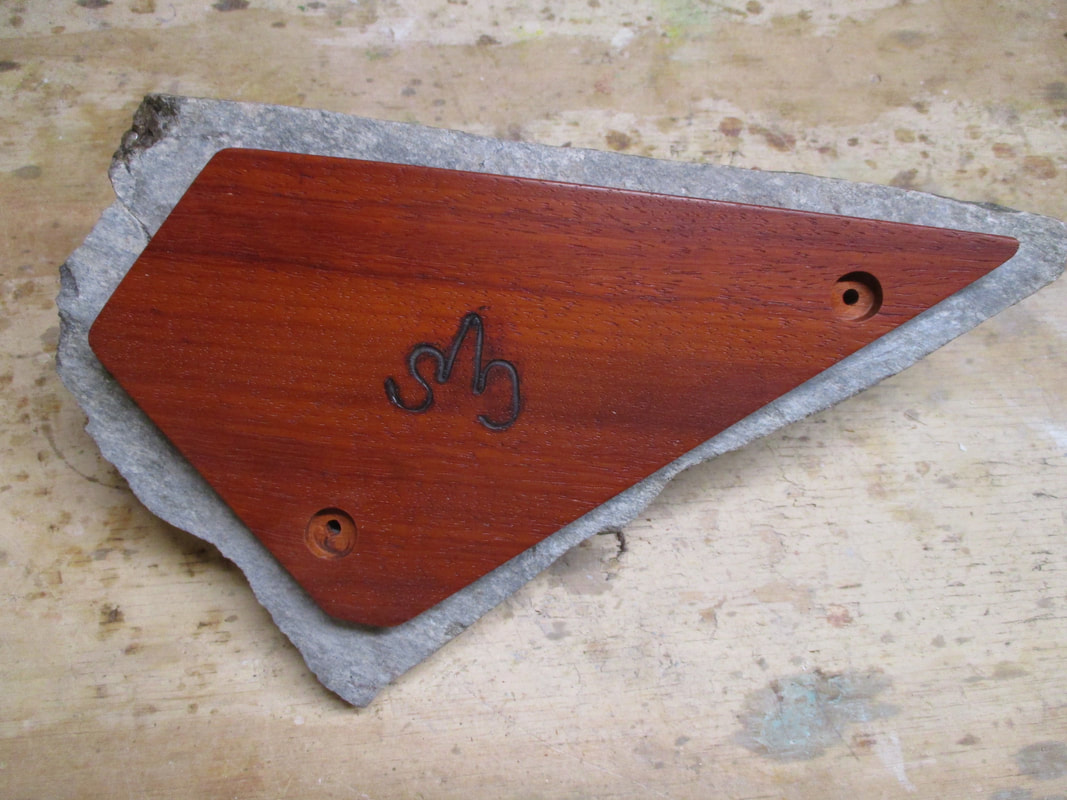
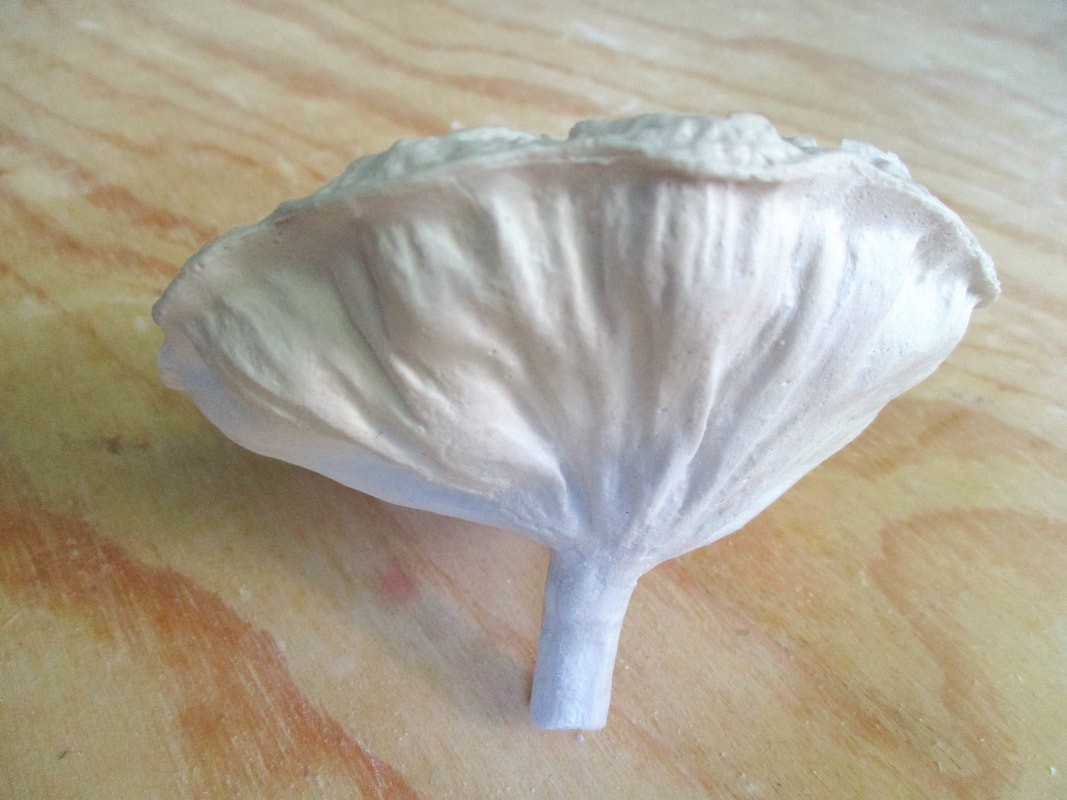
| As the deadline for submission for the March show at River Arts Gallery neared, I began to peruse my inventory of work to select a piece that would fit the "Figures, Photos, and Forms" exhibition theme. I decided on a plaster carving of two figures that I had done some time ago, but had never shown. When I took it out of its storage box I discovered that the gesso that the piece had been sealed with had discolored over time. After a brief debate with myself - repaint it with gesso or strip it and seal it with self-priming white satin spray paint, I opted to strip and spray. I didn't want to chance that the discoloration would leech through a new layer of paint or that the second coat of gesso would also discolor over time. The discovery of the most efficient way to remove the gesso coating on the sculpture was a process of trial and error. I began by using testing out various grits of sandpaper on the broadest expanses of surface area. I didn't want to put scars into the surface of the plaster that might show when it was painted. I eventually settled on 100 grit which allowed me to break the surface of the old gesso without unduly effecting the plaster beneath it. I was able to use a variety of utility blades and small | 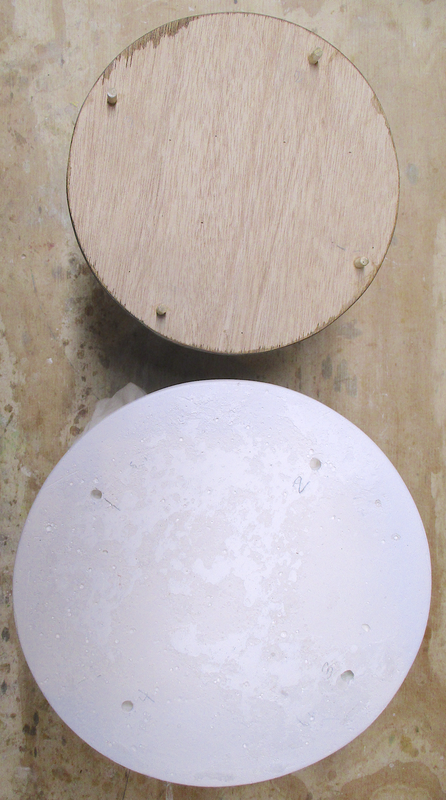 Pegged board & drilled base 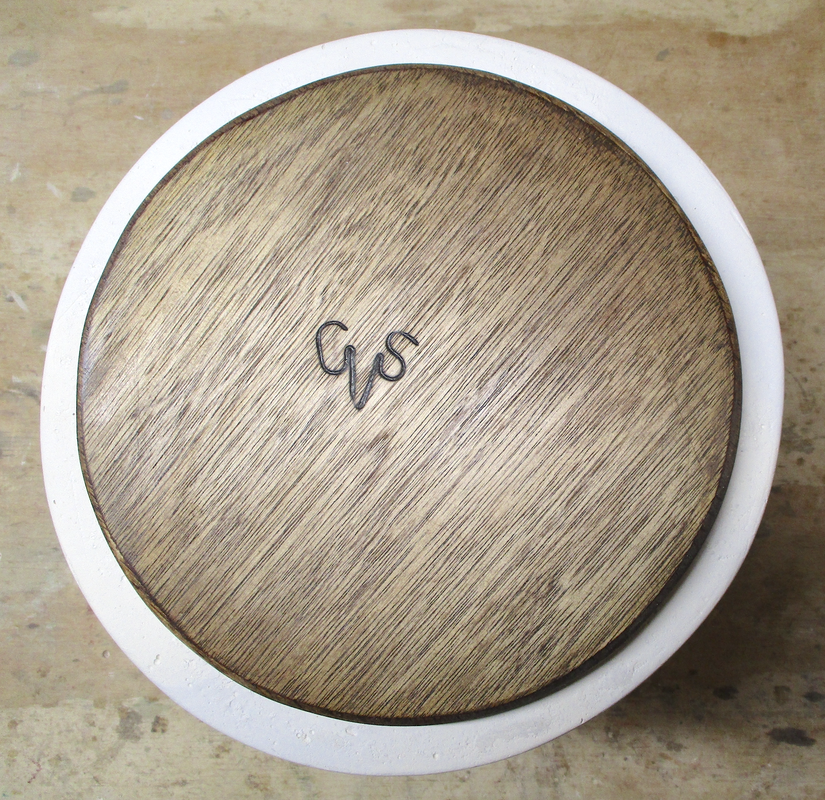 Board attached to base |
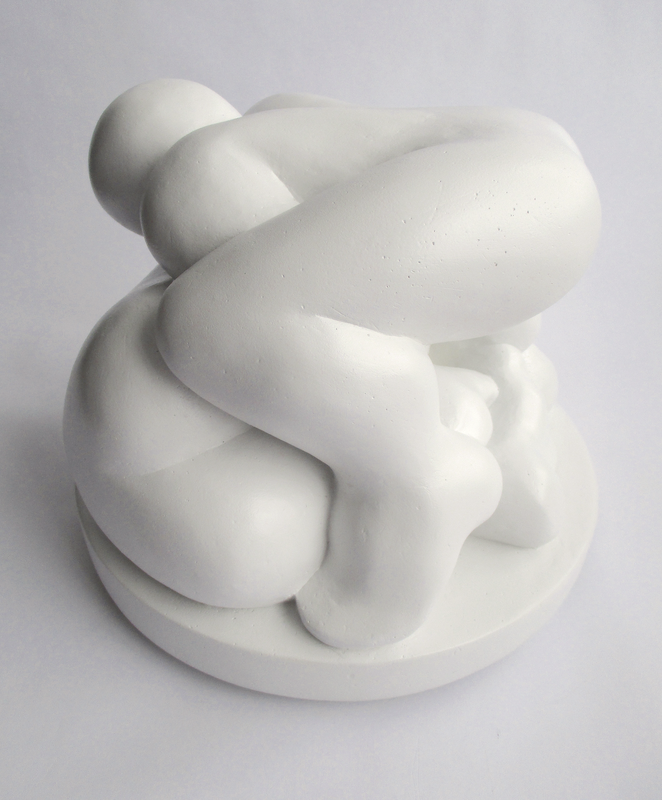
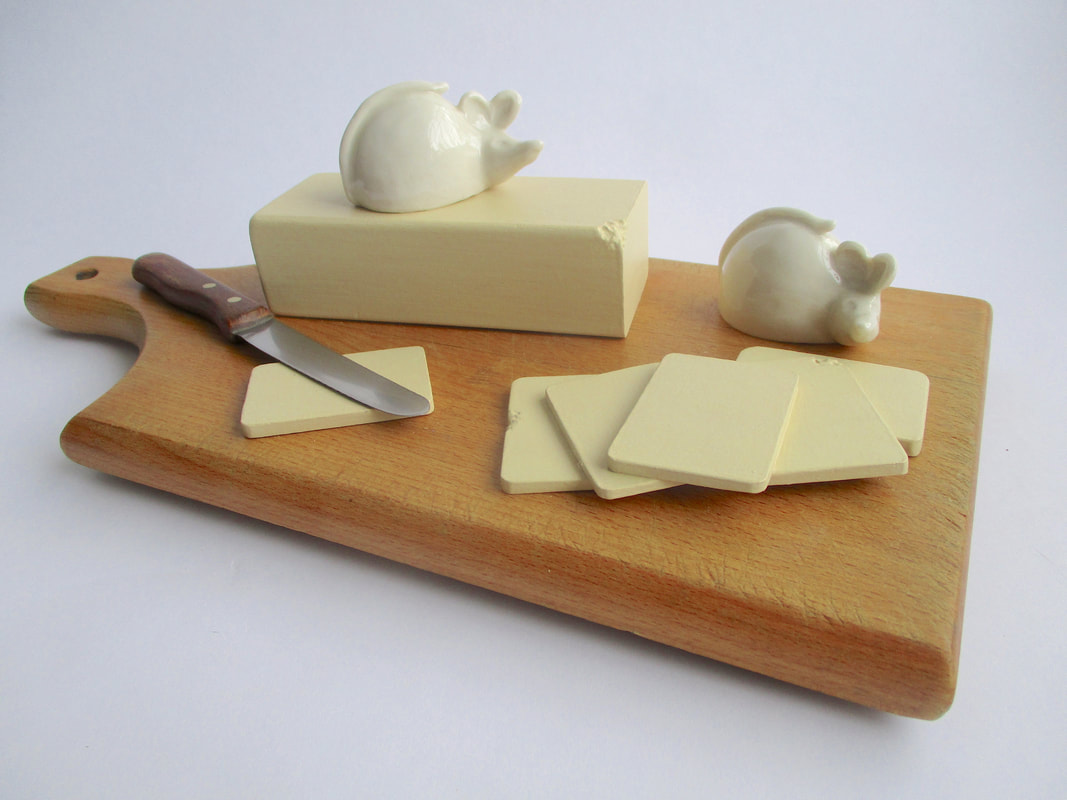
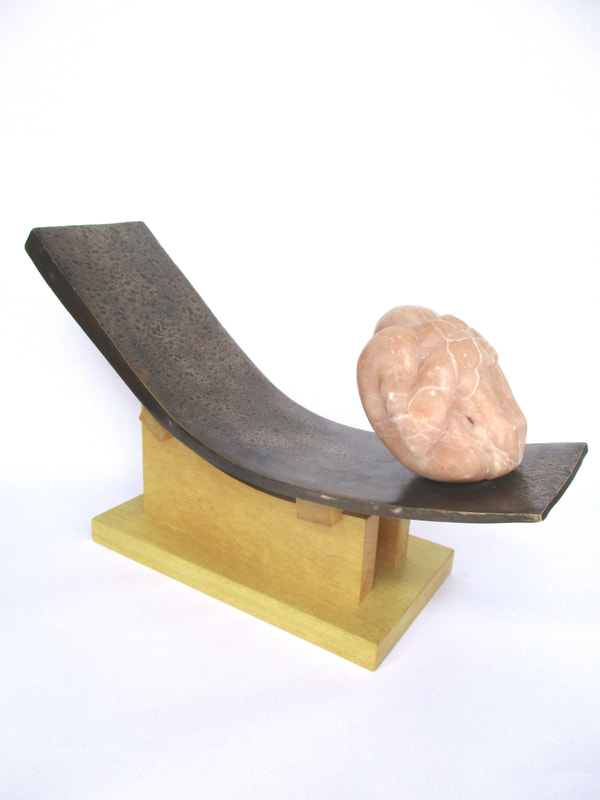
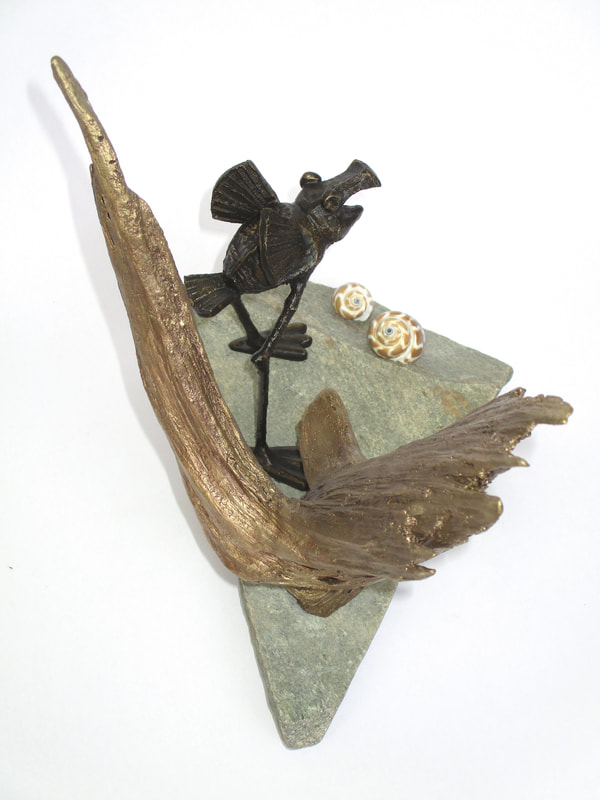
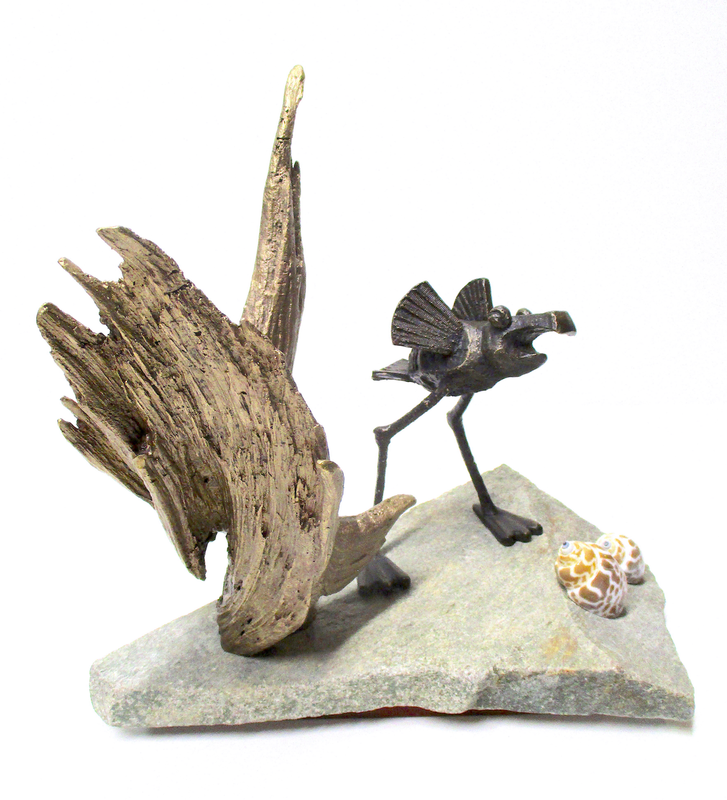
plaster chisels to remove the roughed and thinned layer of gesso. Once the piece was entirely stripped I used 200 grit and then 400 grit sandpaper to regain the original smooth surface, and then sealed the sculpture with several coats of the satin spray paint. The final step was to make a wooden disk to attach to the bottom of the piece to protect the edges of the plaster base. I made the disk an inch smaller in diameter than the base of the sculpture and attached 4 wooden pegs that would insert into corresponding holes in the base. After staining and then sealing it with polyurethane, I epoxied the disk to the bottom the sculpture. The finished piece measures about 10" in diameter and stands about 8" high. It was done and I was pleased with the result! Off to the gallery on Friday...
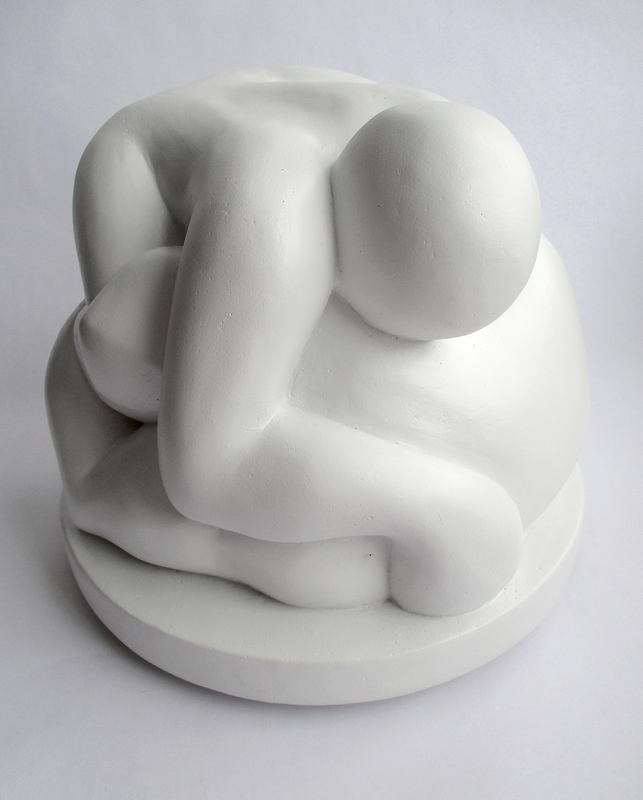 | 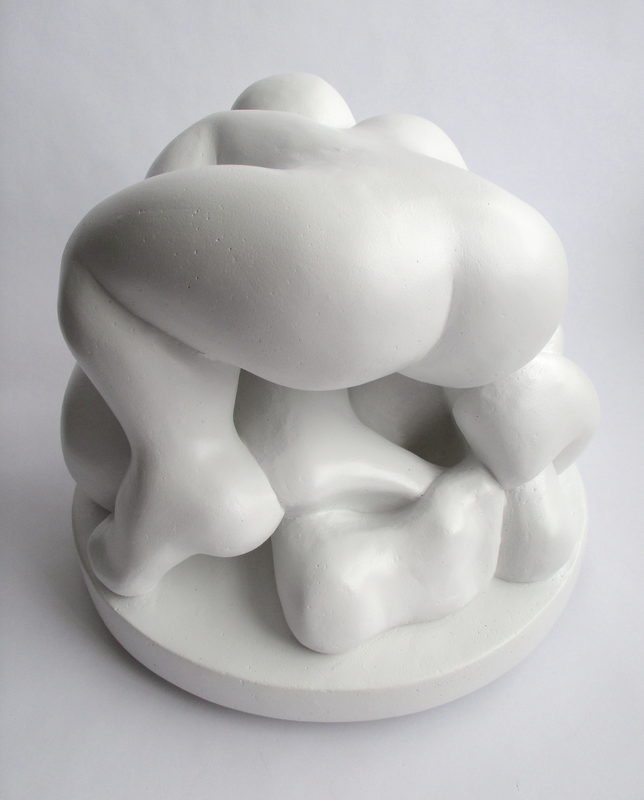 |  |
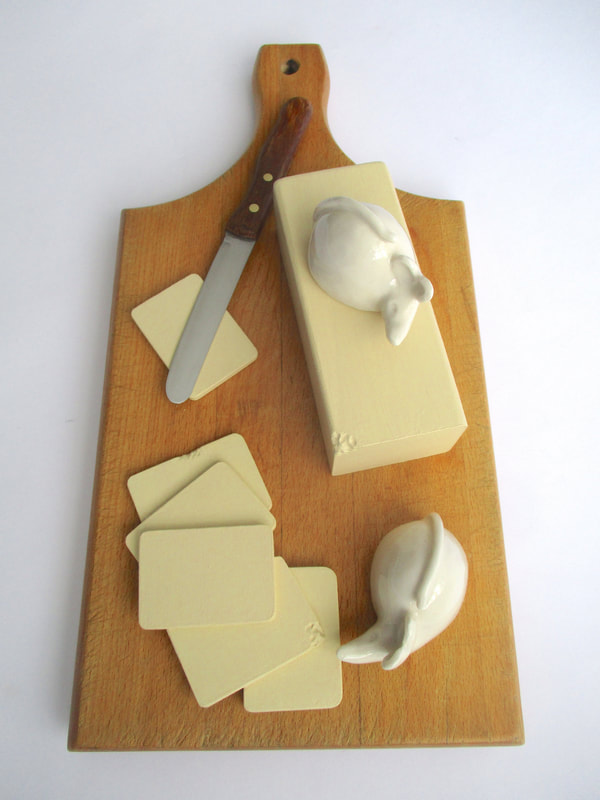
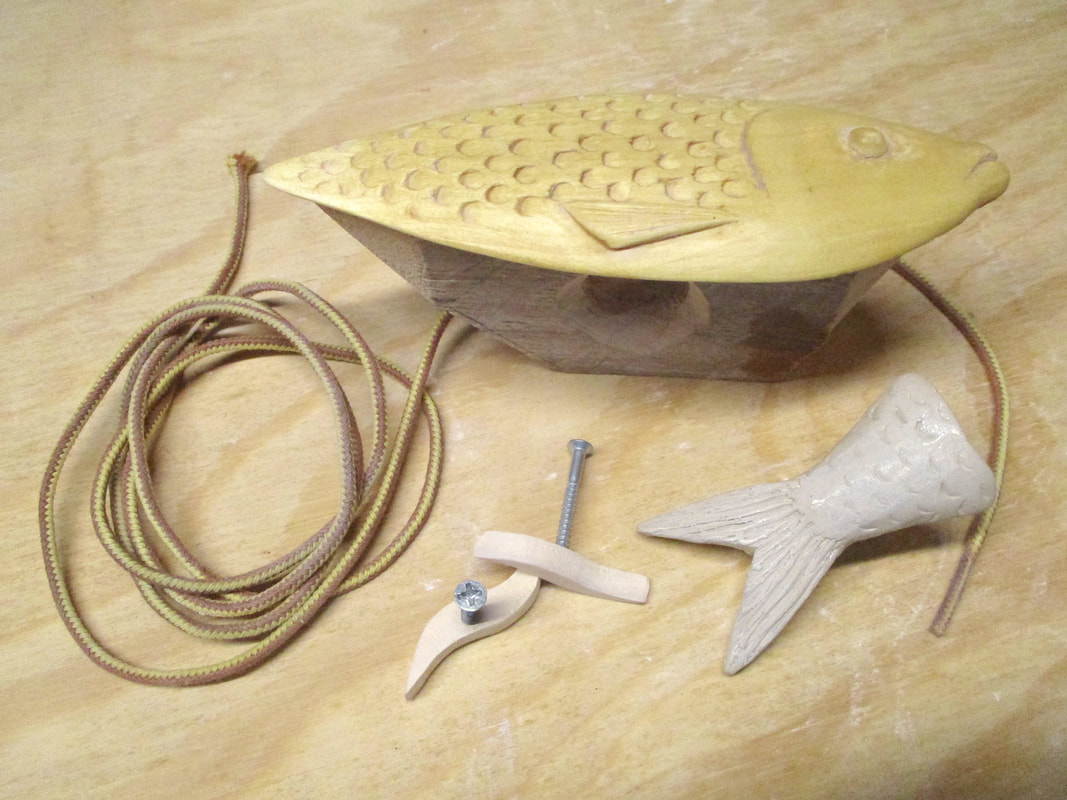
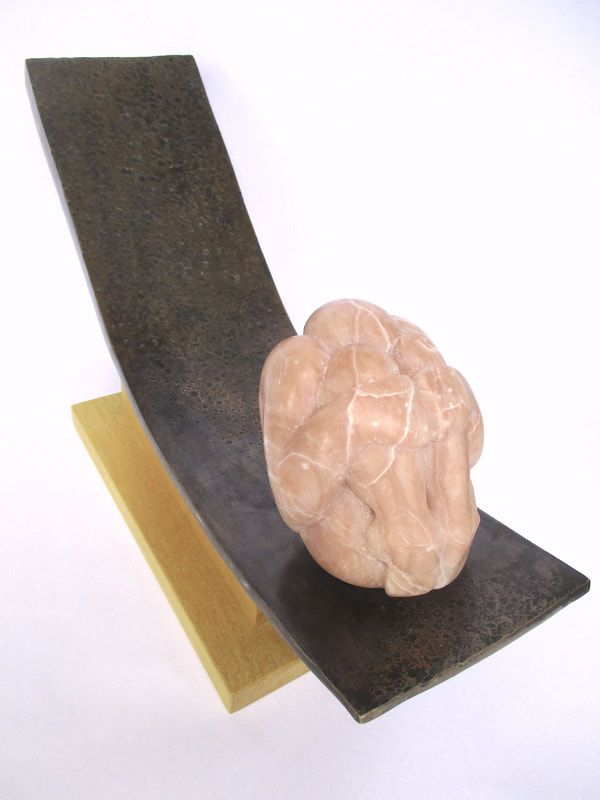
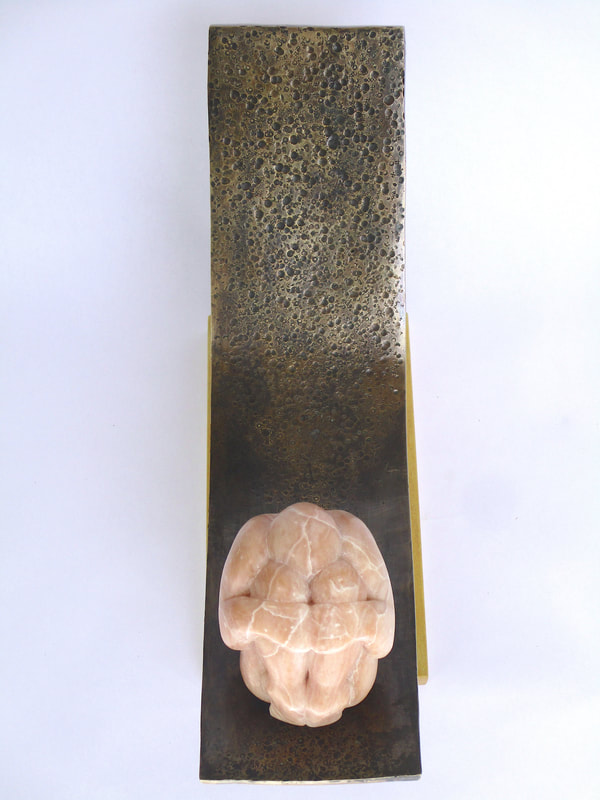
.... 3 views


 RSS Feed