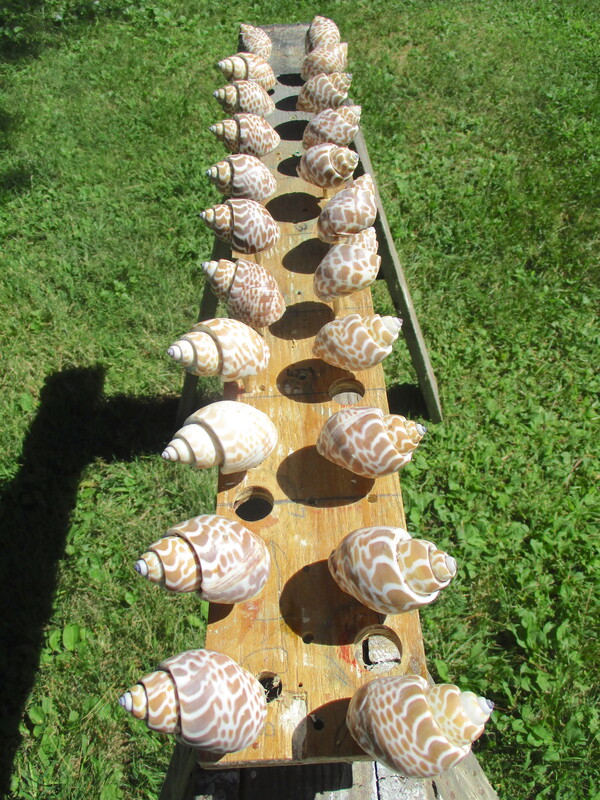
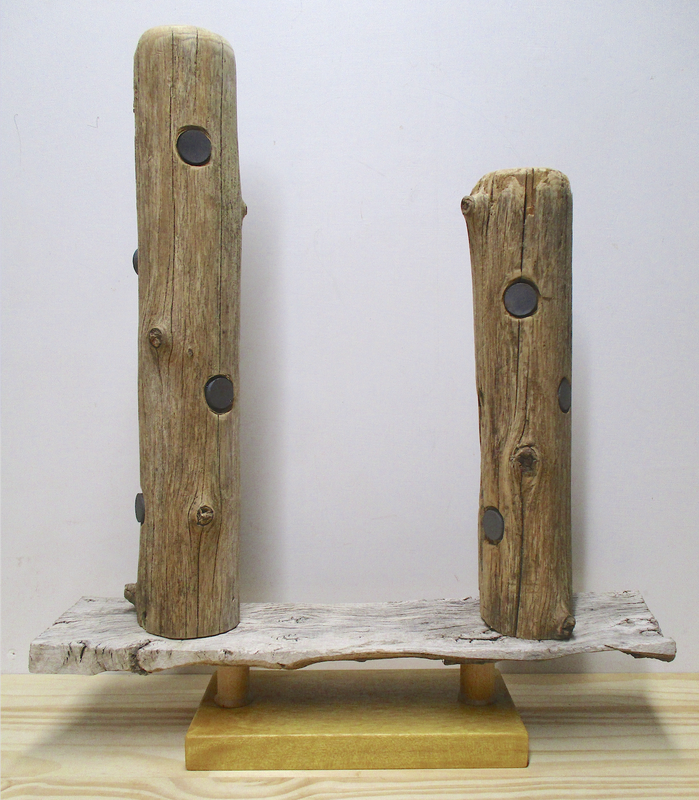
 Original snails 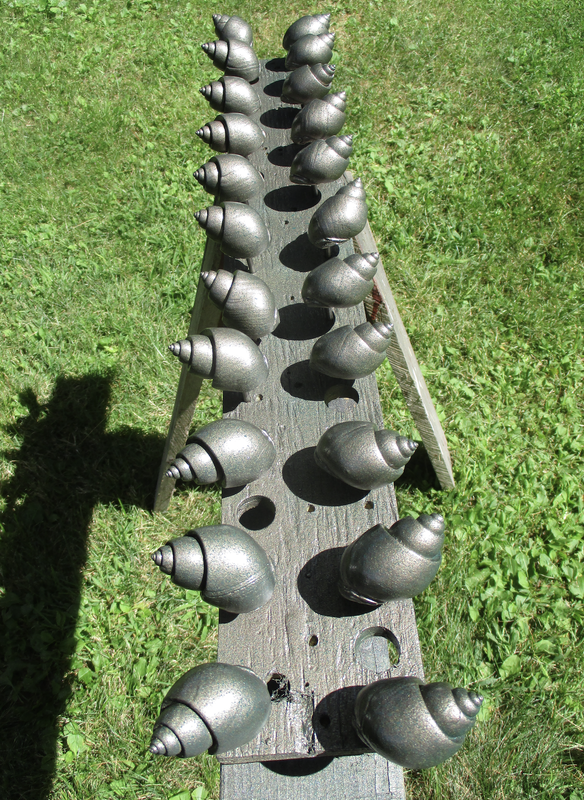 Painted  Underside recess ... magnet attached  Display platform parts | Two years ago I picked up a couple of bags of snails at a craft store to use for some relief projects (see my blog post for 7-12-17) and recently decided to come up with some ways to utilize the plethora of unused snails that were left over. In a moment of "clarity" I decided to made a batch of them into fridge magnets. I had a couple of dozen snails that I had previously filled with Apoxie clay. Each had a hole drilled into the Apoxie which was eventually supposed hold a wooden peg that could be used to attach the snail to a base. Those holes allowed me to effectively mount the snails on a pegged board for painting. I layered several different colors of spray paint on the snails - Satin Nickel, Satin Dark Green and Matte Hammered Chestnut (a brownish "dappled" copper color). The next step was to create a recess in the bottom of each snail into which I could insert a small disc magnet. I used a variety of Dremel attachments to create a recess that was about 1/2" in diameter and 3/16" deep in the flat Apoxie underside of each snail. I used 5 minute epoxy to attach the magnets. The snails were done...now how was I going to display them? That the fun part! I knew that I didn't want the snails just sitting on a flat horizontal or vertical surface. I wanted to create some sort of "natural" environment. As usual, I prowled through my stash of leftover materials looking for inspiration, and - voila! - I found an old weathered board with amazing textures. It was about 15" long and 4" wide and the surface grain cracks and knots almost made it look like swirling water. I went out to the barn and found a couple of old weathered cedar fence posts and cut the top 13" off one and 10" off the other. My plan was to stand the two posts up on the board like two pilings coming out of the water and have magnets imbedded in them as attachment points for the snails. I used bolts to attach a 6" piece of yellowheart wood and two old wooden thread spools to the baseboard to slightly elevate it. (The board was slightly "wavy" so it need something under it in order to sit flat.) Next I made recesses for the magnets in the posts with the Dremel. I made 8 in the taller post and 7 in the shorter one, and then epoxied a magnet in each recess. The final step to assembling the display piece was to attach the posts to the board with screws up through the bottom of the board and into the bases of the posts. It was finally ready for the snails! They clicked on as planned - a perfect fit! |
 Assembled with magnets | 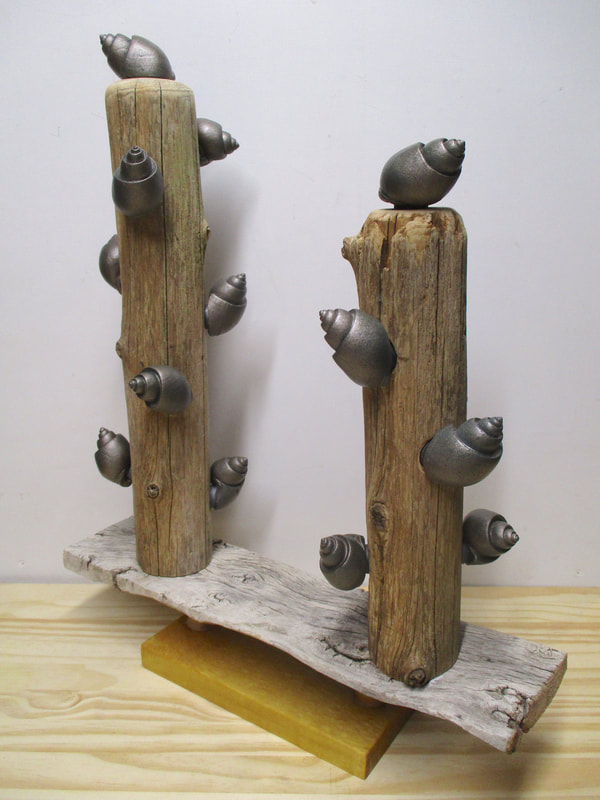 Snails on | 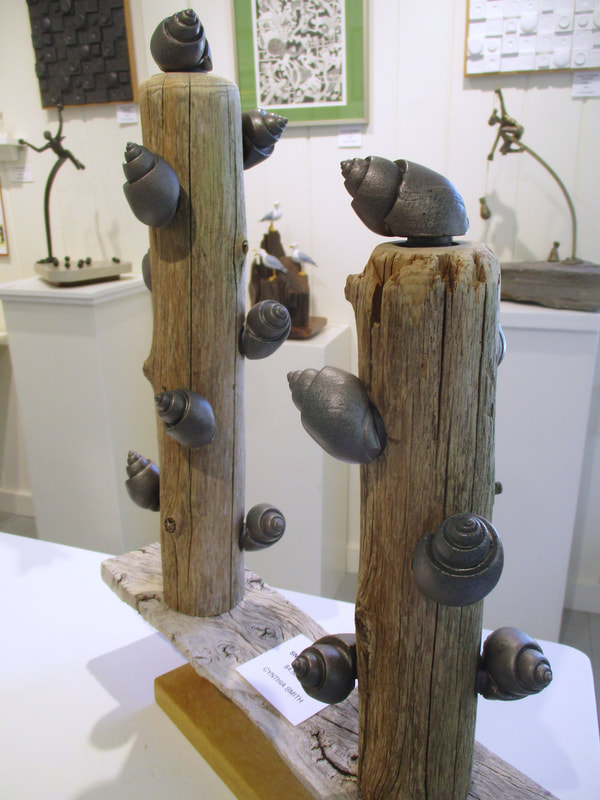 ...at the Gallery |

 RSS Feed